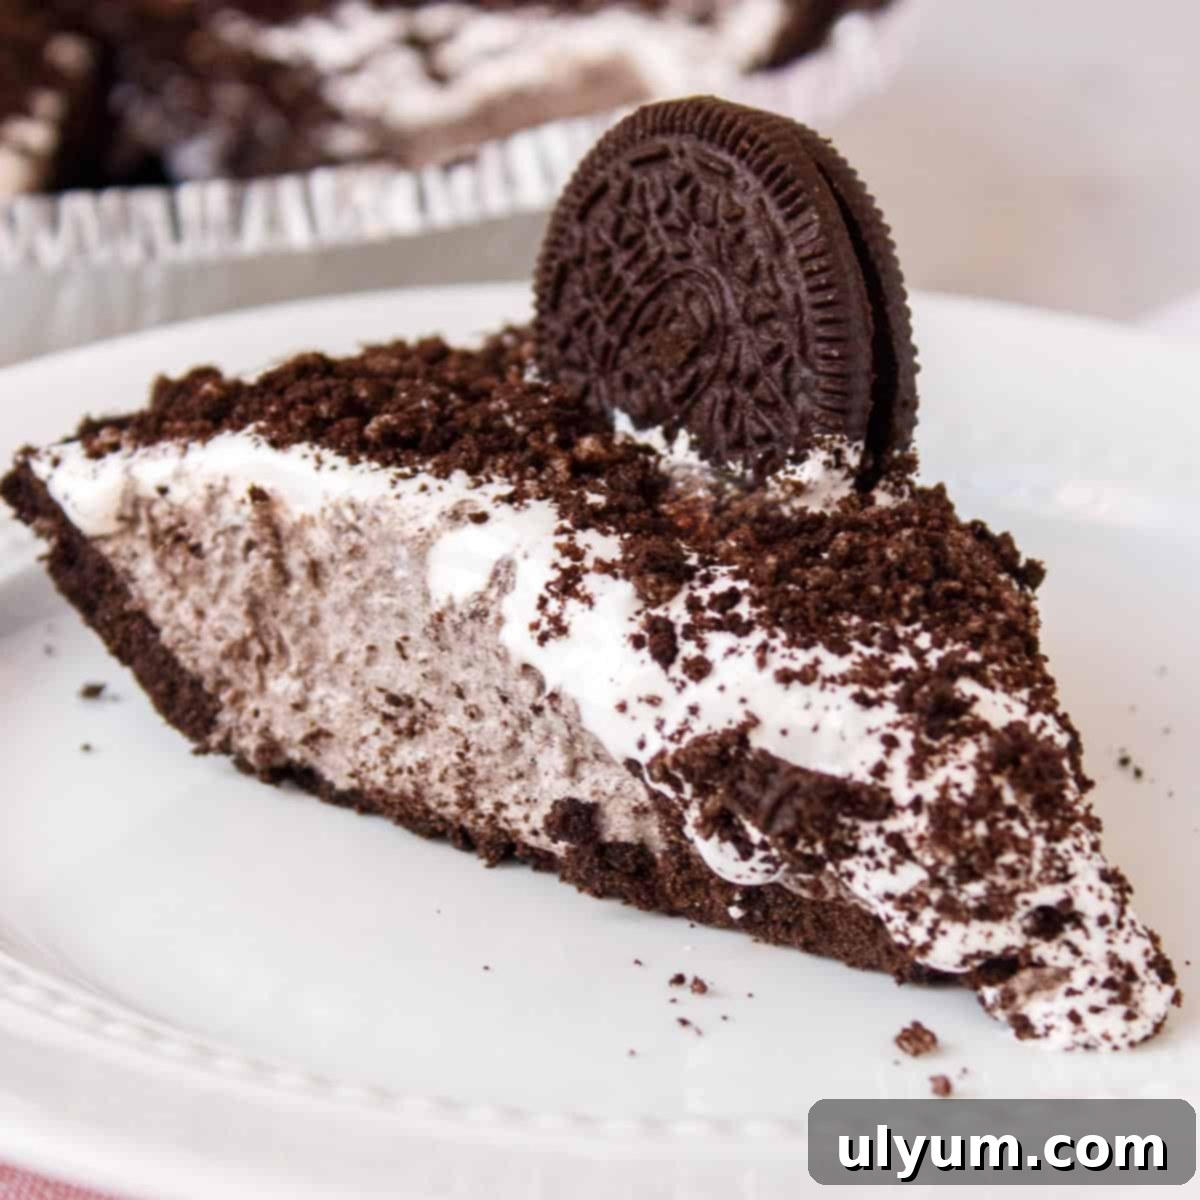
Easy No-Bake 3-Ingredient Oreo Pie: Your Go-To Dessert for Any Occasion
Craving a delightful dessert that requires minimal effort but delivers maximum flavor? Look no further than this incredible **3-ingredient Oreo pie**! It’s the ultimate solution for anyone who loves the classic taste of Oreos combined with the convenience of a no-bake recipe. Made with just Oreo cookies, creamy Cool Whip, and a readily available store-bought Oreo pie crust, this dessert comes together in minutes, making it a perfect treat for busy weeknights, last-minute gatherings, or simply when you need a sweet escape.
This pie is a testament to simplicity, proving that you don’t need a long list of ingredients or complex techniques to create something truly delicious. The base of this indulgent pie is a convenient premade Oreo pie crust, providing that essential chocolatey crunch without any baking. The rich, creamy filling is a dreamy blend of whipped cream and crushed Oreos, creating a harmonious texture and flavor that will have everyone asking for seconds. What’s more, you can customize this pie with your favorite Oreo flavors – imagine the possibilities with chocolate, red velvet, chocolate peanut butter, or even golden Oreos!
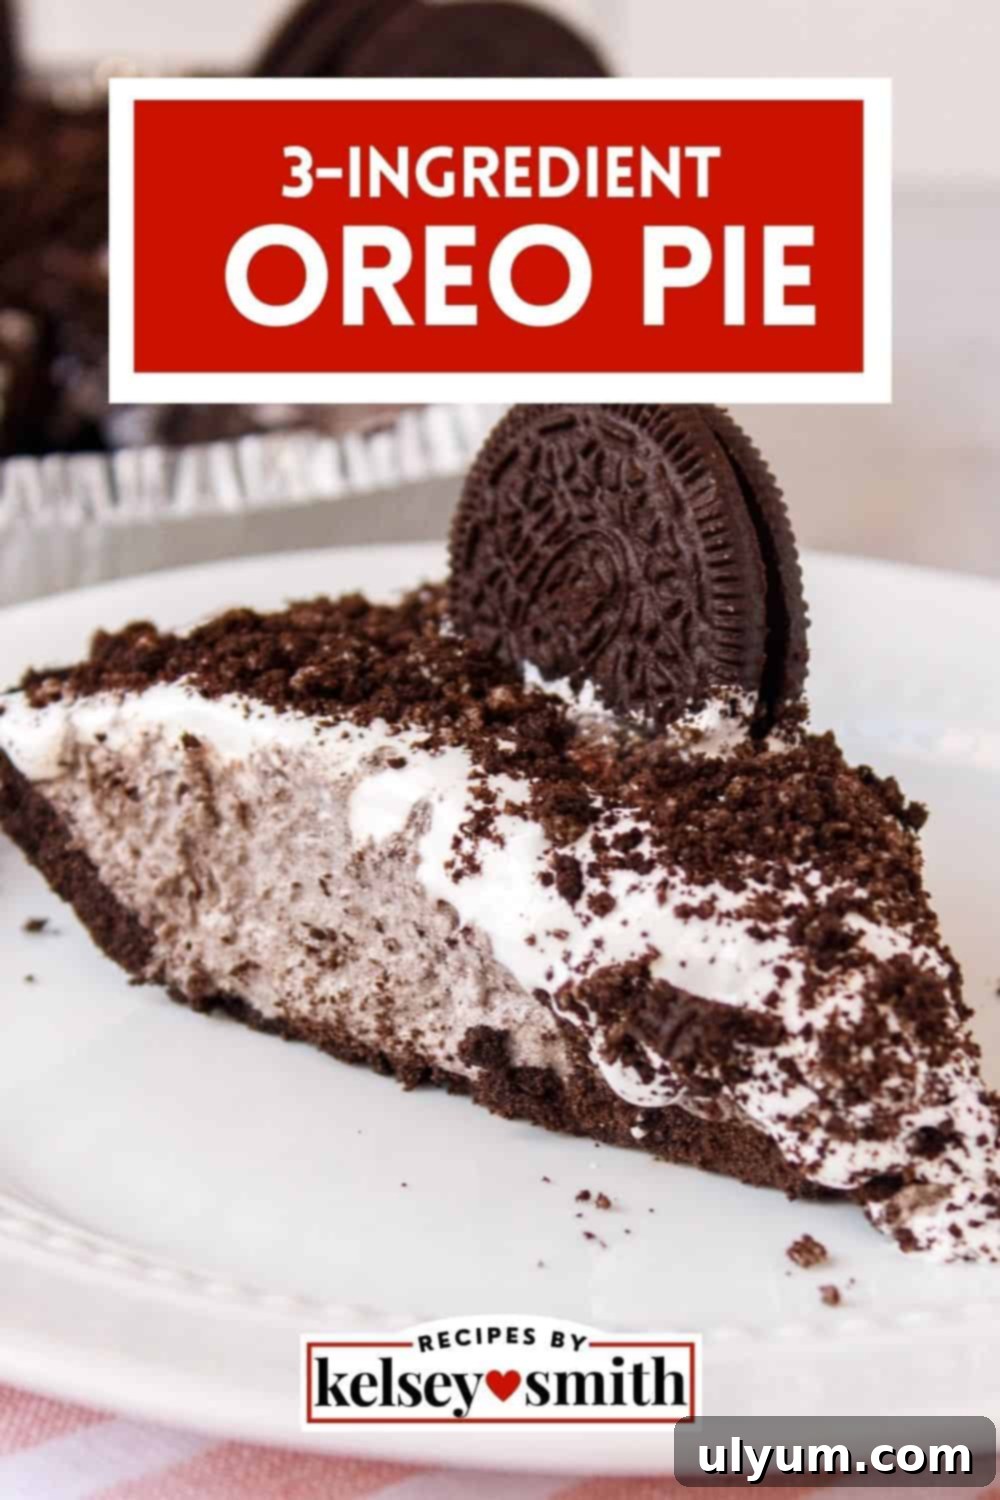
One of the best aspects of this easy Oreo pie is its versatility in serving. When frozen, it achieves a delightful consistency similar to a creamy ice cream pie, offering a refreshing chill that’s perfect for warmer weather. Alternatively, if you prefer a lighter, more ethereal texture, you can serve it chilled from the refrigerator, where it transforms into a whipped mousse-like dessert. Whichever way you choose to enjoy it, this pie promises a rich, satisfying experience that highlights the irresistible taste of Oreos in every bite.
This post contains affiliate links. As an Amazon Associate, I earn from qualifying purchases.
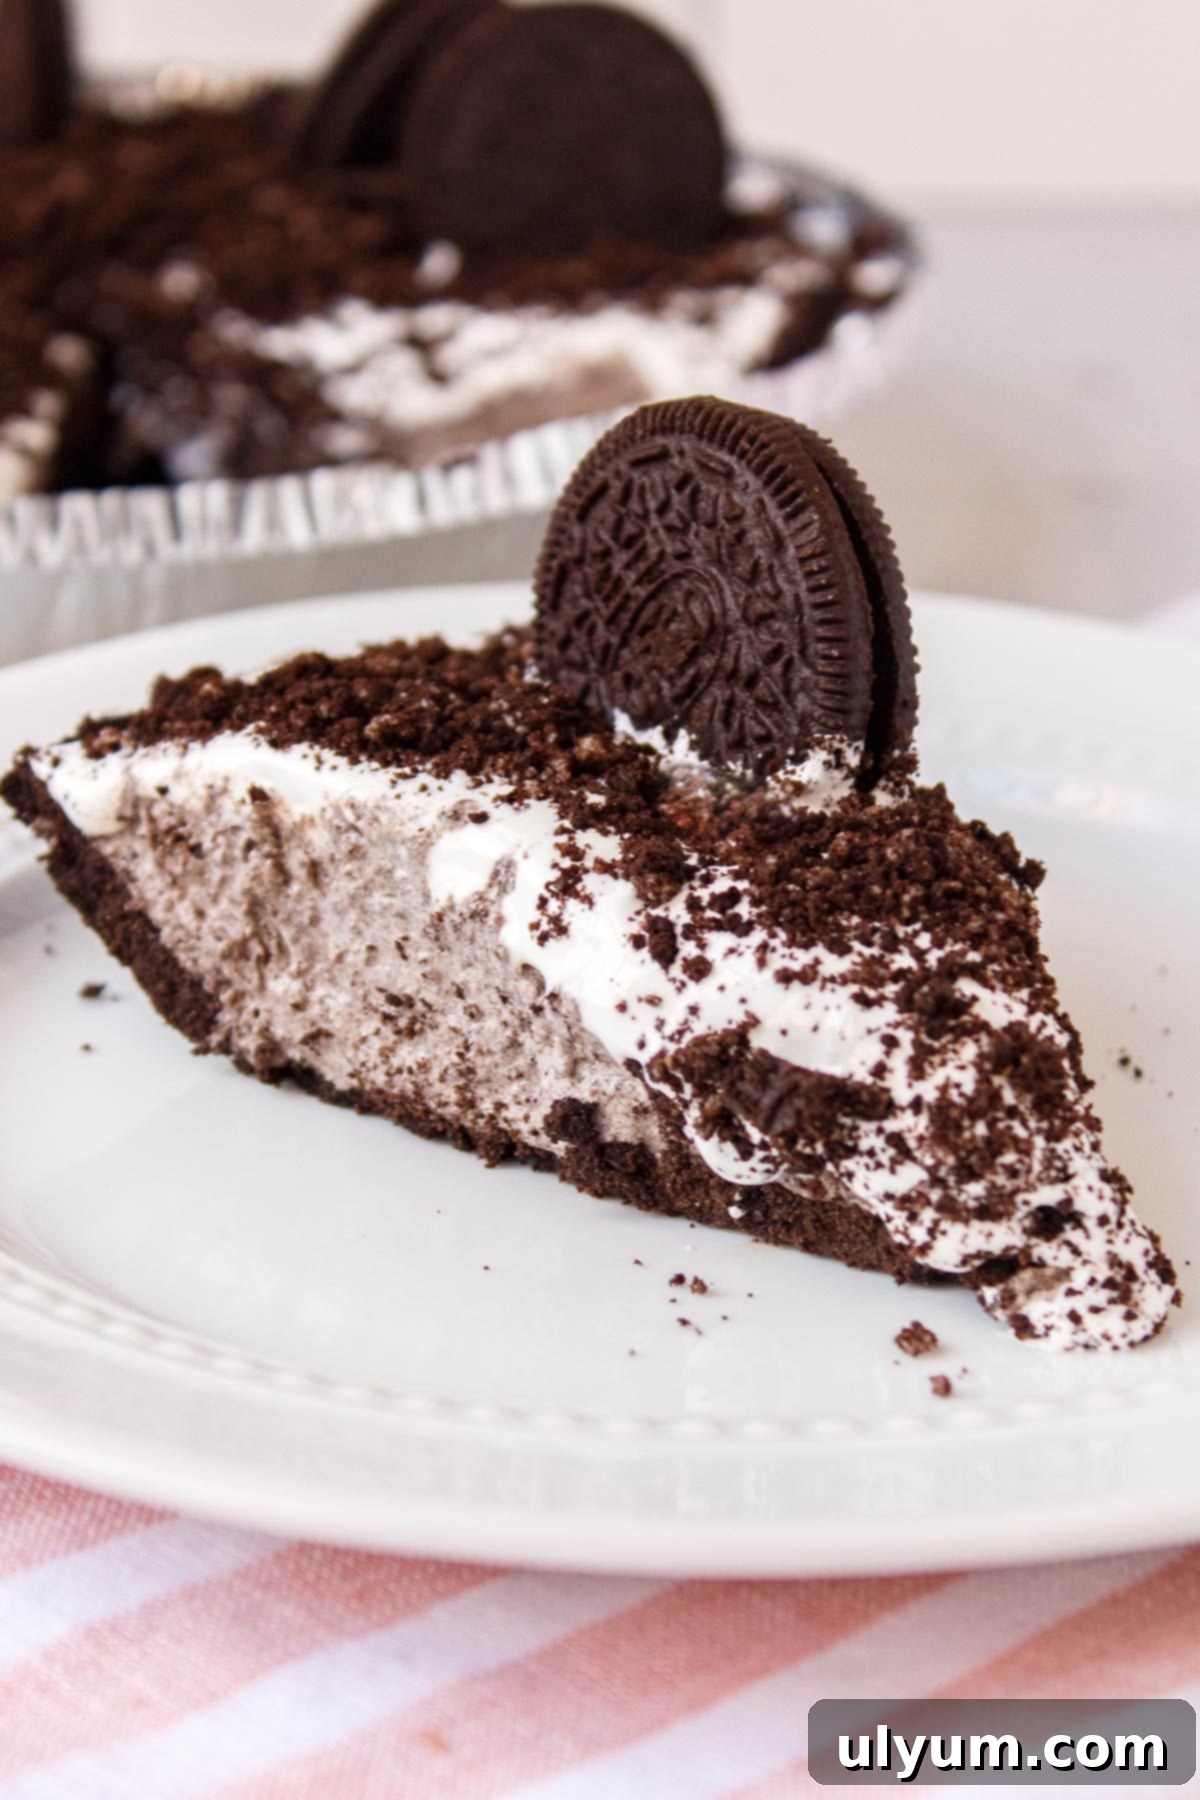
Recipe Highlights: Why You’ll Love This Oreo Pie
This 3-ingredient Oreo pie isn’t just easy; it’s a guaranteed crowd-pleaser that simplifies dessert making without compromising on taste. Here are a few reasons why this will become your new favorite no-bake treat:
- Only 3 Ingredients: Say goodbye to long grocery lists! This dessert truly uses just a handful of simple, readily available ingredients, making it budget-friendly and quick to prepare. It’s the ultimate minimalist dessert.
- Easy Recipe: Whether you’re a seasoned baker or a complete beginner in the kitchen, this recipe is incredibly forgiving and straightforward. Home cooks of all skill levels can effortlessly make this perfect dessert, building confidence and delivering impressive results every time.
- Sweet Treat for Oreo Lovers: If you adore Oreos, this pie is your dream come true. Every layer is infused with that unmistakable Oreo flavor, from the crunchy crust to the creamy filling and delightful topping. It’s an explosion of cookie goodness!
- No-Bake Convenience: Skip the oven and the heat! This dessert requires no baking, making it ideal for hot summer days or when your oven is already occupied. Just mix, chill, and enjoy.
- Make-Ahead Friendly: Prepare this pie in advance for parties or special occasions. It stores beautifully in the freezer, allowing you to focus on other tasks knowing a delicious dessert is ready to go.
For more easy dessert recipes that are just as simple and satisfying, be sure to try our 3-ingredient cherry dump cake or this delightful easy strawberry Jello pie.
[feast_advanced_jump_to]
Essential Ingredients for Your Oreo Pie
The beauty of this pie lies in its simplicity, requiring just three core ingredients to create a magnificent dessert. Each component plays a crucial role in delivering that classic Oreo flavor and a wonderfully creamy texture. Let’s take a closer look at what you’ll need:
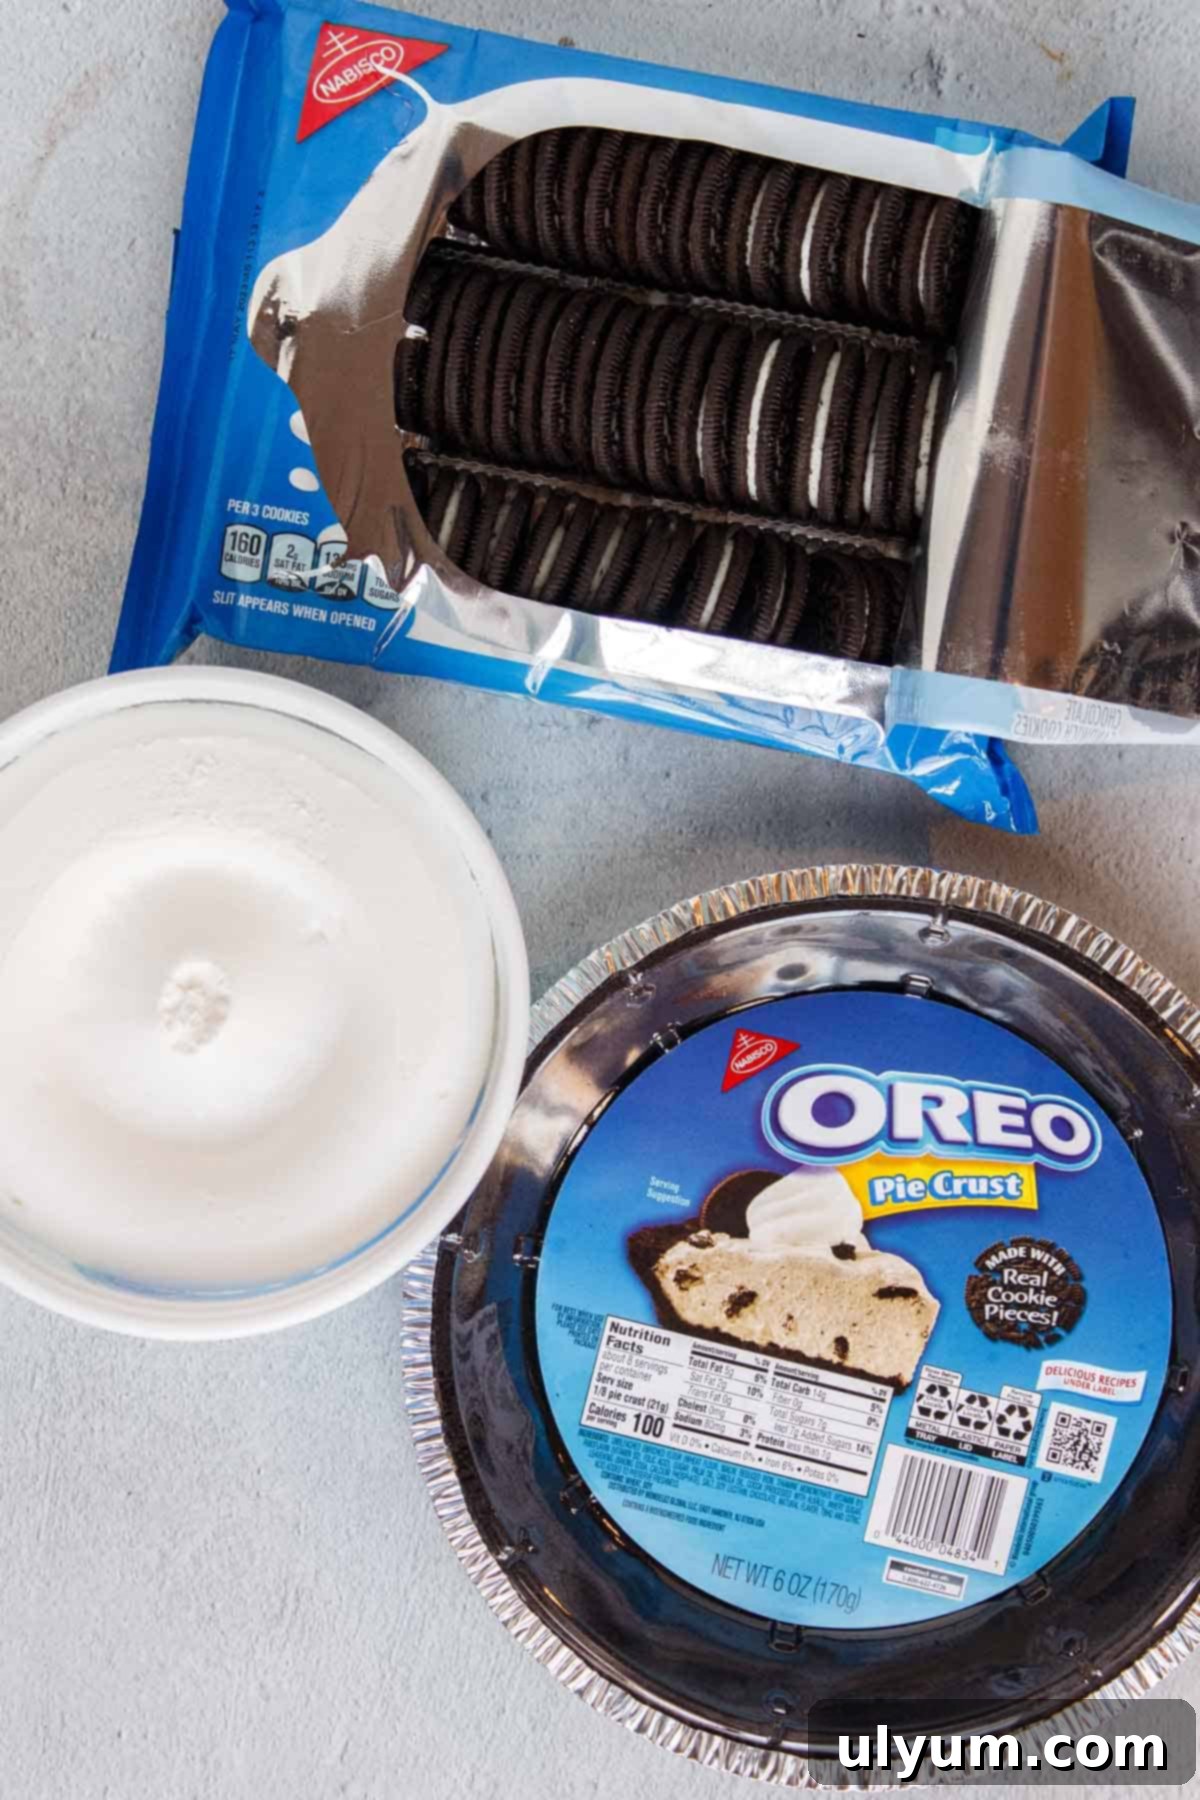
- Oreo Cookies: These iconic chocolate sandwich cookies are the star of the show! You’ll need them for the decadent filling, a delightful crumble topping, and whole cookies to elegantly garnish each slice. A standard 14.3-ounce package is usually sufficient for one pie.
- Cool Whip Original Whipped Topping: This creamy, fluffy topping is the secret to the pie’s airy and smooth texture. You’ll use it to create the luscious filling and also as a beautiful, creamy layer on top. Make sure it’s thawed before mixing for the best results.
- Store-Bought Oreo Pie Crust: For ultimate convenience, a premade Oreo pie crust forms the perfect chocolatey base, saving you time and effort. Look for it in the baking aisle or alongside other pie crusts at your local grocery store.
You can find the exact quantities in the detailed recipe card below, ensuring you have everything perfectly measured for your delicious no-bake treat.
Step-by-Step Guide to Making Your Oreo Pie
Creating this irresistible 3-ingredient Oreo pie is surprisingly simple. Follow these straightforward steps, complete with helpful tips, to ensure a perfect, creamy dessert every time. We’ve included process shots to guide you visually through each stage.
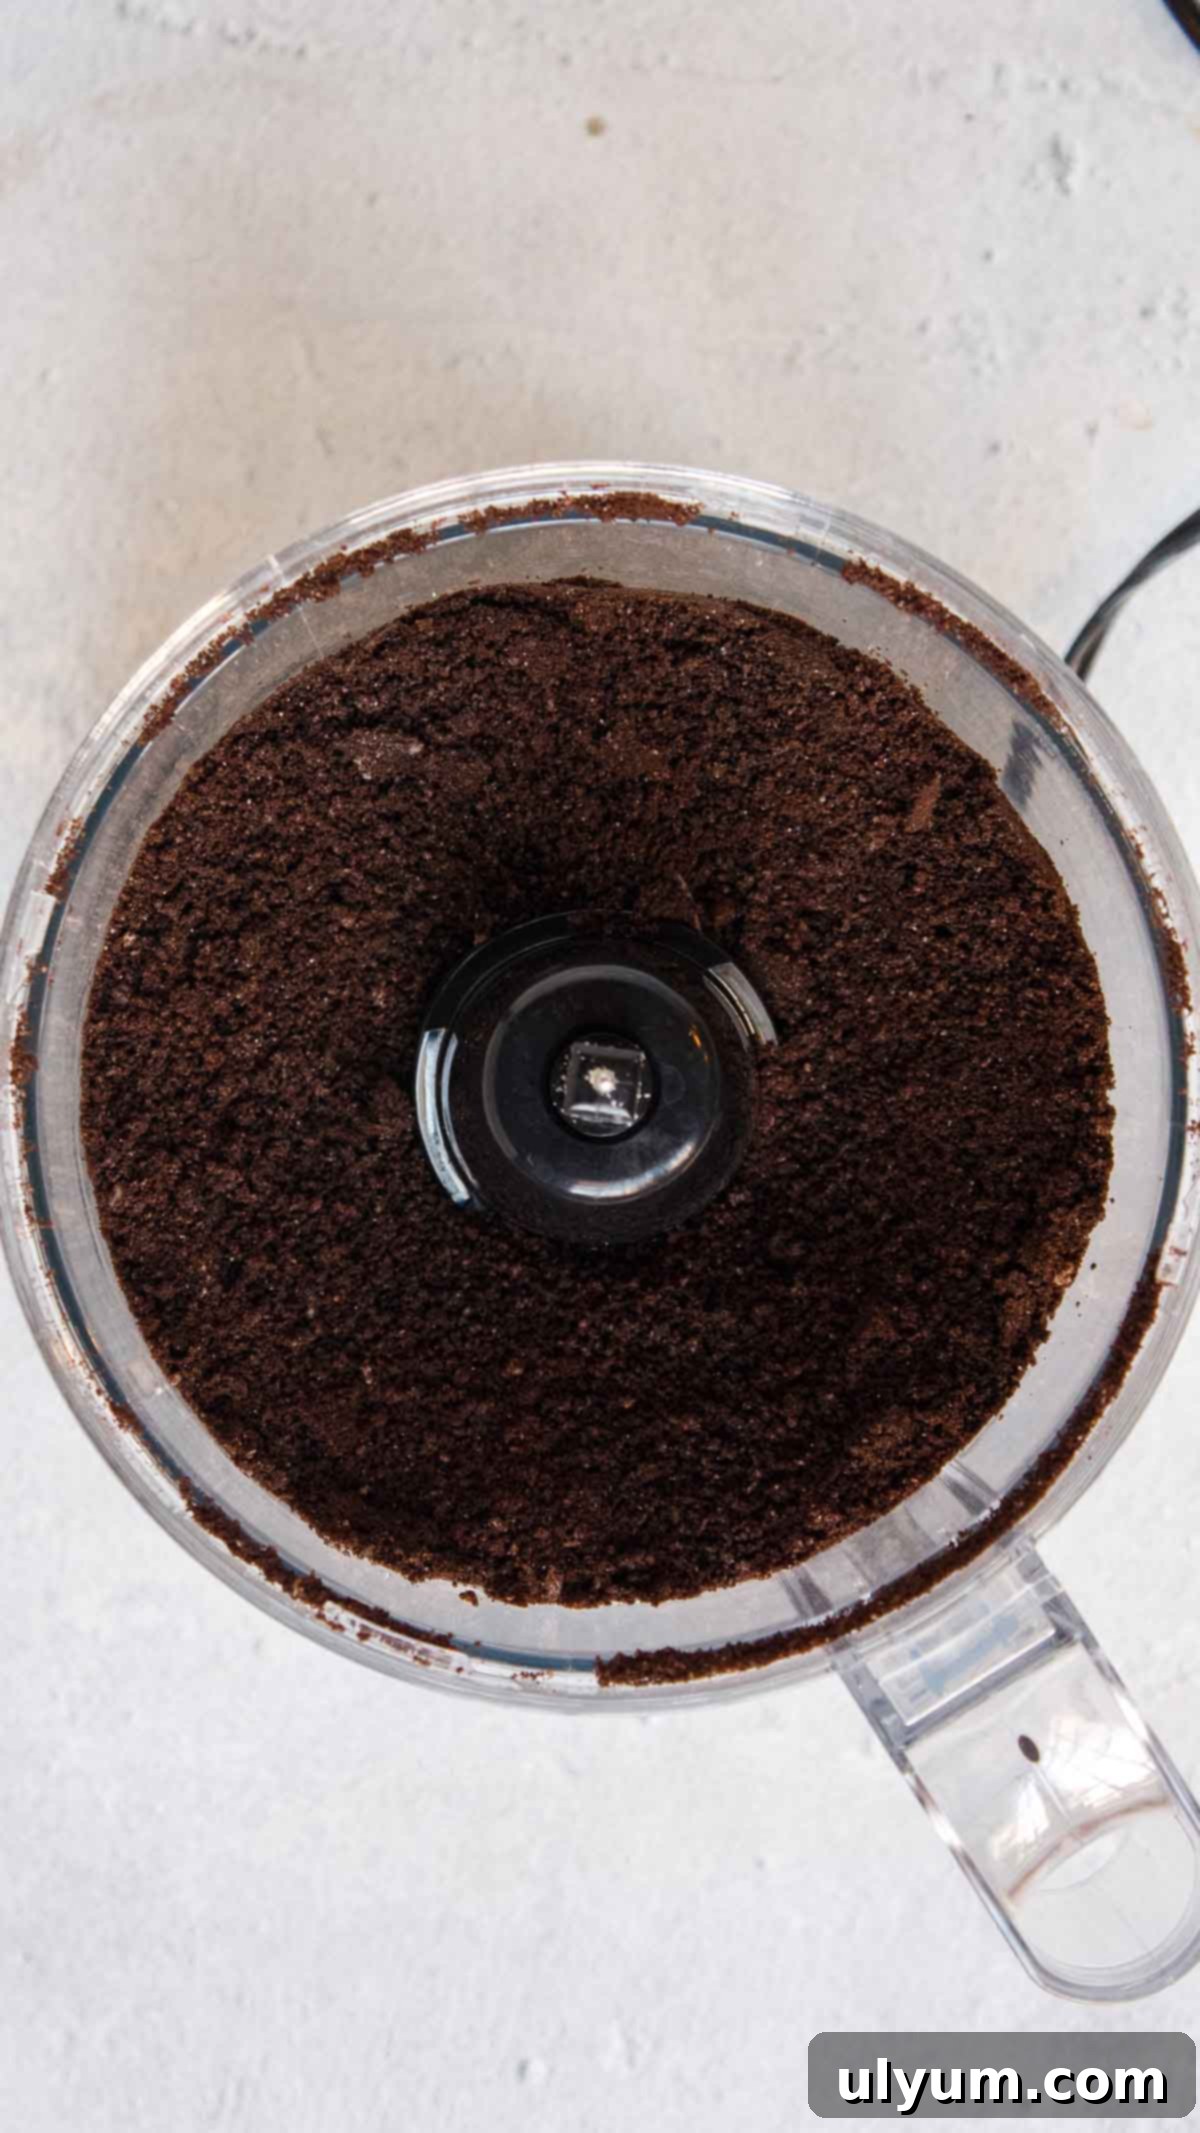
Step 1: Prepare the Oreos. Begin by setting aside 12 whole Oreo cookies. These will be used later for garnishing your finished pie. Take the remaining whole Oreos (don’t remove the cream filling!) and crush them into fine crumbs. You can achieve this using a rolling pin and a Ziploc bag for a more rustic texture, or for a faster, finer crumb, process them in a food processor until they resemble fine sand.
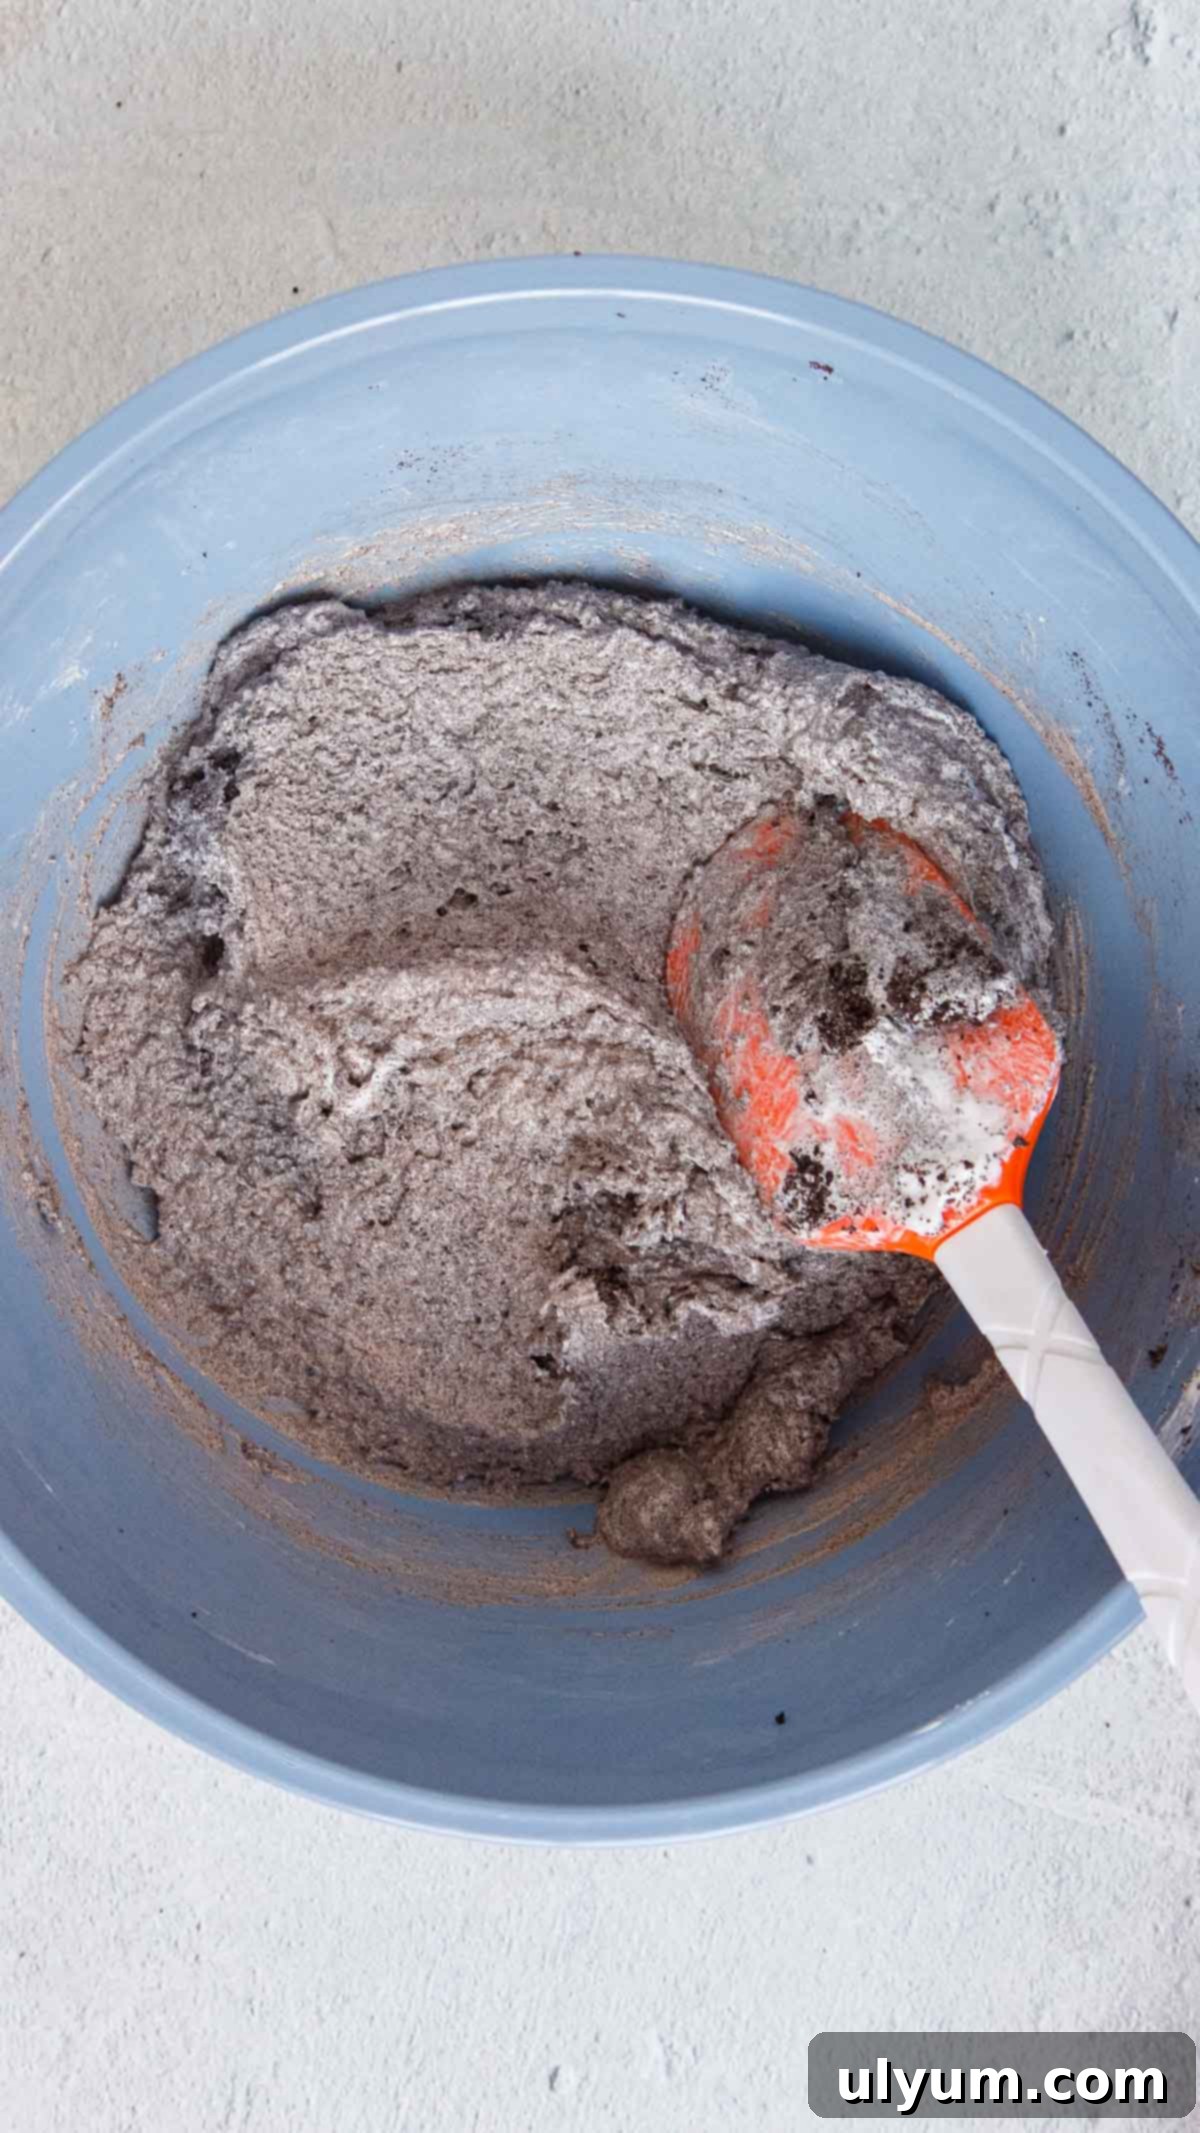
Step 2: Create the Creamy Filling. In a large mixing bowl, combine the finely crushed Oreo crumbs with half of the thawed Cool Whip. Stir these two ingredients together gently but thoroughly until they are well incorporated, forming a rich, dark, and creamy filling. Tip: Ensure your Cool Whip is defrosted or at least partially thawed. This makes it significantly easier to mix with the crumbs, preventing lumps and ensuring a smooth consistency for your pie filling.
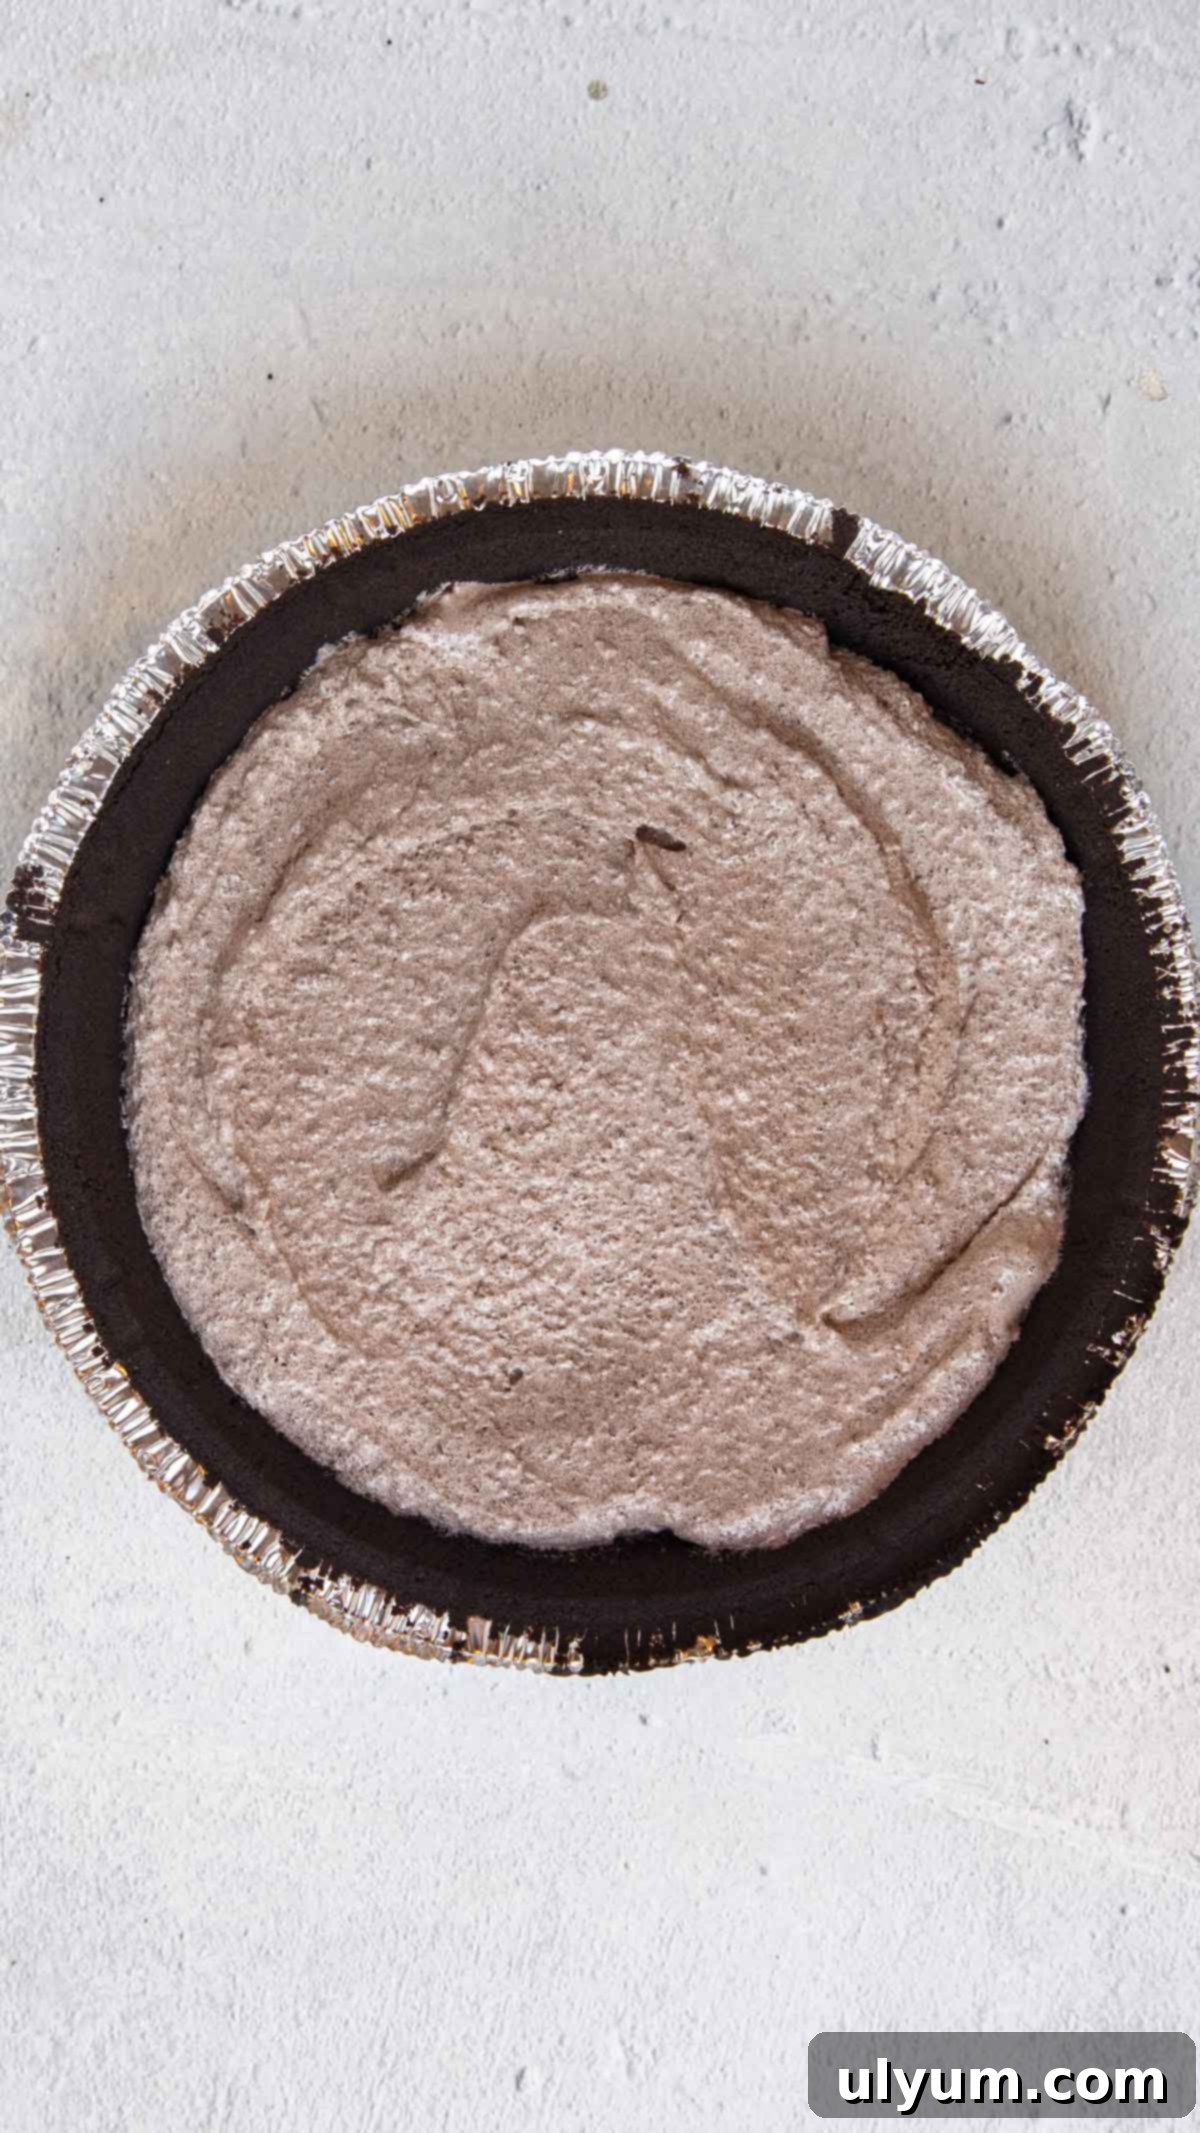
Step 3: Fill the Pie Crust. Carefully transfer the delectable Oreo and Cool Whip mixture into your premade Oreo cookie pie crust. Use a spatula or the back of a spoon to spread the filling out evenly across the entire surface of the crust. Ensure it reaches the edges for a beautiful, consistent pie.
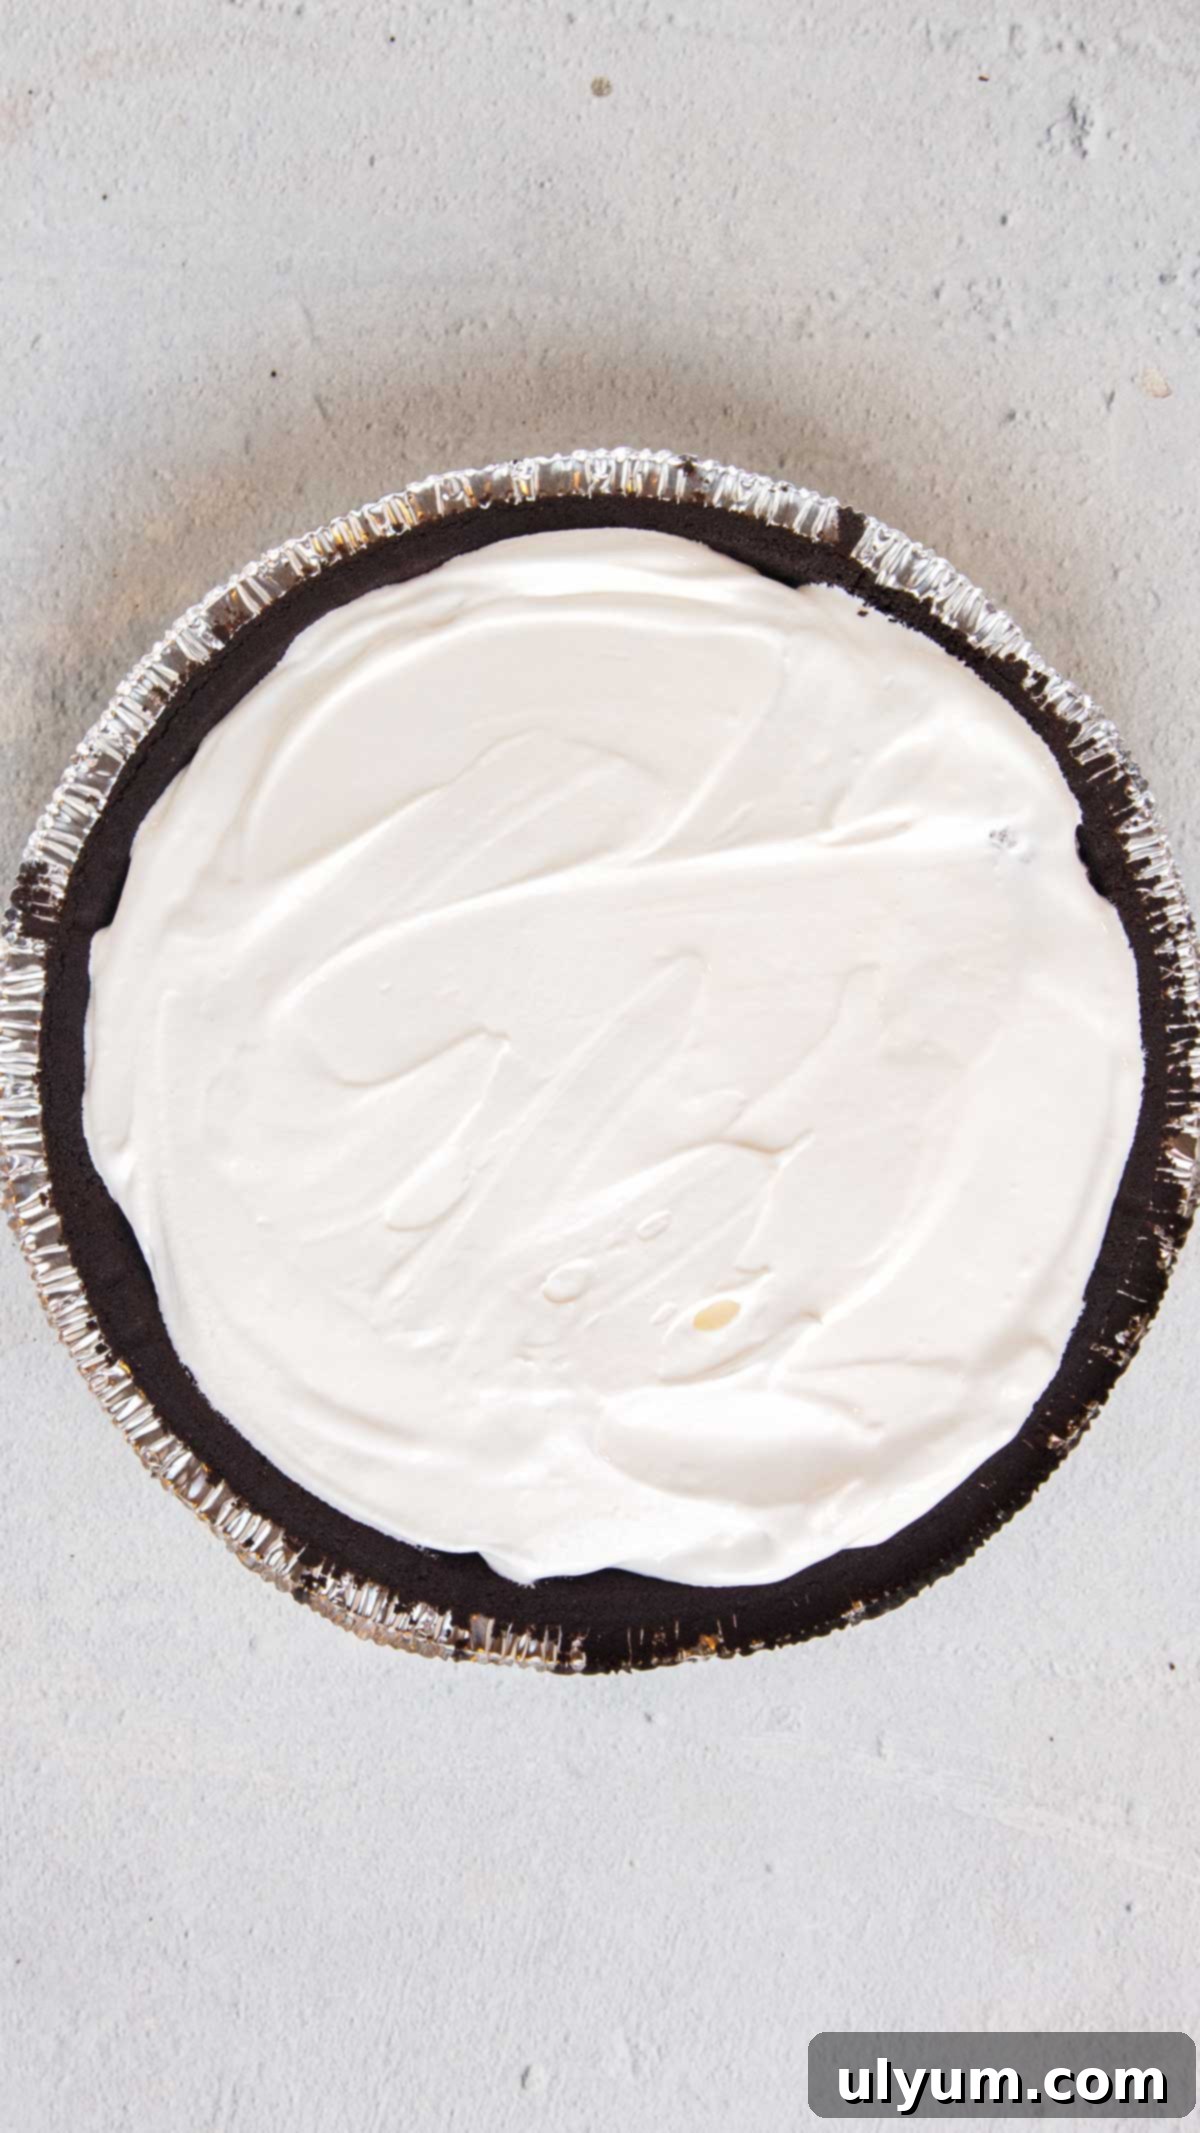
Step 4: Top and Freeze. Now, spoon the remaining half of the Cool Whip over the Oreo filling. Gently spread it out into a smooth, even layer, reaching right to the edges of the pie crust. Cover the pie securely with the plastic lid that came with the pie crust, or use plastic wrap to ensure it’s airtight. Transfer the covered pie to the freezer and allow it to set for a minimum of 2 hours. This crucial step ensures the pie firm up nicely, whether you prefer an ice cream-like consistency or a chilled mousse.
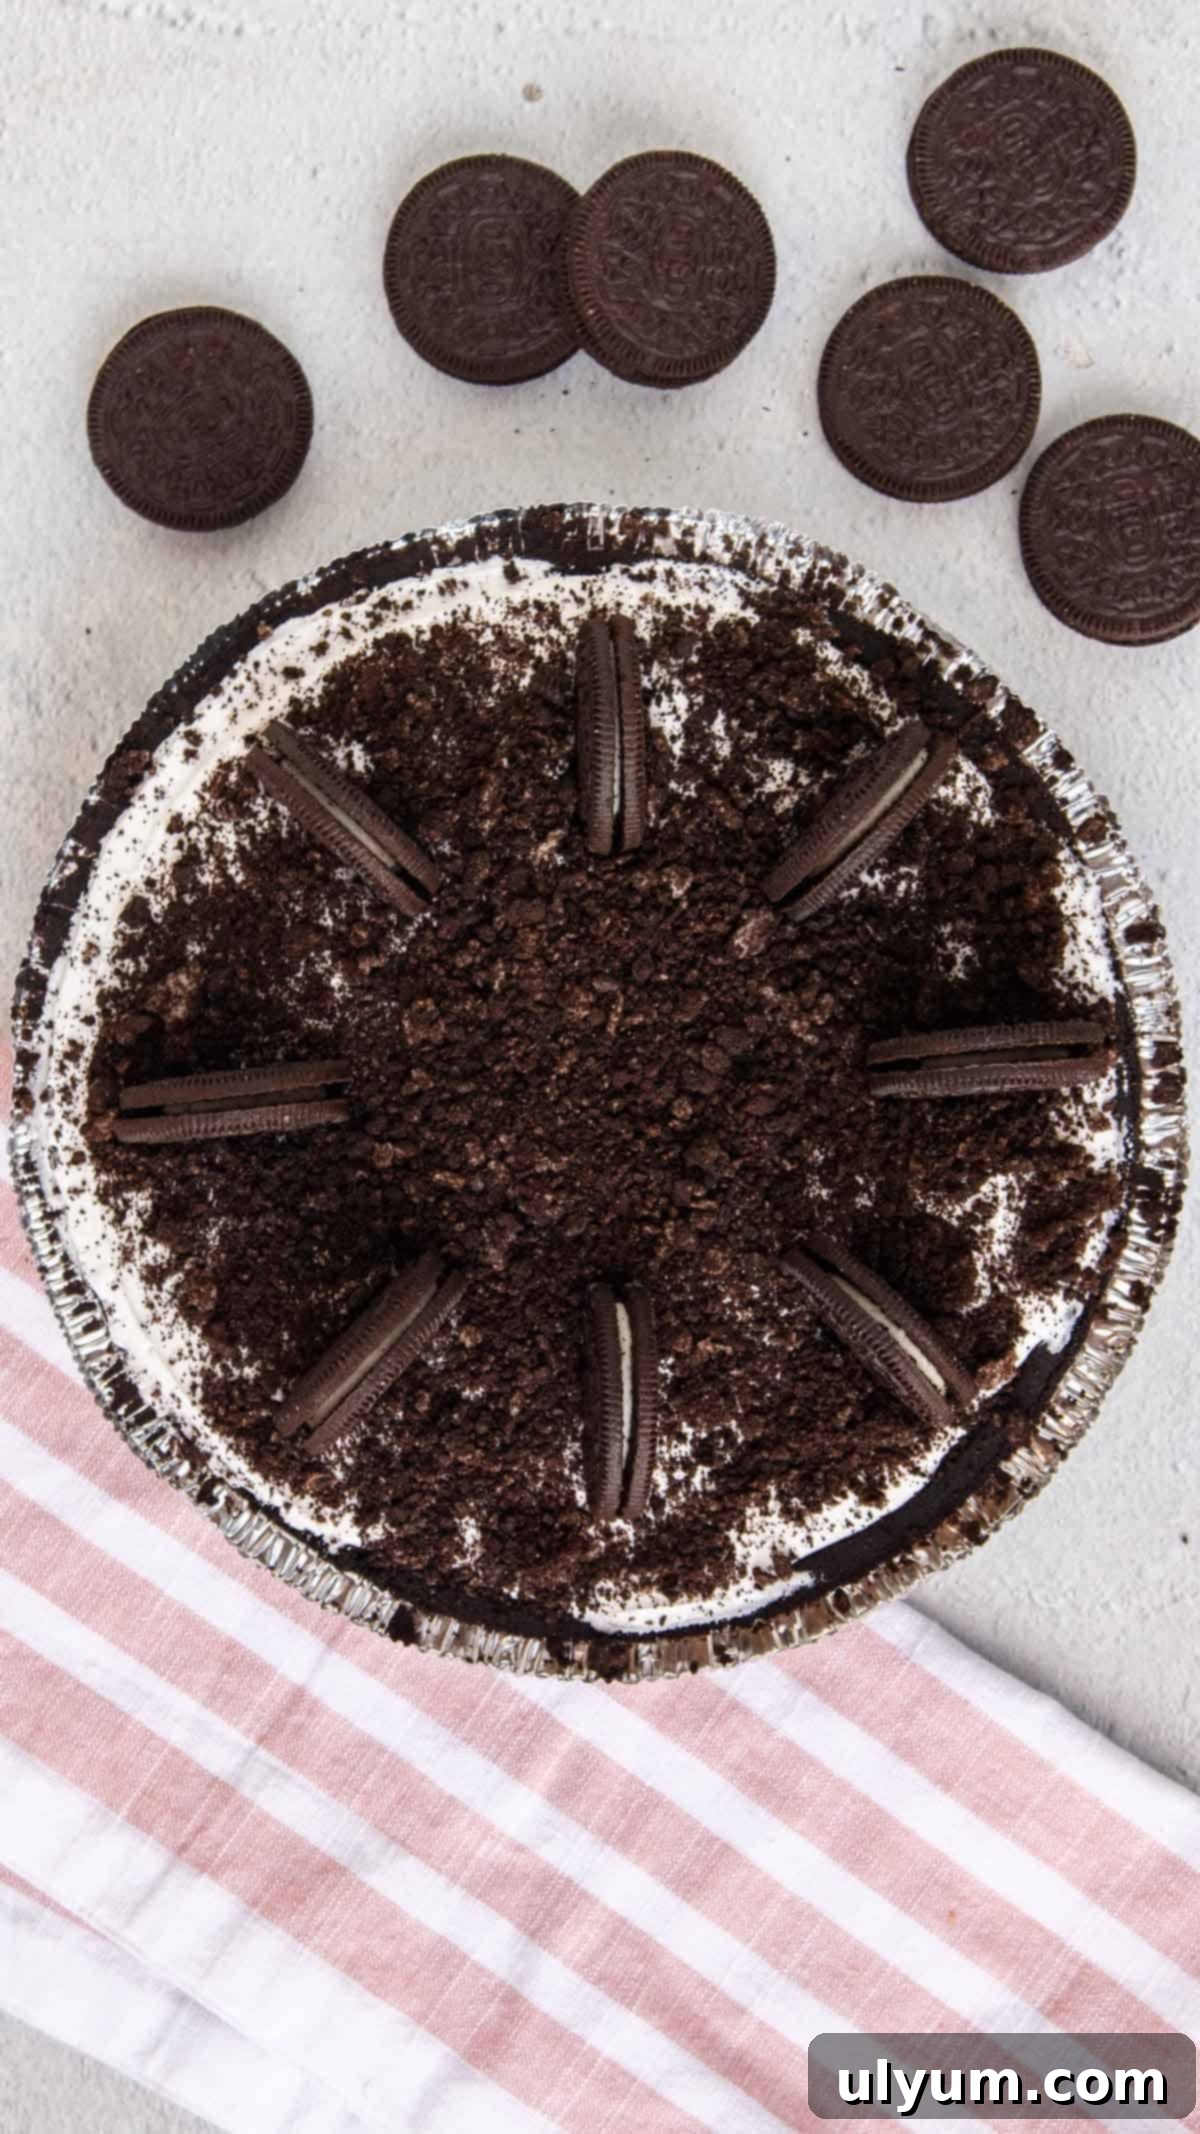
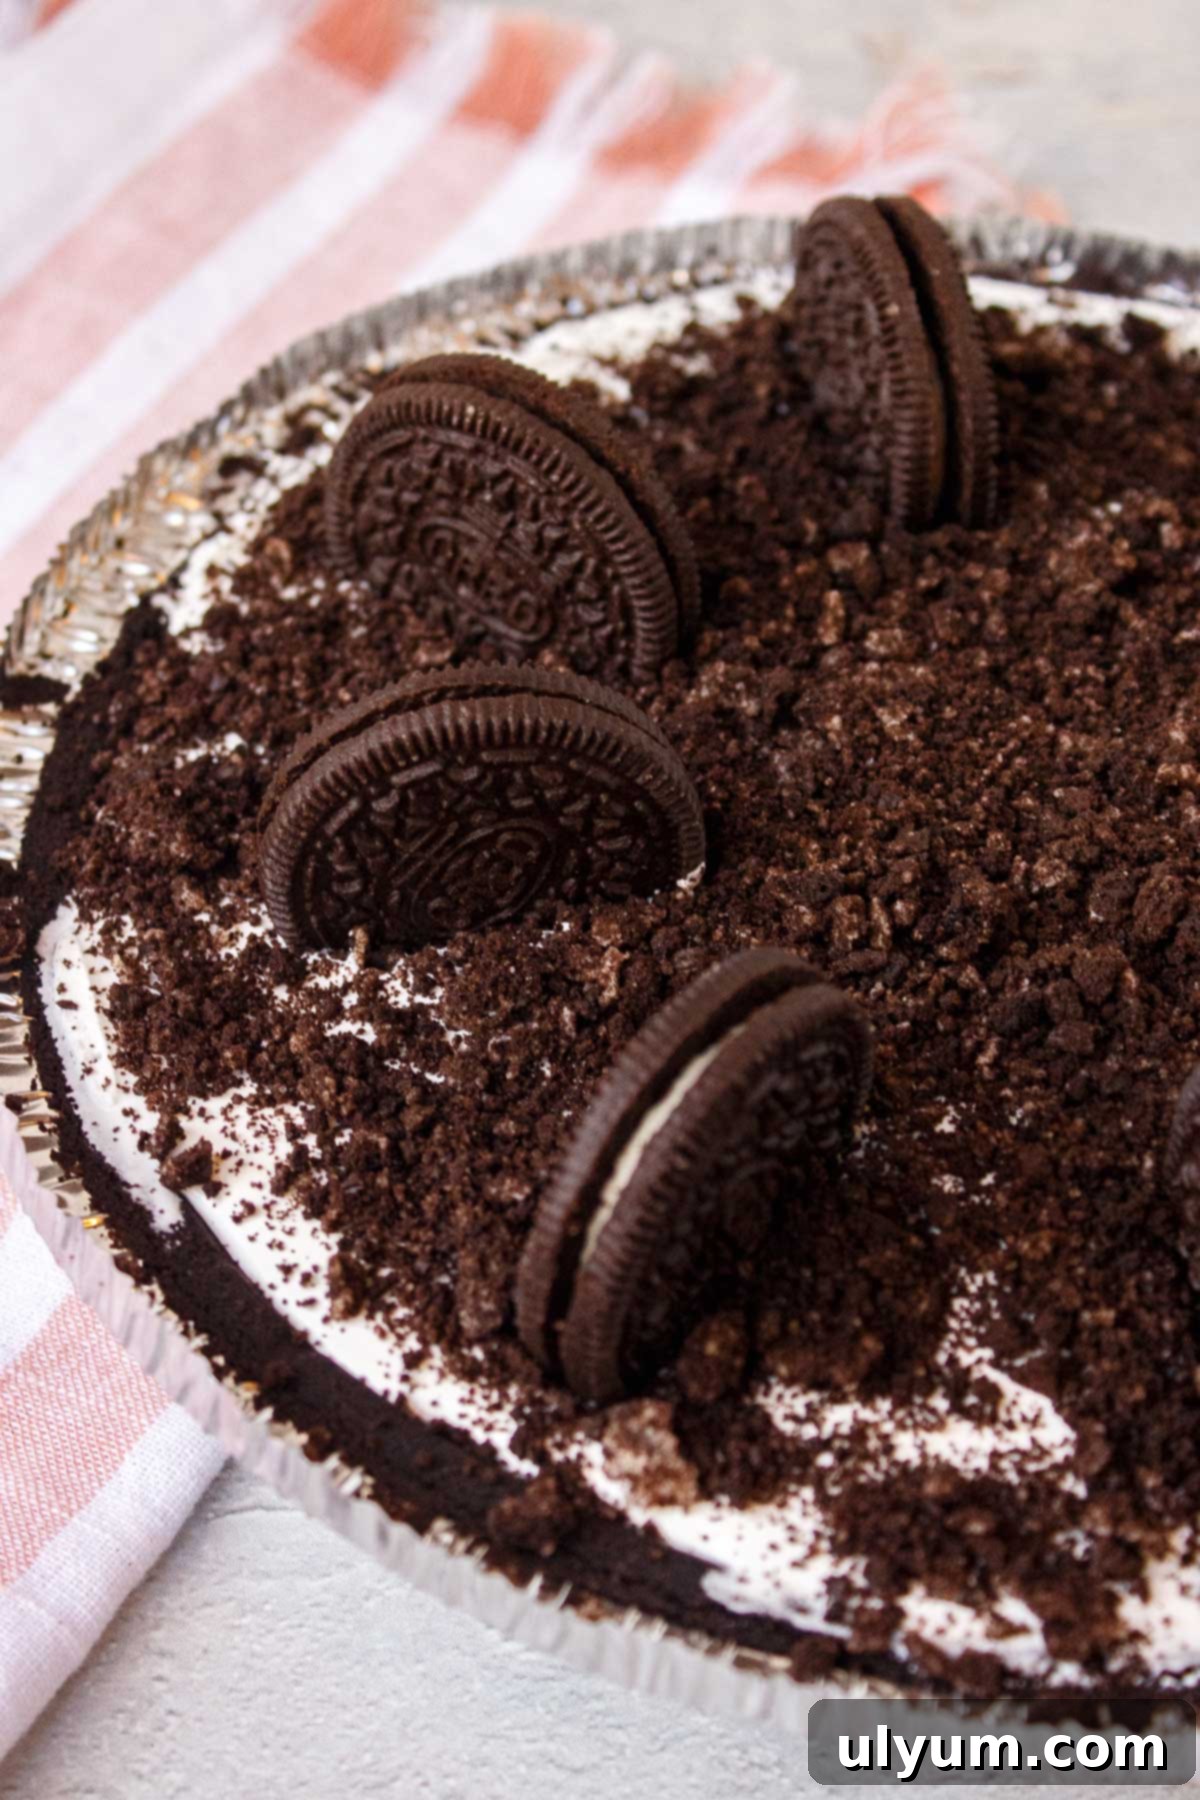
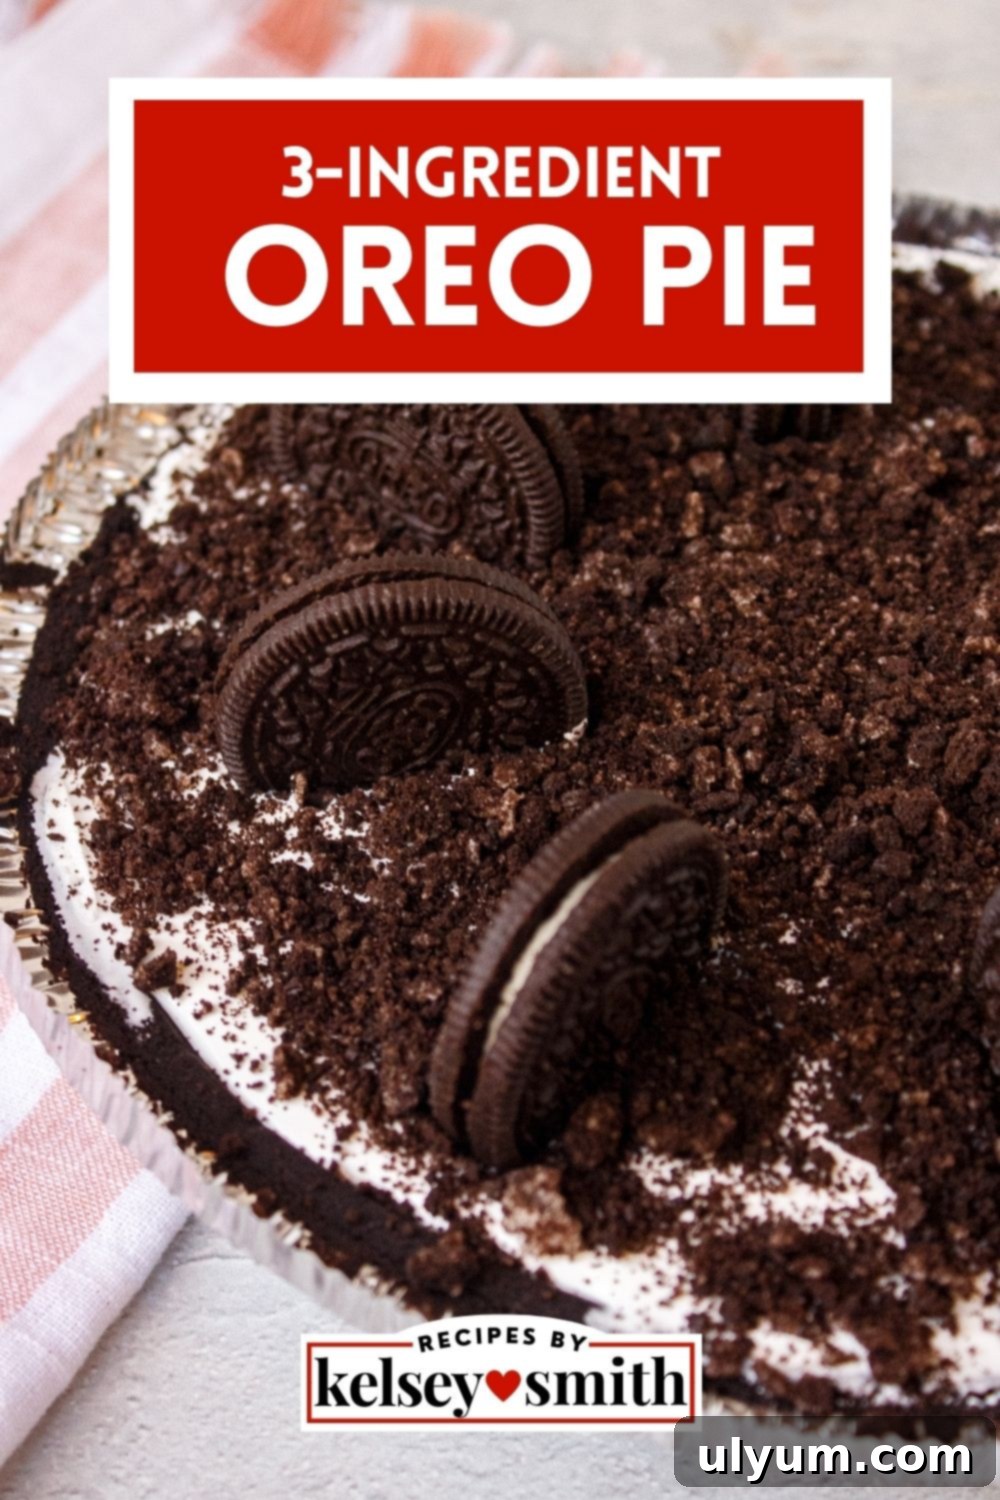
Step 5: Garnish and Serve. Just before you’re ready to serve your glorious Oreo pie, retrieve it from the freezer. Take 4 of the remaining 12 whole Oreos you set aside earlier and crush them into a chunky crumble. Sprinkle these chunky crumbs generously over the entire top of the pie. Finally, arrange the remaining 8 whole cookies evenly spaced around the pie, ensuring that each slice can boast a complete Oreo on top for that extra touch of perfection. Slice, serve, and enjoy!
Pro Tip for Success: Don’t fret about the whipped topping making the cookie crumb mixture soggy. This recipe is designed to hold up incredibly well in the freezer, making it the perfect make-ahead dessert for any occasion. The freezing process solidifies the filling and locks in the textures beautifully. For the best slicing experience, allow the pie to sit at room temperature for 5-10 minutes before cutting, especially if serving directly from the freezer.
Creative Substitutions for Your Oreo Pie
While this 3-ingredient Oreo pie is fantastic as is, its simple nature makes it incredibly versatile for customization. Don’t hesitate to experiment with these substitutions to tailor the pie to your taste preferences or dietary needs.
- Oreo Cookies: The world of Oreos is vast and delicious! Instead of classic original Oreos, let your imagination run wild. Try seasonal flavors like mint Oreos for a refreshing twist, or explore popular varieties like chocolate, toffee crunch, birthday cake, or red velvet Oreos for a different flavor profile. Golden Oreos offer a delightful vanilla alternative if you prefer a lighter, non-chocolate cookie base. Each flavor will create a unique and exciting pie experience!
- Cool Whip Alternatives: While Cool Whip is convenient and effective, you have other options for your whipped topping. Any brand of frozen whipped topping will work perfectly (regular, fat-free, or lite). For those seeking a richer, more homemade taste, you can whip up your own heavy cream with a touch of powdered sugar and vanilla extract. For vegan or dairy-free guests, opt for a coconut whipped topping or another plant-based whipped cream alternative – just ensure it’s thick enough to hold its shape.
- Pie Crust Variations: If a store-bought Oreo cookie crust isn’t available or you simply want to try something different, there are several delicious substitutes. A regular chocolate pie crust will maintain a similar flavor profile. Alternatively, a classic graham cracker pie crust offers a lovely contrasting flavor. For a truly homemade touch that still keeps it simple, consider making your own 3-ingredient Oreo pie crust from crushed Oreos and melted butter. This provides a more robust and customized base.
Essential Equipment for a Smooth Process
While this recipe is incredibly simple, having the right tools can make the preparation even more seamless. You likely have most of these items in your kitchen already, but here’s a quick rundown of what will be most helpful:
- Large Mixing Bowl: This is essential for comfortably combining your crushed Oreos and Cool Whip to create that creamy, dreamy filling without any spills.
- Food Processor: While optional, a food processor is highly recommended for quickly and efficiently crushing your Oreo cookies into fine crumbs. This ensures a smooth texture for your pie filling. If you don’t have one, a sturdy Ziploc bag and a rolling pin will work just fine for a more hands-on approach.
- Spatula or Spoon: For mixing the ingredients and spreading the filling and topping evenly into the pie crust.
- Measuring Cups/Spoons (optional): While the recipe provides quantities, having these on hand is good for precision, though for 3 ingredients it’s often visual.
Storing Your No-Bake Oreo Pie
One of the many benefits of this no-bake Oreo pie is its excellent storage capabilities, making it a perfect make-ahead dessert. Proper storage also allows you to enjoy different textures from your pie.
This pie is best enjoyed within 3 to 5 days of preparation. To maintain its freshness and deliciousness, ensure it’s always covered tightly. You can use the original plastic lid from the pie crust or wrap it thoroughly with plastic wrap, then an extra layer of aluminum foil, to prevent freezer burn or absorption of other food odors.
For an Ice Cream Pie Consistency: Store the covered pie in the freezer. When you’re ready to serve, you might want to let it sit at room temperature for 5-10 minutes before slicing to allow it to soften slightly, making it easier to cut into perfect pieces.
For a Mousse-Like Consistency: If you prefer a softer, lighter texture, transfer the covered pie from the freezer to the refrigerator a few hours before serving, allowing it to thaw. This will give it a delightful, airy mousse-like quality that’s equally delicious.
No matter how you store or serve it, this Oreo pie is designed for convenience and deliciousness from start to finish!
Frequently Asked Questions About 3-Ingredient Oreo Pie
Got questions about this super simple and delicious Oreo pie? We’ve got answers! Here are some of the most common inquiries to help you master this no-bake dessert.
This incredibly simple 3-ingredient Oreo pie is primarily made with classic Oreo cookies, creamy Cool Whip whipped topping, and a convenient store-bought Oreo pie crust. That’s it!
Yes, you absolutely can! If you prefer a richer, more homemade taste, you can whip heavy cream with a bit of powdered sugar and vanilla extract until stiff peaks form. Just keep in mind that homemade whipped cream might not hold its shape as firmly as Cool Whip when frozen and might weep a little more if thawed completely in the refrigerator.
For the best results, this pie needs to freeze for at least 2 hours. This ensures the filling sets properly and achieves that delightful, firm consistency, whether you plan to serve it frozen like an ice cream pie or chilled later.
Certainly! While a store-bought crust adds to the “3-ingredient” simplicity, making your own is easy. Just crush about 25-30 Oreo cookies (with filling), mix them with 4-6 tablespoons of melted butter, press the mixture into a pie dish, and chill for 30 minutes before adding the filling.
If you use gluten-free Oreo cookies and a gluten-free pie crust (some brands offer this), then yes, this pie can be made gluten-free. Always check the labels of all your ingredients to ensure they meet your dietary requirements.
📖 Recipe

Pin Recipe
Save RecipeSaved!
Email
Print
3-Ingredient Oreo Pie
Equipment
-
Food processor
-
Large mixing bowl
Ingredients
- 14.3 ounce package of Oreo cookies divided
- 16 ounces Cool Whip Original Whipped Cream Topping thawed and divided
- 1 Oreo pie crust
Instructions
-
Set 12 whole Oreos to the side for later. Crush the rest of the Oreos with a rolling pin or process in a food processor until they become fine crumbs.
-
In a medium mixing bowl, stir together the Oreo crumbs with half of the thawed Cool Whip to create the pie filling.
-
Transfer the Oreo Cool Whip mixture to the Oreo cookie pie crust, spreading it out evenly.
-
Top the pie with the remaining Cool Whip, spreading it evenly to the edge. Cover and freeze for 2 hours.
-
Just before serving, crush 4 of the remaining Oreos into a chunky crumble and sprinkle them over the pie. Top the pie with the 8 remaining cookies, evenly spacing them so each slice has a full cookie on top.
Video
Notes
Nutrition
We hope you enjoy this incredibly simple yet utterly delicious 3-ingredient Oreo pie. It’s a perfect solution for satisfying your sweet tooth without spending hours in the kitchen. Whether you’re making it for a special gathering, a casual family dessert, or just a personal treat, its rich flavors and creamy texture are sure to impress. Don’t forget to experiment with different Oreo flavors for a new experience every time!
Happy dessert making, and enjoy every delightful bite of your homemade no-bake Oreo pie!
