Ultimate Homemade S’mores Macarons Recipe: A Detailed Guide to Perfection
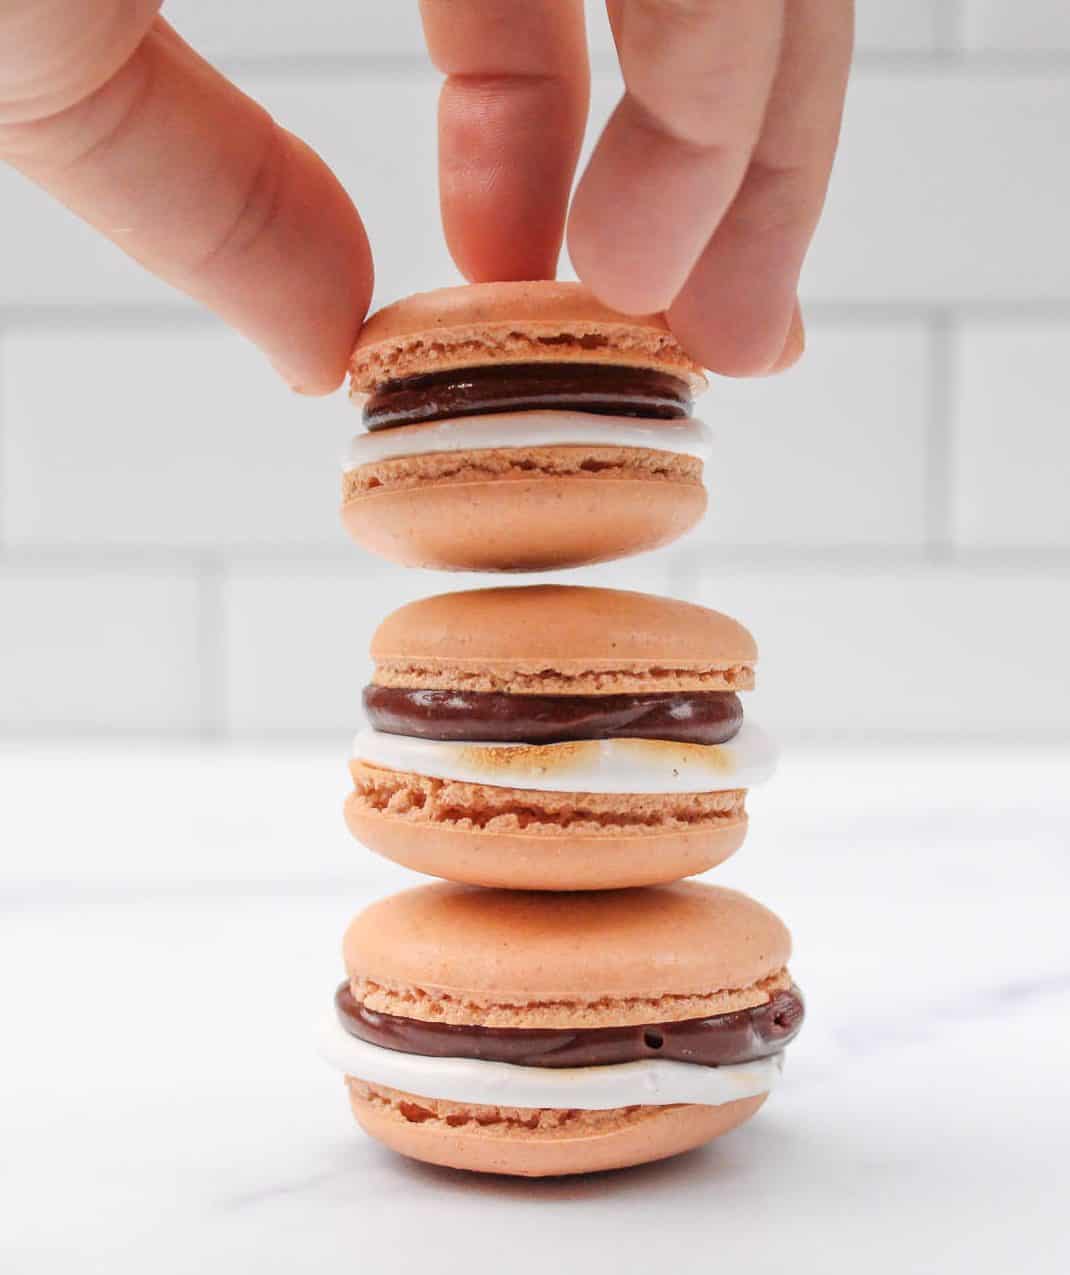
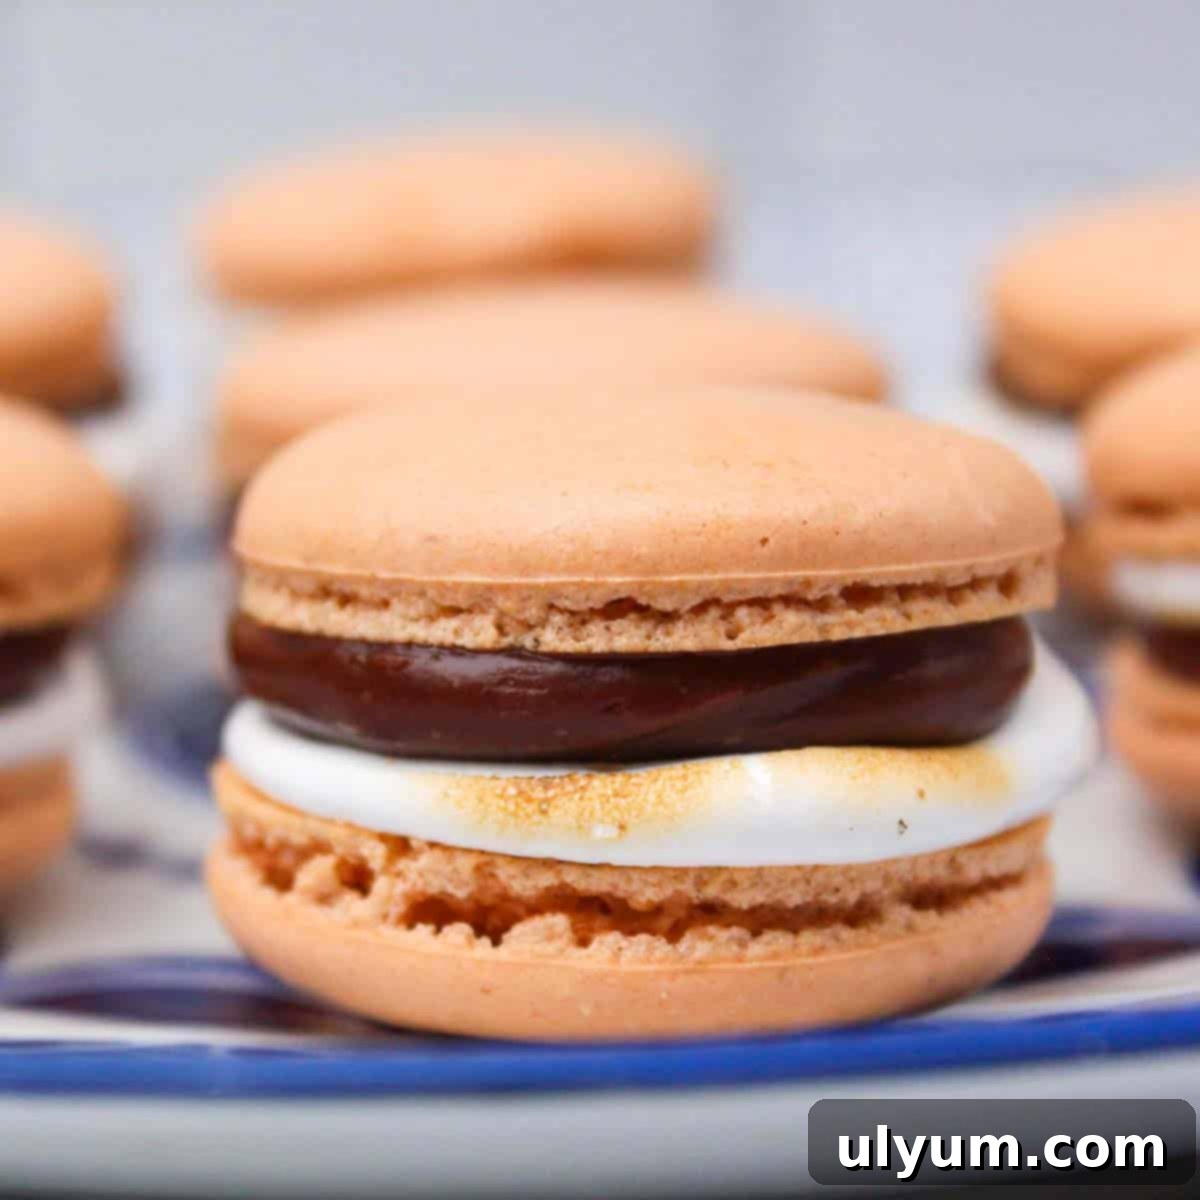
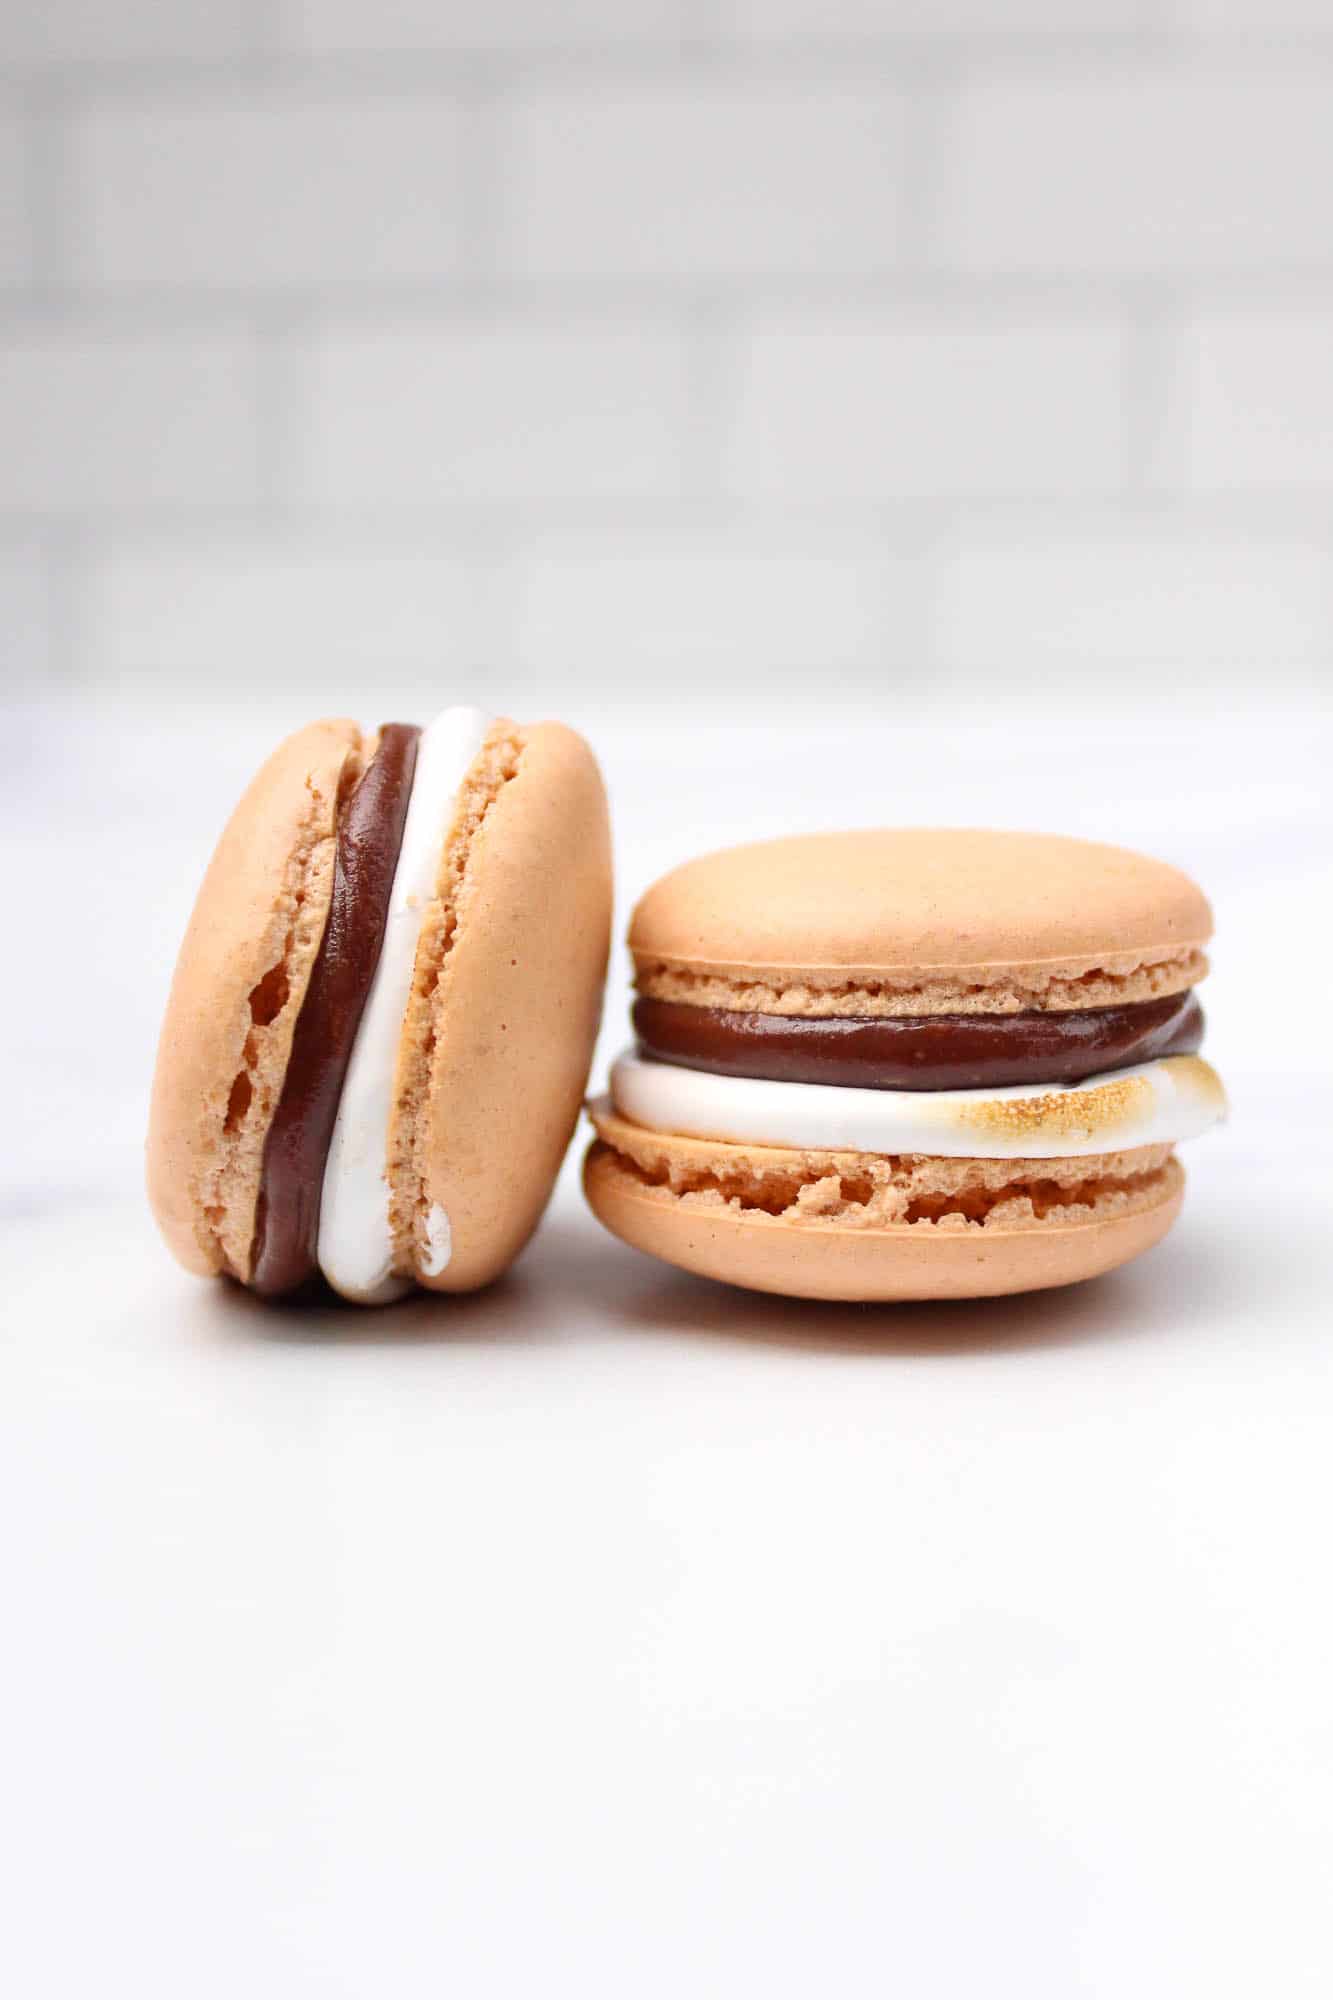
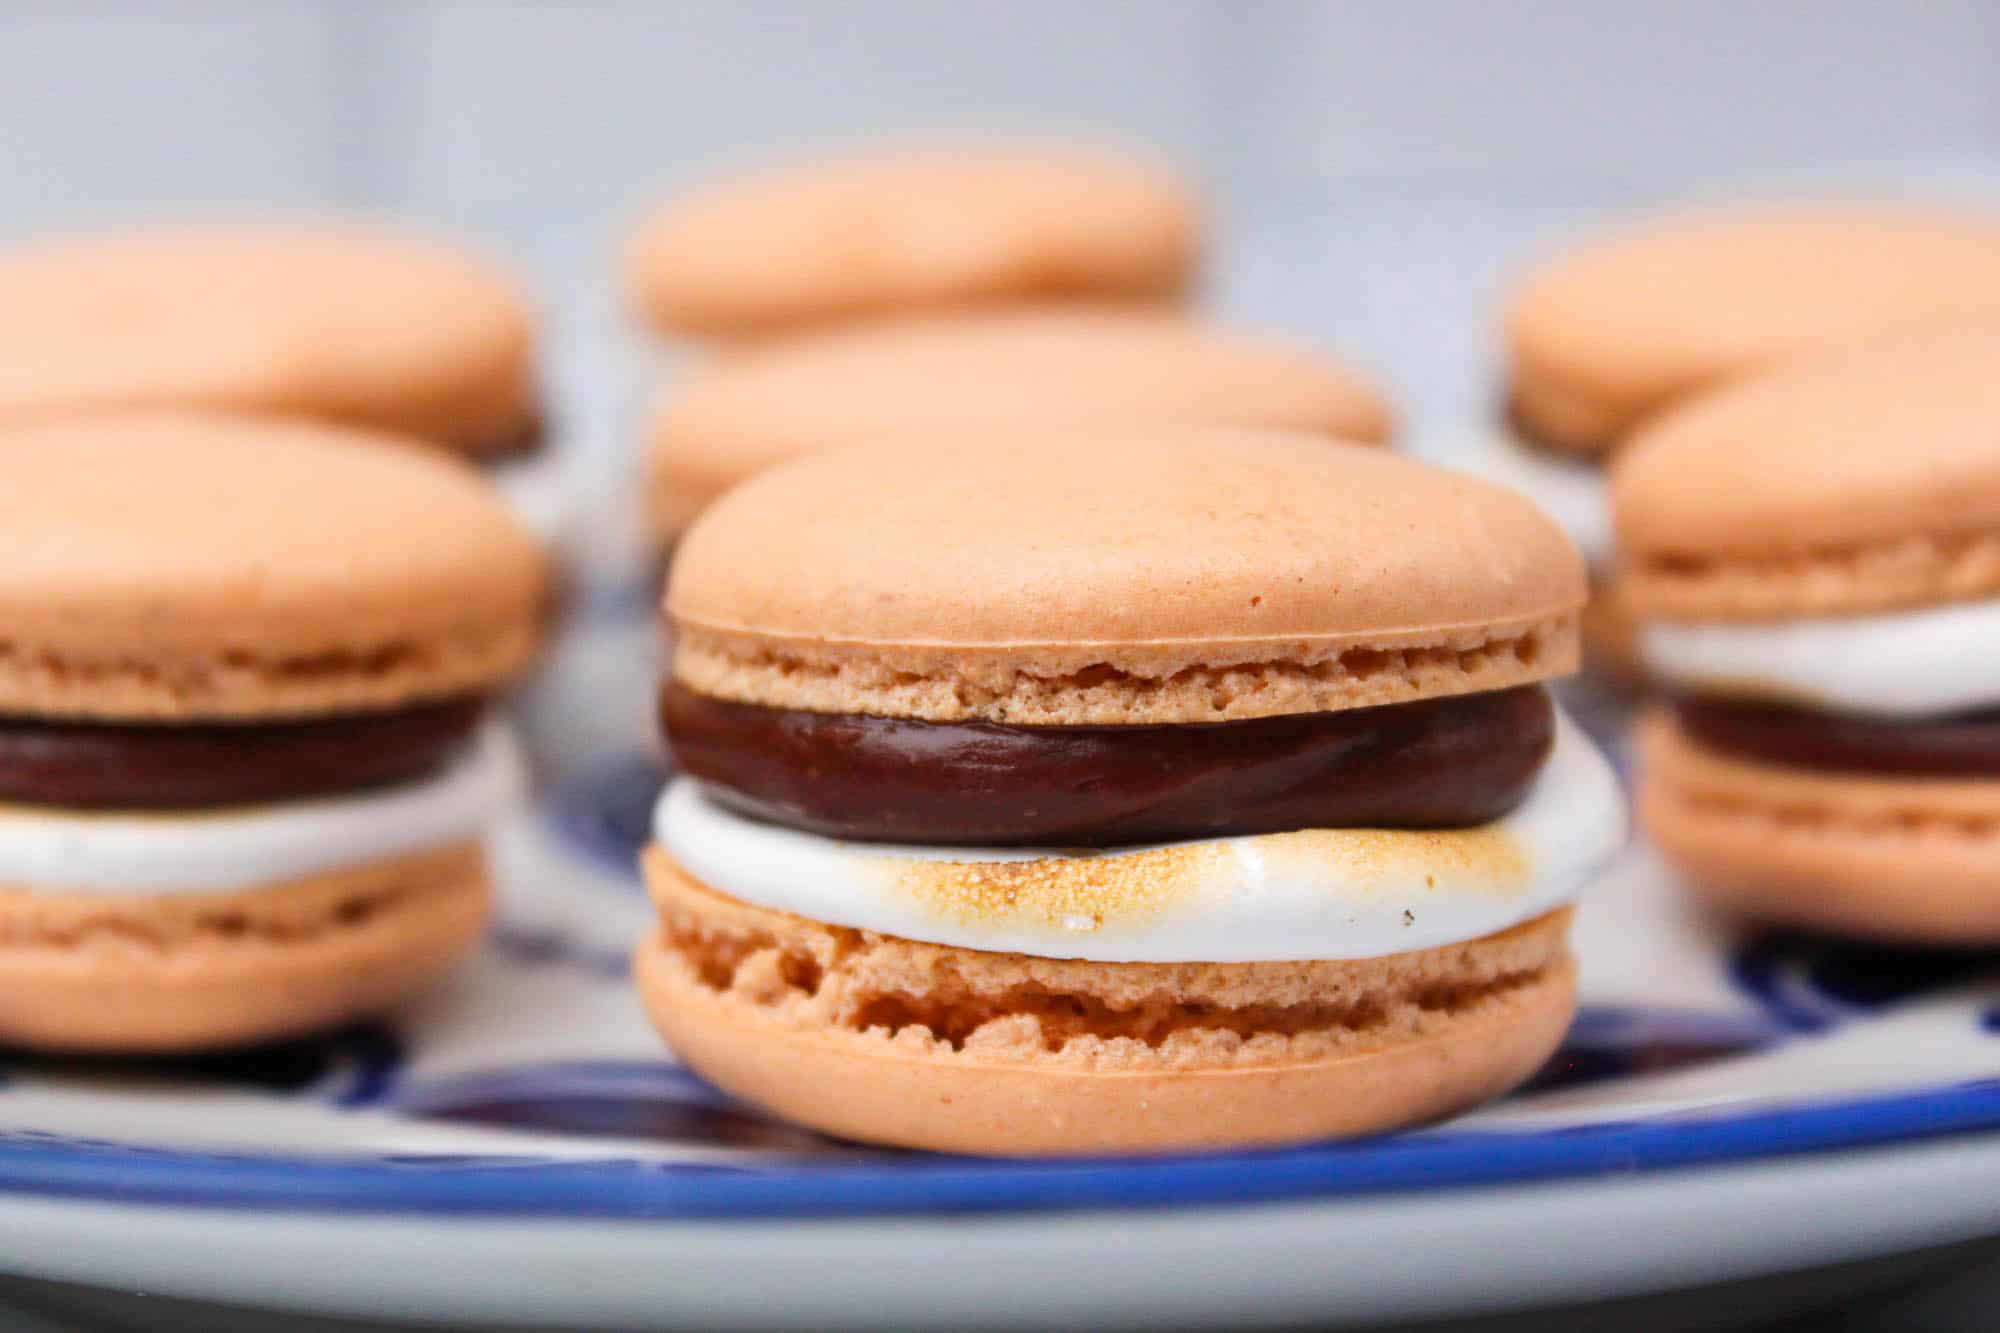
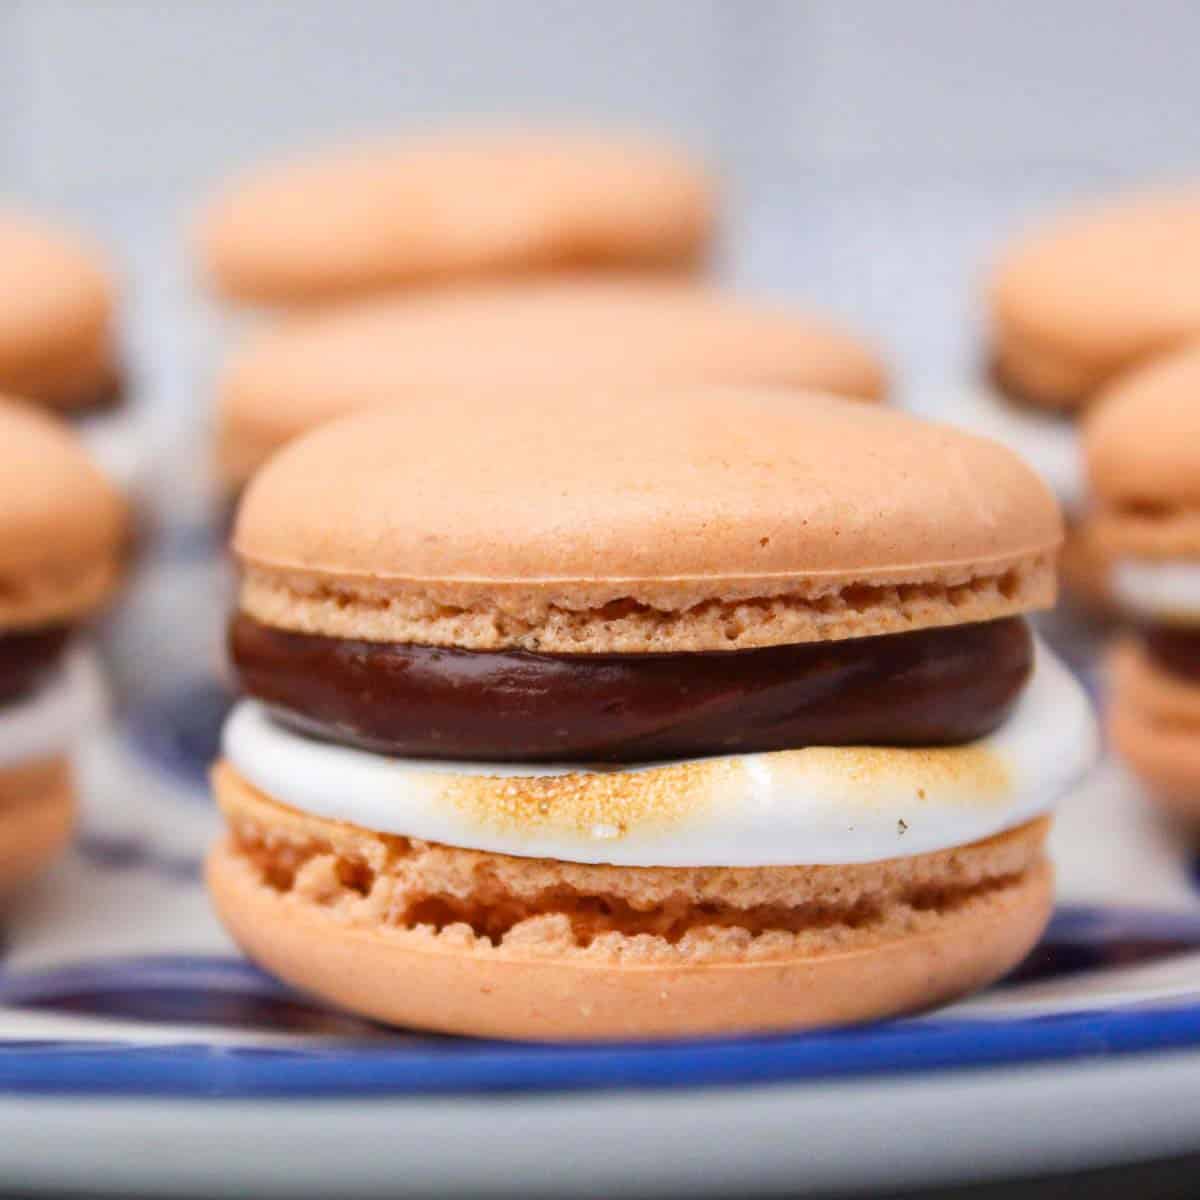
Prepare to amaze your friends and family with these exquisite homemade S’mores Macarons. This recipe delivers a delightful twist on the classic campfire treat, transforming it into an elegant French delicacy. Each macaron features a perfectly crisp graham cracker shell, a velvety smooth homemade marshmallow fluff, and a rich, decadent chocolate ganache filling. The combination creates an unforgettable sweet experience that is both sophisticated and utterly comforting.
Macarons, those delicate and charming French sandwich cookies, are known for their distinctive “feet” and chewy interior. When infused with the beloved flavors of S’mores – toasted marshmallow, melted chocolate, and crunchy graham cracker – they reach a new level of culinary magic. This recipe is a true showstopper, guaranteed to impress anyone lucky enough to try them.
This fantastic recipe was originally developed by Liv for Cake, a talented Vancouver-based recipe developer. My sister skillfully prepared these macarons, and I had the pleasure of capturing their beauty through my lens. Their intricate details and tempting layers truly shine in the photographs.
If you’re eager to explore more macaron adventures, don’t miss these incredible fall macaron flavors or these cozy winter macaron recipes for seasonal inspiration.
Please note: This post contains affiliate links. As an Amazon affiliate, I earn a commission on qualifying purchases. This helps support the creation of more delicious recipes!
Why You’ll Love This S’mores Macaron Recipe: Key Highlights
These S’mores macarons aren’t just pretty; they’re a symphony of flavors and textures designed for maximum enjoyment and visual appeal. Here’s what makes this recipe truly special:
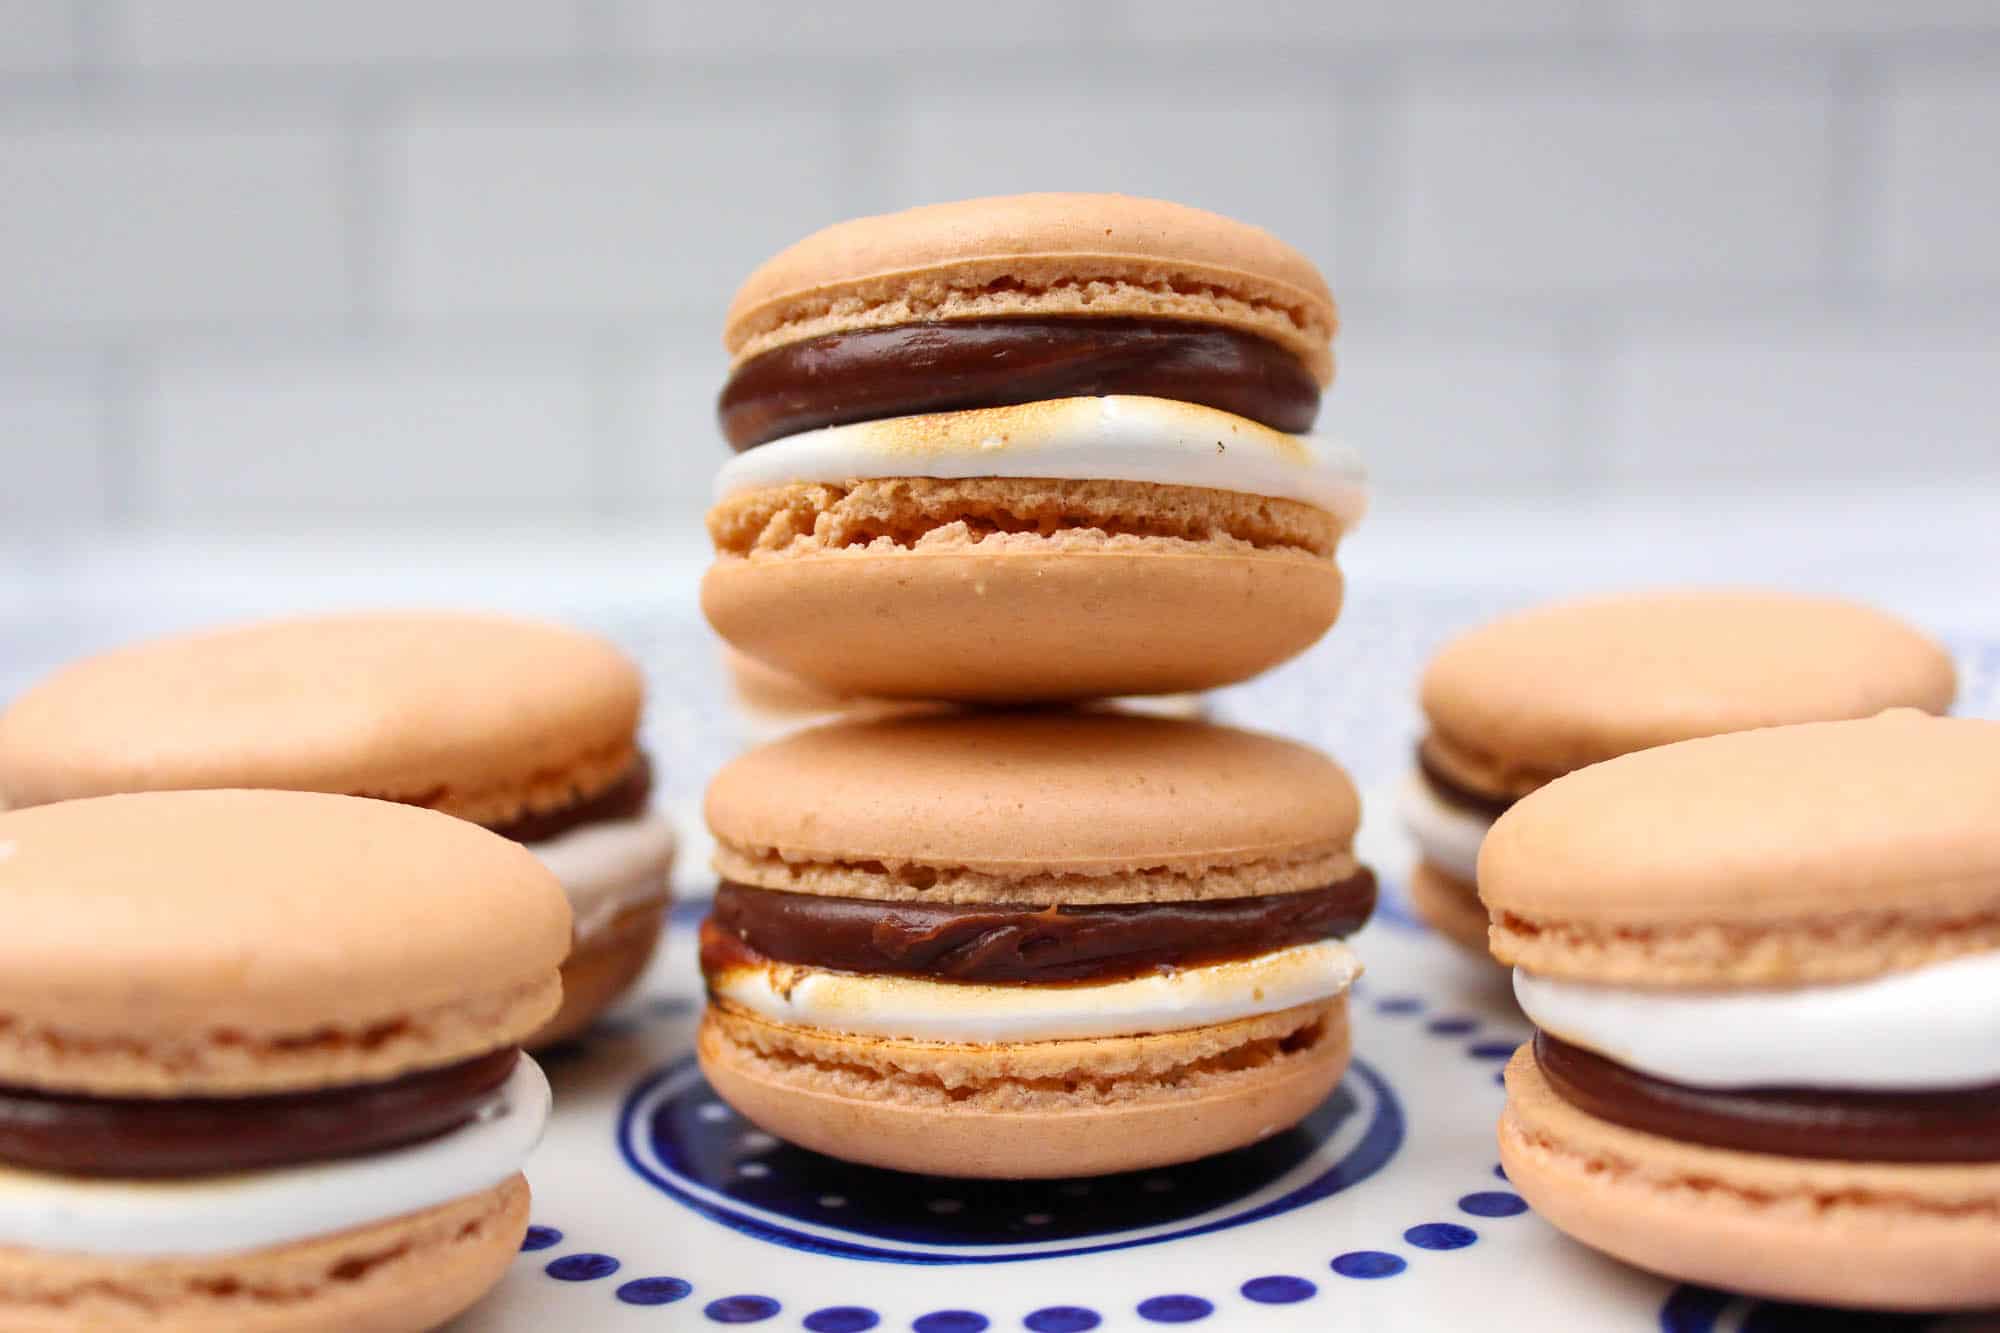
- Unique Graham Cracker Macaron Shells: Unlike traditional almond-only shells, ours are crafted with a blend of fine almond flour and crushed graham cracker crumbs. This innovative addition infuses each shell with that distinctive, slightly sweet, and subtly spiced graham cracker flavor, making them instantly recognizable as a S’mores component. The texture remains classic macaron-chewy, but with an added depth of flavor that truly sets them apart.
- Perfect Balance of Chocolate and Marshmallow: The filling is a harmonious duo of rich, homemade chocolate ganache and a light, airy marshmallow fluff. The chocolate ganache, made with high-quality milk or dark chocolate and heavy cream, offers a deep, indulgent flavor and a smooth, melt-in-your-mouth texture. Paired with the cloud-like, sweet homemade marshmallow fluff, it perfectly replicates the gooey, toasted marshmallow experience of a real S’more, but in a delicate macaron form.
- Visually Stunning: The natural brown hue from the graham crackers, optionally enhanced with food coloring, gives these macarons an authentic, rustic S’mores appearance. Once filled, they are not just a treat for the taste buds but also a feast for the eyes, perfect for special occasions or a fancy dessert spread.
[feast_advanced_jump_to]
Essential Ingredients for Your S’mores Macarons
Crafting perfect macarons requires precision, and selecting the right ingredients is the first crucial step. Here’s a detailed look at what you’ll need and why each component is vital for achieving the best results.
For the Graham Cracker Macaron Cookies
- Egg Whites (room temperature): This is perhaps the most critical ingredient. Room temperature egg whites whip up with more volume and stability, which is essential for a strong meringue. Ideally, “age” your egg whites by separating them a day or two in advance and letting them sit covered (with a few holes poked) in the fridge, then bring to room temp before use. This process reduces moisture, leading to stronger meringue.
- Granulated Sugar: Not just for sweetness, granulated sugar stabilizes the egg whites, creating a firm, glossy meringue. It’s incorporated gradually to ensure it dissolves completely, preventing a gritty texture.
- Almond Flour: This cannot be substituted with any other flour. Macarons are naturally gluten-free due to almond flour. Ensure it’s very fine almond flour, not almond meal, to achieve smooth shells. Sifting it multiple times is crucial.
- Graham Crackers (finely sifted crumbs): This is where the “S’mores” magic truly begins. Use high-quality graham crackers, crushed very finely in a food processor. Sifting these crumbs (along with the almond flour and powdered sugar) is paramount to prevent lumpy shells and ensure the signature smooth macaron top.
- Powdered Sugar (confectioner’s sugar): This contributes to the sweetness and texture of the macaron shells, providing a finer crumb than granulated sugar alone. Always sift it to remove any lumps.
- Brown Gel Food Coloring (optional): A touch of brown gel food coloring helps achieve that characteristic toasted graham cracker look. Gel coloring is preferred over liquid as it won’t add excess moisture to your batter.
For the Rich Chocolate Ganache
- Milk Chocolate (or dark chocolate): The choice between milk and dark chocolate depends on your preference for sweetness and intensity. Milk chocolate offers a classic S’mores sweetness, while dark chocolate provides a more sophisticated, less sweet contrast. Always use high-quality chocolate chips or finely chopped bars for the best melt and flavor.
- Heavy Whipping Cream: With a high-fat content, heavy cream creates a wonderfully creamy and stable ganache. Heating it to just boiling before pouring over the chocolate helps create a smooth, emulsified mixture.
For the Fluffy Marshmallow Fluff
- Marshmallow Fluff: You have two excellent options here: either use store-bought marshmallow fluff for convenience, or elevate your macarons with a homemade marshmallow fluff recipe. Homemade fluff often yields a superior texture and flavor, but store-bought is perfectly acceptable for busy bakers.
Detailed Directions for Perfect S’mores Macarons (with Pro Tips!)
Macarons have a reputation for being challenging, but with careful attention to these detailed steps and tips, you’ll be well on your way to success. Remember, practice makes perfect!
For the full, concise recipe card with exact measurements, scroll down below.
1. Preparing Your Egg Whites: The Foundation of Macarons
Begin by separating your egg whites carefully, ensuring absolutely no yolk gets into the whites. Place them in a clean glass bowl. To “age” them, cover the bowl with plastic wrap and poke a few small holes in the wrap. This allows some moisture to evaporate, resulting in more stable meringue. While some recipes suggest aging for several days, I found excellent results aging them overnight in the refrigerator. Before you’re ready to use them, bring them out and let them sit on the counter until they reach room temperature. This significantly aids in achieving maximum volume and stability when whipping.
2. Processing and Sifting Dry Ingredients: Smooth Shells are Key
Combine your almond flour, powdered sugar, and graham cracker crumbs in a food processor. Pulse them until the mixture is incredibly fine and almost begins to clump together. The finer your dry ingredients, the smoother your macaron shells will be. Next, sift this mixture through a fine-mesh sieve into a large bowl. Don’t discard the larger bits that remain in the sieve! Instead, return them to the food processor and process again. This ensures you capture all that delicious graham cracker flavor and avoid waste. Sift the entire mixture one more time to guarantee ultimate fineness. This double-sifting is crucial for preventing bumpy shells and ensuring the delicate “feet” develop properly.
3. Mastering the Meringue: Stiff Peaks for Success
The meringue is the heart of your macaron. Begin whipping the room-temperature egg whites in a stand mixer on medium-low speed until they form a loose foam. Gradually increase the speed to medium, slowly adding the granulated sugar, about a tablespoon at a time, allowing it to fully dissolve before adding more. Continue whipping until you achieve stiff meringue. A helpful visual cue I learned from countless videos is to look for a “bird’s beak” when you lift the whisk. The meringue should be firm, glossy, and hold its shape, with a very slight curve at the tip of the peak. If desired, incorporate a small amount of ivory and warm brown gel food coloring at this stage, blending until evenly distributed. Be careful not to over-whip, as this can lead to brittle shells.
4. The Art of Macaronage: Achieving the Perfect Consistency
This step, known as macaronage, is where many bakers face challenges, but it’s easily mastered with practice and patience. Gently fold one-third of your sifted dry mixture into the stiff meringue using a spatula. Once partially incorporated, add the remaining dry ingredients. Continue folding using a “cut and fold” motion, scraping down the sides of the bowl. The goal is to reach a specific consistency: a lava-like or honey-like flow. When you lift your spatula, the batter should fall off in a continuous, ribbon-like stream, slow enough that you can draw a figure 8 with it without the stream breaking. Crucially, the batter in the bowl shouldn’t immediately sink back into itself; it should take approximately 20 seconds for the “figure 8” to disappear. Undermixing results in lumpy shells, while overmixing leads to a runny batter that won’t hold its shape or develop feet.
5. Piping Macarons and Preparing for Drying
Transfer your perfectly mixed macaron batter into a piping bag fitted with a 1A round piping tip. If you don’t have a piping bag, a gallon-sized zipper bag with a corner snipped off will work in a pinch. Pipe uniform 1½-inch circles onto your prepared baking sheets. For superior “feet” and even baking, I highly recommend using a Silpat mat (silicone baking mat). These mats are excellent for even heat distribution and easy release, leading to consistently beautiful macaron feet. Amazon also offers a reliable Amazon brand version. If using parchment paper, you can secure it to the baking tray with a small dab of macaron batter in each corner to prevent it from shifting, though it might not yield results as consistently perfect as a Silpat.
6. Eliminating Air Bubbles and Drying the Shells
Once piped, firmly whack your baking tray on the counter a couple of times. Rotate the tray 90 degrees and whack it again. Repeat this two more times. This helps to release any trapped air bubbles, which can cause hollow or cracked shells. Use a toothpick to gently pop any remaining visible air bubbles. Now, let the piped macaron shells dry at room temperature for at least one hour, or until they form a delicate skin. You’ll know they’re ready when they are no longer sticky to the lightest touch and their shiny surface has become matte. This “curing” process is essential for the formation of the distinctive macaron “feet” during baking. Drying time can vary based on humidity levels; on humid days, it might take longer.
7. Baking and Cooling: The Final Steps to Macaron Shells
Preheat your oven to 300°F (150°C). It’s crucial to have an accurate oven temperature, so if you suspect your oven runs hot or cold, consider using an oven thermometer. Bake your first tray of macarons for 15 minutes. If you have more shells, subsequent trays might require slightly longer due to residual oven heat; for example, my second tray with more shells needed 17 minutes. A vital tip: Never bake multiple trays of macarons at once. This can lead to uneven baking and inconsistent results. Macarons are done when their “feet” are fully developed, and the shells feel firm and don’t wiggle when gently touched. Once baked, let the cookies cool completely on the baking sheet before attempting to remove them. This allows them to fully set and prevents breakage.
Essential Equipment for Macaron Making
Having the right tools can make a significant difference in your macaron journey, turning a potentially frustrating experience into a smooth and enjoyable one. Here’s the key equipment you’ll need:
- Food Processor: Absolutely essential for grinding your almond flour and graham cracker crumbs to an ultra-fine powder. This ensures a smooth macaron shell without gritty bits.
- Stand Mixer (or Hand Mixer): While a good hand mixer can work, a stand mixer is highly recommended for whipping egg whites into a consistently stiff meringue without tiring your arm. The power and hands-free operation are invaluable.
- Silicone Baking Mat (Silpat): These are game-changers for macarons. They provide an ideal non-stick surface, promote even baking, and are fantastic for developing those coveted macaron “feet.” Parchment paper can be used but might not give the same consistent results.
- Kitchen Scale: For macaron success, precise measurements are non-negotiable. A digital kitchen scale is crucial for weighing your ingredients accurately.
- Fine-Mesh Sieve: Essential for sifting your dry ingredients (almond flour, powdered sugar, graham cracker crumbs) multiple times to ensure the smoothest batter and shells.
- Piping Bags and Round Piping Tip (1A or similar): For piping uniform macaron shells. Using a consistent tip size helps ensure your macarons are all the same size for easy pairing.
- Rubber Spatula: For the delicate folding process of macaronage. A good quality, flexible spatula is key to mixing without deflating the meringue.
Troubleshooting Common Macaron Problems
Macarons can be finicky, but most issues have straightforward solutions. Don’t be discouraged if your first batch isn’t perfect!
- Hollow Macarons: This is a common issue. It often indicates over-mixing the batter (macaronage), baking at too low a temperature, or not sufficiently drying the shells. Ensure your meringue is stiff, your macaronage is just right (the ‘lava’ consistency), and your shells are dry to the touch before baking.
- Cracked Tops: This usually points to insufficient drying time or trapped air bubbles. Make sure you firmly tap the trays to release air, and let the shells rest until a skin forms.
- No “Feet”: The “feet” are the ruffled edge at the bottom of the shell. Lack of feet can be due to undermixed batter, baking at too low a temperature, or shells not being dried enough. Revisit your macaronage technique and ensure your oven temperature is accurate.
- Sticky Bottoms: This often means the macarons were underbaked. Try increasing your baking time by a minute or two, or slightly raising the oven temperature next time. They should easily lift off the mat once cooled.
- Lopsided Macarons: An uneven oven temperature, a warped baking sheet, or uneven piping can cause this. Rotating your baking sheet halfway through baking can help, and always use flat, sturdy baking sheets.
Storing Your Delicious S’mores Macarons
Once assembled, S’mores macarons are best enjoyed within a few days for optimal freshness and texture. They need time to “mature” in the fridge, allowing the flavors of the filling to meld with the shells, resulting in a perfectly chewy texture.
- Refrigeration: Store finished macarons in an airtight container in the refrigerator for up to 3-5 days. The shells will soften slightly over time, which is desirable for the classic macaron chew.
- Freezing: Macarons freeze beautifully! Place assembled macarons in a single layer in an airtight container, separating layers with parchment paper. Freeze for up to 1 month. Thaw them in the refrigerator overnight before serving.
- Best Enjoyed: For the best texture and flavor, bring refrigerated macarons to room temperature for 15-30 minutes before serving.
📖 Recipe
Pin Recipe
Save RecipeSaved!
Email
Print
S’mores Macarons Recipe
Equipment
-
Food processor
-
Mixer
-
Silicone baking mat
Ingredients
S’mores Macaron Cookies
- 120 g egg whites room temperature
- 130 g granulated sugar
- 115 g almond flour
- 40 g graham cracker crumbs finely sifted
- 110 g powdered sugar
- brown gel food color optional
Chocolate Ganache
- 200 g milk chocolate
- 100 g heavy whipping cream
Marshmallow Fluff
homemade marshmallow fluff
Instructions
S’mores Macaron Cookies
-
Line your baking sheets with a silicone baking mat for best results.
-
In a food processor, combine the almond flour, powdered sugar, and graham cracker crumbs. Process until the mixture is very fine and begins to clump. Sift the mixture through a fine-mesh sieve. Any larger bits remaining in the sieve should be re-processed and then sifted again, ensuring all dry ingredients are super fine.
-
Whip the room-temperature egg whites in a clean, grease-free bowl until they form a loose foam. Gradually add the granulated sugar, continuing to beat on medium-high speed until you achieve a stiff, glossy meringue. If using, add a small amount of brown gel food coloring and beat until fully incorporated and the desired color is reached.
-
Gently fold the dry ingredient mixture into the meringue in two additions, using a rubber spatula. Continue folding until the batter reaches the “lava” or “figure 8” consistency – it should flow slowly and continuously off the spatula.
-
Transfer the macaron batter into a piping bag fitted with a 1A round piping tip. Pipe 1½-inch circles onto the prepared baking sheet.
-
Firmly whack the baking sheet against your counter multiple times (rotate 90 degrees and whack after each rotation) to release any trapped air bubbles. Use a toothpick to pop any remaining visible bubbles.
-
Allow the piped macarons to dry at room temperature for approximately one hour, or until a skin forms and they are no longer sticky to the touch. While they dry, prepare your ganache and marshmallow fluff.
-
Preheat your oven to 300°F (150°C). Bake the macarons for 15-17 minutes, one tray at a time, until the “feet” are well-developed and the shells are firm. Let the cookies cool completely on the baking sheet before carefully removing them.
Chocolate Ganache
-
Finely chop the milk (or dark) chocolate and place it in a heatproof bowl.
-
In a small saucepan, heat the heavy whipping cream until it just begins to boil. Immediately pour the hot cream over the chopped chocolate. Do NOT stir at this point.
-
Cover the bowl with plastic wrap and let it sit undisturbed for 2 minutes. This allows the heat from the cream to melt the chocolate.
-
After 2 minutes, remove the plastic wrap and stir gently from the center outwards until the ganache is smooth and fully combined. Store in the fridge for about 30 minutes to an hour to allow it to firm up slightly to a pipeable consistency.
Marshmallow Fluff
-
For the marshmallow fluff, you can either use store-bought
marshmallow creme OR follow this homemade recipe for a truly authentic taste and texture.
To Assemble the S’mores Macarons
-
Match cooled macaron shells by size to create pairs. Pipe a thin, even layer of the set chocolate ganache onto the flat side of one macaron shell.
-
On top of the ganache, pipe a layer of marshmallow fluff into the center of the same cookie.
-
Gently place the second macaron shell on top, creating a sandwich. Twist slightly to secure the filling and distribute it evenly to the edges.
-
For the best flavor and texture, refrigerate the assembled macarons for at least 12-24 hours. This “maturation” time allows the filling to soften the shells, creating that signature chewy macaron experience.
Nutrition
Indulge in the S’mores Macaron Experience
These S’mores macarons are more than just a dessert; they’re an experience. They combine the playful nostalgia of a campfire classic with the sophisticated charm of French patisserie. While macarons require precision and patience, the reward of biting into these perfectly crafted, flavor-packed treats is immense. The crispy, flavorful graham cracker shells, the rich chocolate ganache, and the sweet, airy marshmallow fluff come together in a symphony of textures and tastes that will leave a lasting impression. Don’t be intimidated by the process; embrace the challenge, follow these detailed steps, and you’ll soon be enjoying these magnificent S’mores macarons. Happy baking!
