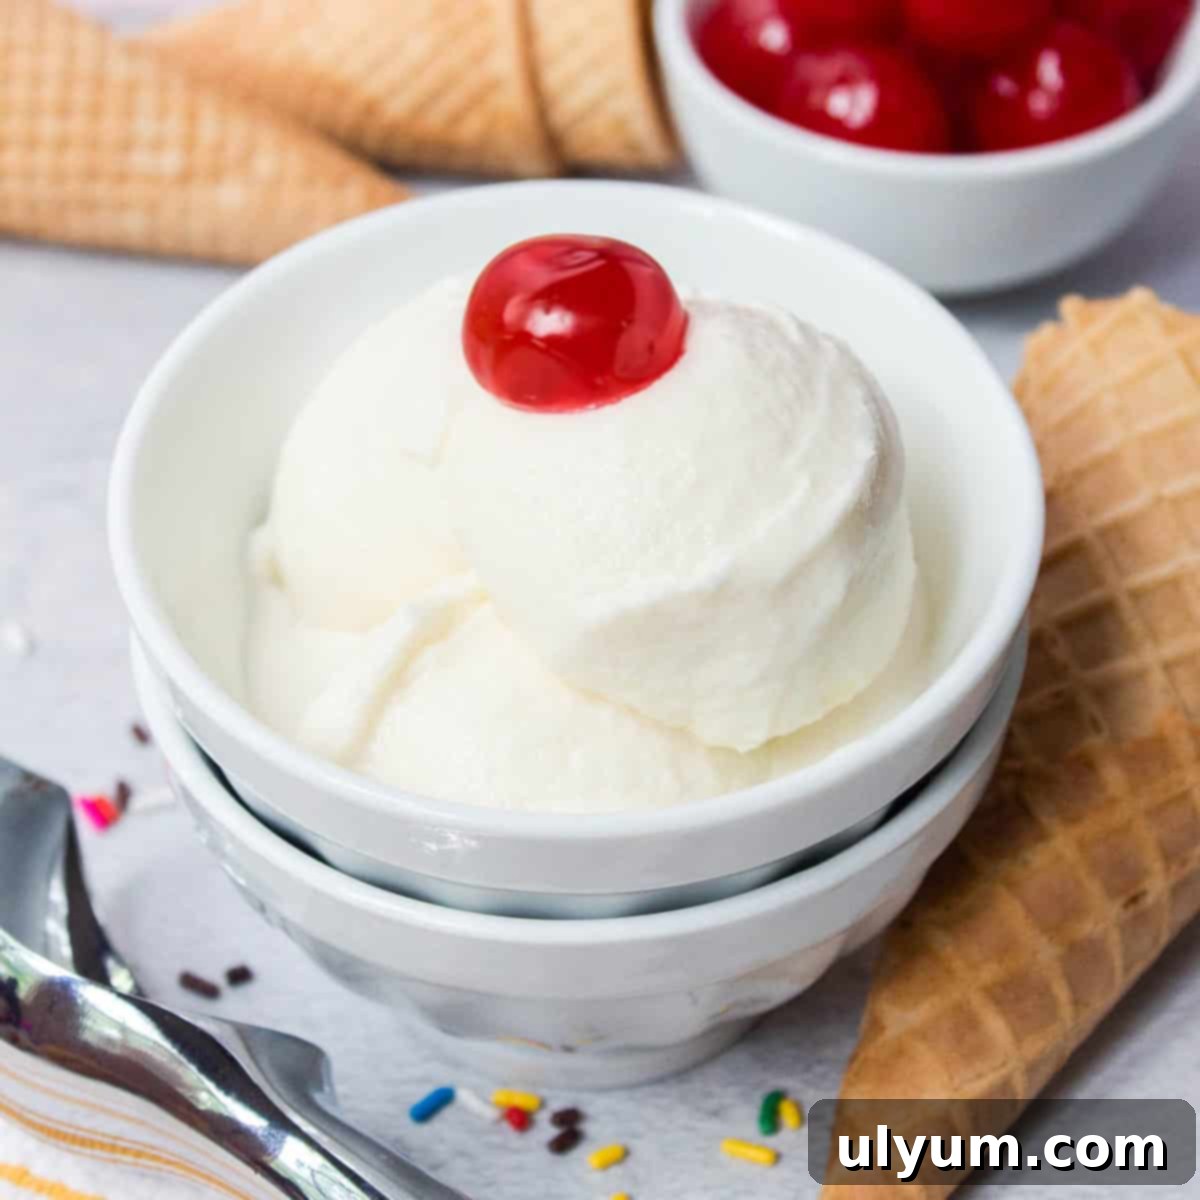
Indulge in Creamy Perfection: The Ultimate 5-Ingredient Ninja Creami Vanilla Ice Cream Recipe
Prepare yourself for an extraordinary treat that will revolutionize your dessert experience! This Ninja Creami vanilla ice cream recipe is a game-changer, delivering incredibly rich, smooth, and delicious homemade ice cream with astonishing simplicity. Forget complicated churners or store-bought alternatives; with just five basic ingredients – cream cheese, granulated sugar, vanilla extract, whole milk, and heavy cream – and your trusty Ninja Creami machine, you can create a classic vanilla delight that’s perfect for any occasion.
The secret to its unparalleled creaminess lies in the carefully balanced blend of cream cheese, whole milk, and heavy cream. This trio works in harmony to produce a luxurious texture that melts in your mouth, far exceeding the expectations of a simple homemade recipe. The generous infusion of vanilla and the perfect touch of sweetness from the sugar combine to create a timeless flavor profile, making this the ideal refreshing dessert to satisfy your sweet cravings, especially on a warm day.
Vanilla ice cream, by its very nature, is a versatile masterpiece. It serves as the quintessential blank canvas for endless flavor combinations and mix-ins, making it the perfect foundational recipe for your Ninja Creami ice cream maker. Unleash your creativity by adding your favorite toppings: from classic chocolate chips and crushed cookies to crunchy waffle cone pieces, toasted nuts, vibrant frozen berries, decadent chocolate syrup, or even a sprinkle of rainbow magic. The possibilities are truly boundless, allowing you to customize each pint to your heart’s desire.
Whether you own the standard 16-ounce Creami pint or the larger 24-ounce Deluxe model, this recipe has you covered. The precise ingredient quantities for both sizes are detailed in the recipe card below, ensuring perfect results every time, regardless of your Ninja Creami model.
This post contains affiliate links. As an Amazon Associate, I earn from qualifying purchases.
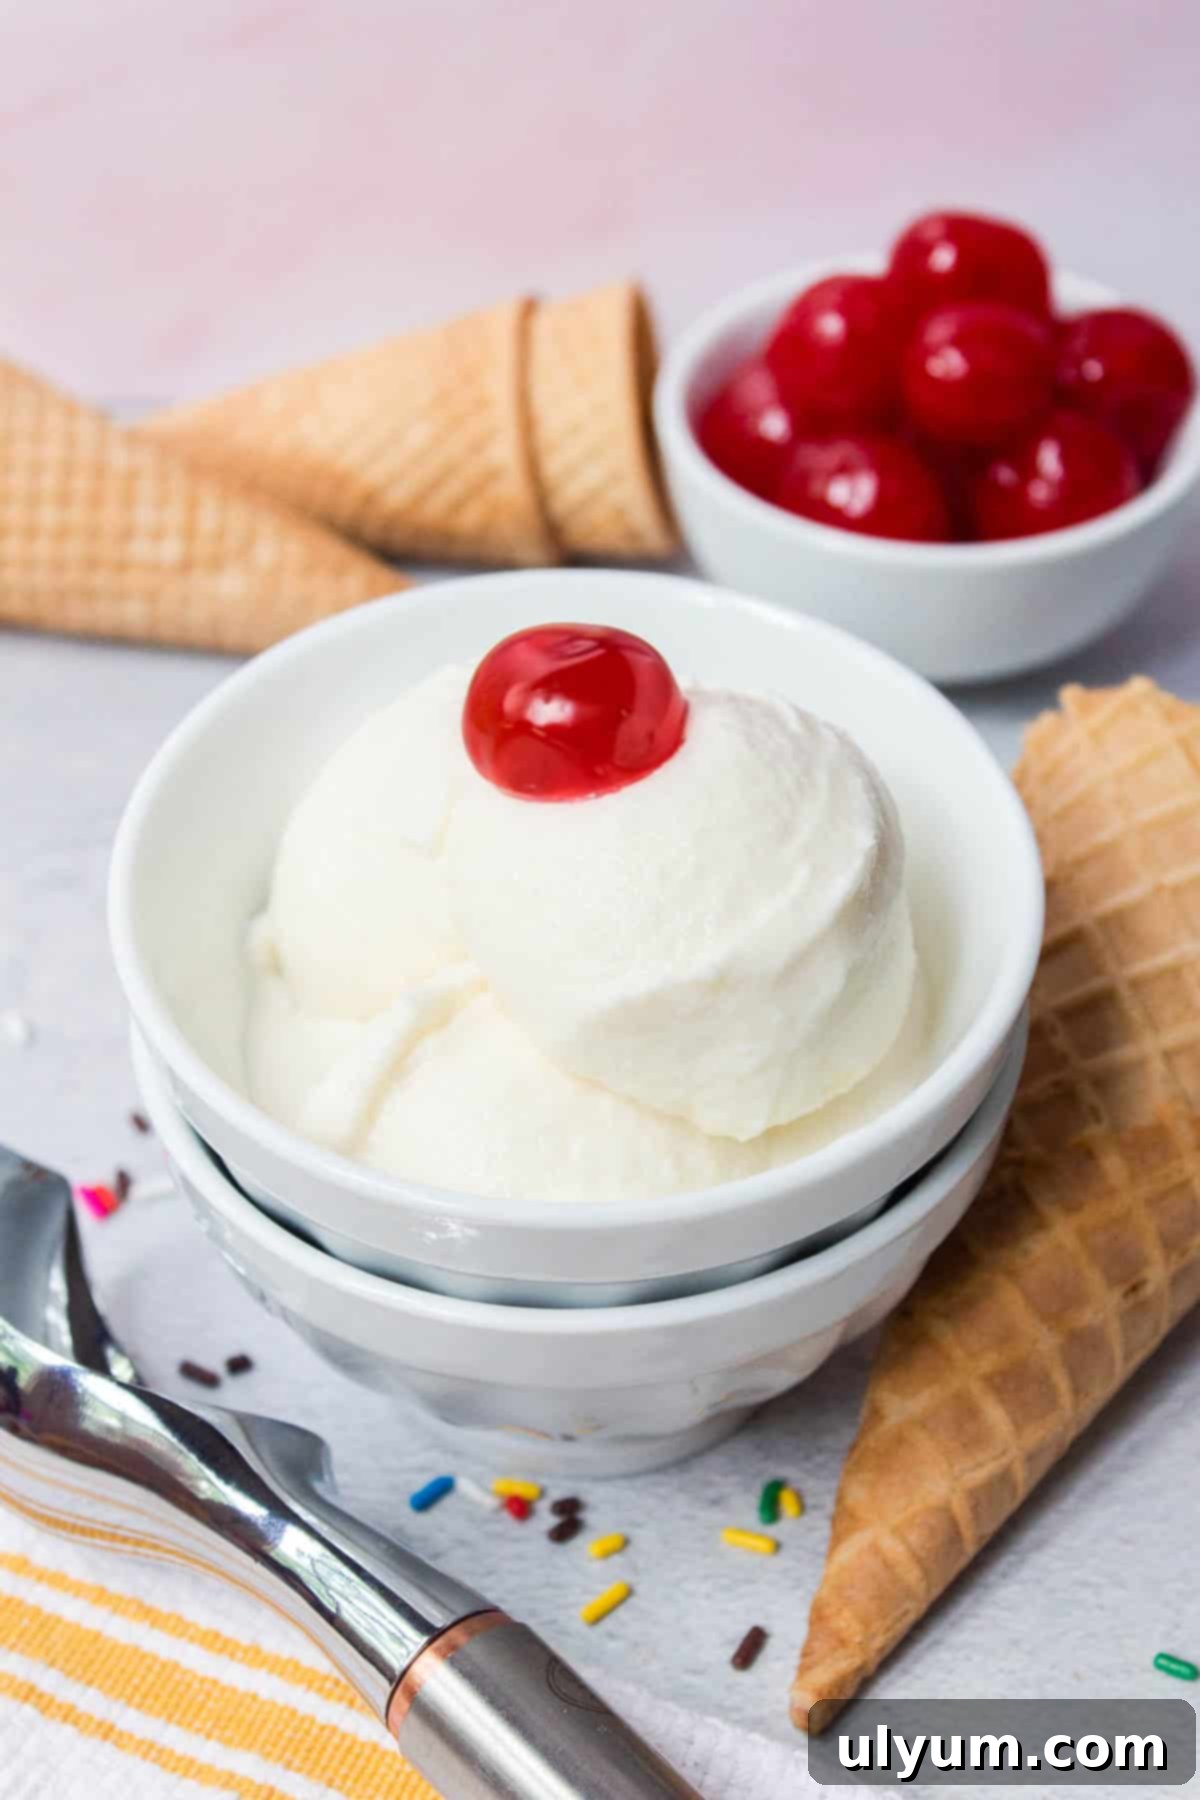
This particular recipe champions a full-fat, full-flavor approach to homemade ice cream. It’s designed for those who appreciate the decadent, rich taste and smooth texture that only real dairy can provide. If you’re seeking a lighter alternative, I highly recommend exploring my Ninja Creami vanilla protein ice cream recipe. I’m always open to developing more traditional ice cream recipes, so feel free to share your suggestions!
Why You’ll Love This Ninja Creami Vanilla Ice Cream Recipe
- Effortless Preparation with Simple Ingredients: This 5-ingredient Ninja Creami recipe stands out for its incredible simplicity. You’ll be amazed at how easily you can transform common pantry staples into a gourmet dessert. No need for obscure or hard-to-find components – just basic, wholesome ingredients for a genuinely homemade taste.
- Rich and Authentic Vanilla Flavor: Experience the true essence of classic homemade vanilla ice cream. This recipe doesn’t shy away from delivering a robust and authentic vanilla flavor that will transport you back to childhood summers. It’s perfect on its own or as the foundation for endless flavor experiments.
- Perfectly Creamy Texture: Thanks to the inclusion of cream cheese and a harmonious blend of whole milk and heavy cream, this ice cream boasts an exceptionally creamy, velvety texture. Say goodbye to icy, gritty homemade ice cream and hello to a consistently smooth and delightful mouthfeel every single time.
- Versatile Base for Custom Creations: Vanilla is the ultimate chameleon of ice cream flavors. This Ninja Creami vanilla base is incredibly versatile, inviting you to customize it with any mix-ins or toppings you desire. From fresh fruits to crunchy candies, the possibilities for personalization are endless, ensuring you never get bored.
[feast_advanced_jump_to]
Essential Ingredients for Your Ninja Creami Vanilla Ice Cream
Crafting the perfect Ninja Creami vanilla ice cream begins with selecting quality ingredients. Each component plays a vital role in achieving that delightful creamy texture and classic vanilla flavor you crave. Here’s a closer look at what you’ll need:
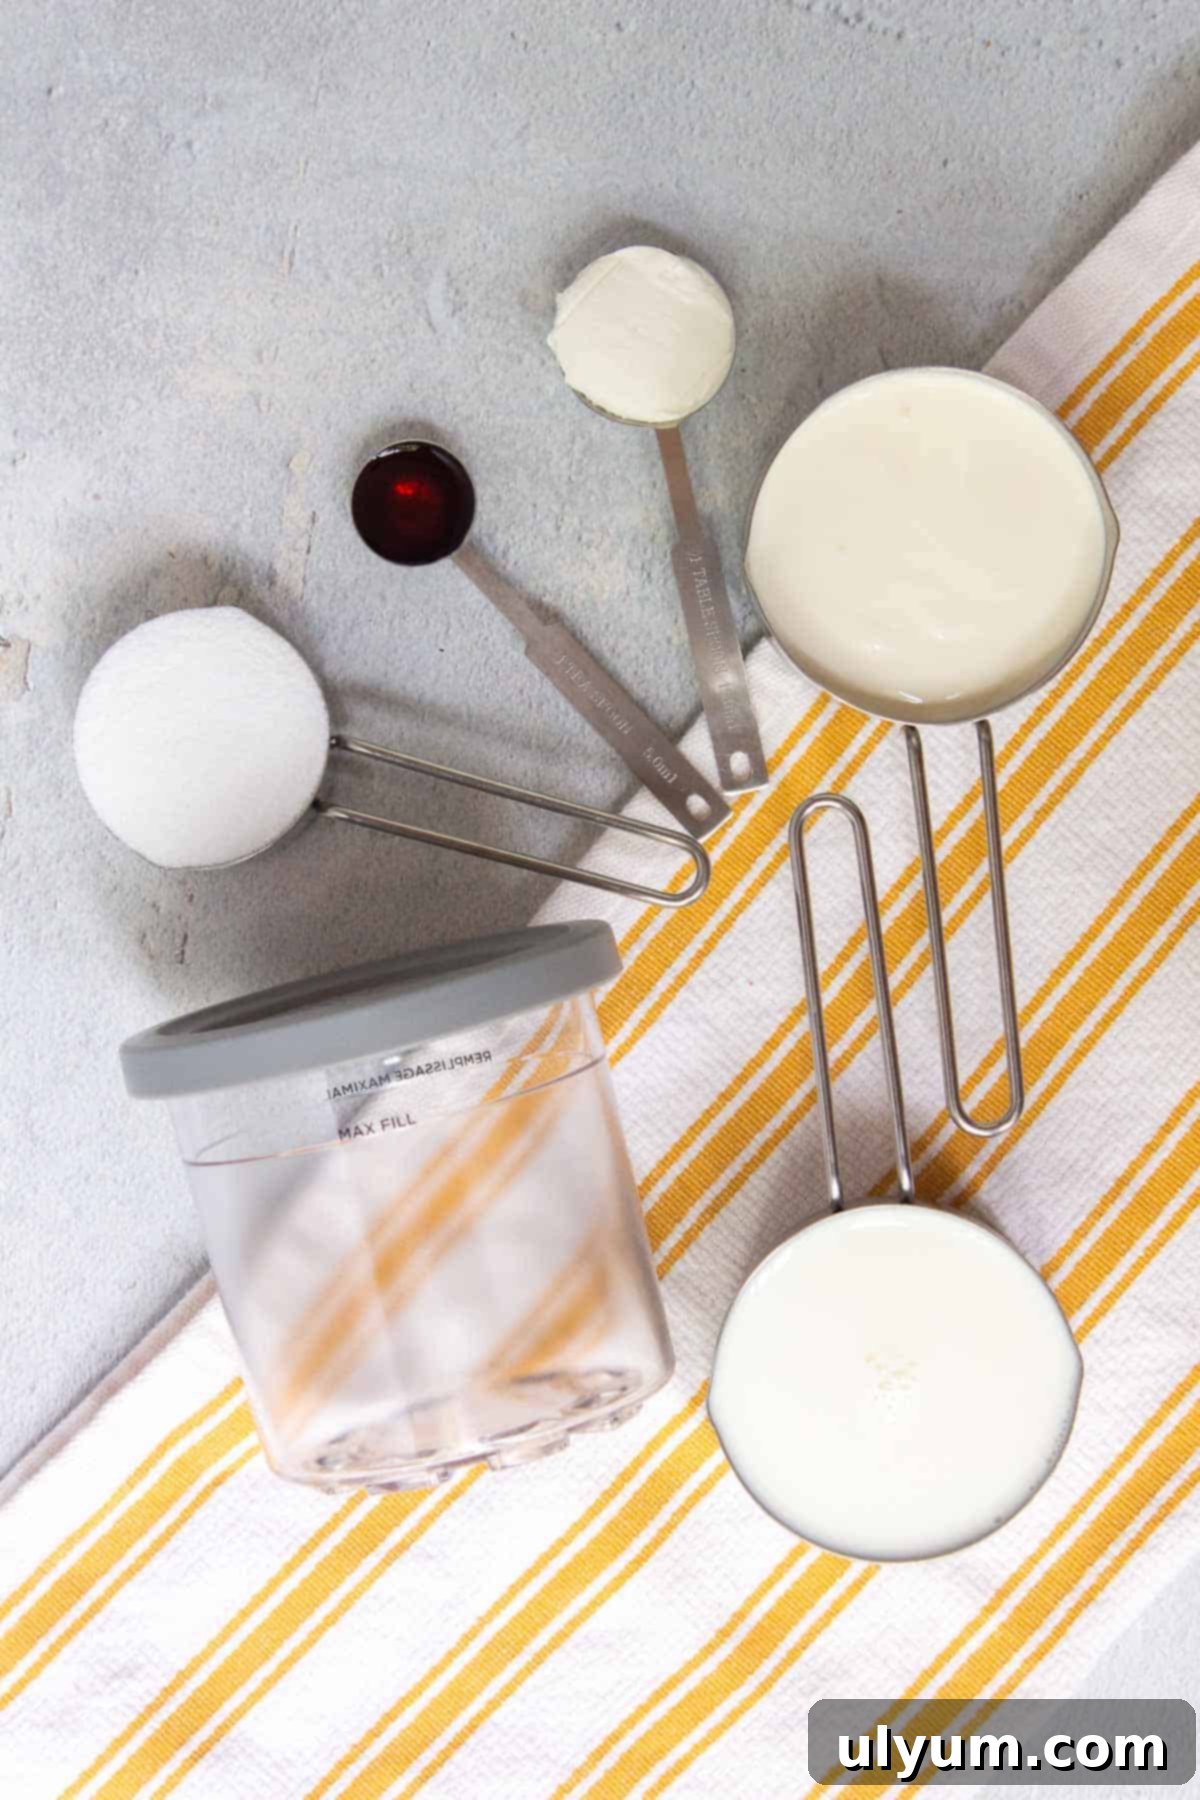
- Cream cheese: This is a secret weapon for Ninja Creami recipes! A small amount of full-fat cream cheese acts as a vital stabilizer, preventing ice crystals from forming and ensuring an ultra-creamy, smooth texture that mimics traditional churned ice cream. It’s the key to avoiding a “powdery” or “icy” result often associated with frozen desserts.
- Granulated sugar: Essential for sweetness, white granulated sugar also contributes to the ice cream’s texture. Sugar lowers the freezing point of the mixture, which helps keep the ice cream softer and less icy, resulting in a more delightful mouthfeel after being processed in the Creami.
- Vanilla extract: The star of the show! High-quality pure vanilla extract provides that rich, aromatic, and comforting flavor that defines classic vanilla ice cream. Don’t skimp on this ingredient; a good vanilla makes all the difference.
- Whole milk: Whole milk offers a crucial fat content that contributes significantly to the overall creaminess and richness of the ice cream base. While other milk types can be used, whole milk delivers the best results for a truly decadent treat.
- Heavy cream: The ultimate indulgence, heavy cream is paramount for achieving that luxurious, full-bodied mouthfeel. With its high milk fat content, heavy cream creates an incredibly smooth and rich ice cream, ensuring your Ninja Creami vanilla ice cream is as decadent as it gets.
For the exact quantities needed for both standard 16-ounce and Deluxe 24-ounce Creami pints, please refer to the comprehensive recipe card located at the bottom of this post.
Step-by-Step Guide: Crafting Your Ninja Creami Vanilla Ice Cream
Making this homemade vanilla ice cream in your Ninja Creami is a straightforward process, broken down into two main stages: preparation and freezing on day one, followed by processing and serving on day two. Follow these detailed steps to achieve perfect results every time.
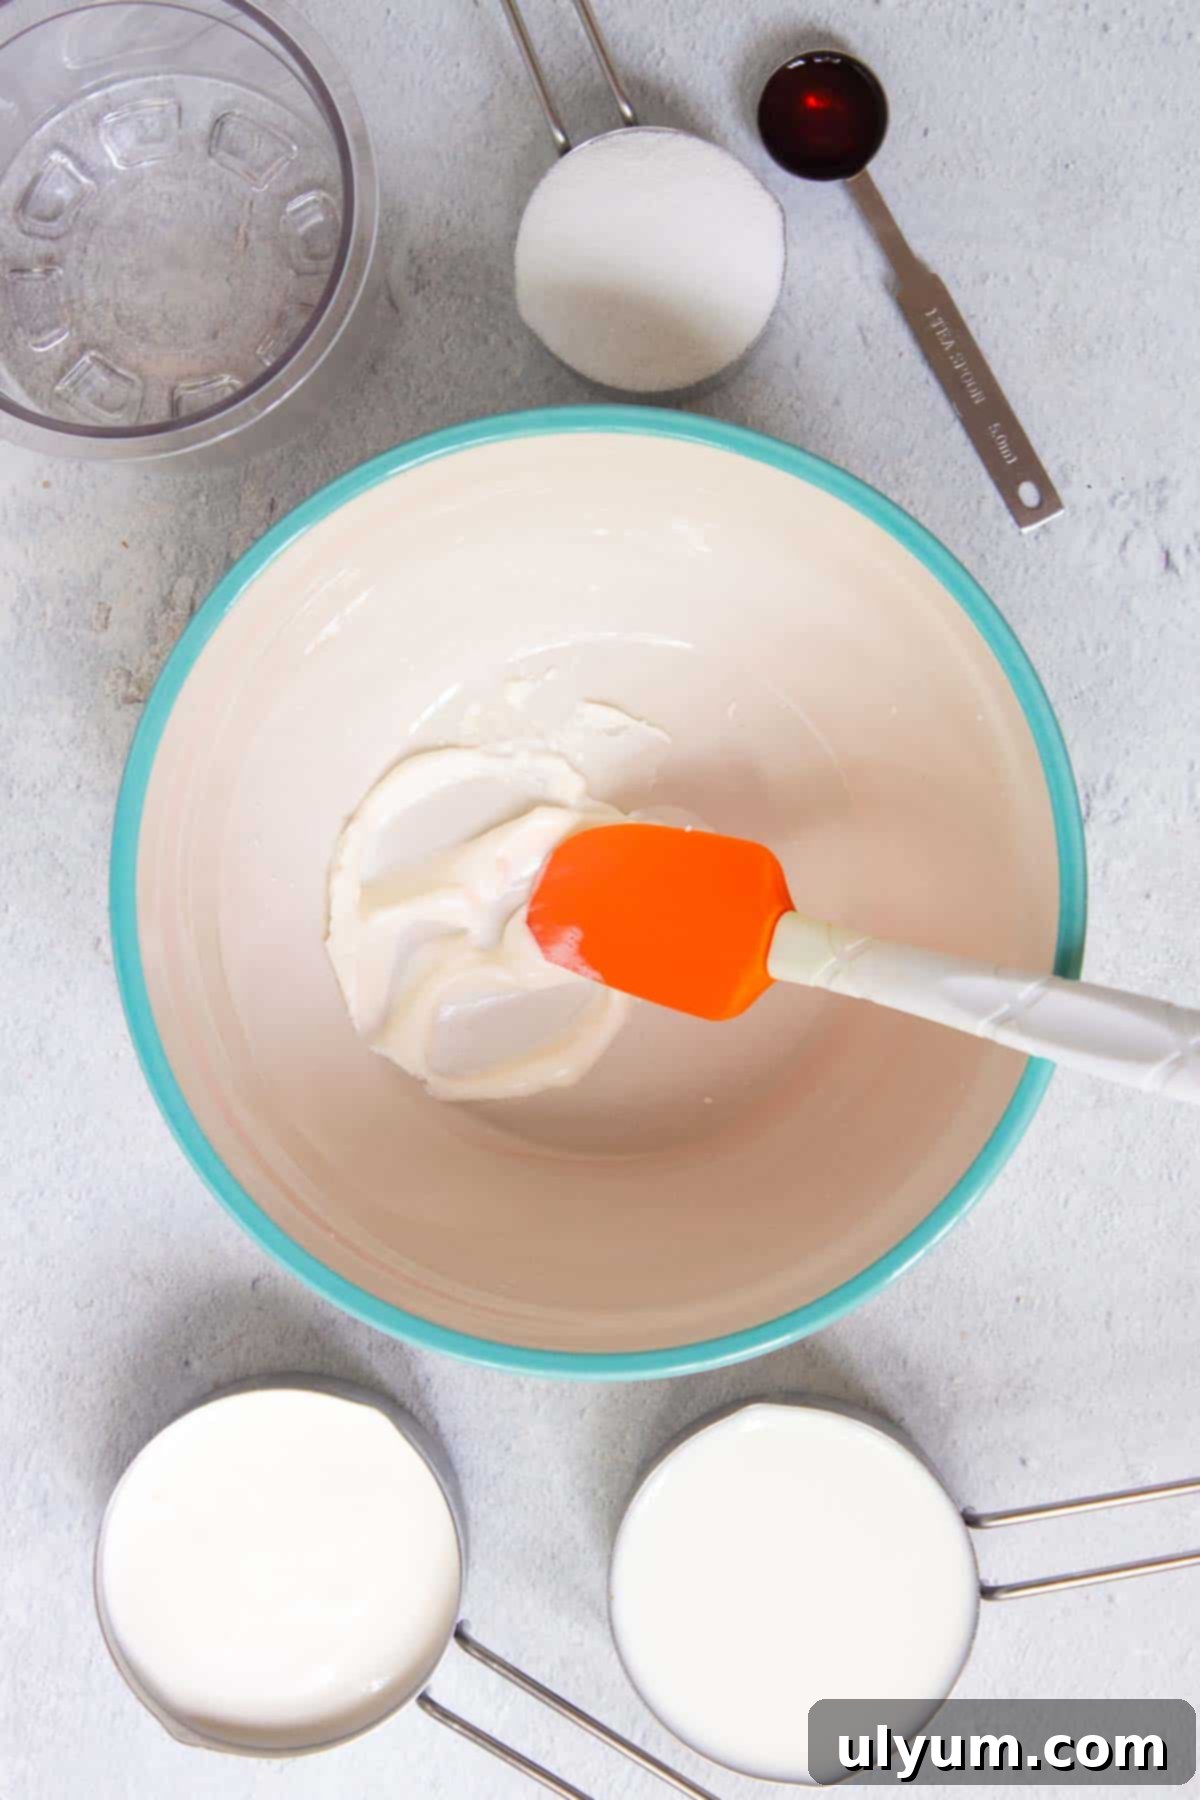
Step 1: Soften the Cream Cheese. Begin by placing the cream cheese in a large, microwave-safe bowl. Microwave it for a short burst of 10-15 seconds. This brief heating period helps to soften the cream cheese, making it much easier to incorporate smoothly into the mixture without any lumps. Ensure it’s just softened, not melted.
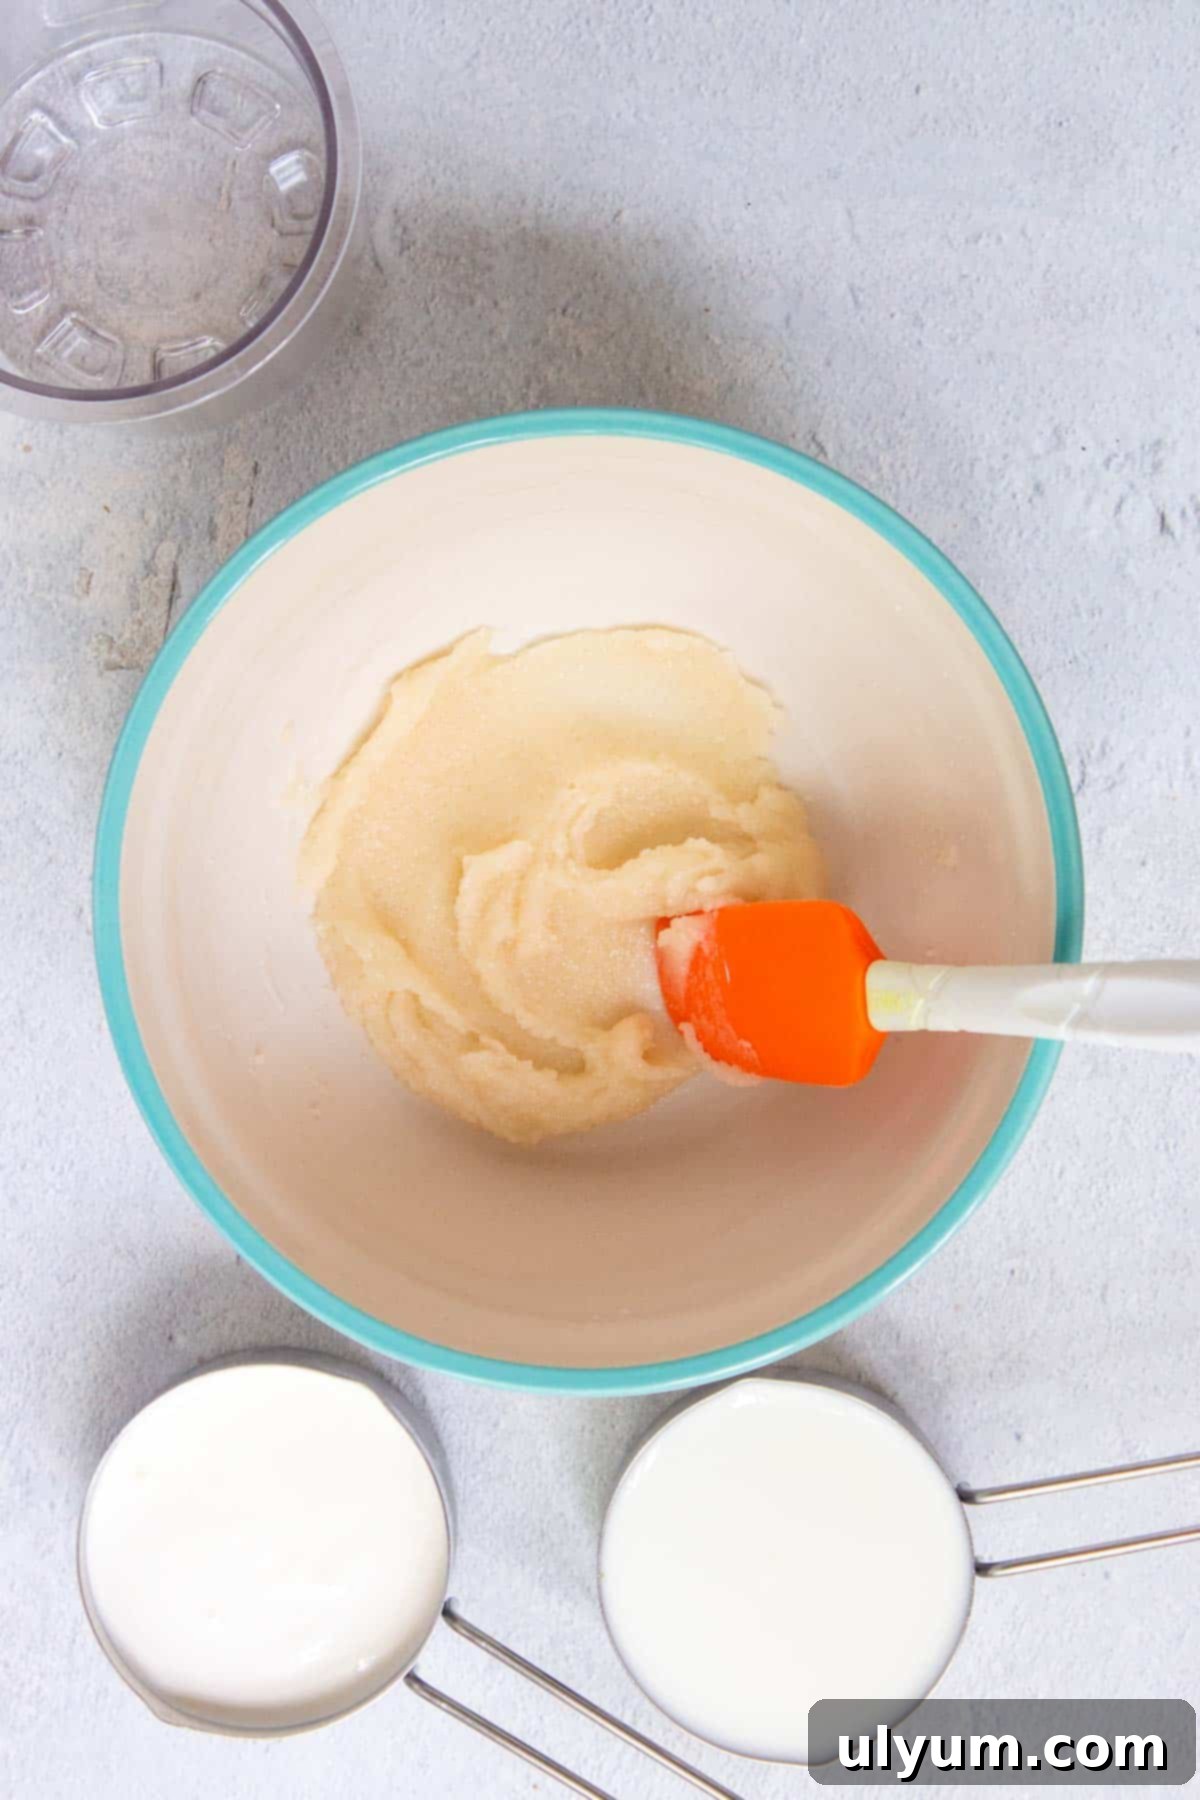
Step 2: Create the Flavor Paste. Once the cream cheese is perfectly softened, add the granulated sugar and vanilla extract directly into the bowl. Using a sturdy silicone spatula, mix these ingredients together thoroughly. The mixture will initially be quite thick and paste-like. Continue mixing until the sugar and vanilla are well incorporated with the cream cheese, forming a consistent base.
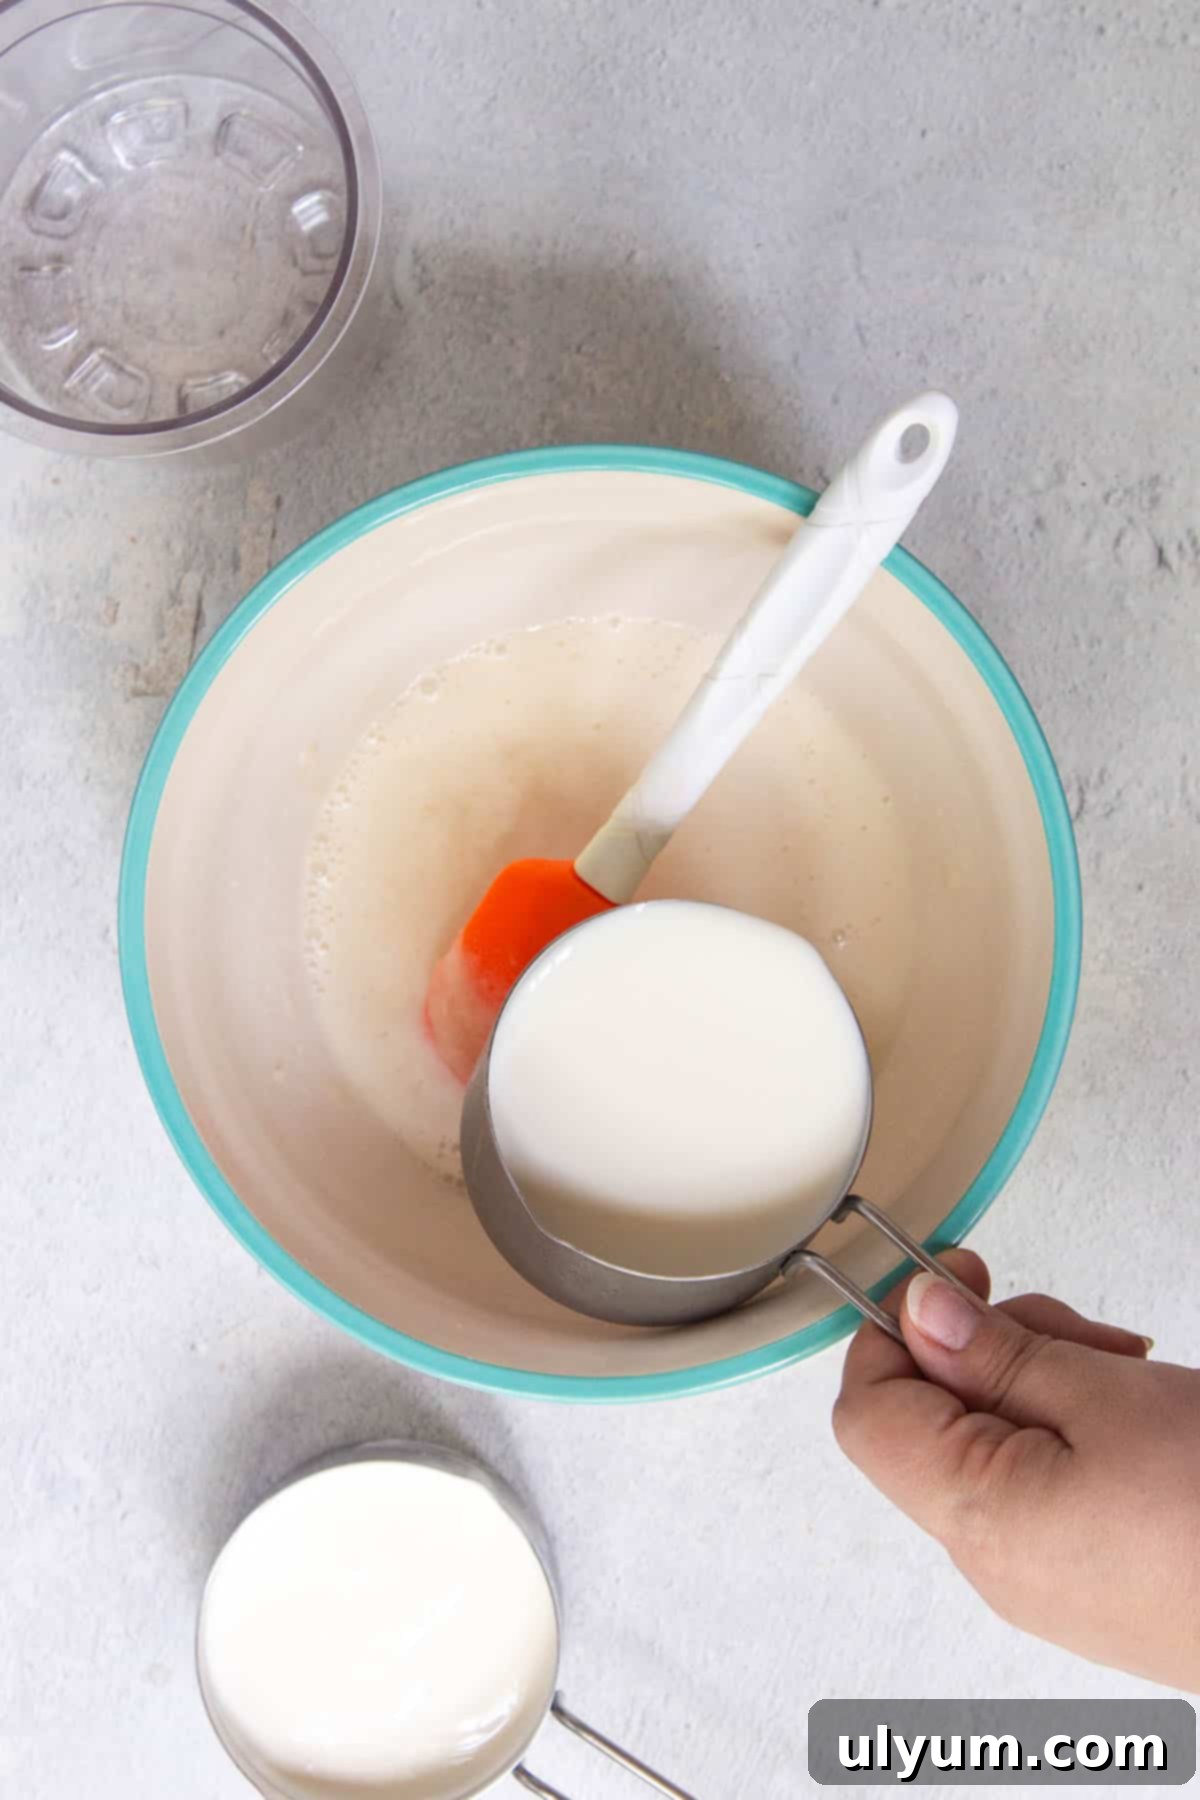
Step 3: Gradually Incorporate Liquids. Now, it’s time to add the whole milk and heavy cream. Pour these liquids in gradually, a little bit at a time, while continuously stirring with your spatula. This slow addition is crucial for preventing lumps and ensuring a perfectly smooth, homogenous mixture. Keep stirring until all liquids are fully combined and there are no visible streaks of cream cheese or unmixed sugar.
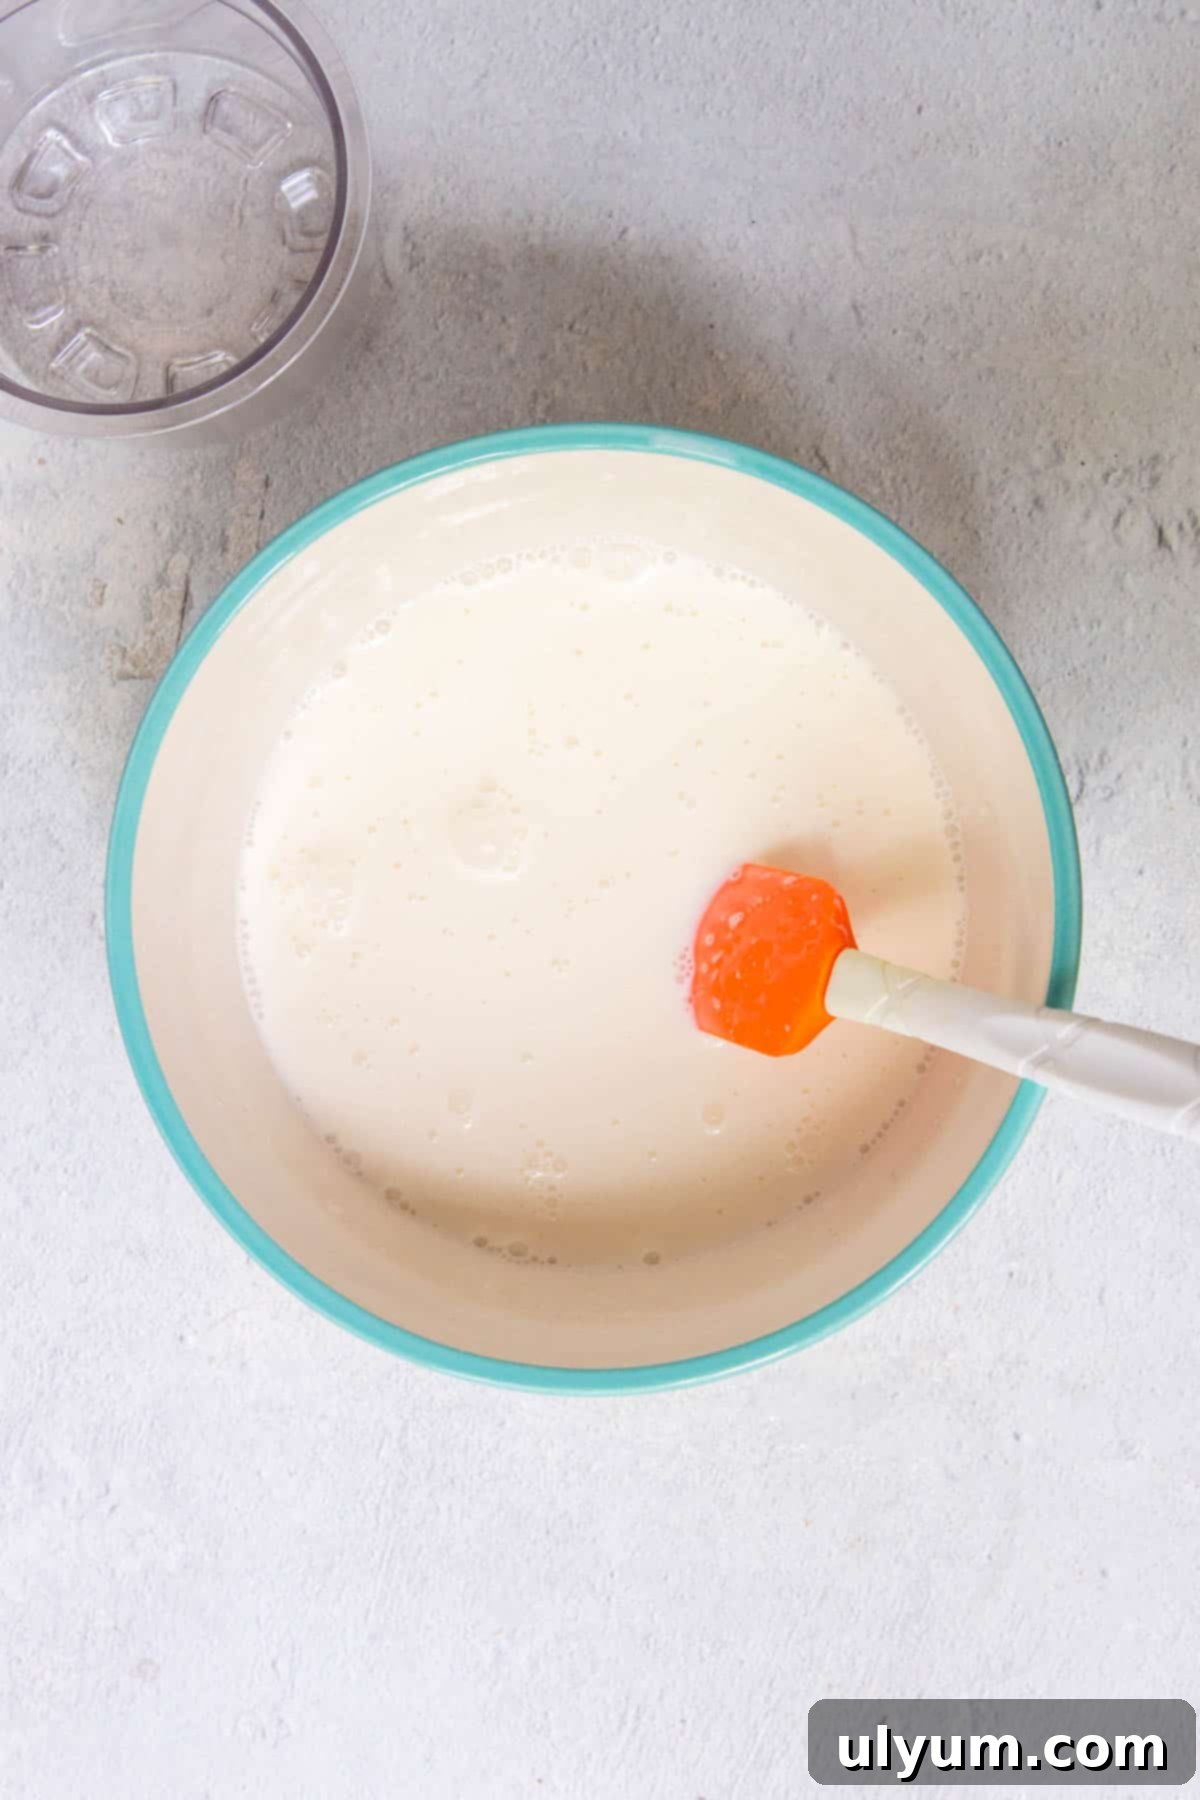
Step 4: Ensure Sugar is Fully Dissolved. At this stage, your mixture should be smooth and liquid. Take a moment to scrape the bottom of the bowl with your spatula. Check for any undissolved granules of sugar. If you find any, continue stirring until the sugar is completely dissolved. This step is important for both taste and texture, as undissolved sugar can lead to a grainy ice cream.
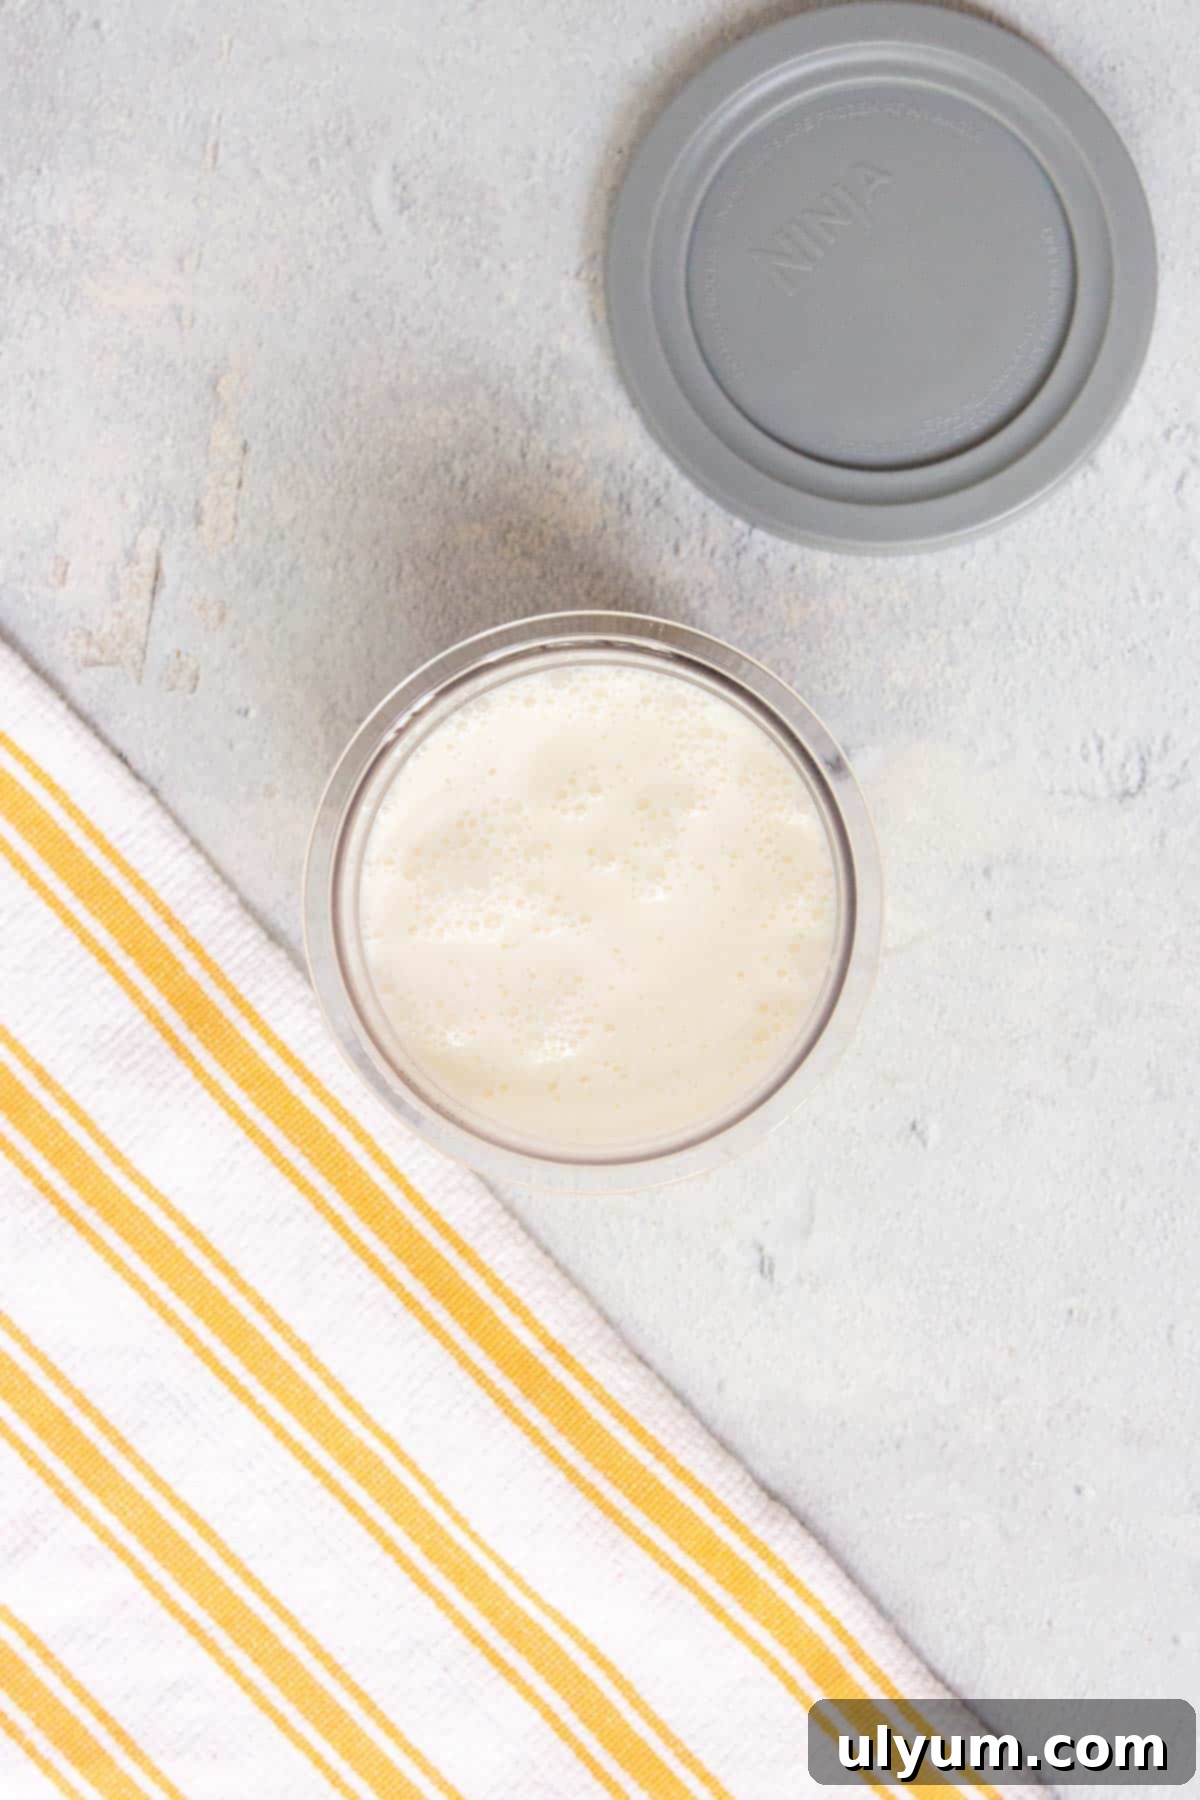
Step 5: Pour and Freeze the Pint. Carefully pour the prepared vanilla ice cream mixture into an empty Ninja Creami pint. It is absolutely crucial not to exceed the “max fill” line indicated on the pint. Overfilling can lead to issues during processing. Once filled, securely place the storage lid on the pint and transfer it to a level surface in your freezer. Freeze for a minimum of 24 hours. This extended freezing time is essential to ensure the base is uniformly solid throughout, which is key for optimal Creami processing.
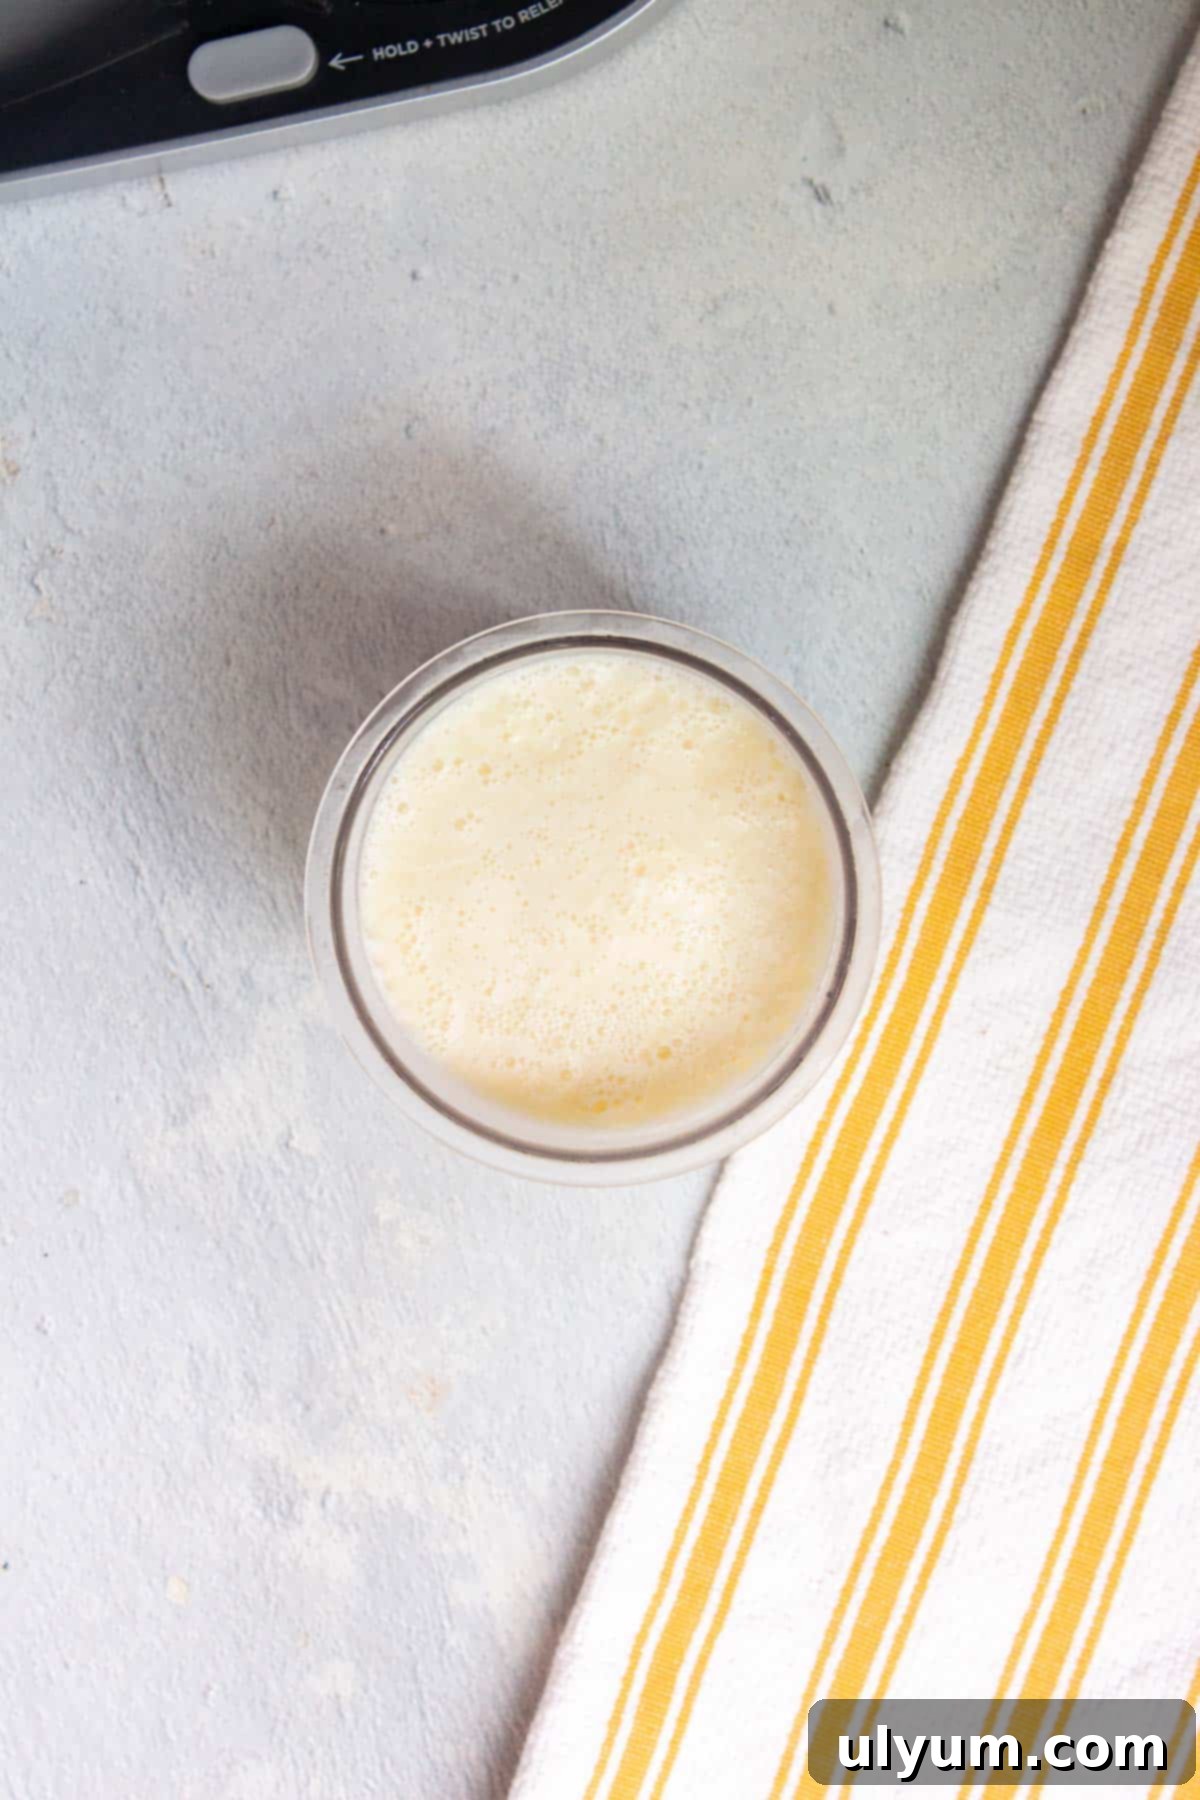
Step 6: Prepare for Processing. After the full 24 hours of freezing, remove the solid pint from your freezer and carefully take off its storage lid. You’ll notice the mixture is now a solid block, ready for transformation into creamy ice cream.
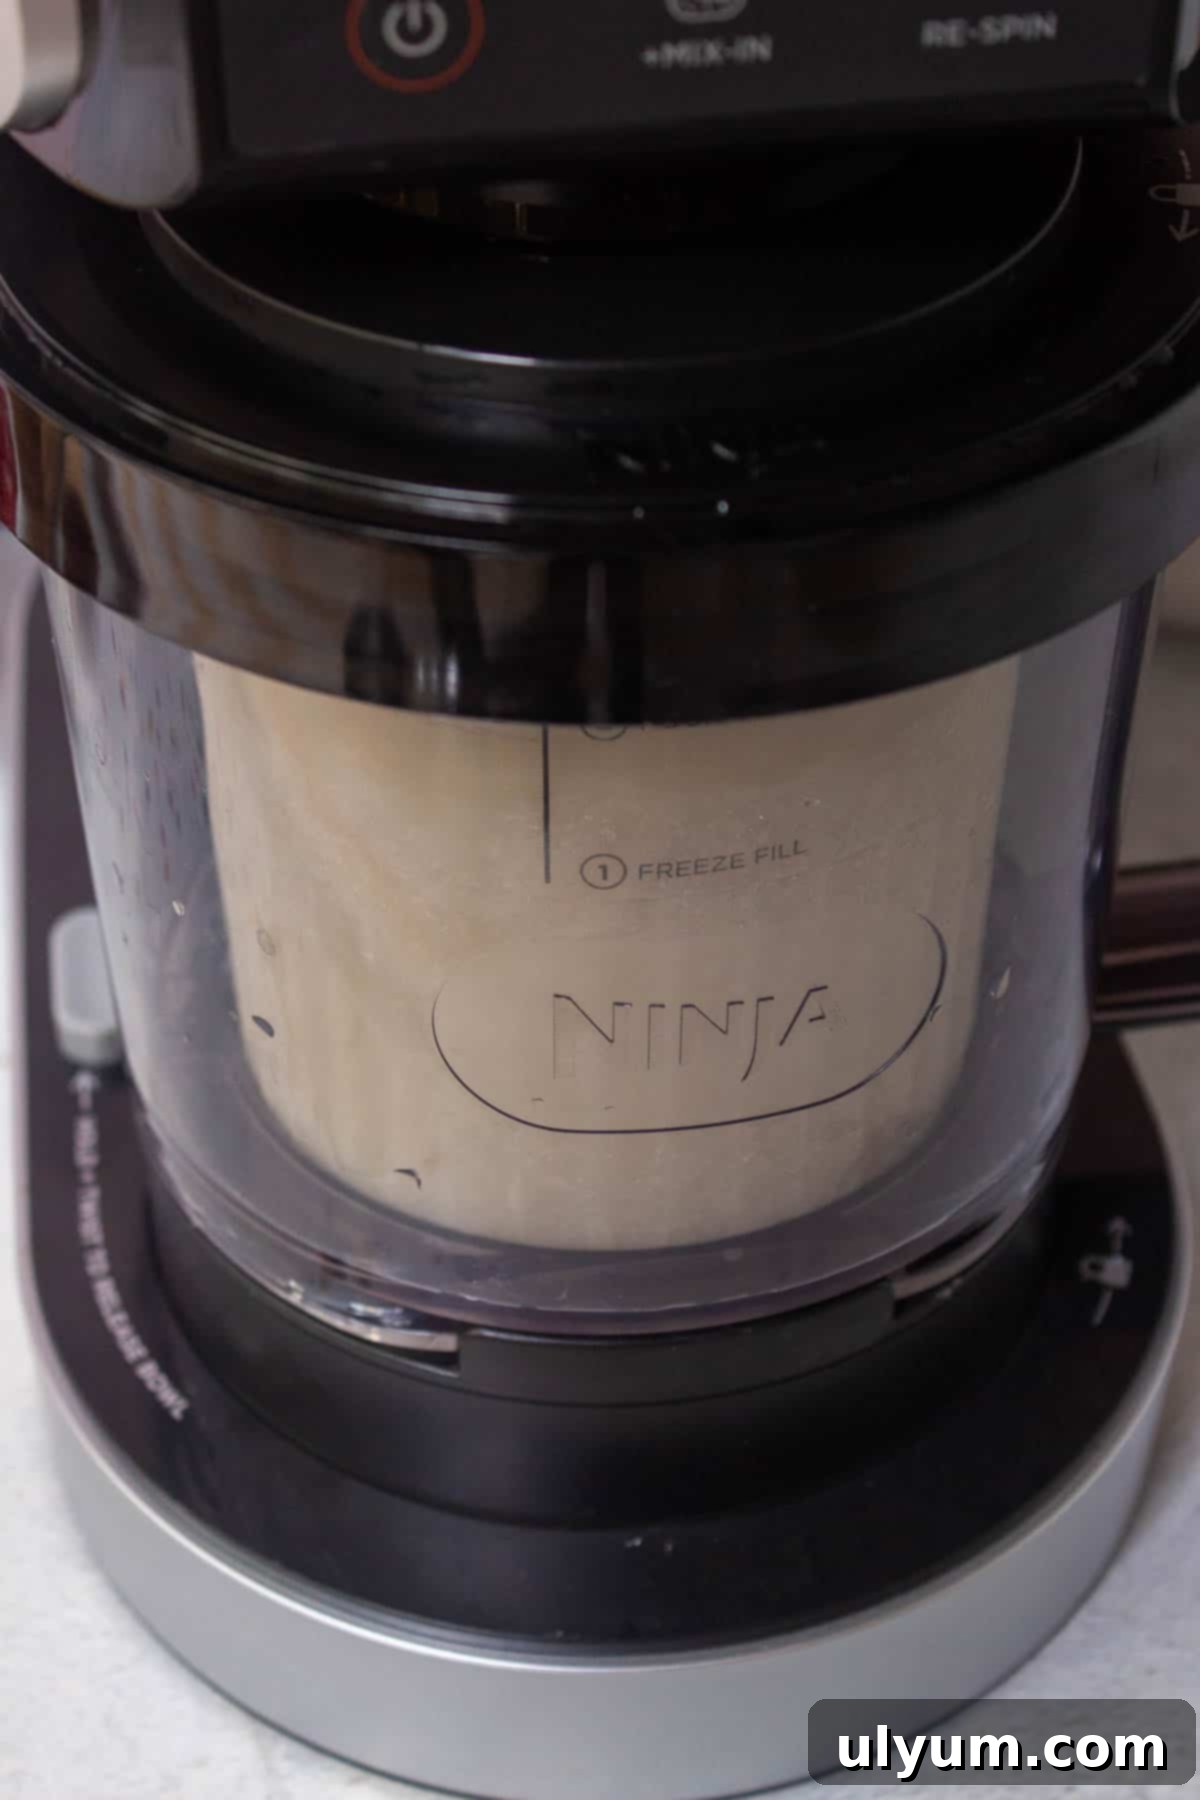
Step 7: Assemble and Process. Place the opened pint into the larger outer bowl of your Ninja Creami machine. Secure the Creamerizer Paddle to the lid of the outer bowl, ensuring it clicks firmly into place. Then, lock the lid assembly onto the outer bowl. Carefully slide the entire bowl assembly into the machine’s motor base. Twist it to the right until you hear a click, indicating it’s securely locked. Finally, select the “Ice Cream” button on your Ninja Creami and let the machine work its magic.
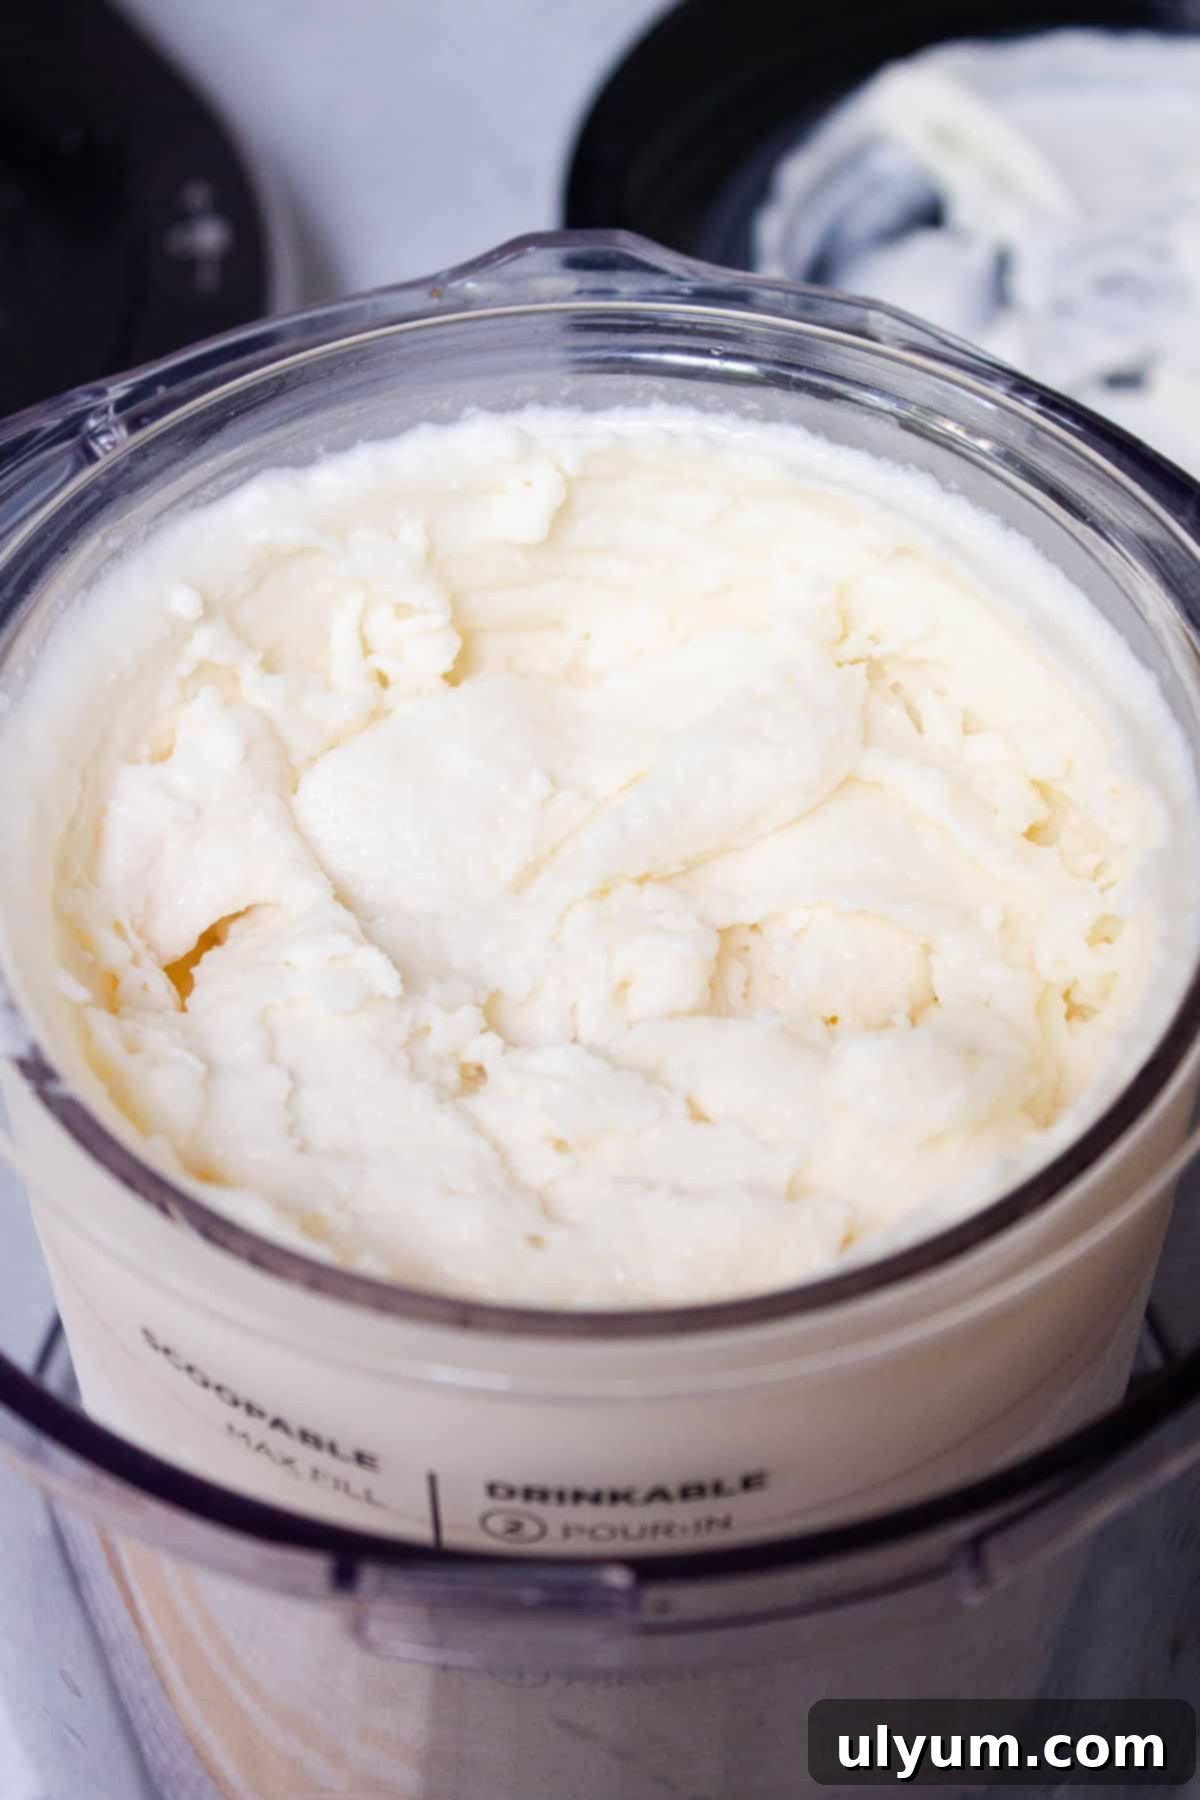
Step 8: Check Texture and Re-Spin (if needed). Once the processing cycle is complete, unlock and carefully remove the bowl assembly from the Ninja Creami ice cream maker. Remove the lid and inspect the texture. The ice cream should be creamy and smooth, resembling a delightful soft-serve consistency. If, however, the first spin results in a more powdery or crumbly texture (which can happen with some bases or freezer temperatures), simply place the lid back on and run the “Re-Spin” program. This often resolves any texture issues, transforming it into a perfectly smooth treat. Serve your sweet, creamy creation immediately to enjoy it at its best.
Optional: Adding Mix-ins for Custom Flavors. If you desire to elevate your Ninja Creami vanilla ice cream with delicious mix-ins, follow these simple steps. After the initial processing, use a spoon to create a small tunnel in the center of the ice cream, extending all the way to the bottom of the pint. Fill this tunnel with your chosen mix-ins (chocolate chips, cookie pieces, nuts, etc.). Reassemble the bowl with the lid and paddle, and then process using the “Mix-In” program on your Ninja Creami. This ensures your additions are evenly distributed throughout the ice cream, creating a perfect blend of flavors and textures.
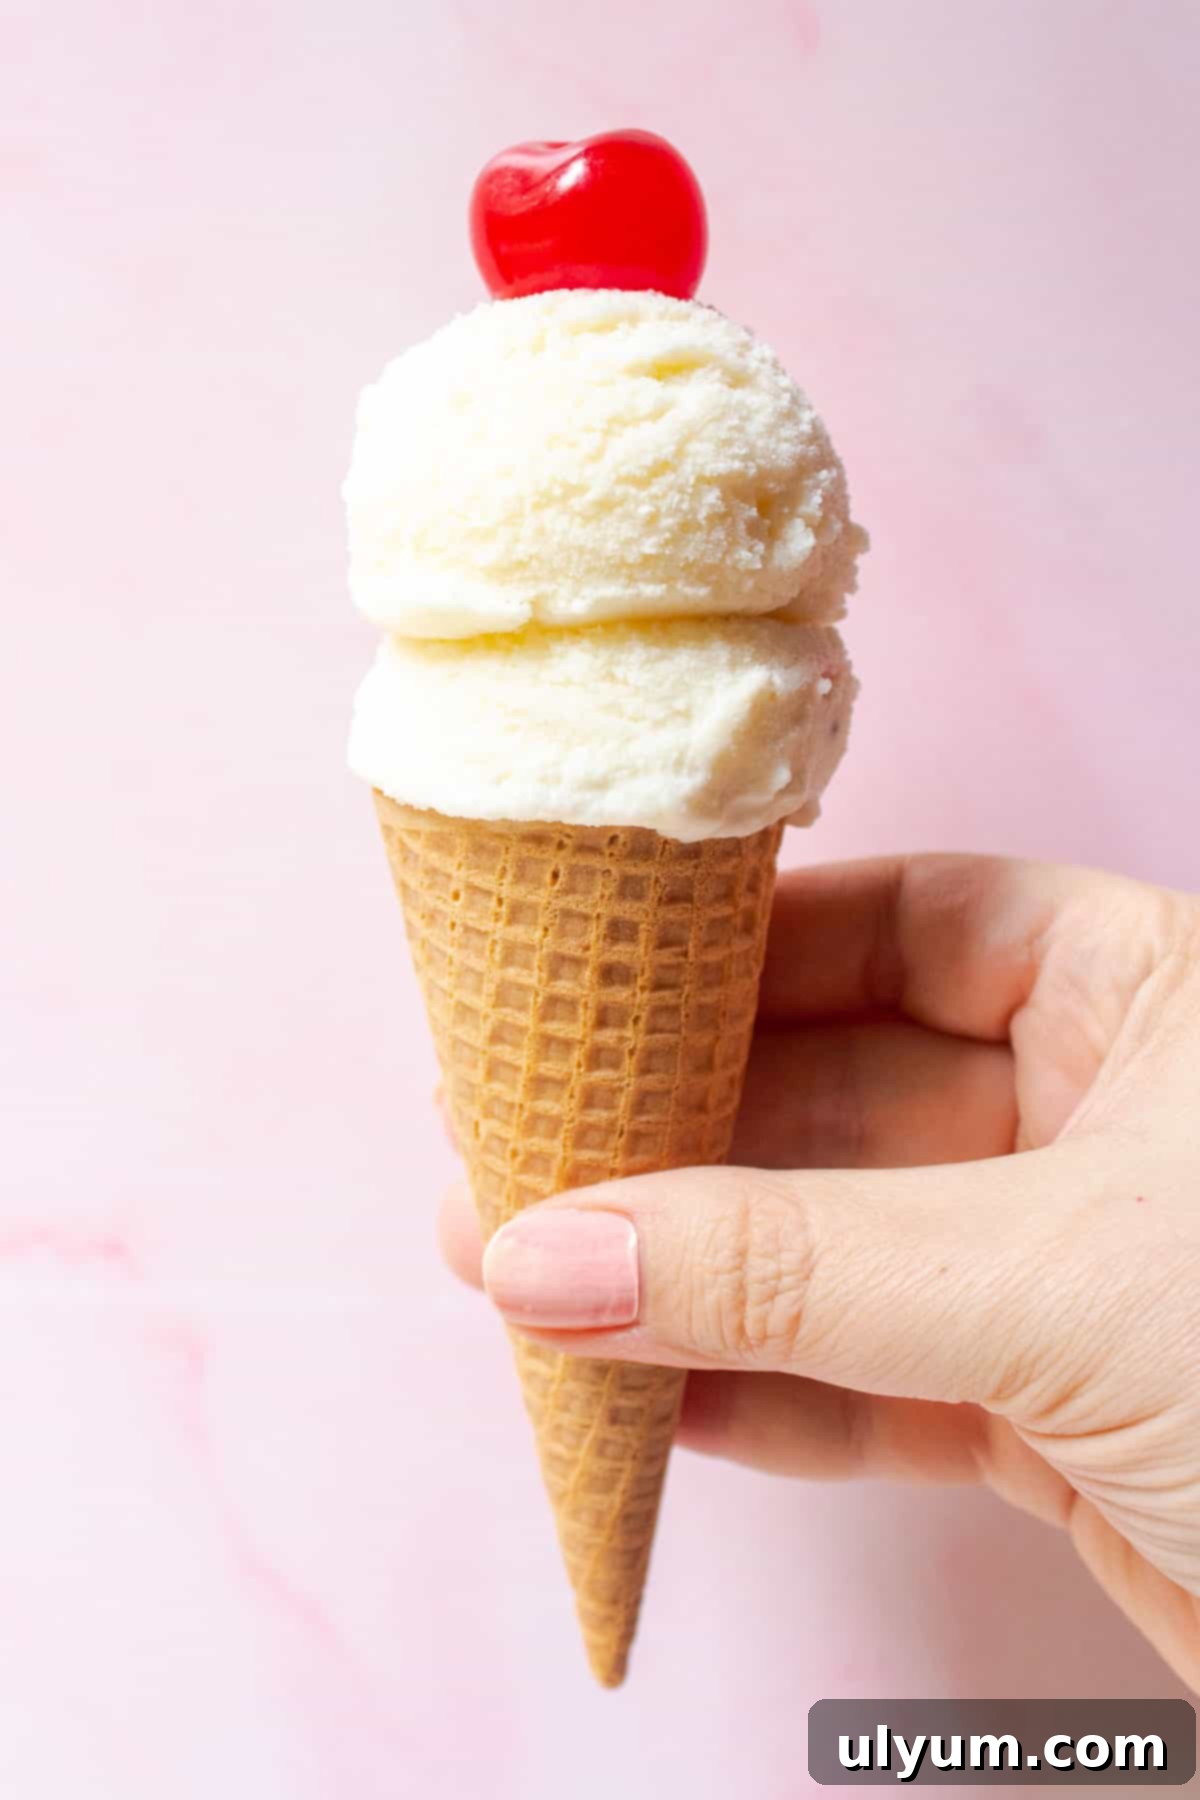
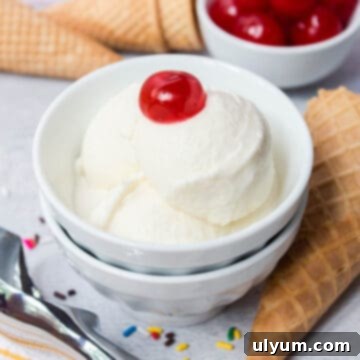
A Note on Consistency: It’s important to note that the consistency of this Ninja Creami vanilla ice cream, directly after the initial processing, is typically quite close to a rich, thick soft-serve or a “frosty” texture. This is a delightful consistency for immediate enjoyment! If your preference is for a more solid, scoopable traditional ice cream, you will need to refreeze the processed ice cream for several hours (at least 3-4 hours) after its initial spin. However, bear in mind that even after refreezing, homemade ice cream tends to soften relatively quickly at room temperature. For the best experience, especially if you enjoy the softer texture, I often recommend simply indulging in your creamy treat in a bowl, perhaps skipping the waffle or sugar cone altogether to fully appreciate its melt-in-your-mouth quality.
Ingredient Substitutions for Your Ninja Creami Vanilla Ice Cream
While this recipe is optimized for the best results, you can explore several substitutions to cater to dietary needs or personal preferences. Be aware that altering ingredients may affect the final texture and consistency of your Ninja Creami ice cream.
- Cream cheese: For those looking for an alternative to cream cheese, you can use a binding agent like instant vanilla pudding mix or sugar-free pudding mix. These can help achieve a similar creamy texture. Alternatively, a tiny amount (about ½ teaspoon) of guar gum can also serve as a thickener and stabilizer.
- Sugar: For those managing sugar intake, various sugar substitutes can be used in place of granulated sugar. Popular options include stevia and monk fruit sweetener. Adjust quantities according to your preferred sweetness level and the specific substitute’s potency.
- Vanilla extract: While pure vanilla extract offers the most authentic flavor, you can certainly use an equal quantity of high-quality vanilla bean paste for a more intense vanilla flavor and a visually appealing speckled appearance.
- Whole milk: To achieve the creamiest and most decadent result, whole milk is highly recommended due to its fat content. However, if you’re looking to reduce calories or prefer a dairy-free option, you can use any other milk type, such as non-fat milk, almond milk, or oat milk. Be aware that these alternatives may result in a slightly icier consistency in your finished Ninja Creami ice cream.
- Heavy cream: Heavy whipping cream typically contains at least 36 percent milk fat, contributing significantly to richness. It’s important to note that if heavy cream is over-processed in the Creami, it can sometimes lead to a slightly greasy, butter-like texture. For a lighter option that still offers some creaminess, you can substitute with half and half (which is a blend of half cream and half milk).
Exciting Flavor Variations for Your Vanilla Creami Base
This Ninja Creami vanilla ice cream recipe is a fantastic starting point for countless other flavors. Get creative and customize your pints!
- Decadent Chocolate: Transform your vanilla base into a chocolate dream! Simply add 2 tablespoons of unsweetened cocoa powder to the liquid mixture along with the sugar and vanilla extract. Ensure it’s thoroughly dissolved before freezing.
- Classic Cookies and Cream: If you love this timeless combination, you’re in luck! Try my dedicated Ninja Creami cookies and cream ice cream recipe for a perfect blend of creamy ice cream and crunchy cookie pieces.
- Fun Cake Batter: For a nostalgic and celebratory flavor, substitute the pure vanilla extract with an equal amount of cake batter flavor extract. This will give your ice cream that distinct, delicious cake batter taste.
- Endless Mix-ins and Toppings: The beauty of vanilla is its compatibility. Experiment with a wide array of mix-ins like chocolate chips, crushed sandwich cookies, crumbled graham crackers, crunchy waffle cone pieces, various nuts (pecans, walnuts, almonds), vibrant frozen berries (raspberries, blueberries), a swirl of chocolate syrup, colorful rainbow sprinkles, or even classic stemless maraschino cherries. The sky’s the limit for customizing your Ninja Creami experience!
Essential Equipment for Making Ninja Creami Vanilla Ice Cream
Having the right tools makes the Ninja Creami ice cream-making process even smoother and more enjoyable. Here’s a list of the essential equipment you’ll need:
- Ninja Creami Ice Cream Maker: Whether you have the original Ninja Creami, the Breeze, or the Deluxe model, this machine is the star. It’s designed to transform frozen bases into perfectly creamy treats.
- Microwave-Safe Mixing Bowl: A large bowl is essential for easily softening the cream cheese and thoroughly mixing all your ingredients without spills.
- Silicone Spatula: This tool is perfect for mixing, scraping down the sides of the bowl, and ensuring all ingredients are well combined, especially when dealing with the thick cream cheese mixture.
- Ninja Creami Pints: You’ll need at least one clean, empty Ninja Creami pint for freezing your ice cream base. Ensure it’s the correct size for your model (16 oz for standard, 24 oz for Deluxe).
Storage and Re-Enjoying Your Ninja Creami Vanilla Ice Cream
One of the great advantages of homemade Ninja Creami ice cream is the ability to store and re-enjoy it. Here’s how to properly store your vanilla creation and ensure it’s delicious every time you reach for it:
After enjoying a portion of your freshly spun ice cream, cover the remaining contents in the pint with its original storage lid. Then, place it back into the freezer. Because this is a full-fat recipe, your Ninja Creami vanilla ice cream will typically firm up nicely as it re-freezes, but often remains soft enough to scoop directly without needing an additional re-spin cycle. The higher fat content helps to keep it from becoming rock-hard.
However, freezer temperatures can vary. If you find your re-frozen ice cream is a bit difficult to scoop, simply set the pint out on the counter at room temperature for approximately 5 minutes. This brief period allows it to soften just enough to become easily scoopable again. If it has become completely rock-hard, which is less common for this full-fat recipe but still possible, you can process it again on the “Ice Cream” function of your Ninja Creami machine for a perfectly creamy refresh.
Ninja Creami Pro Tips for Perfect Results
To get the most out of your Ninja Creami and consistently create amazing frozen treats, keep these expert tips in mind:
- Upright Freezer is Best: For optimal results, store your Creami pints in an upright freezer. Chest freezers can sometimes get excessively cold, which might lead to the formation of undesirable ice crystals in your base, making it harder to process smoothly.
- Ensure a Level Freezing Surface: It is absolutely crucial that your Ninja Creami pint sits perfectly level in your freezer during the entire 24-hour freezing period. If the pint freezes at an angle, the ice cream base will be uneven, which could potentially cause damage to the Creamerizer Paddle or the machine itself during processing.
- Respect the Max Fill Line: When preparing your liquid base for freezing, never fill your pint beyond the “max fill” line. This line is there for a reason – it ensures there’s enough room for expansion as the mixture freezes and prevents overflow or complications during the spinning process. You can exceed the max fill line only when adding mix-ins after the initial spin.
- Smart Mix-ins Choices: While the Ninja Creami offers a convenient mix-in function, it’s designed for specific types of additions. Ninja generally does not recommend using fresh berries, thin sauces, or peanut butter directly with the mix-in function. Fresh fruit and watery sauces can introduce too much moisture, potentially watering down the ice cream and creating an icy texture. Spreads and nut butters might not mix evenly and can remain clumpy. For these ingredients, it’s often best to gently fold them in by hand after the ice cream has been processed, or create a deep tunnel for thicker items before using the mix-in button.
- Handling Leftovers: The way you re-process leftovers depends on your ice cream type. High-fat ice cream, like this vanilla recipe, usually remains soft enough to scoop after re-freezing. However, lighter ice cream or sorbet bases will typically re-freeze rock-solid and will absolutely need to be re-processed using the “Lite Ice Cream” or “Sorbet” setting to regain their creamy texture.
Always prioritize safety and optimal performance by consulting your specific Ninja Creami user manual and safety instructions prior to each use.
Frequently Asked Questions About Ninja Creami Vanilla Ice Cream
Yes, Ninja offers several versions of their popular Creami ice cream makers. These include the Ninja Creami 7-in-1, the Ninja Creami 5-in-1, the Ninja Creami Deluxe, and the Ninja Creami Breeze. The primary difference often lies in the number of functions and pint sizes. For example, the Deluxe model typically comes with larger 24-ounce pints, while the other models generally use 16-ounce pints. Always check your model’s specifications for pint compatibility.
If your Ninja Creami ice cream comes out powdery or crumbly after the first spin, it’s usually an indication that the base is too cold or lacks enough fat/sugar. Don’t worry, this is a common occurrence and easily fixable! Simply put the pint back into the outer bowl, secure the lid, and use the “Re-Spin” function. This second processing cycle often results in a perfectly creamy and smooth texture. For full-fat recipes like this vanilla one, a re-spin almost always does the trick. Ensure your freezer isn’t set too low.
Yes, you can use milk alternatives such as almond milk, oat milk, or soy milk. However, be aware that substituting whole milk and heavy cream with lower-fat or non-dairy options will significantly impact the final texture. These alternatives tend to produce an icier, less creamy consistency. For the best creamy results, sticking to whole milk and heavy cream as specified in the main recipe is recommended.
Discover More Delicious Ninja Creami Recipes
I am continuously developing and perfecting the best Ninja Creami recipes to help you create incredible frozen desserts at home. Your feedback and suggestions are invaluable! Please let me know what other delicious creations you’d love to see next.
- 5 Ninja Creami Protein Ice Cream Recipes
- Ninja Creami Cookies and Cream Ice Cream
- Ninja Creami Vanilla Ice Cream
- Ninja Creami Oreo Protein Ice Cream
📖 Recipe
Pin Recipe
Save RecipeSaved!
Email
Print
Classic Ninja Creami Vanilla Ice Cream
Equipment
-
Ninja Creami Machine
-
Microwave Safe Mixing Bowl
-
Silicone spatula
Ingredients
For a standard 16-ounce pint
- 1 tablespoon cream cheese
- ⅓ cup granulated sugar
- 1 teaspoon vanilla extract
- 1 cup whole milk
- ¾ cup heavy cream
For a deluxe 24-ounce pint
- 1-½ tablespoon cream cheese
- ½ cup granulated sugar
- 1-½ teaspoon vanilla extract
- 1-⅓ cup whole milk
- 1-⅓ cup heavy cream
Instructions
Day One: Prepare the Base
-
In a large, microwave-safe mixing bowl, microwave the cream cheese for 10 to 15 seconds until softened.
-
Once softened, add the granulated sugar and vanilla extract. Mix vigorously with a silicone spatula until thoroughly combined and the mixture forms a thick paste.
-
Gradually mix in the whole milk and heavy cream, a little at a time, stirring continuously until the mixture is smooth and all the sugar is completely dissolved. Scrape the bottom of the bowl to ensure no sugar granules remain.
-
Pour the liquid base into an empty Ninja Creami pint, being careful not to exceed the max fill line. Secure the storage lid on the pint and freeze it on a level surface in your freezer for a full 24 hours.
Day Two: Process and Serve
-
After the 24-hour freezing period, remove the pint from the freezer and remove its lid. Place the pint into the outer bowl of the Ninja Creami machine. Install the Creamerizer Paddle onto the lid, then lock the lid assembly to the outer bowl. Slide the entire bowl assembly into the machine’s motor base, twisting it to the right until it locks securely into place. Select the “Ice Cream” button.
-
Once processing is complete, unlock and remove the bowl assembly from the ice cream maker and remove the lid. Inspect the texture; if it’s not perfectly creamy (i.e., powdery), re-spin the pint on the “Re-Spin” function until smooth.
-
Optional Mix-ins: To add mix-ins, use a spoon to create a small, deep tunnel in the center of the ice cream. Fill with desired mix-ins, reassemble the bowl, and process using the “Mix-In” program.
-
Serve your delicious Ninja Creami vanilla ice cream immediately and enjoy!
Notes
Storage and Leftovers: Store leftover ice cream in the pint with its lid in the freezer. High-fat ice cream typically remains scoopable after refreezing. If it’s too firm, let it sit at room temperature for about 5 minutes, or re-process on the “Ice Cream” function if it’s rock-hard for a refreshed creamy texture.
