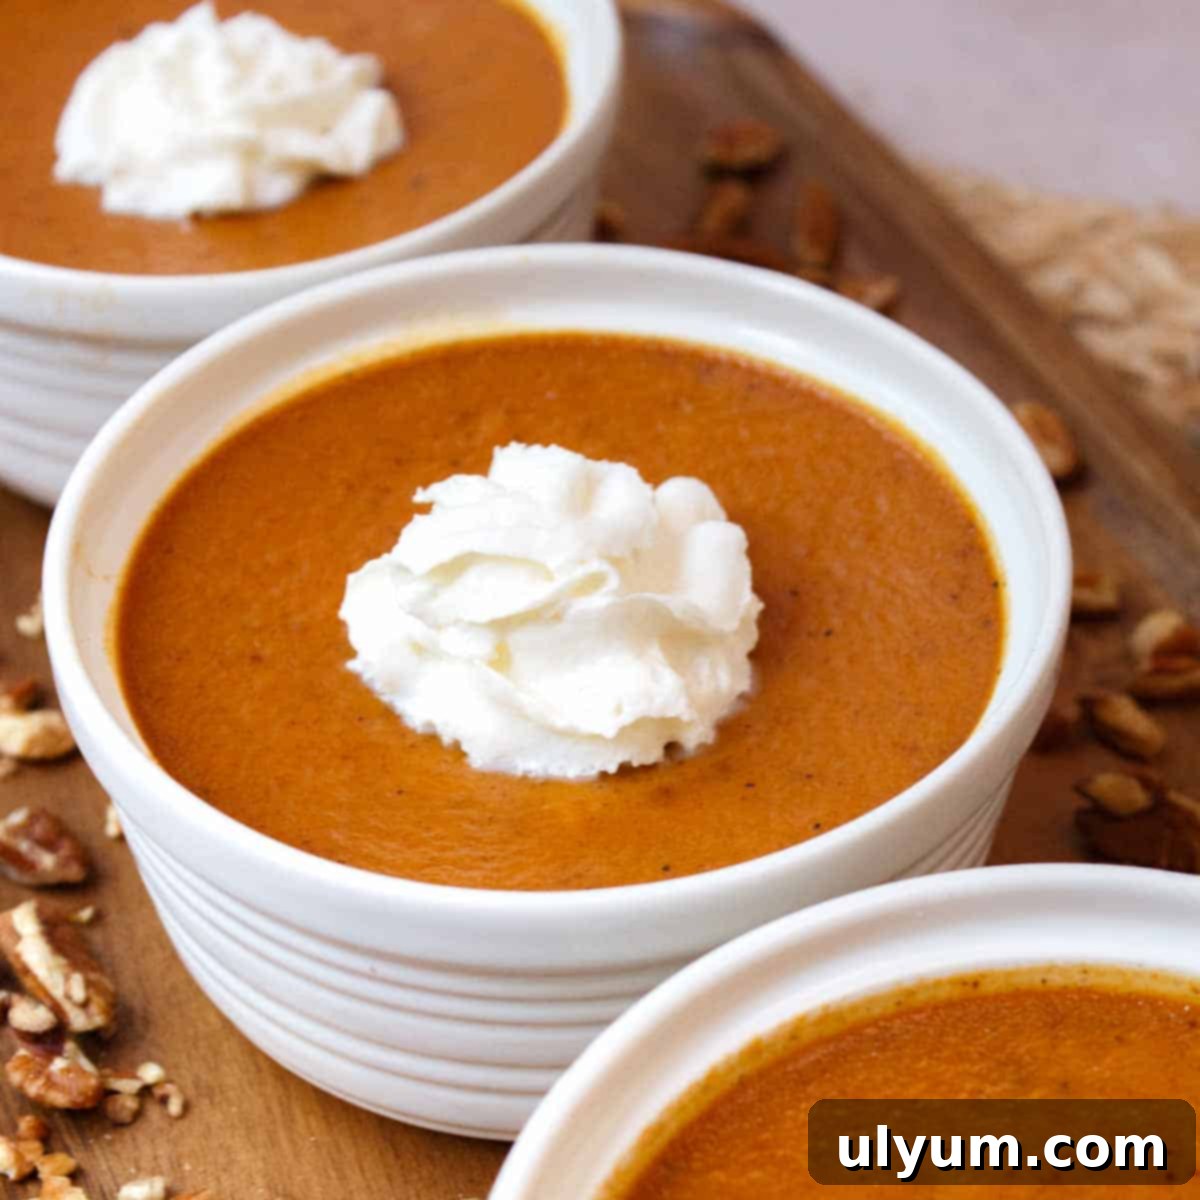
Easy Baked Pumpkin Custard: Silky Smooth, Crustless & Perfect for Fall
Indulge in the ultimate fall dessert with this incredibly easy and exceptionally delicious baked pumpkin custard. Imagine the rich, smooth, and aromatic filling of your favorite pumpkin pie, but without the fuss of a crust. This delightful treat is seasoned with classic fall spices like vanilla, pumpkin pie spice, and a generous touch of cinnamon and ginger, creating a dessert that’s both comforting and elegant. Perfectly portioned into individual ramekins, it’s an ideal choice for any holiday gathering, from Thanksgiving to Christmas, or simply a cozy autumn evening at home.
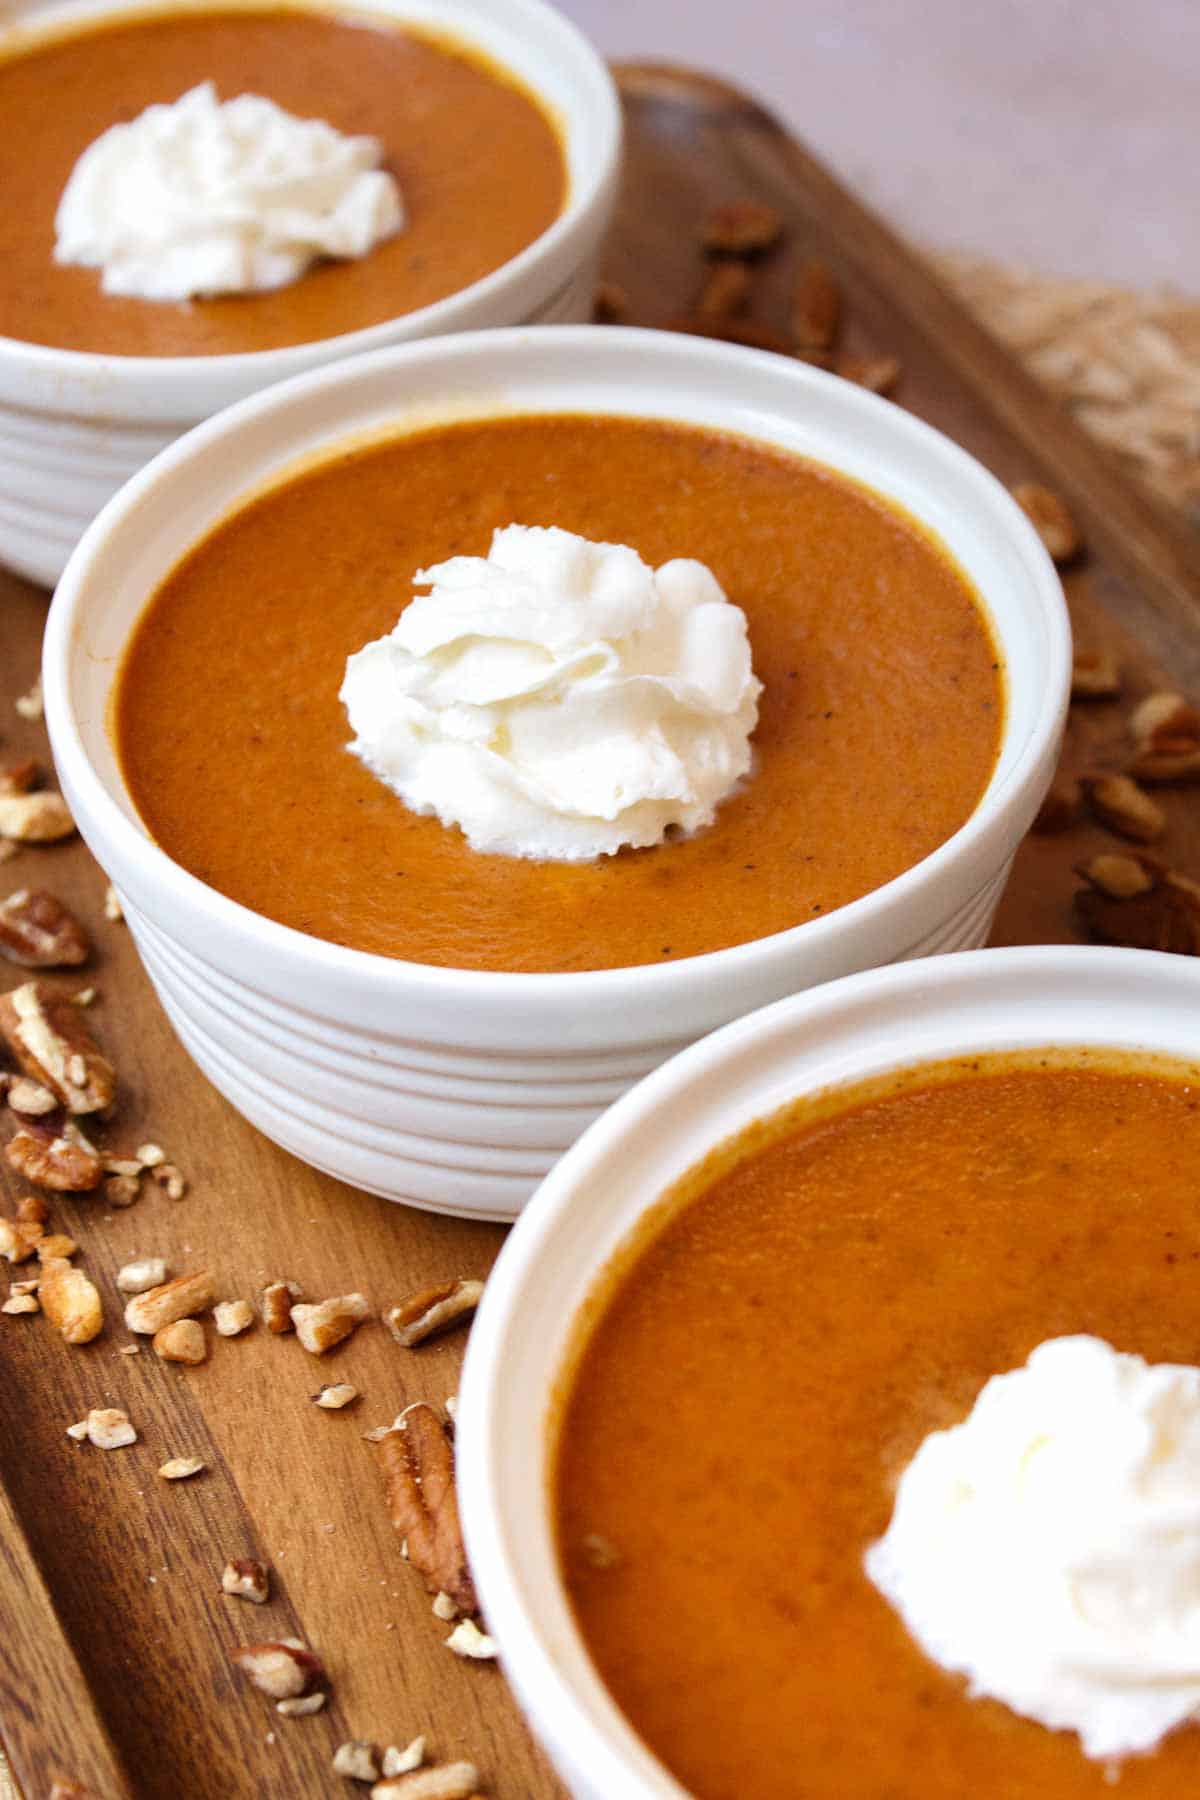
Serve each silky custard cup with a dollop of freshly whipped cream and a sprinkle of chopped pecans for an irresistible finish. The delicate texture and deep, warm flavors make this crustless pumpkin custard a standout dessert that will impress your guests and satisfy your seasonal cravings. It’s a simple recipe that yields impressive results, making it a valuable addition to your fall baking repertoire.
This post contains affiliate links. As an Amazon Associate, I earn from qualifying purchases.
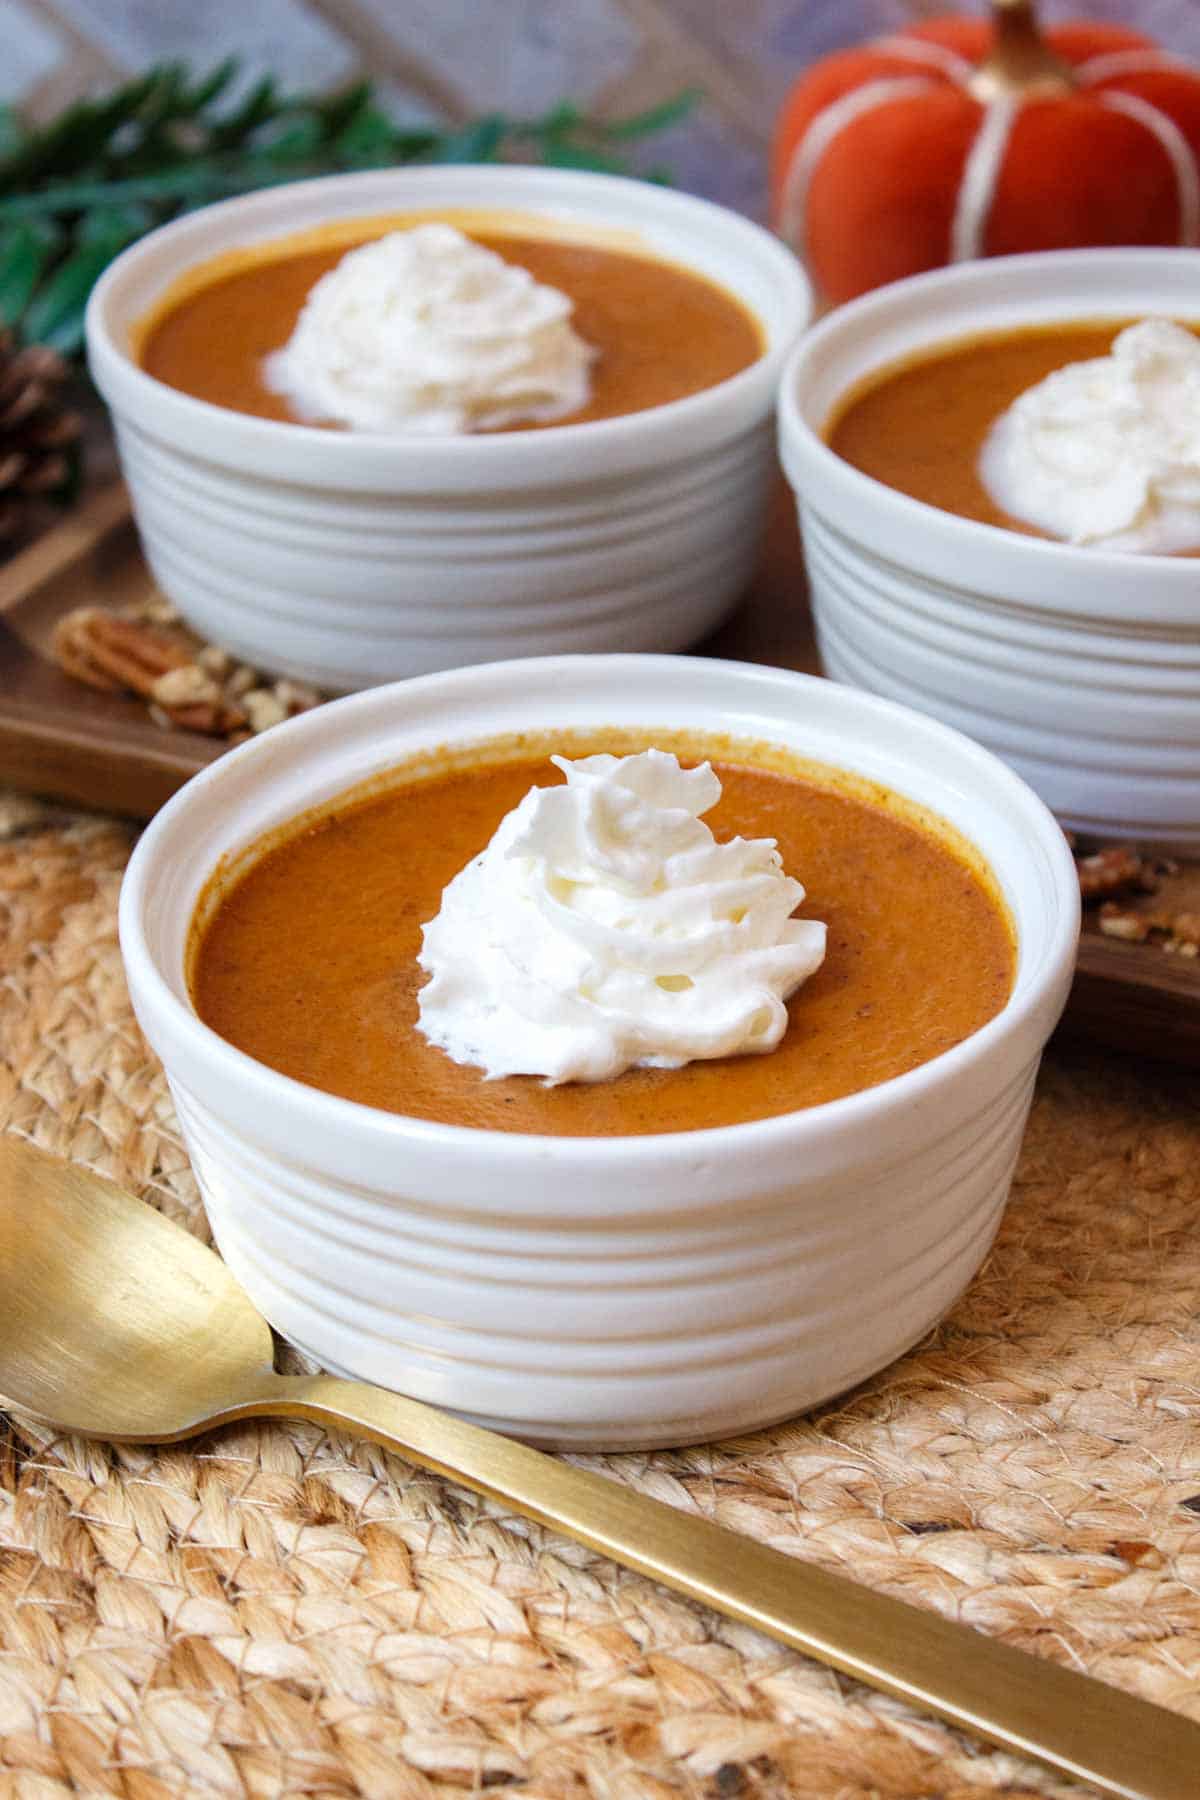
Why You’ll Love This Crustless Pumpkin Custard
- Effortless Elegance: This recipe makes four individual pumpkin custard cups, offering a sophisticated and perfectly portioned dessert that eliminates the stress of rolling out pie crusts. It’s ideal for entertaining, as each guest receives their own charming serving.
- Crustless Pumpkin Pie Sensation: Enjoy all the beloved flavors and creamy texture of traditional pumpkin pie filling without the crust. It’s a fantastic option for those who prefer a gluten-free dessert or simply want to focus on the smooth, spiced pumpkin goodness.
- Authentic Fall Flavors: Every spoonful is a symphony of autumn with rich pumpkin puree beautifully complemented by classic pumpkin pie spice, extra warm cinnamon, zesty ground ginger, and a hint of sweet vanilla. These robust flavors are what make it the perfect seasonal treat.
- Versatile Serving Options: Whether you prefer it warm, at room temperature, or chilled straight from the refrigerator, this custard is delightful in any form. Top it with freshly whipped cream, a sprinkle of cinnamon, or crunchy chopped pecans to elevate the experience.
More pumpkin recipes to bookmark for a flavorful fall:
- Pumpkin Spice Donuts: Start your morning with these delightful, spiced treats.
- Instant Pot Pumpkin Mac & Cheese with Bacon: A savory and comforting twist on a classic, perfect for dinner.
- Pumpkin Spice Mug Cake: A quick and easy single-serving dessert for those instant pumpkin cravings.
[feast_advanced_jump_to]
Essential Ingredients for Your Creamy Pumpkin Custard
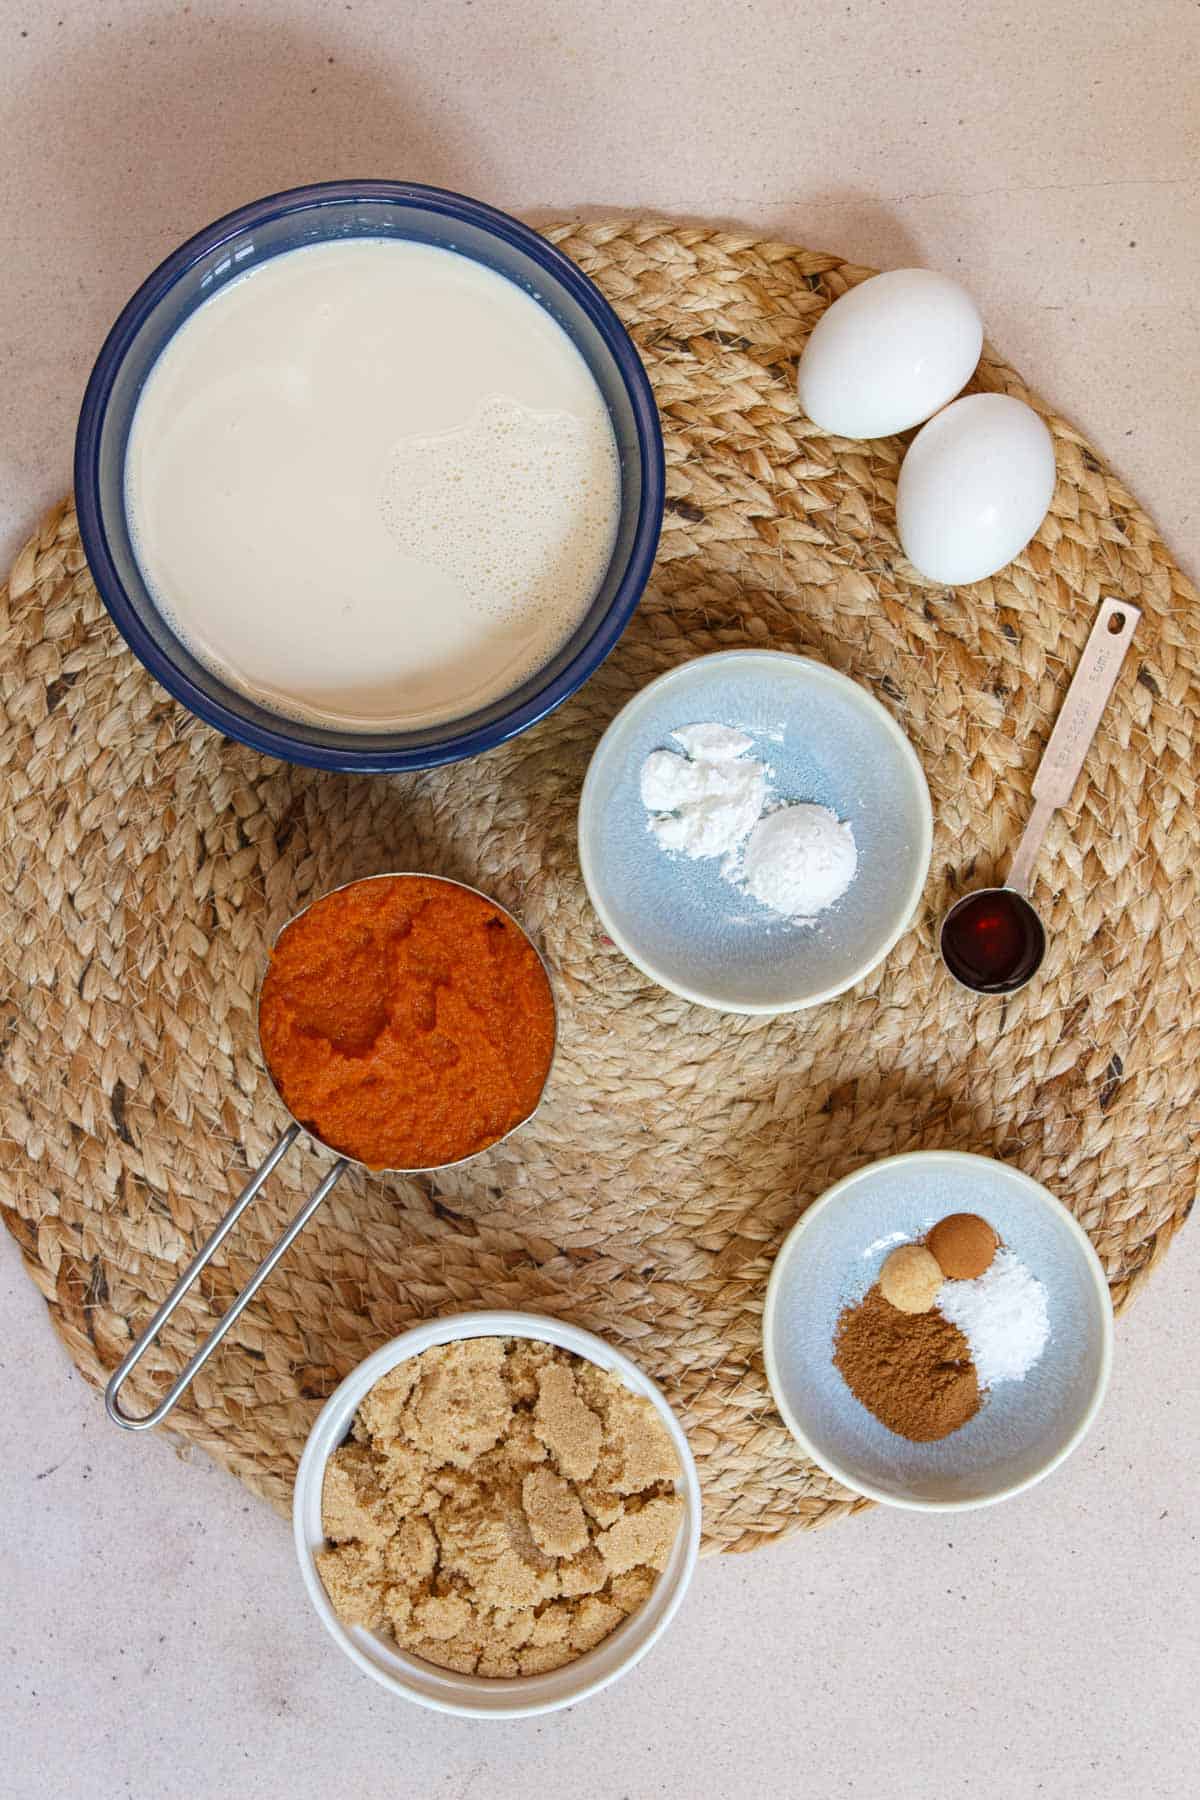
- Pumpkin Purée: The star of our show, providing that signature delicious pumpkin flavor and a smooth base for the custard. Be sure to use 100% pure pumpkin purée, not pumpkin pie filling.
- Eggs: Essential for binding the ingredients and giving the custard its characteristic smooth, rich, and creamy texture. They are key to the custard setting properly.
- Evaporated Milk: This concentrated milk contributes to an incredibly creamy taste and luxurious mouthfeel, making the custard exceptionally decadent. It’s richer than regular milk but lighter than heavy cream.
- Light Brown Sugar: Packed, this adds a deep, molasses-rich sweetness that perfectly complements the pumpkin and spices, creating a more complex flavor profile than white sugar alone.
- Pure Vanilla Extract: A classic flavor enhancer that rounds out all the other ingredients, adding a touch of aromatic warmth and sweetness.
- Cornstarch: Acts as a thickening agent, helping the custard achieve its perfectly set yet jiggly consistency without being overly dense. It’s crucial for the structural integrity of the dessert.
- Pumpkin Pie Spice: A convenient blend of warm spices, typically including cinnamon, ginger, nutmeg, and allspice. This mix delivers the quintessential fall aroma and taste.
- Salt: Just a pinch of salt is vital for balancing the sweetness and enhancing all the other flavors, making them pop. Don’t skip it!
- Cinnamon: Added separately to boost the overall warm, sweet, and comforting cinnamon flavor, which is a hallmark of pumpkin desserts.
- Ground Ginger: A little extra ground ginger truly brightens the spice profile, adding a subtle peppery warmth that elevates the pumpkin taste.
- Whipped Cream: Optional, but highly recommended for serving. Its light, airy texture and delicate sweetness perfectly contrast the rich custard.
- Chopped Pecans: Optional, but adds a wonderful crunch and nutty flavor that complements the smooth custard and sweet whipped cream. Toasted pecans are even better!
For precise measurements, please refer to the recipe card below.
Step-by-Step Instructions for Perfect Pumpkin Custard
Creating this baked pumpkin custard is straightforward and rewarding. Follow these steps for a smooth and perfectly spiced dessert:
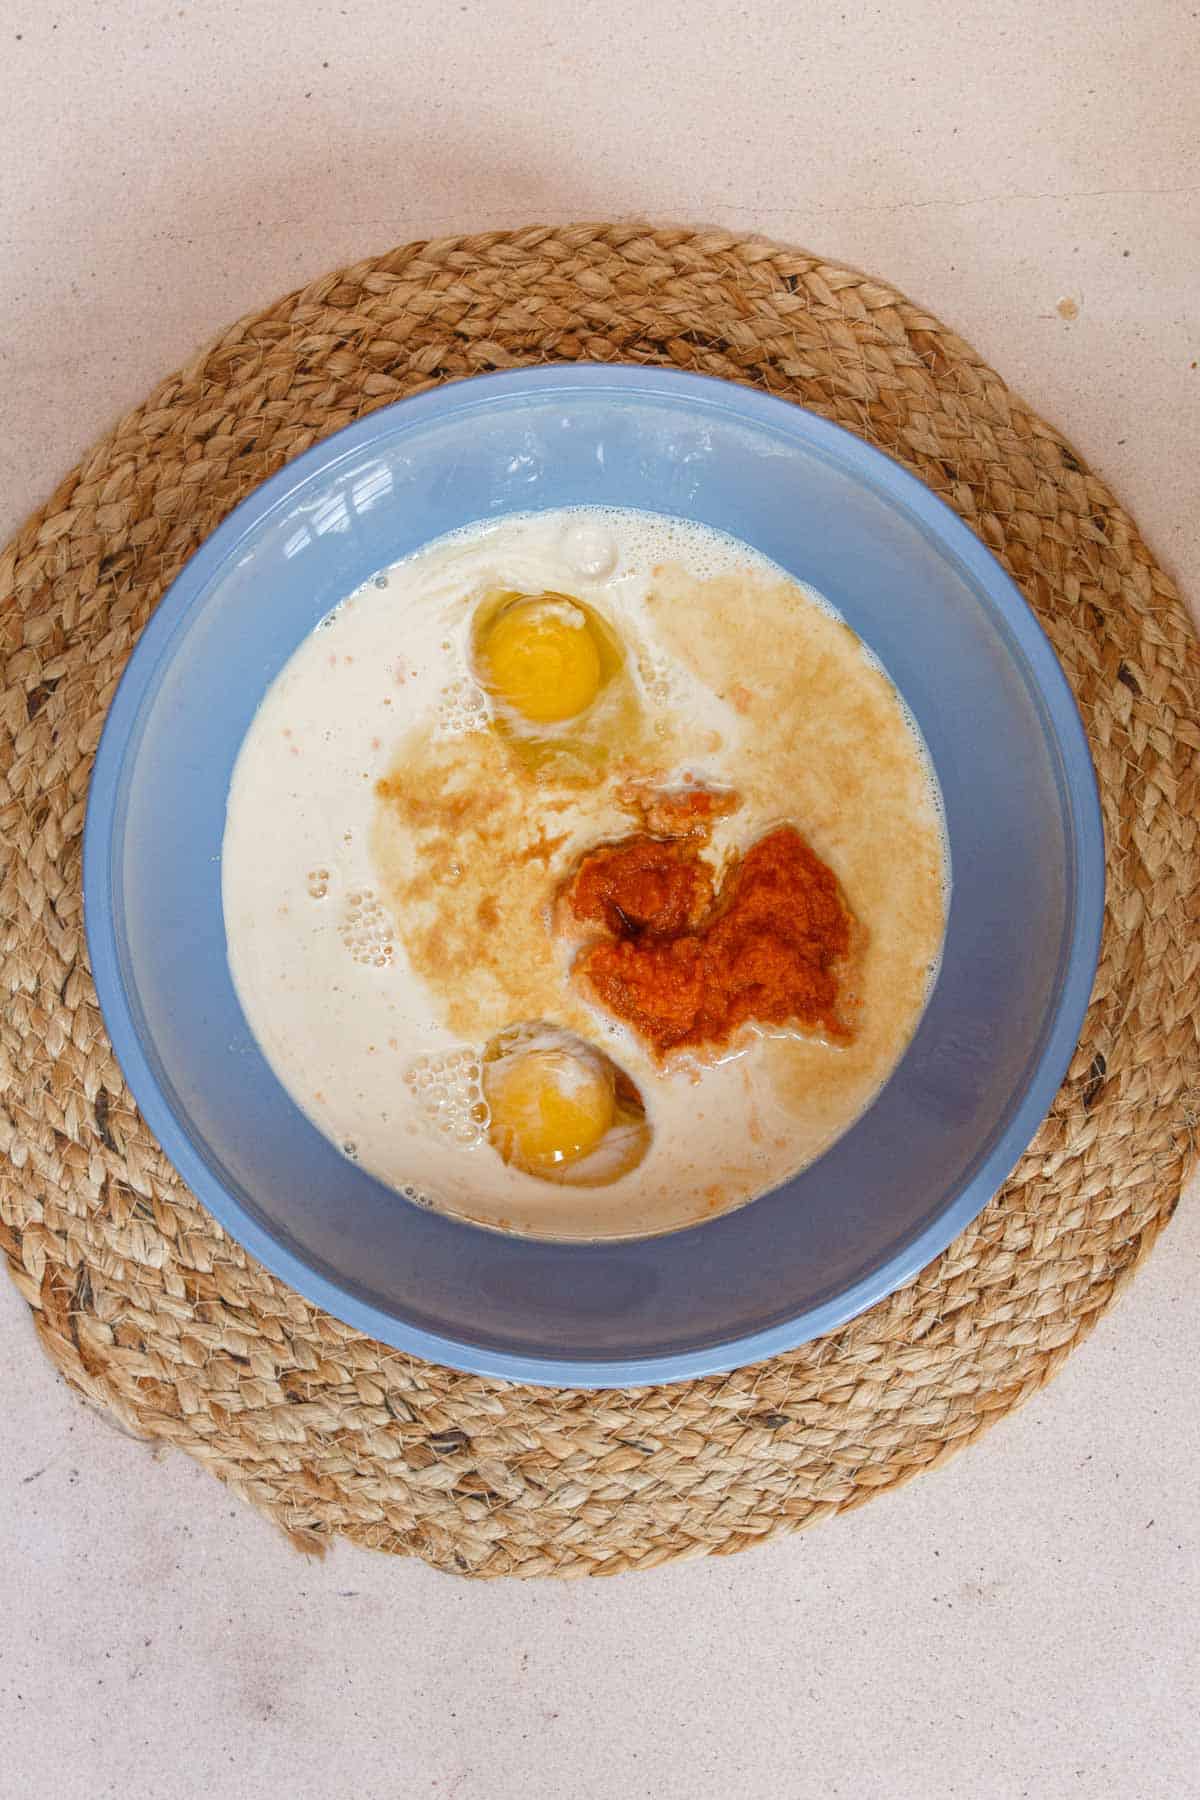
Step 1: Prepare the Wet Ingredients. Preheat your oven to 350°F (175°C). In a large mixing bowl, combine the pumpkin purée, eggs, evaporated milk, packed light brown sugar, and pure vanilla extract. Whisk these ingredients thoroughly until completely smooth and well combined. This ensures a uniform base for your custard.
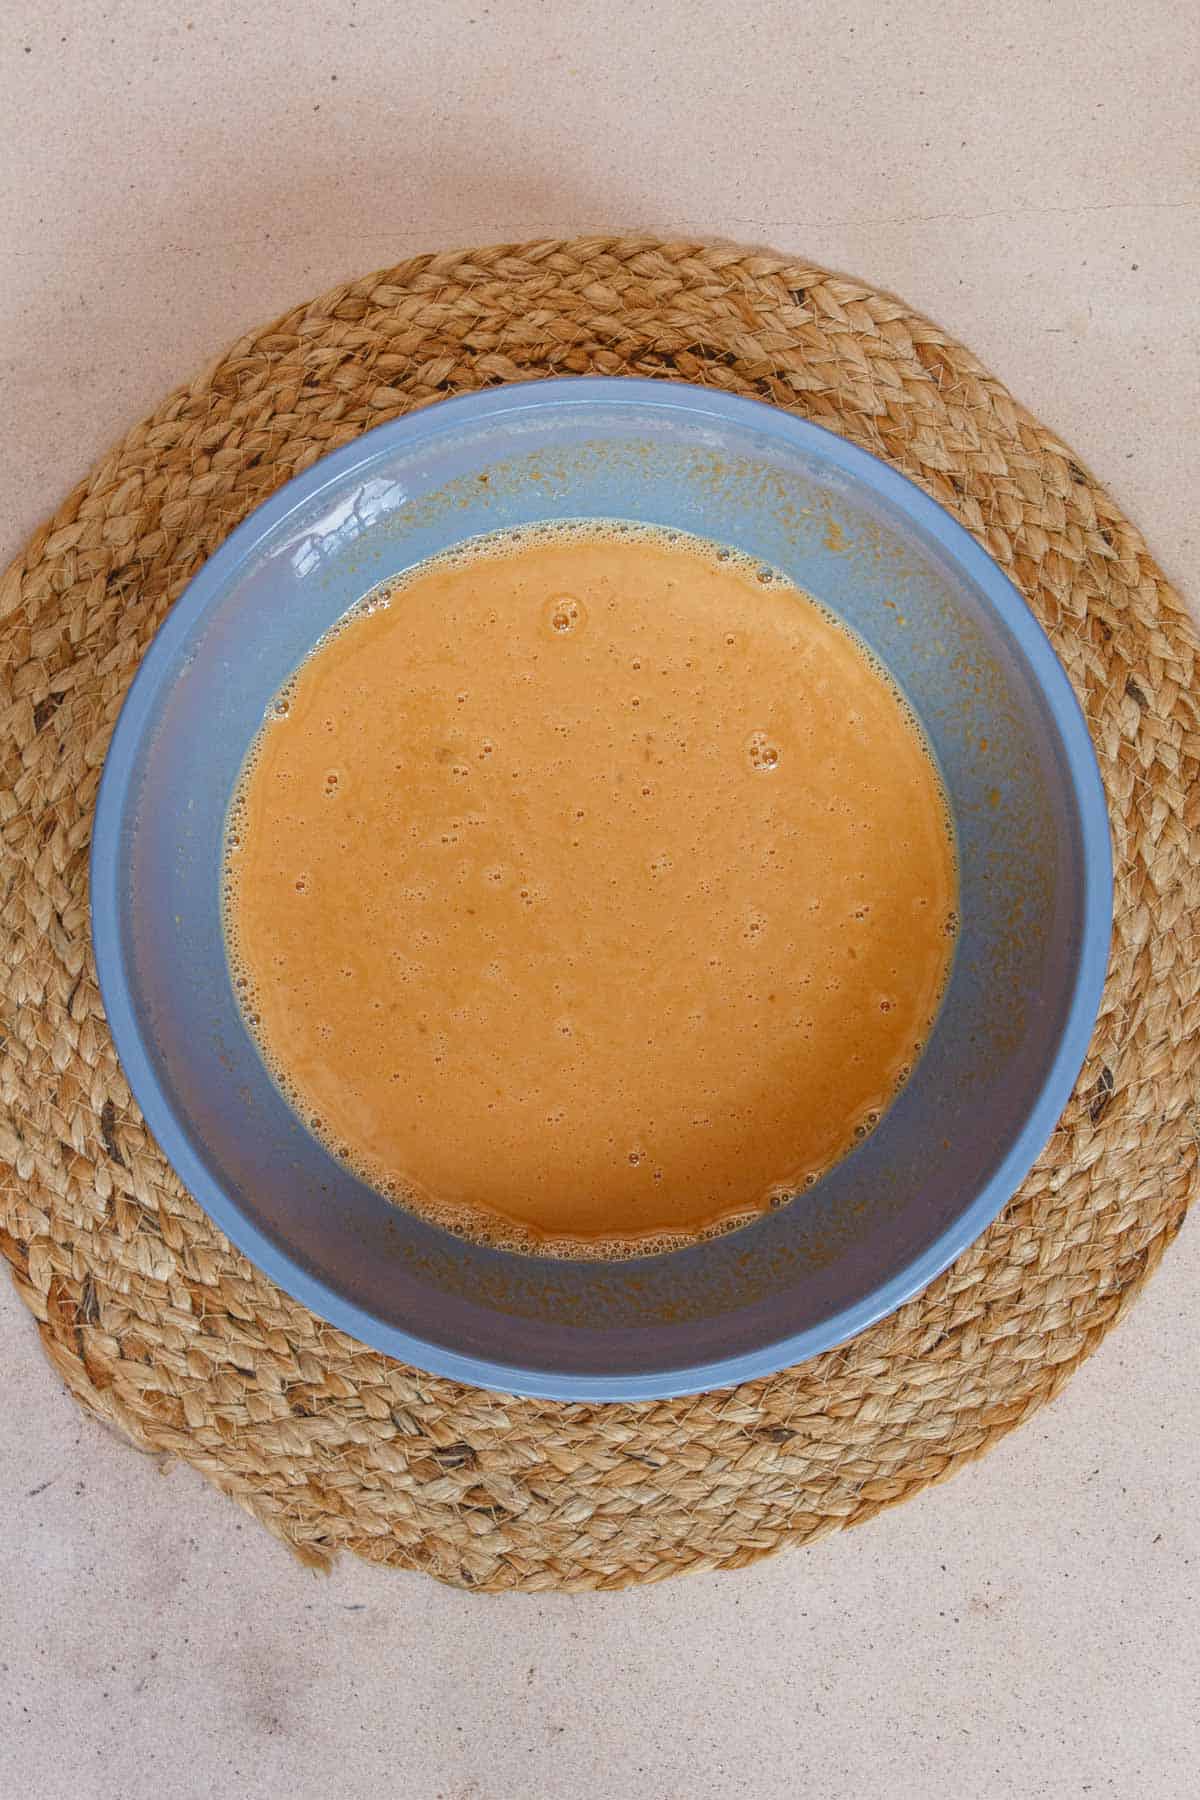
The wet pumpkin mixture should be completely smooth, with no lumps of sugar or unmixed egg. This ensures a silky texture in your final custard.
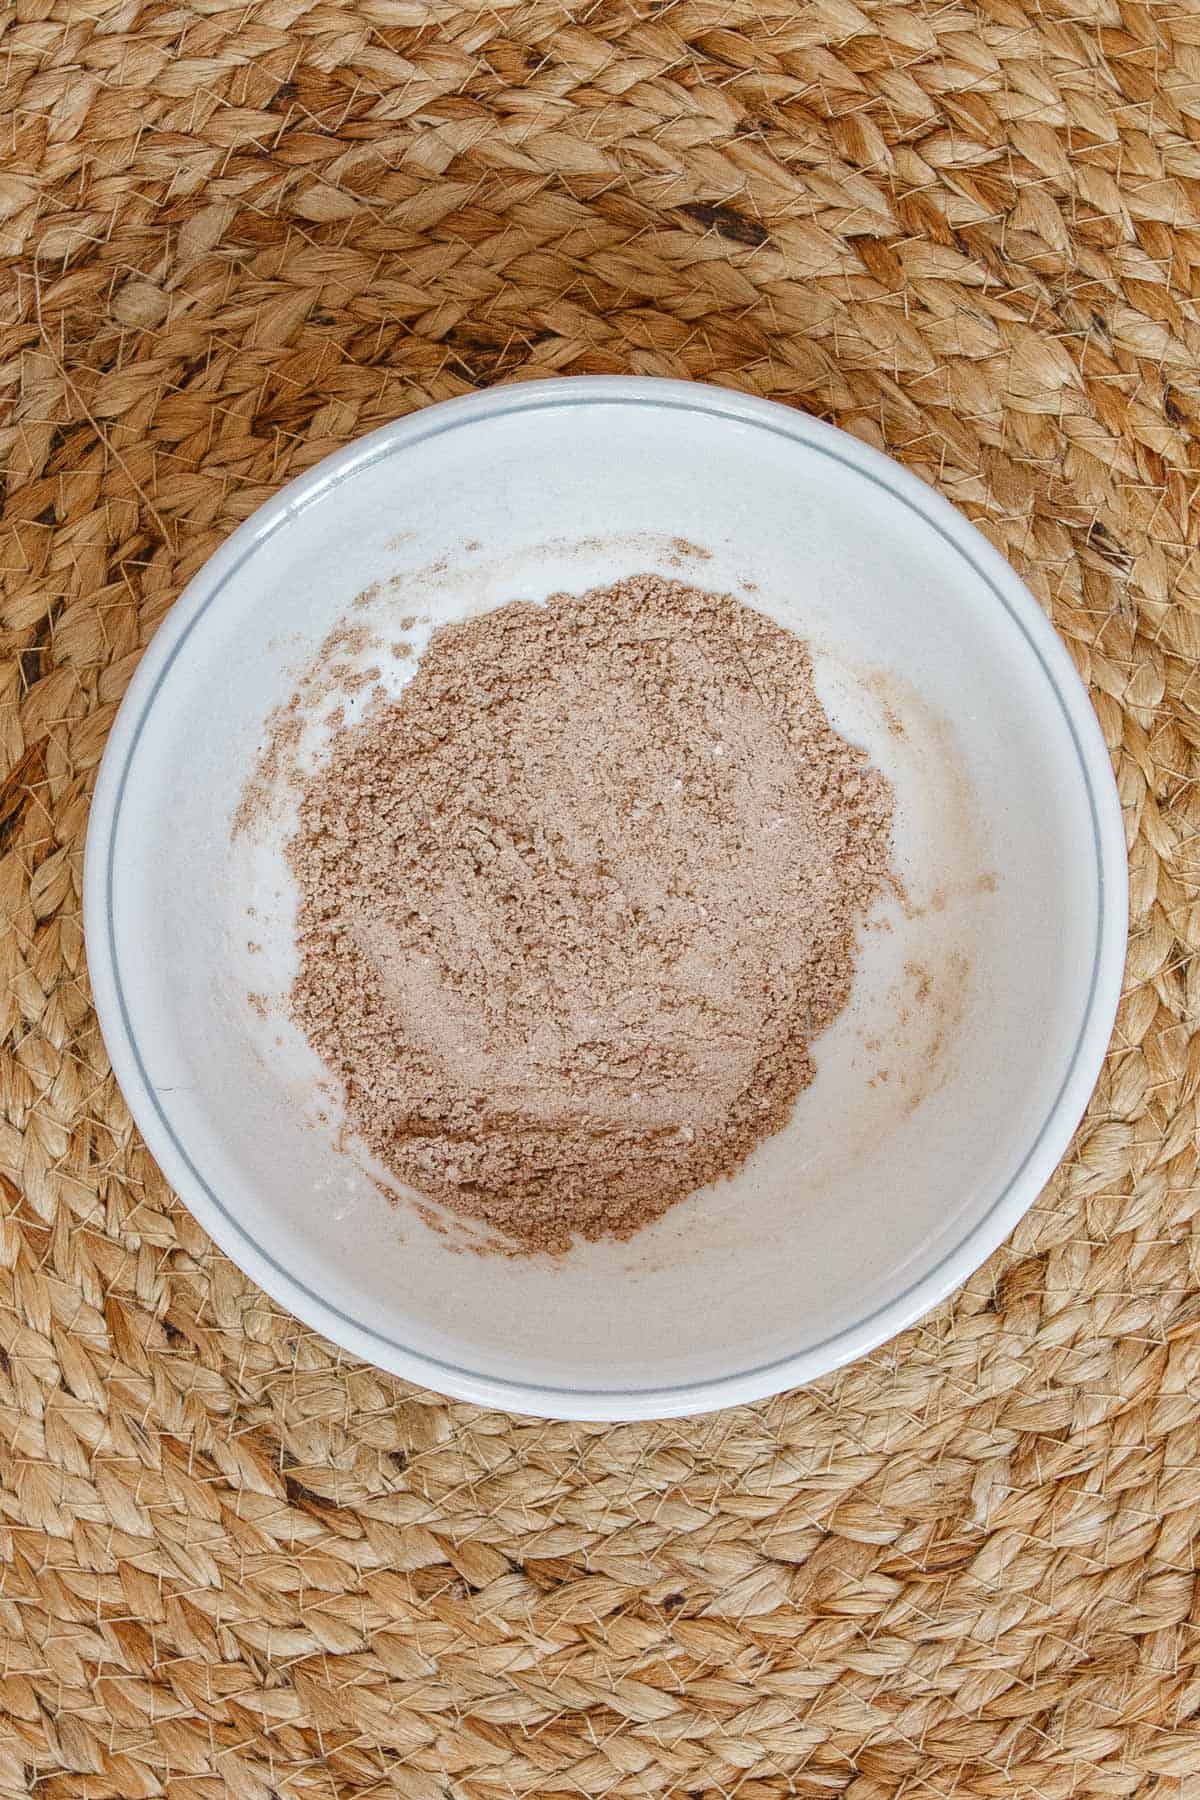
Step 2: Combine Dry Ingredients. In a separate small bowl, whisk together the cornstarch, pumpkin pie spice, salt, extra cinnamon, and ground ginger. Make sure to break up any clumps to ensure even distribution of spices and thickener throughout the custard. This step prevents pockets of unmixed ingredients.
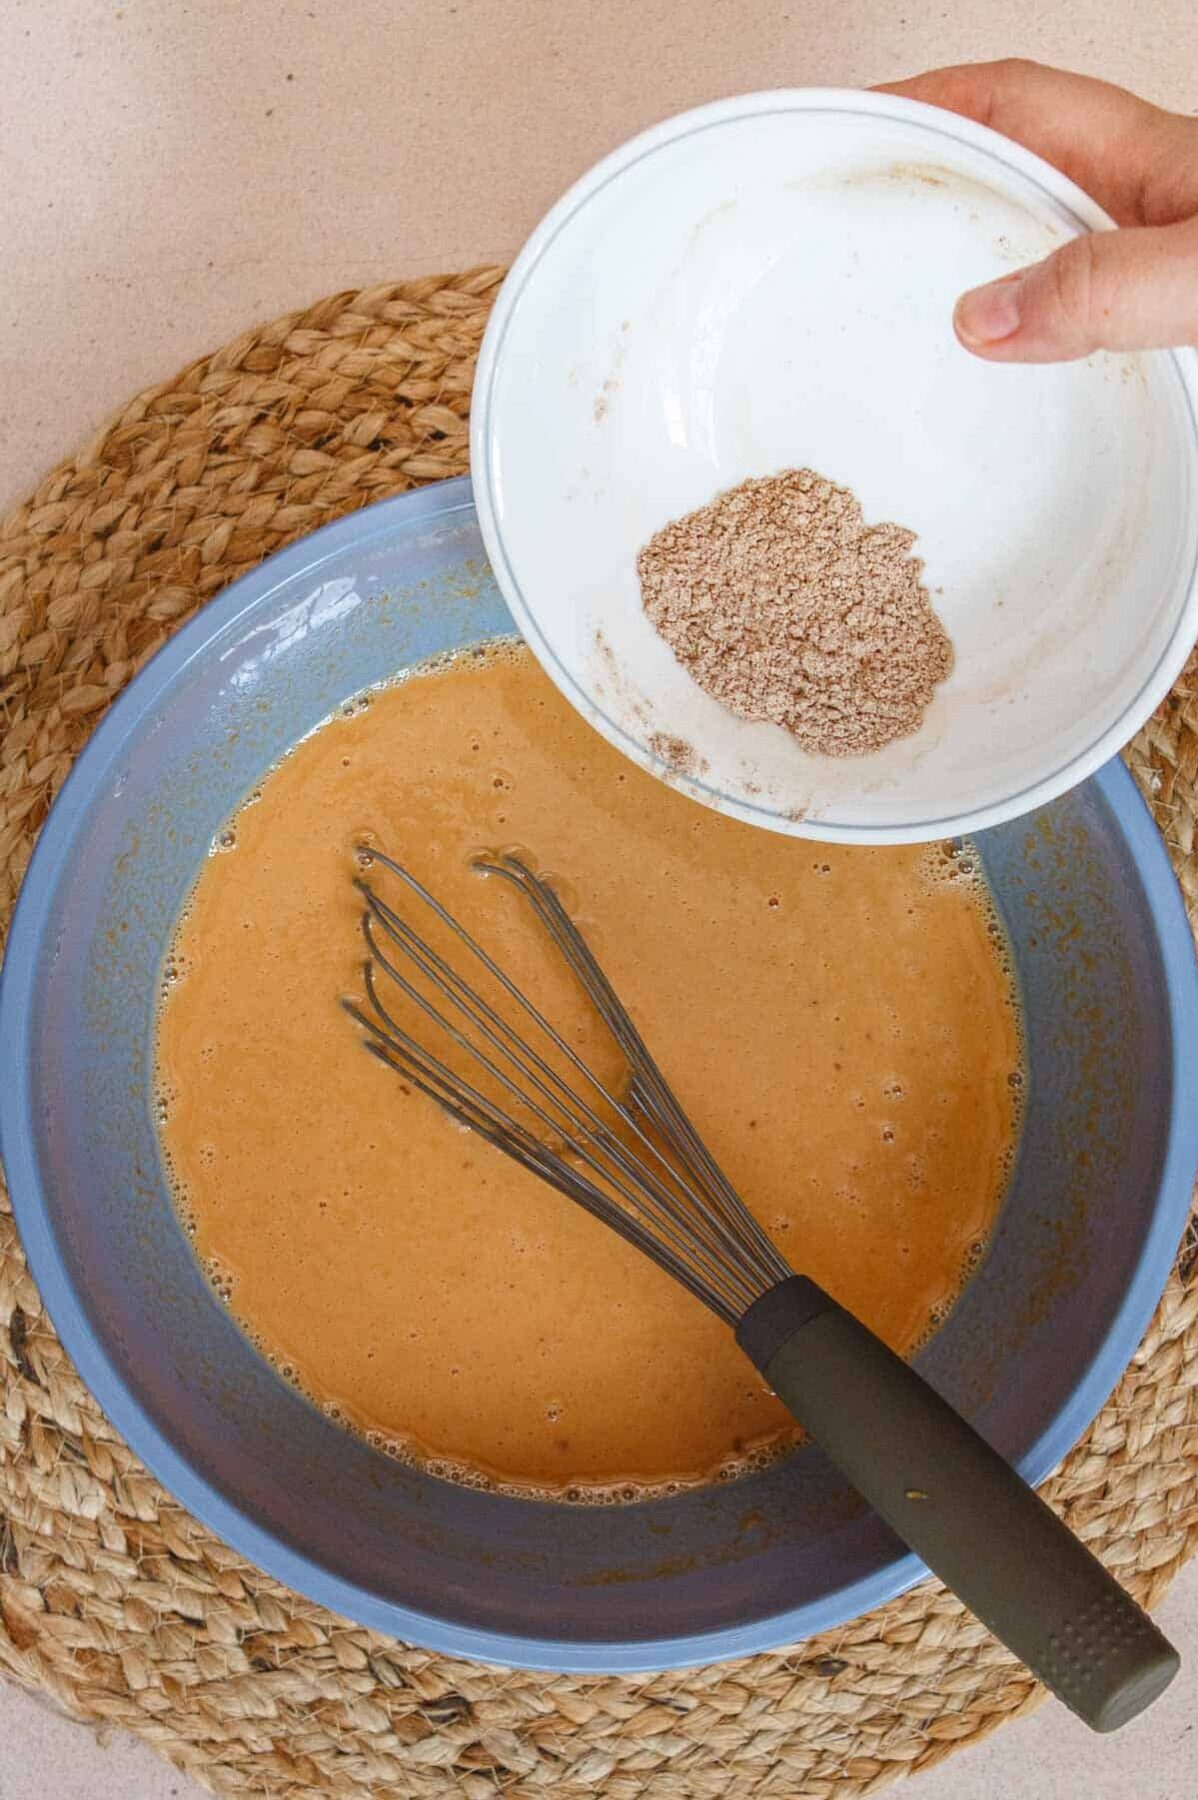
Step 3: Combine Mixtures. Gradually add the dry spice mixture to the wet pumpkin mixture. Whisk continuously and thoroughly until everything is well-blended and smooth. Pro Tip: Slowly incorporating the dry ingredients into the wet ones prevents clumping and ensures a perfectly uniform, lump-free custard. A fine-mesh sieve can also be used to sift the dry ingredients into the wet for extra smoothness.
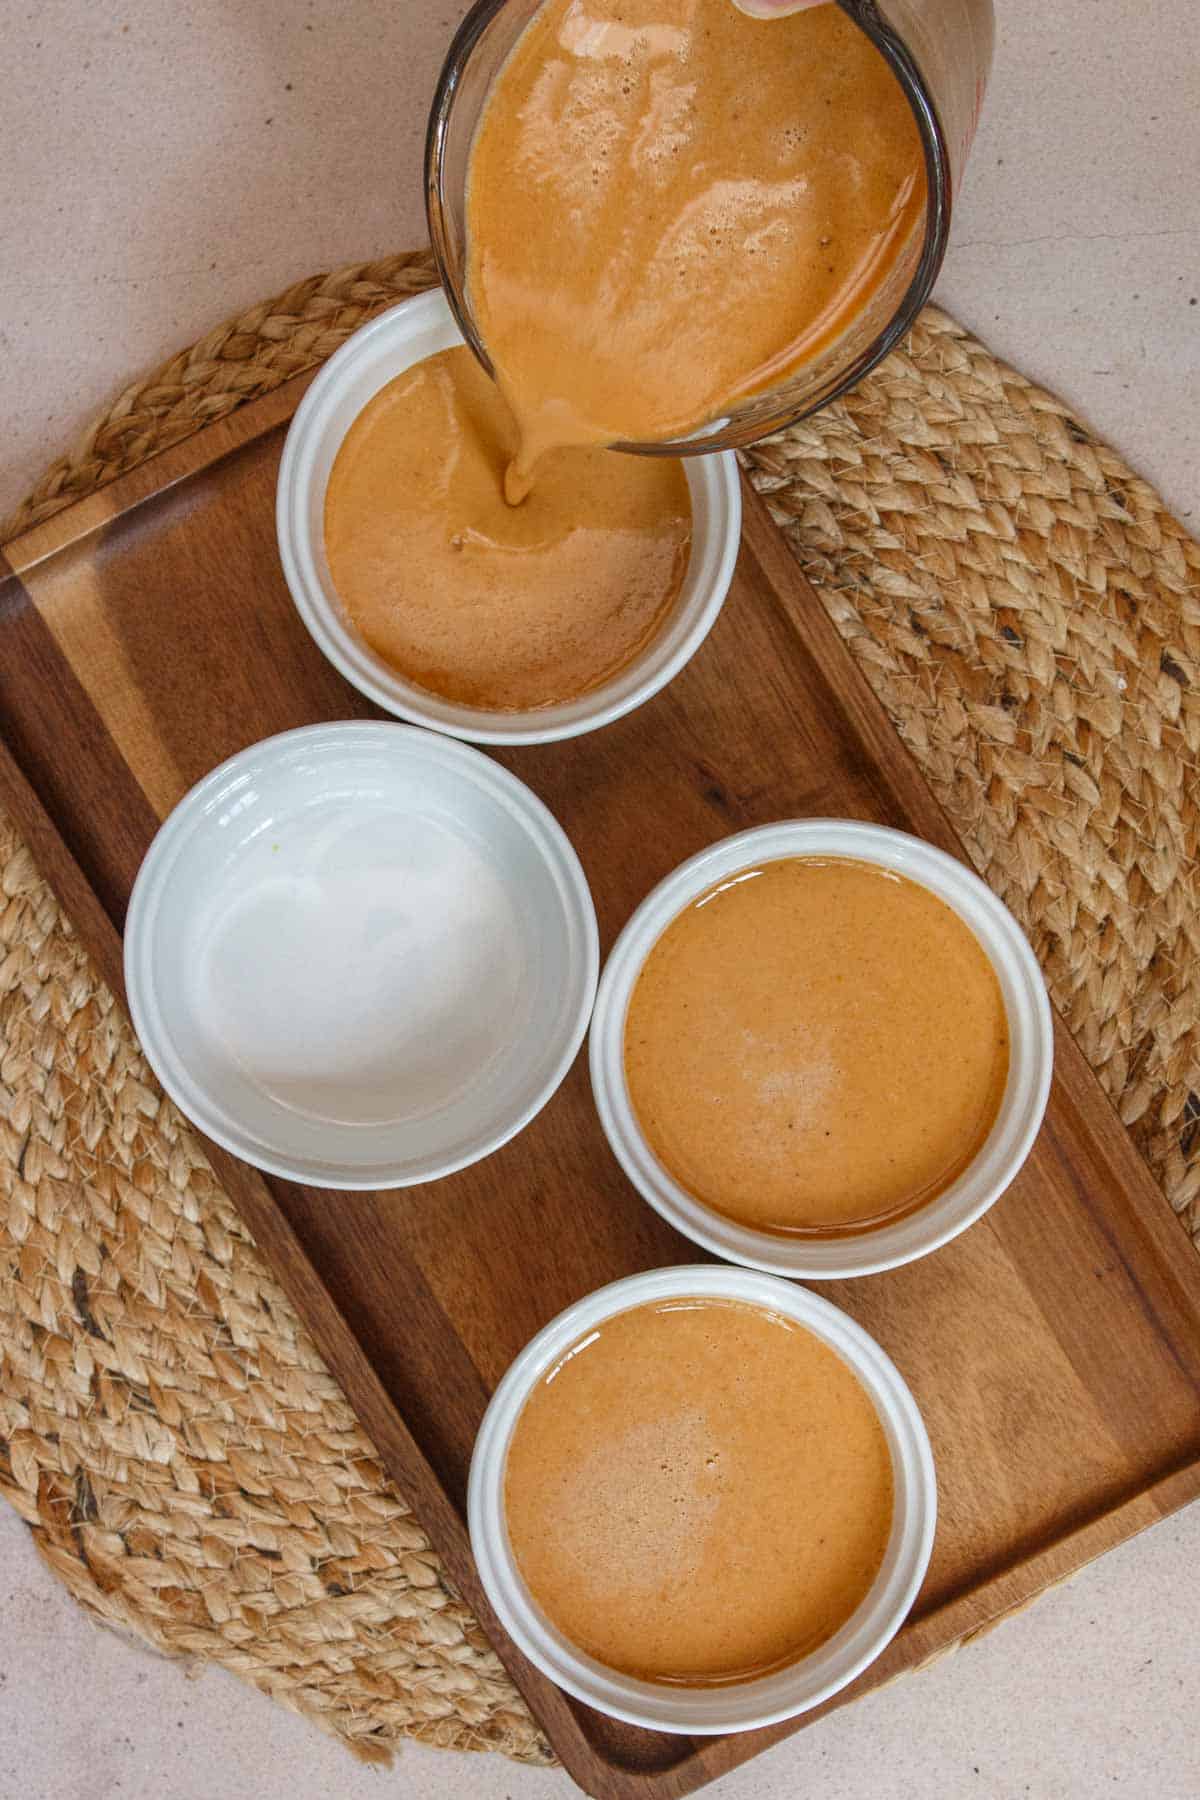
Step 4: Fill the Ramekins. Carefully pour the prepared custard mixture into four 6-ounce ramekins or custard cups, ensuring the mixture is divided evenly among them. Place these filled cups into a larger 9×13-inch baking pan with high sides.
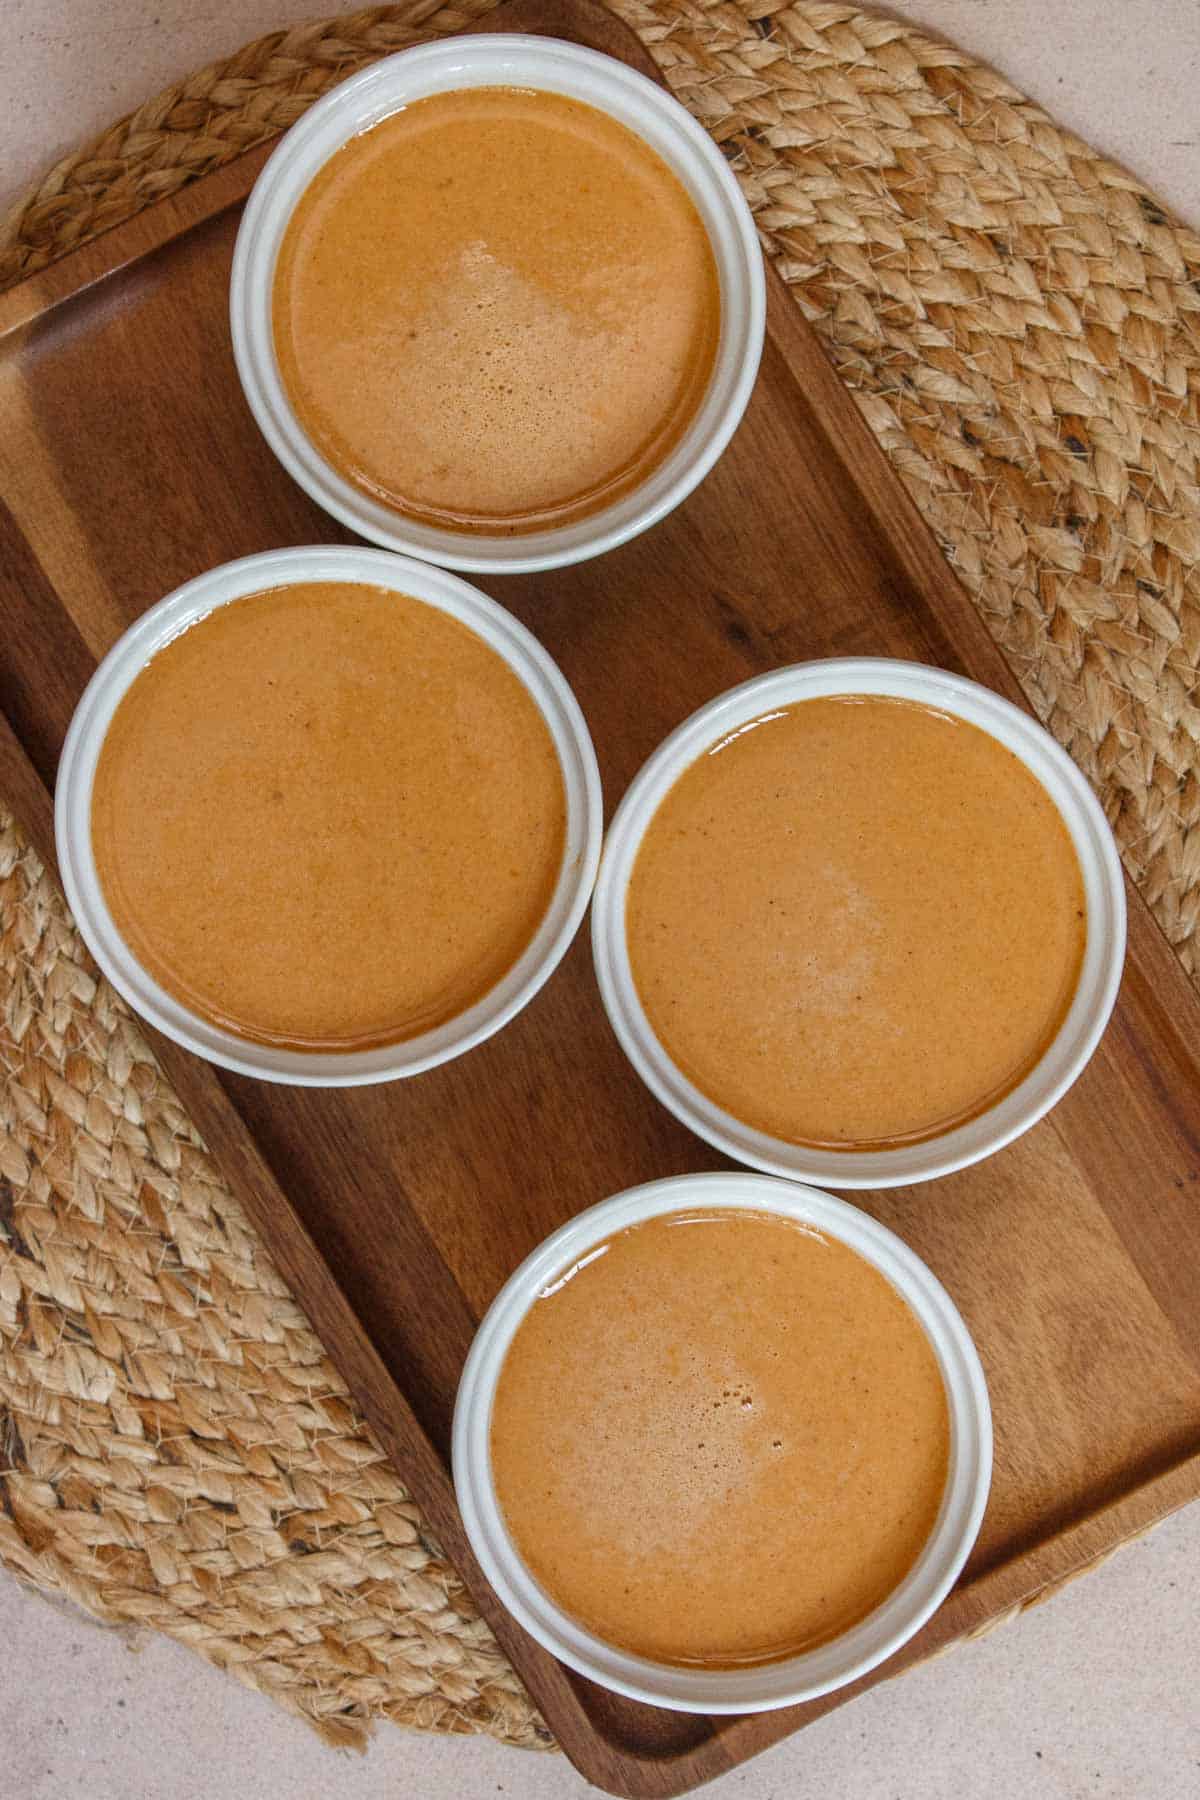
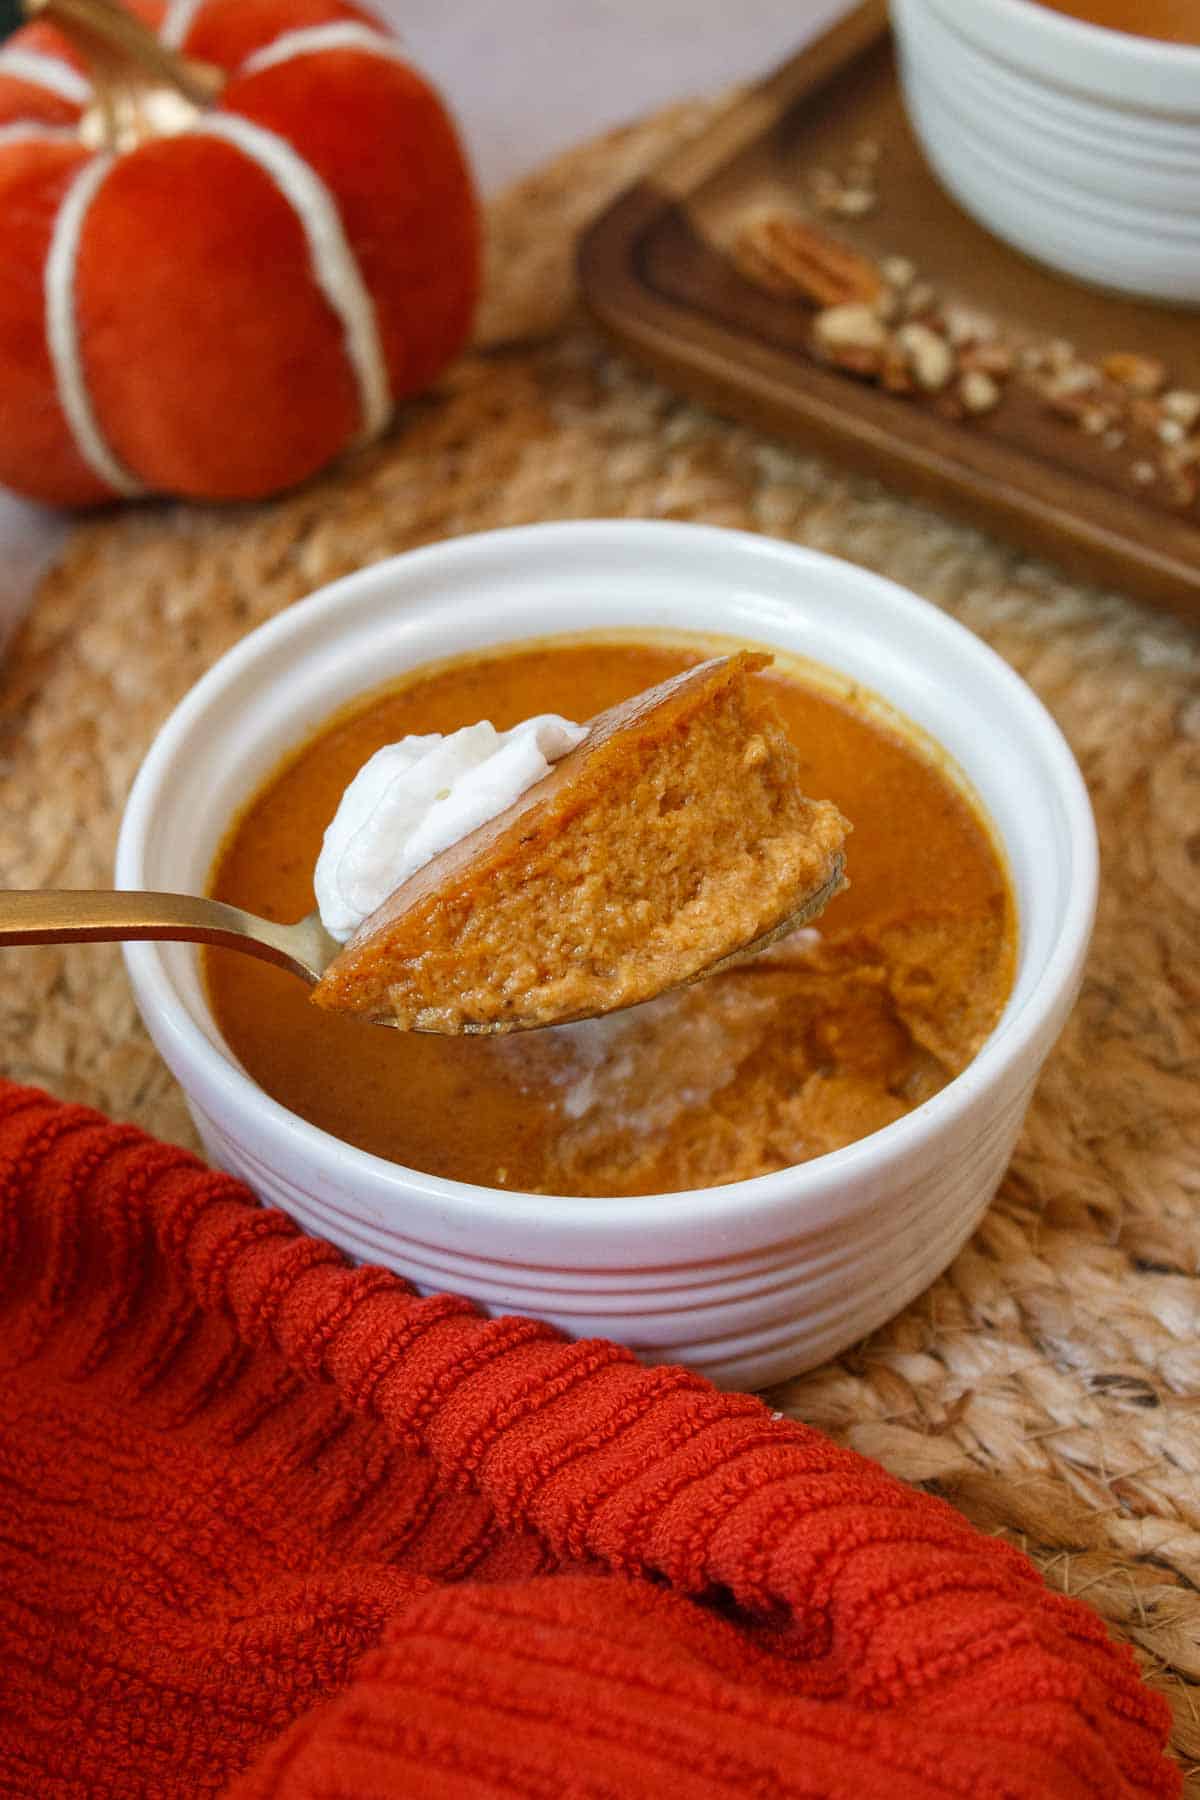
In a typical 6-ounce ramekin (as pictured), the custard mixture will fill the cups up to the lower inner rim, leaving just enough space for it to expand slightly during baking.
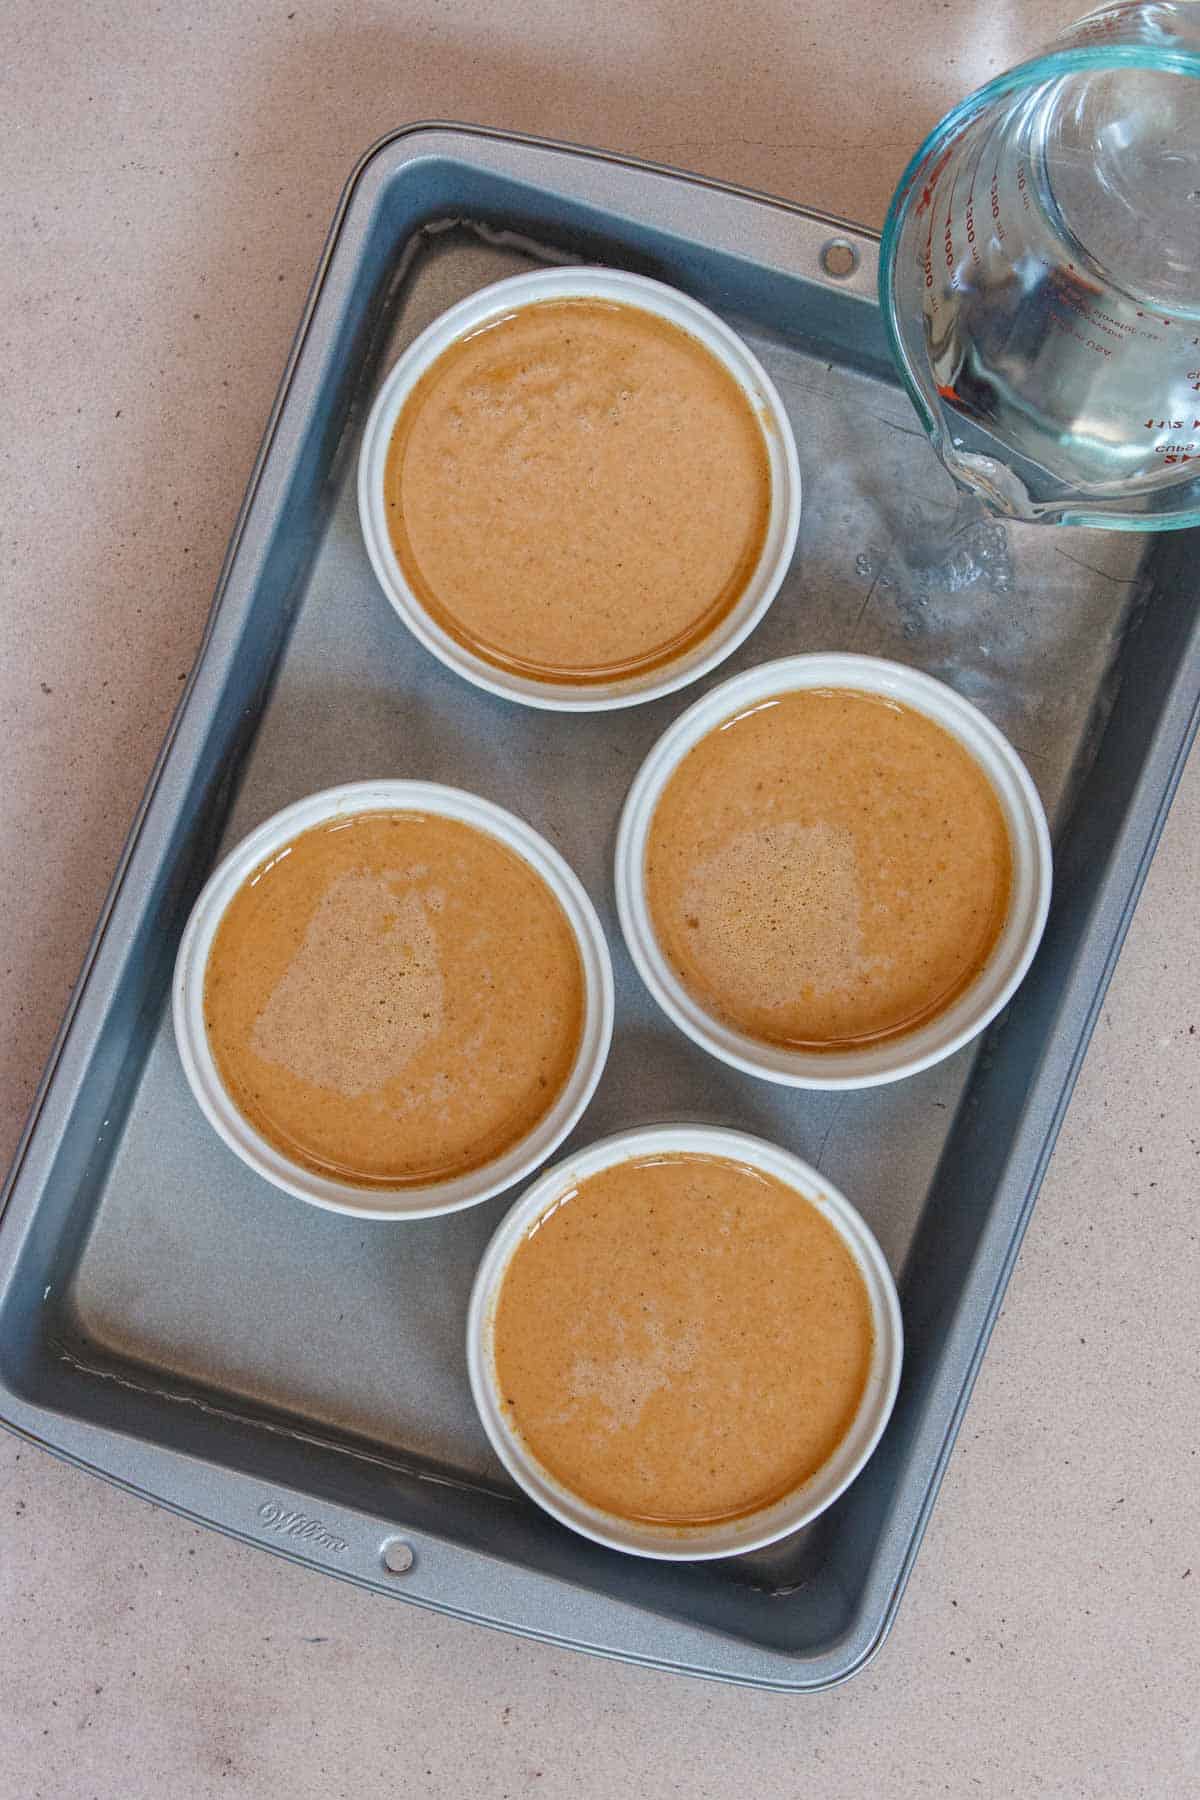
Step 5: Create a Water Bath. Add enough warm (or even boiling) water to the baking pan so that it comes halfway up the sides of the ramekins. This crucial step, known as a bain-marie, ensures gentle and even cooking, preventing the custard from cracking or curdling. See our detailed water bath tips below for best results.
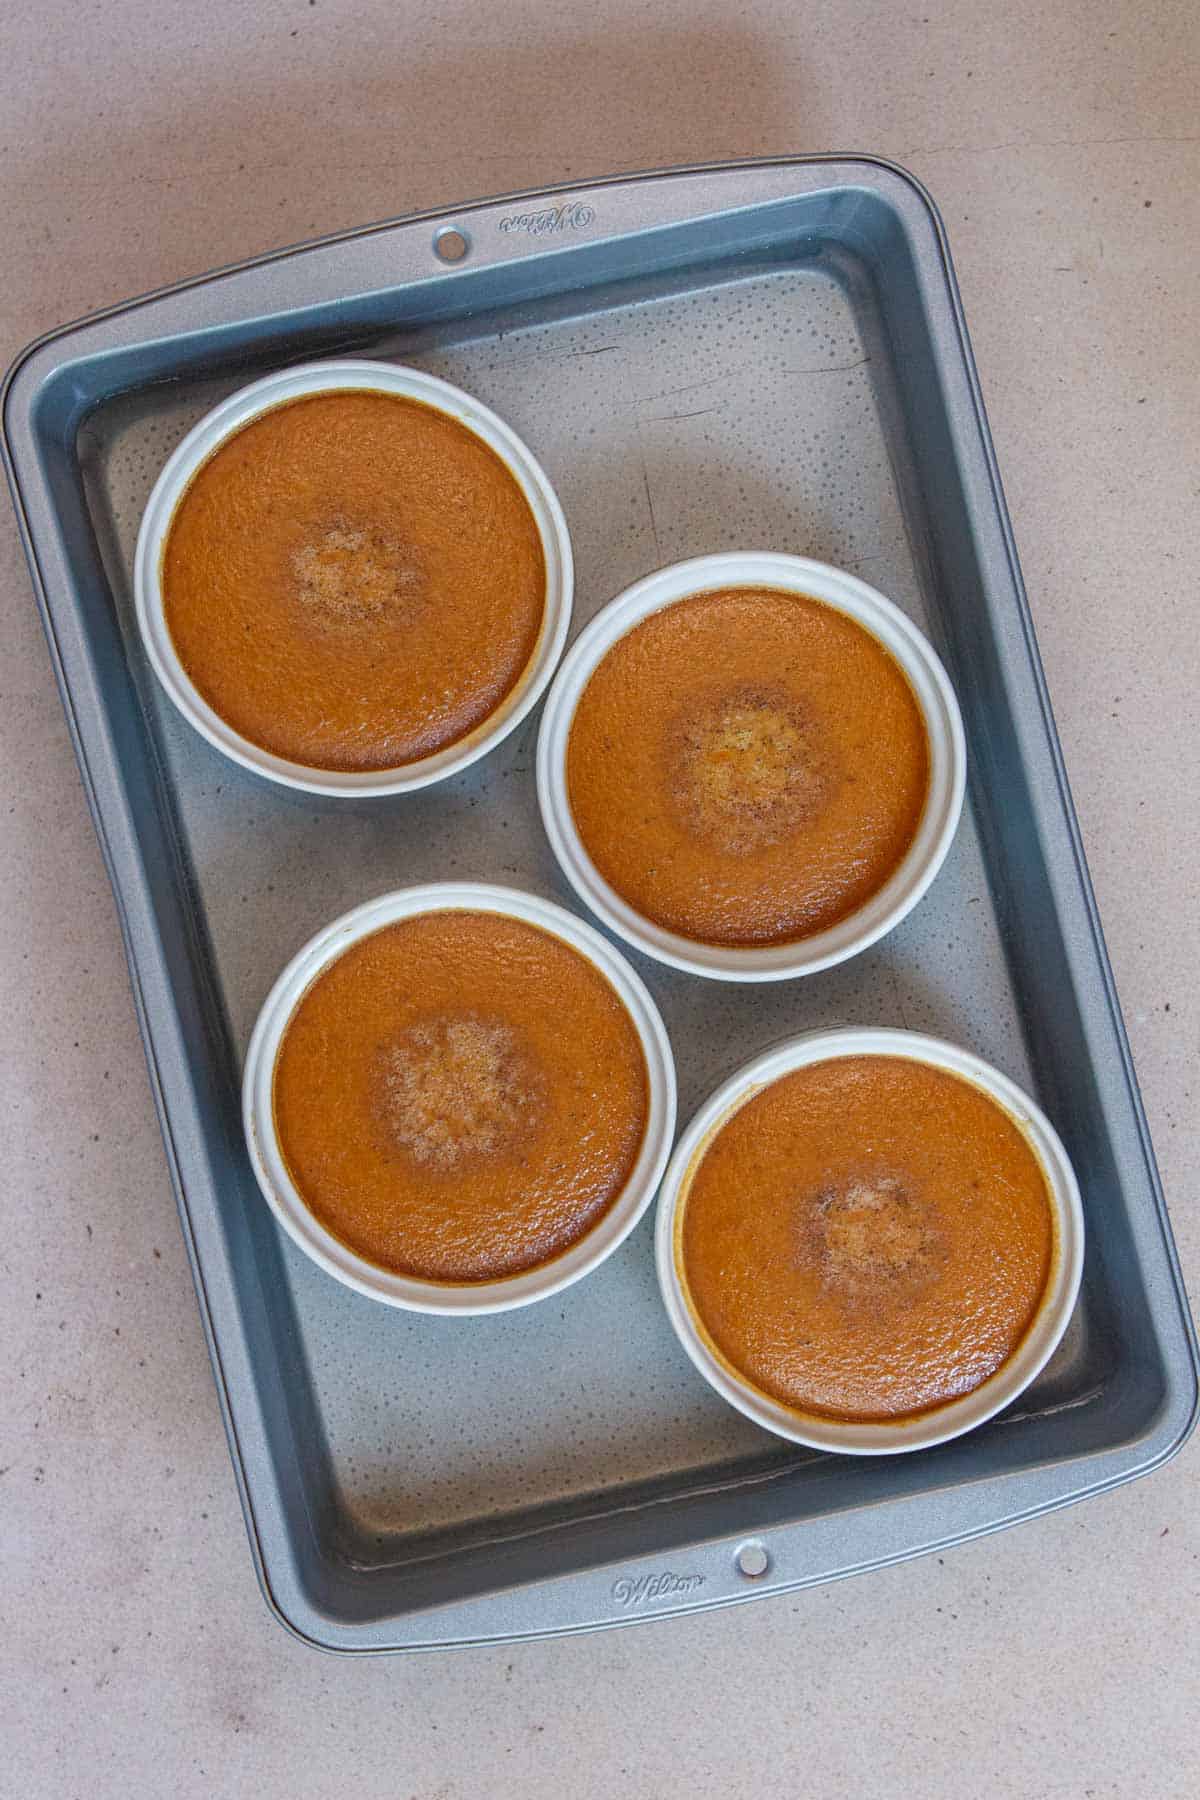
Step 6: Bake Until Set. Bake the custards for 40 to 50 minutes. The custard is perfectly baked when the edges are set and lightly browned, and the center has a slight, gentle jiggle when the pan is moved. A knife inserted into the center should come out clean. Caution: The ramekins and water will be very hot. Always handle them with extreme care using oven mitts.
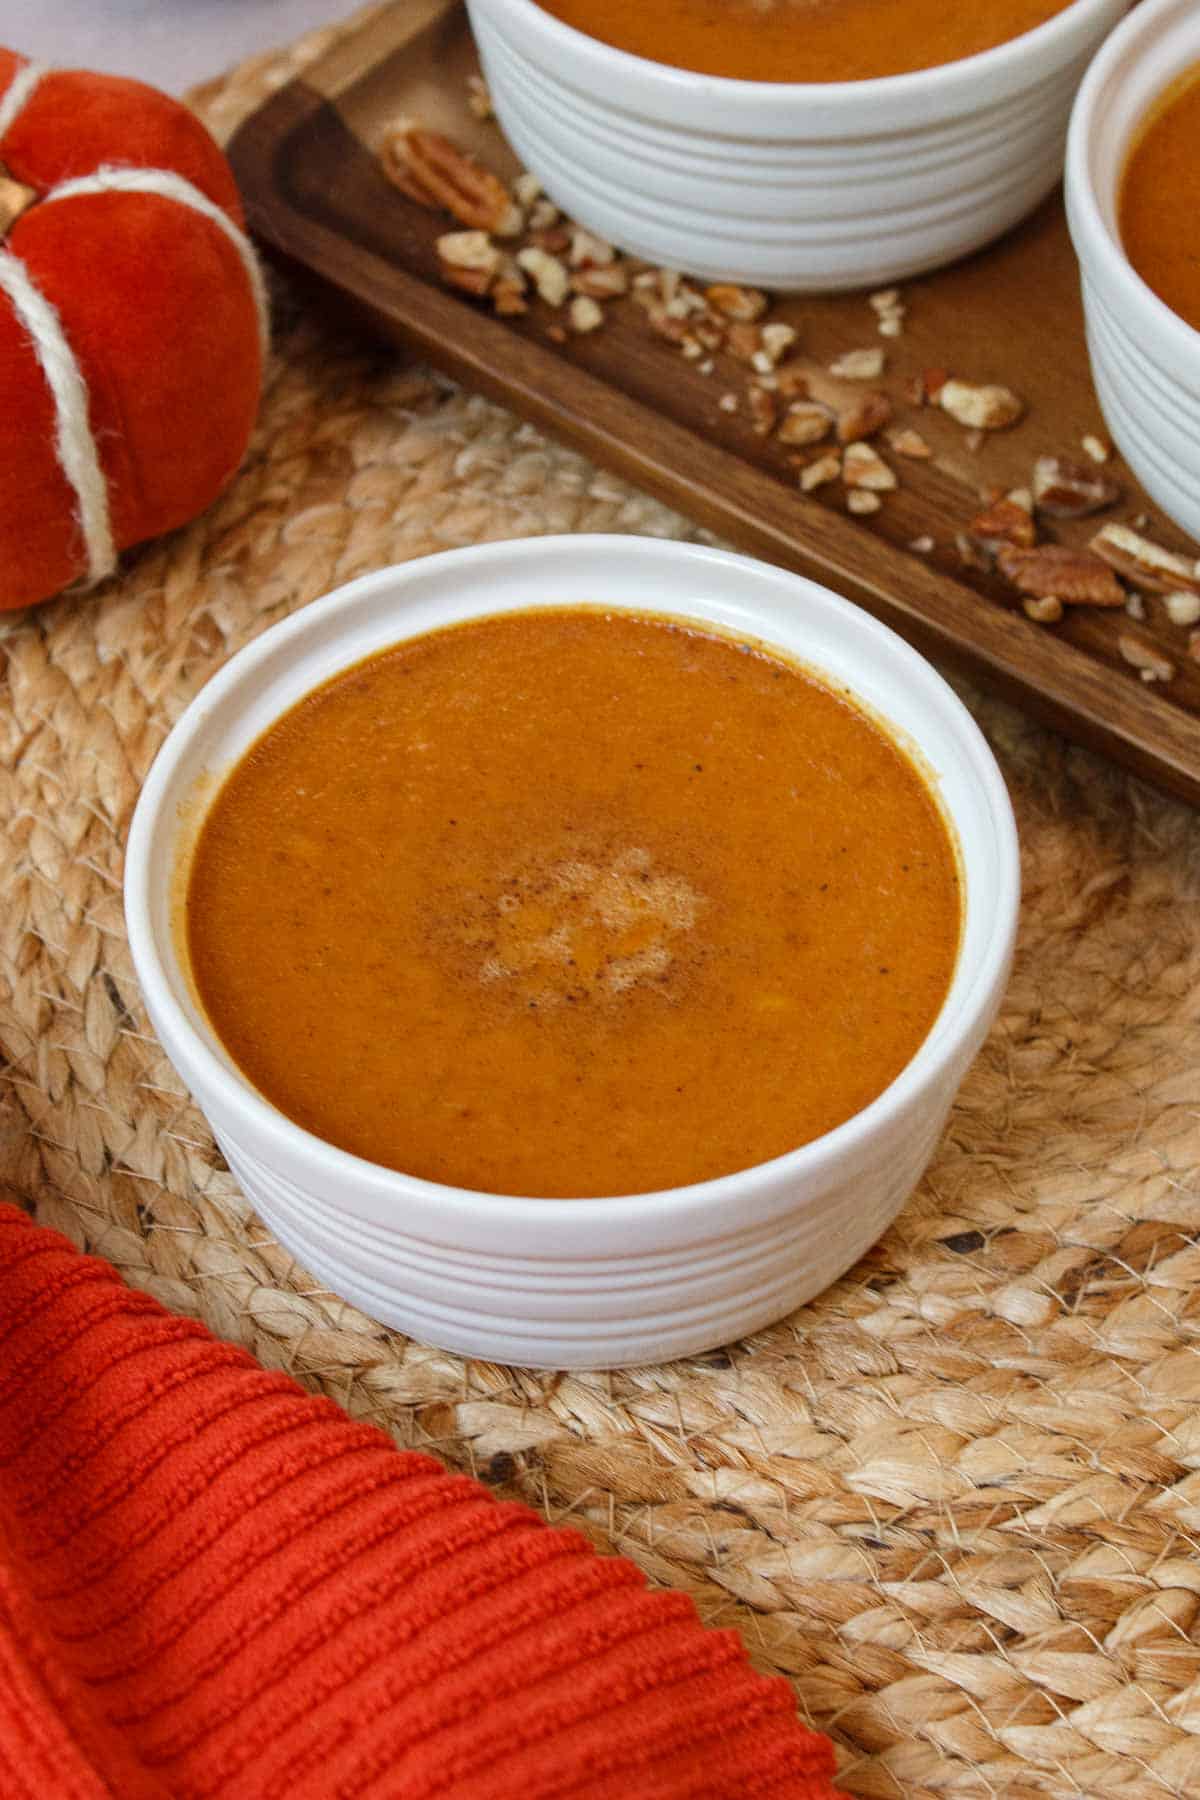
Step 7: Cool. Once the custards are set, carefully remove the ramekins from the water bath (using tongs or oven mitts) and transfer them to a wire rack. Allow them to cool completely before serving or storing. Cooling on a wire rack allows air to circulate and prevents the bottoms from becoming soggy.
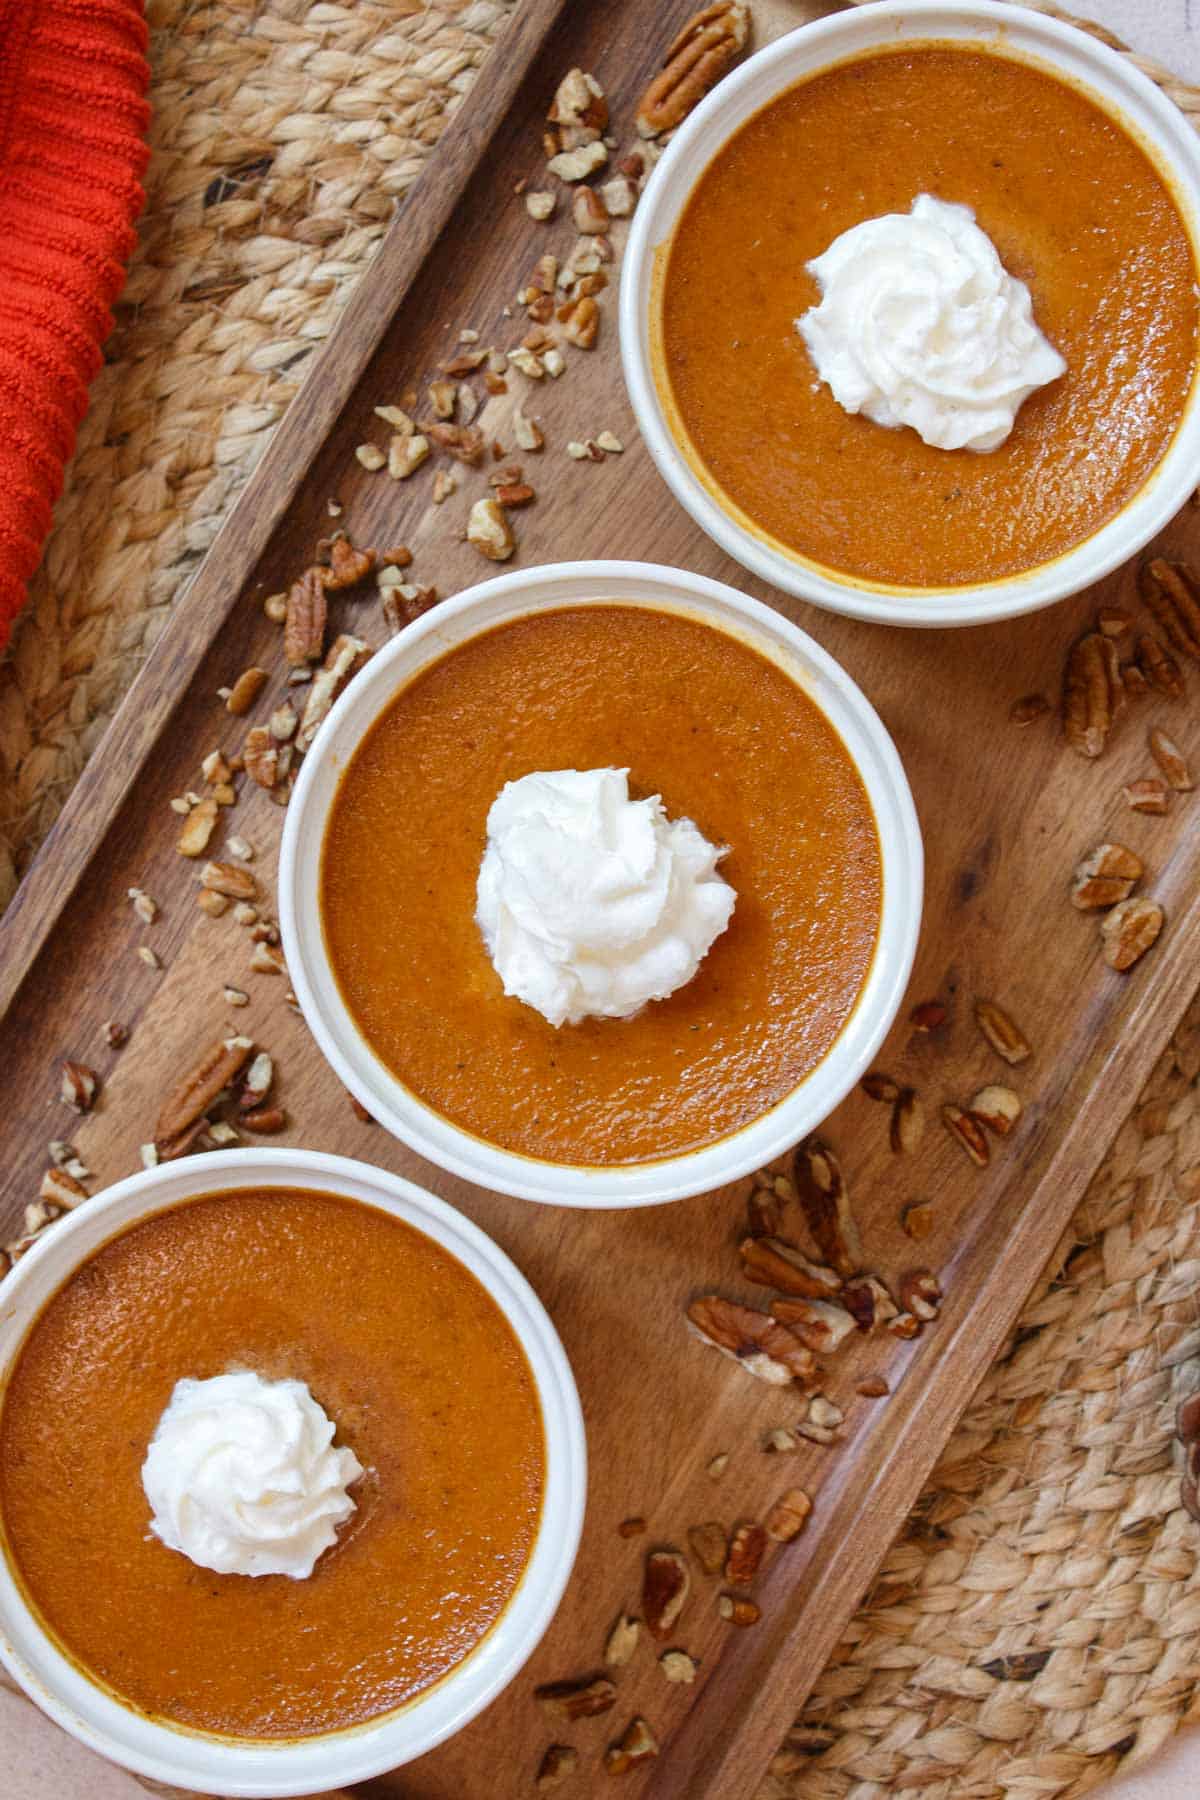
Step 8: Serve and Enjoy! Serve your exquisite pumpkin custard warm, at a comfortable room temperature, or thoroughly chilled. Garnish with a generous swirl of whipped cream and a sprinkling of chopped pecans for a truly decadent experience (these toppings are optional but highly recommended!).
The Secret to Silky Smooth Custard: How to Use a Water Bath (Bain-Marie)
A water bath, often referred to as a bain-marie, is an essential technique for achieving the perfect texture in delicate egg custards like this pumpkin delight. It might seem like an extra step, but its benefits are undeniable for ensuring a silky, smooth, and crack-free dessert.
Cooking your egg custards in a water bath creates a gentle, moist, and consistent cooking environment. The water surrounding the ramekins helps to evenly distribute the heat, preventing the delicate egg proteins from curdling or cooking too quickly on the edges. Without a bain-marie, the direct heat of the oven would cause the edges of the custard to overcook and become rubbery before the center has a chance to set properly. This often leads to a dry texture and unsightly cracks on the surface.
- Start with Warm or Boiling Water: Using warm or even boiling water in your bain-marie is crucial. Hot water is closer to the oven’s temperature than cold water, which helps to create a more stable and uniform cooking temperature from the very beginning. This minimizes temperature shock to the custard and promotes a consistently smooth texture.
- Maintain the Right Water Level: Ensure that the water comes at least halfway up the sides of your custard cups. This provides ample insulation and even heat distribution. Be careful not to splash water directly into your custard dishes, as this can affect the texture and appearance.
- Safety First – Fill in the Oven: To avoid accidental spills of hot water, which can be dangerous, it’s highly recommended to place your large baking pan with the ramekins already inside onto the oven rack. Then, carefully pull out the rack partway and pour the warm water into the baking pan. Once filled, gently slide the rack back into the oven.
For more in-depth information on this classic culinary technique, you can learn more about how to make a bain-marie.
Recipe Substitutions to Fit Your Needs
This pumpkin custard recipe is quite adaptable! Here are some excellent substitutions you can make without compromising flavor or texture:
- Evaporated Milk Alternatives: If you don’t have evaporated milk on hand, or prefer a different richness level, you can substitute it with half-and-half for a slightly lighter custard, or whipping cream or heavy cream for an even richer, more luxurious dessert. For a fantastic dairy-free option, full-fat canned coconut milk works beautifully, lending a subtle tropical note that pairs surprisingly well with pumpkin.
- Spice Adjustments: The added cinnamon and ginger are designed to boost these delightful flavors. If you prefer a simpler spice profile or are short on individual spices, you can replace the additional ¼ teaspoon of cinnamon and ¼ teaspoon of ground ginger with an extra ½ teaspoon of pumpkin pie spice. This will still give you a wonderfully spiced custard.
- Pumpkin Purée Variations: While pumpkin is traditional, feel free to experiment with other winter squashes. Sweet potato purée or butternut squash purée can be used as direct substitutes, offering a slightly different but equally delicious flavor and color to your custard. Ensure they are plain purées, not pie fillings.
Dietary Considerations for Your Pumpkin Custard
This delightful pumpkin custard recipe naturally caters to several dietary needs, making it a crowd-pleasing option for many. It is inherently vegetarian, as it contains no meat or animal by-products beyond dairy and eggs. Furthermore, this recipe is also naturally gluten-free, making it a fantastic choice for individuals with celiac disease or gluten sensitivities. Most homemade custards are gluten-free, but always remember to double-check the labels of all your store-bought ingredients (like pumpkin puree and spices) to ensure they are certified gluten-free, especially for severe allergies, to prevent cross-contamination.
To make this recipe dairy-free, a simple and effective substitution can be made. Replace the evaporated milk with an equal amount of full-fat canned coconut milk. The rich and creamy texture of full-fat coconut milk mimics that of evaporated milk, ensuring your dairy-free custard maintains a luscious consistency. It also adds a subtle, complementary flavor to the pumpkin and spices.
Essential Equipment for Making Pumpkin Custard
Having the right tools makes all the difference for a smooth and enjoyable baking experience. Here’s what you’ll need for this pumpkin custard:
- Ramekins: You’ll need four 6-ounce ramekins or custard cups. These individual baking dishes are perfect for single servings and create an elegant presentation.
- Mixing Bowls: One large bowl for the wet ingredients and a small one for whisking the dry spices. This keeps your prep organized and ensures thorough mixing.
- 9×13 Baking Pan: This high-sided pan is essential for creating the hot water bath (bain-marie) that ensures your custards bake perfectly without cracking.
- Whisk: A good whisk is indispensable for thoroughly combining ingredients and ensuring a smooth, lump-free custard mixture.
Make-Ahead & Storage Tips for Pumpkin Custard
This baked pumpkin custard is an excellent make-ahead dessert, perfect for holiday meal prep or for simply having a sweet treat ready when you need it. Preparing it in advance can save you time and reduce stress, especially during busy periods.
To store, fully cook and allow the custard to cool completely to room temperature on a wire rack. Once cooled, cover each ramekin tightly with plastic wrap. To prevent a “skin” from forming over the top of the custard, gently press the plastic wrap directly onto the surface of the custard before sealing the ramekin. This creates an airtight barrier that keeps the custard moist and smooth. Store the covered custards in the refrigerator for up to three days. When ready to serve, you can enjoy them chilled directly from the fridge, let them come to room temperature, or gently warm them in a low oven (without the plastic wrap, of course).
Freezing custard is generally not recommended, as the delicate texture can become grainy or watery upon thawing. It’s best enjoyed fresh or after being refrigerated.
📖 Recipe
Pin Recipe
Save RecipeSaved!
Email
Print
Baked Pumpkin Custard
Equipment
-
Ramekins
-
Mixing bowls
-
9×13 baking pan
Ingredients
- 1 cup pumpkin puree
- 2 large eggs
- 16 fl oz evaporated milk
- ⅔ cup light brown sugar packed
- 1 teaspoon pure vanilla extract
- 2 teaspoon cornstarch
- 1 teaspoon pumpkin pie spice
- ½ teaspoon kosher salt
- ¼ teaspoon cinnamon
- ¼ teaspoon ground ginger
- whipped cream optional, to serve
- chopped pecans optional, to serve
Instructions
-
Preheat the oven to 350°F (175°C).
-
In a large bowl, whisk together the pumpkin purée, eggs, evaporated milk, brown sugar, and vanilla extract until completely smooth.
-
In a small bowl, mix the cornstarch, pumpkin pie spice, additional cinnamon, ground ginger, and salt. Break up any clumps to ensure even spice distribution.
-
Slowly add the dry mixture to the wet mixture, whisking continuously until well-blended and there are no visible lumps.
-
Pour the custard mixture evenly into four 6-ounce ramekins or custard cups. Place these cups into a large 9×13-inch baking pan with high sides. Carefully add enough warm or boiling water to the baking pan so it reaches halfway up the sides of the ramekins. (See water bath tips above for more details).
-
Bake for 40 to 50 minutes, or until the custards are set around the edges with a slight jiggle in the center. A knife inserted near the center should come out clean. Carefully transfer the hot pumpkin custards to a wire rack to cool completely.
-
Serve warm, at room temperature, or chilled. Garnish with whipped cream and chopped pecans, if desired, for an extra special touch.
Video
Notes
Storage: Allow the baked pumpkin custard to cool completely before storing. Cover each ramekin tightly with plastic wrap, pressing the plastic wrap directly against the surface of the custard to prevent a skin from forming. Refrigerate for up to three days.
Serving suggestions: Beyond whipped cream and pecans, consider a drizzle of caramel sauce, a sprinkle of toasted coconut flakes, or a few candied ginger pieces for an extra gourmet touch.
Nutrition
Troubleshooting Common Custard Issues
Even with careful preparation, sometimes things don’t go exactly as planned. Here are some common issues you might encounter with baked custard and how to avoid or fix them:
- Custard Cracked on Top: This is a common sign of overbaking or cooking at too high a temperature. Ensure your oven temperature is accurate and that you’re using a proper water bath to regulate heat. Removing the custard when the center still has a slight jiggle can also help, as it will continue to set as it cools.
- Grainy or Scrambled Texture: A grainy texture usually indicates that the eggs have overcooked and curdled. This happens if the heat is too high or the custard is baked for too long. The water bath is your best friend here, providing that gentle, indirect heat needed for a smooth finish. Ensure your wet ingredients are completely smooth before adding dry ones.
- Custard Not Setting (Too Liquid): If your custard remains too liquid after the recommended baking time, it might be undercooked. Extend the baking time in 5-10 minute increments, checking for the slight jiggle in the center and a clean knife test. It could also mean your cornstarch wasn’t effective or measured incorrectly. Ensure your cornstarch is fresh and properly incorporated.
- “Skin” on Top of Custard: This can happen if the custard is cooled uncovered. Pressing plastic wrap directly onto the surface of the custard while it cools and before refrigerating will prevent this.
Frequently Asked Questions About Baked Pumpkin Custard
If you find yourself without brown sugar, you can easily make your own. Simply combine white granulated sugar with molasses. For every cup of white sugar, add one tablespoon of molasses. Mix thoroughly until the molasses is evenly distributed and the sugar takes on the characteristic brown color and moist texture. This quick trick is perfect in a pinch!
Yes, baking custard in a hot water bath (bain-marie) is highly recommended and, for the best results, virtually essential. It ensures that the custard cooks evenly and gently, preventing the delicate eggs from curdling or the custard from cracking. Without a hot water bath, the outer edges of the custard can easily overcook and become rubbery while the center is still unset, leading to an unpleasant texture. The water bath provides a humid and consistently tempered environment, allowing the custard to bake slowly and set into that irresistibly smooth consistency.
While individual ramekins are perfect for presentation and even cooking, you can bake this custard in a larger baking dish if preferred. A 1.5 to 2-quart baking dish would likely work. Keep in mind that a larger dish will require a longer baking time, potentially 60-75 minutes or more, and will still benefit greatly from being baked in a water bath. The edges might cook slightly faster than the center, so keep a close eye on it.
Beyond classic whipped cream and chopped pecans, you can get creative with your toppings! Consider a drizzle of warm maple syrup or caramel sauce, a sprinkle of toasted shredded coconut, a few candied ginger pieces, or even a dollop of crème fraîche for a tangy contrast. A dusting of freshly grated nutmeg or a tiny sprinkle of flaky sea salt can also elevate the flavors beautifully.
Embrace the Flavors of Fall with This Easy Pumpkin Custard!
This easy baked pumpkin custard is truly a celebration of fall flavors, offering a sophisticated and comforting dessert without the added complexity of a pie crust. Its velvety smooth texture, rich pumpkin taste, and warm spice blend make it an irresistible choice for any occasion, from intimate family dinners to grand holiday feasts. With individual portions and simple ingredients, you can effortlessly create an elegant treat that’s both delicious and dietary-friendly.
Whether you serve it warm with a cloud of whipped cream, chilled for a refreshing twist, or customize it with your favorite toppings, this crustless pumpkin pie alternative is sure to become a beloved staple in your autumn baking traditions. So gather your ingredients, follow our easy steps, and prepare to indulge in the creamy, spicy goodness of homemade pumpkin custard!


