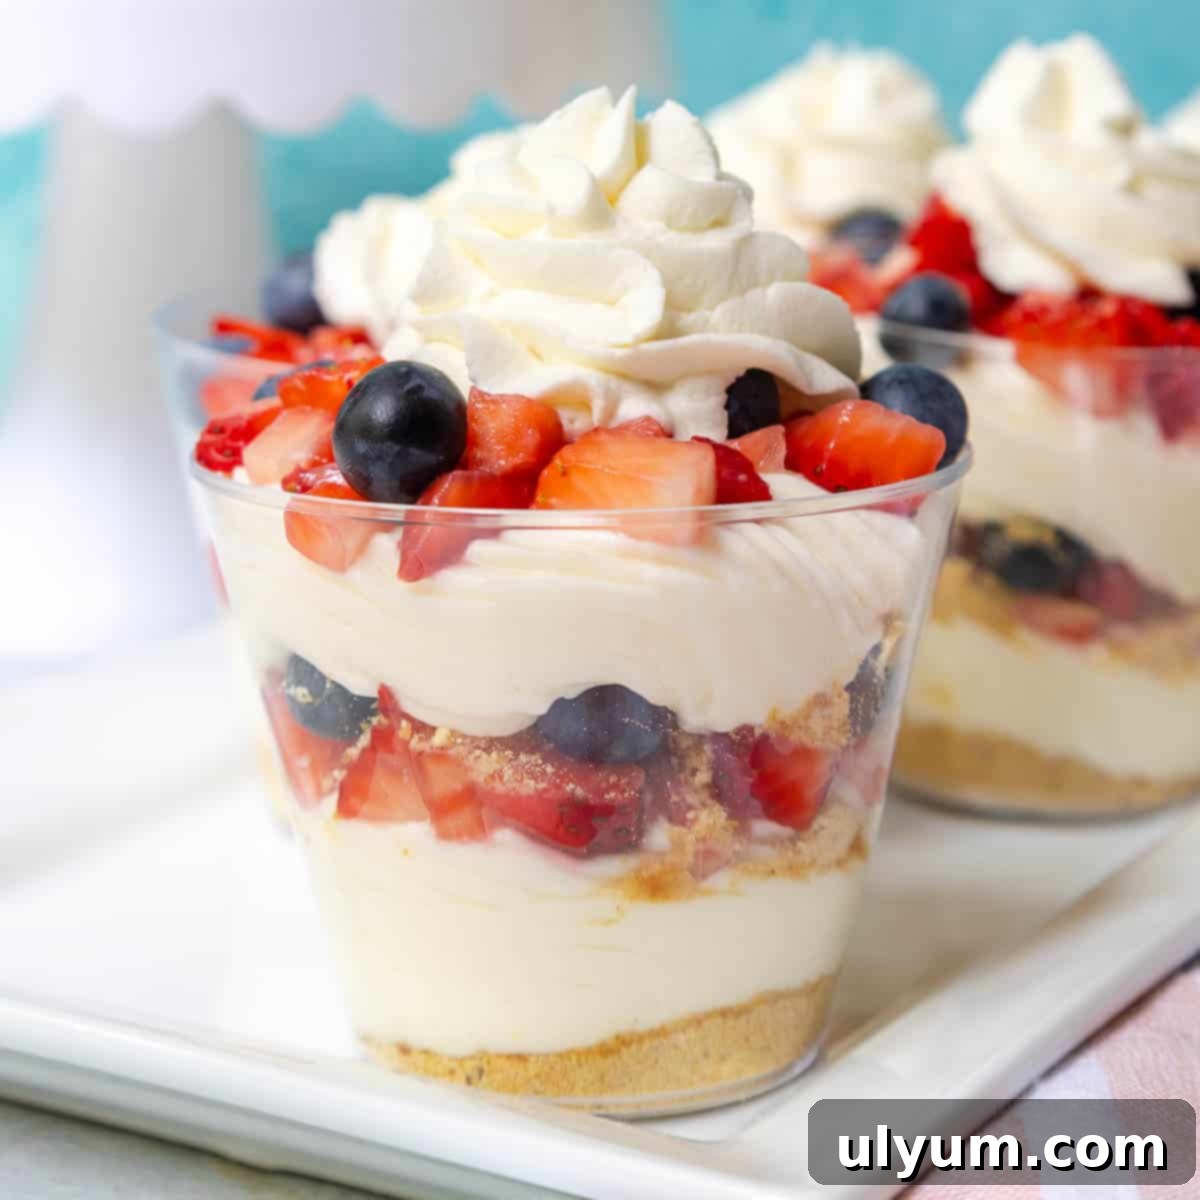
Easy No-Bake Berry Cheesecake Cups: Your Perfect Summer Dessert
Indulge in a delightful dessert that requires no oven and minimal effort! These no-bake berry cheesecake cups are an absolute dream, combining the rich creaminess of cheesecake with the fresh burst of summer berries. Crafted with a luxurious blend of heavy cream, softened cream cheese, a hint of vanilla, and a touch of sweetness, then layered with crunchy graham cracker crumbs and vibrant fresh blueberries and strawberries, they are truly irresistible.
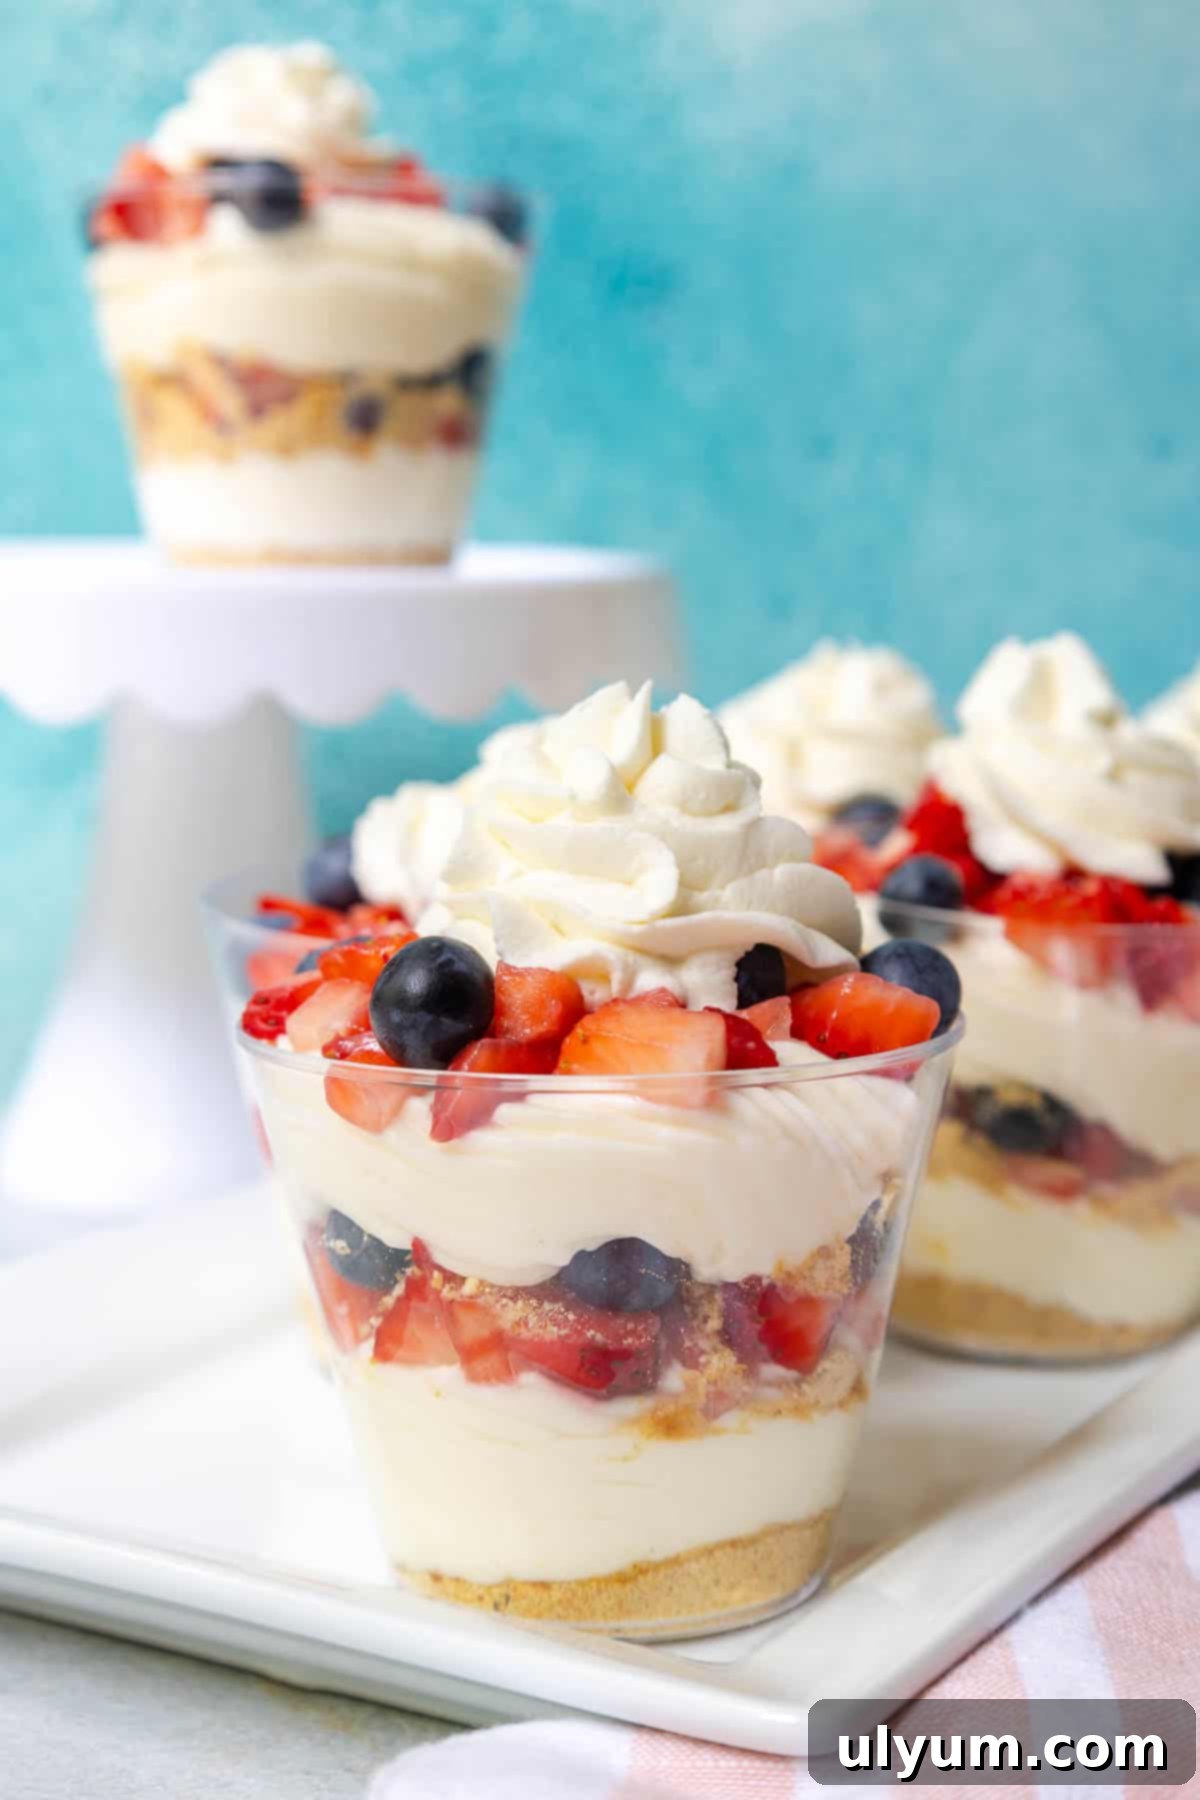
These individual cheesecake cups offer a harmonious blend of textures and flavors. The lusciously creamy cheesecake filling, made from a delicate homemade whipped cream and smooth cream cheese, is subtly sweetened with both powdered and granulated sugar and infused with pure vanilla extract. Each spoonful delivers a delightful contrast with the buttery, crumbly graham cracker base and the vibrant tang of fresh blueberries and juicy strawberries.
Perfect for any gathering, from casual barbecues to elegant outdoor parties, these berry cheesecake cups are especially wonderful for patriotic celebrations like the 4th of July or Labor Day, showcasing beautiful red, white, and blue layers. Their individual serving size makes them a convenient and elegant choice for guests. If you love no-bake desserts featuring fresh strawberries, you might also enjoy my easy strawberry Jell-O pie or strawberry cheesecake cups.
Recipe Highlights: Why You’ll Love These Cheesecake Cups
These no-bake berry cheesecake cups aren’t just delicious; they’re incredibly convenient and versatile. Here are a few reasons why this recipe is sure to become a favorite:
- Individual Desserts: Say goodbye to slicing and serving! These pre-portioned cups are perfect for grab-and-go enjoyment, making them ideal for parties, picnics, or a delightful personal treat. They offer an elegant presentation with minimal fuss, ensuring everyone gets a perfect serving.
- No-Bake Perfection: Skip the oven entirely! This recipe is a lifesaver, especially during hot weather. It comes together quickly, allowing you to enjoy a decadent dessert without heating up your kitchen.
- Simple, Wholesome Ingredients: You’ll only need a handful of common pantry staples and fresh produce to create these impressive cups. Heavy cream, powdered sugar, vanilla extract, cream cheese, granulated sugar, graham cracker crumbs, and your favorite fresh berries are all it takes.
- Quick Preparation: From start to finish, these cheesecake cups are ready in a flash, with most of the time dedicated to chilling to achieve that perfect set. This makes them an excellent choice for last-minute dessert needs.
- Seasonal Versatility: While perfect with berries, this recipe is easily adaptable to other seasonal fruits, allowing you to enjoy it year-round.
- Make-Ahead Friendly: Prepare these beauties in advance and simply pull them out of the fridge when you’re ready to serve. This frees up your time, making entertaining a breeze.
[feast_advanced_jump_to]
Essential Ingredients for Creamy No-Bake Cheesecake Cups
Crafting these delectable no-bake cheesecake cups starts with selecting the right ingredients. Each component plays a crucial role in achieving the perfect creamy texture and balanced flavor. Here’s a closer look at what you’ll need and why:
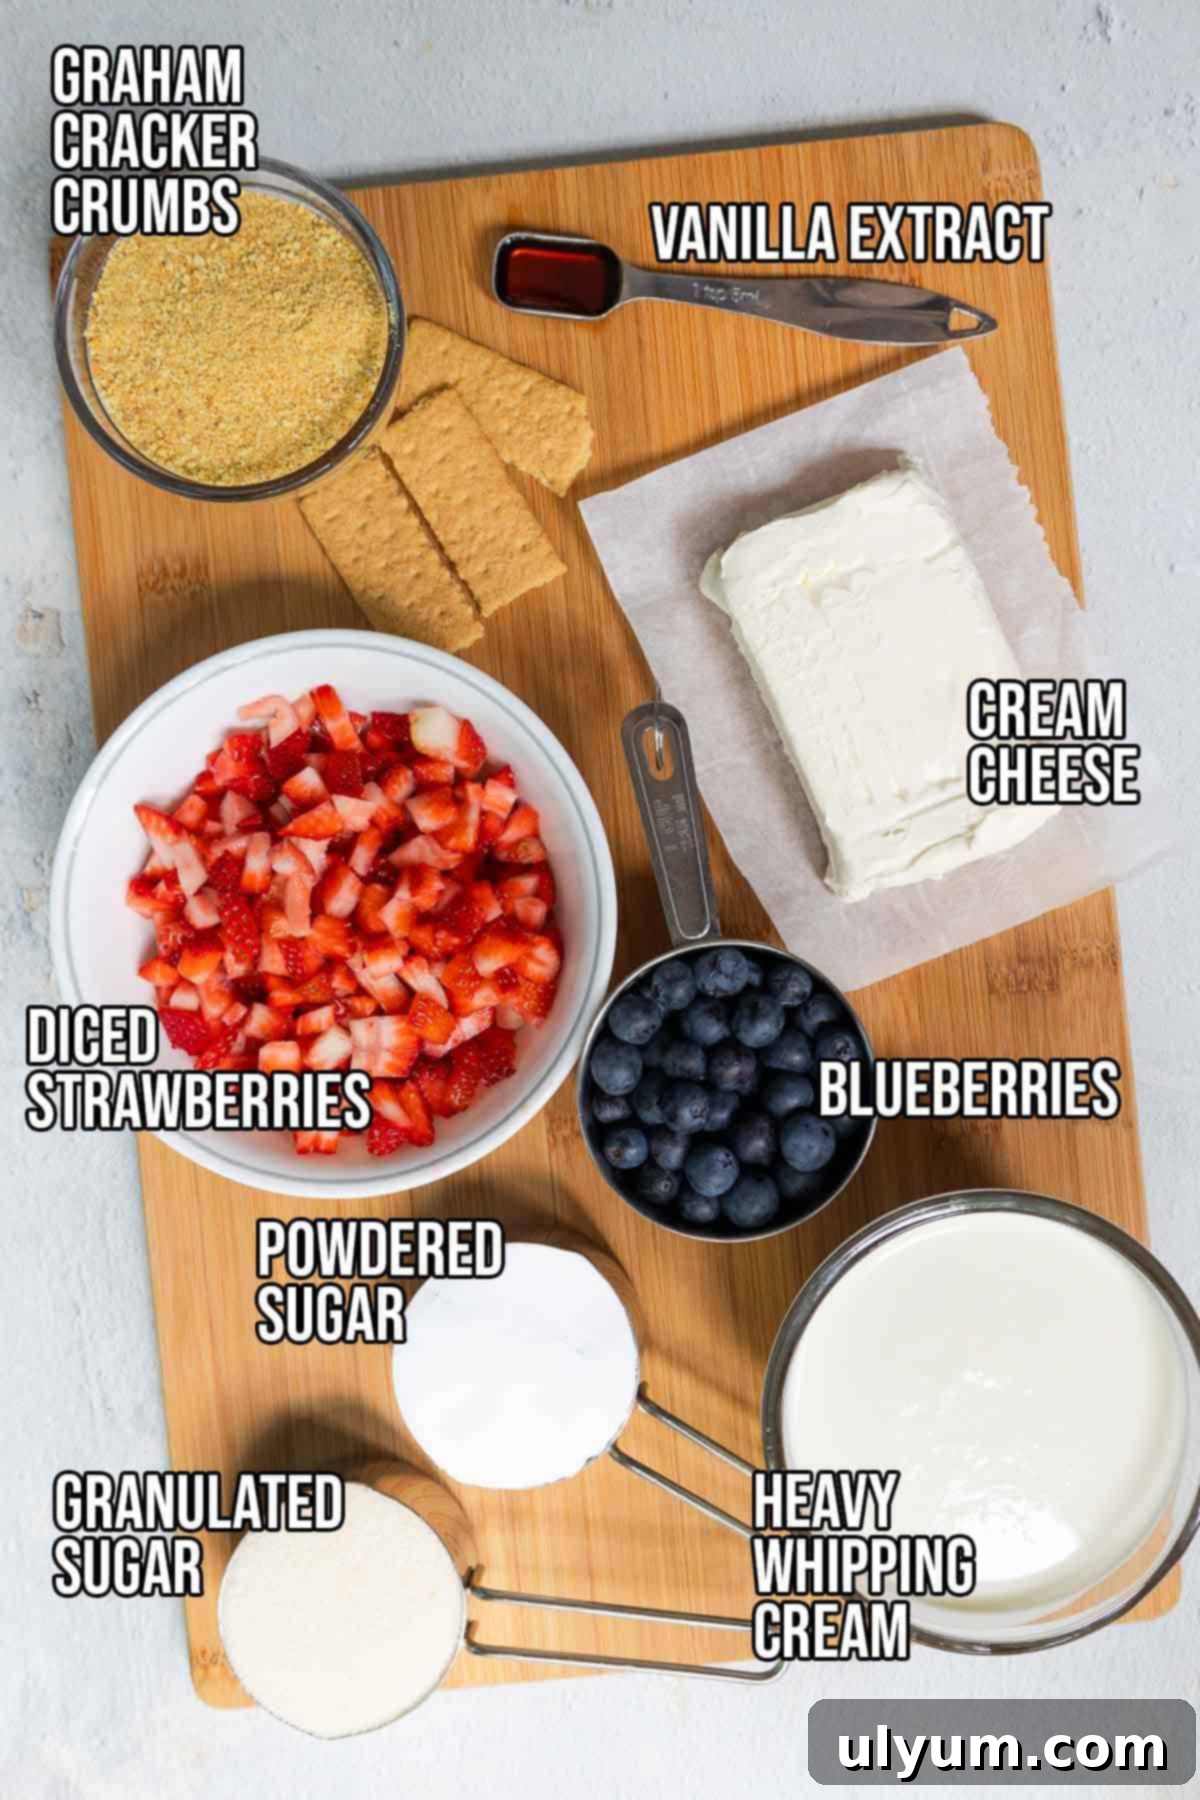
- Heavy Whipping Cream: This is the foundation of our homemade whipped cream, providing a rich, airy, and creamy texture that lightens the cheesecake filling. For the best results, ensure your heavy cream is very cold when you start whipping it.
- Powdered Sugar (Confectioners’ Sugar): Used to sweeten the whipped cream, powdered sugar dissolves easily, ensuring a smooth, lump-free consistency. Its fine texture helps stabilize the whipped cream.
- Pure Vanilla Extract: A crucial flavor enhancer, vanilla extract adds warmth and depth to both the whipped cream and the cream cheese mixture. Opt for pure vanilla extract for the best flavor profile.
- Cream Cheese: The star of any cheesecake, cream cheese provides that signature tangy, rich, and creamy base. It’s essential that your cream cheese is softened to room temperature before mixing. This ensures it beats smoothly without lumps, creating a truly silky filling.
- Granulated Sugar: This sugar is incorporated into the cream cheese to sweeten it perfectly. While powdered sugar can be used, granulated sugar gives a slightly different texture to the cream cheese mixture.
- Graham Cracker Crumbs: Forming the delicious, buttery crust layer, graham cracker crumbs add a delightful crunch. You can conveniently purchase pre-crushed graham cracker crumbs in the baking aisle of most grocery stores. Alternatively, you can easily make your own by pulsing whole graham crackers in a food processor until finely crushed, or by placing them in a gallon-sized food storage bag and crushing them with a rolling pin.
- Fresh Strawberries and Blueberries: These provide a vibrant, juicy, and naturally sweet-tart topping that perfectly complements the creamy cheesecake. They also contribute to the appealing red, white, and blue aesthetic. Feel free to swap these with your favorite fresh berries, such as raspberries or blackberries, or even a mix of several types.
For exact measurements, please refer to the detailed recipe card below.
Step-by-Step Guide to Assembling Your No-Bake Cheesecake Cups
Creating these beautiful and delicious no-bake berry cheesecake cups is surprisingly simple. Follow these detailed steps to ensure a perfect dessert every time:
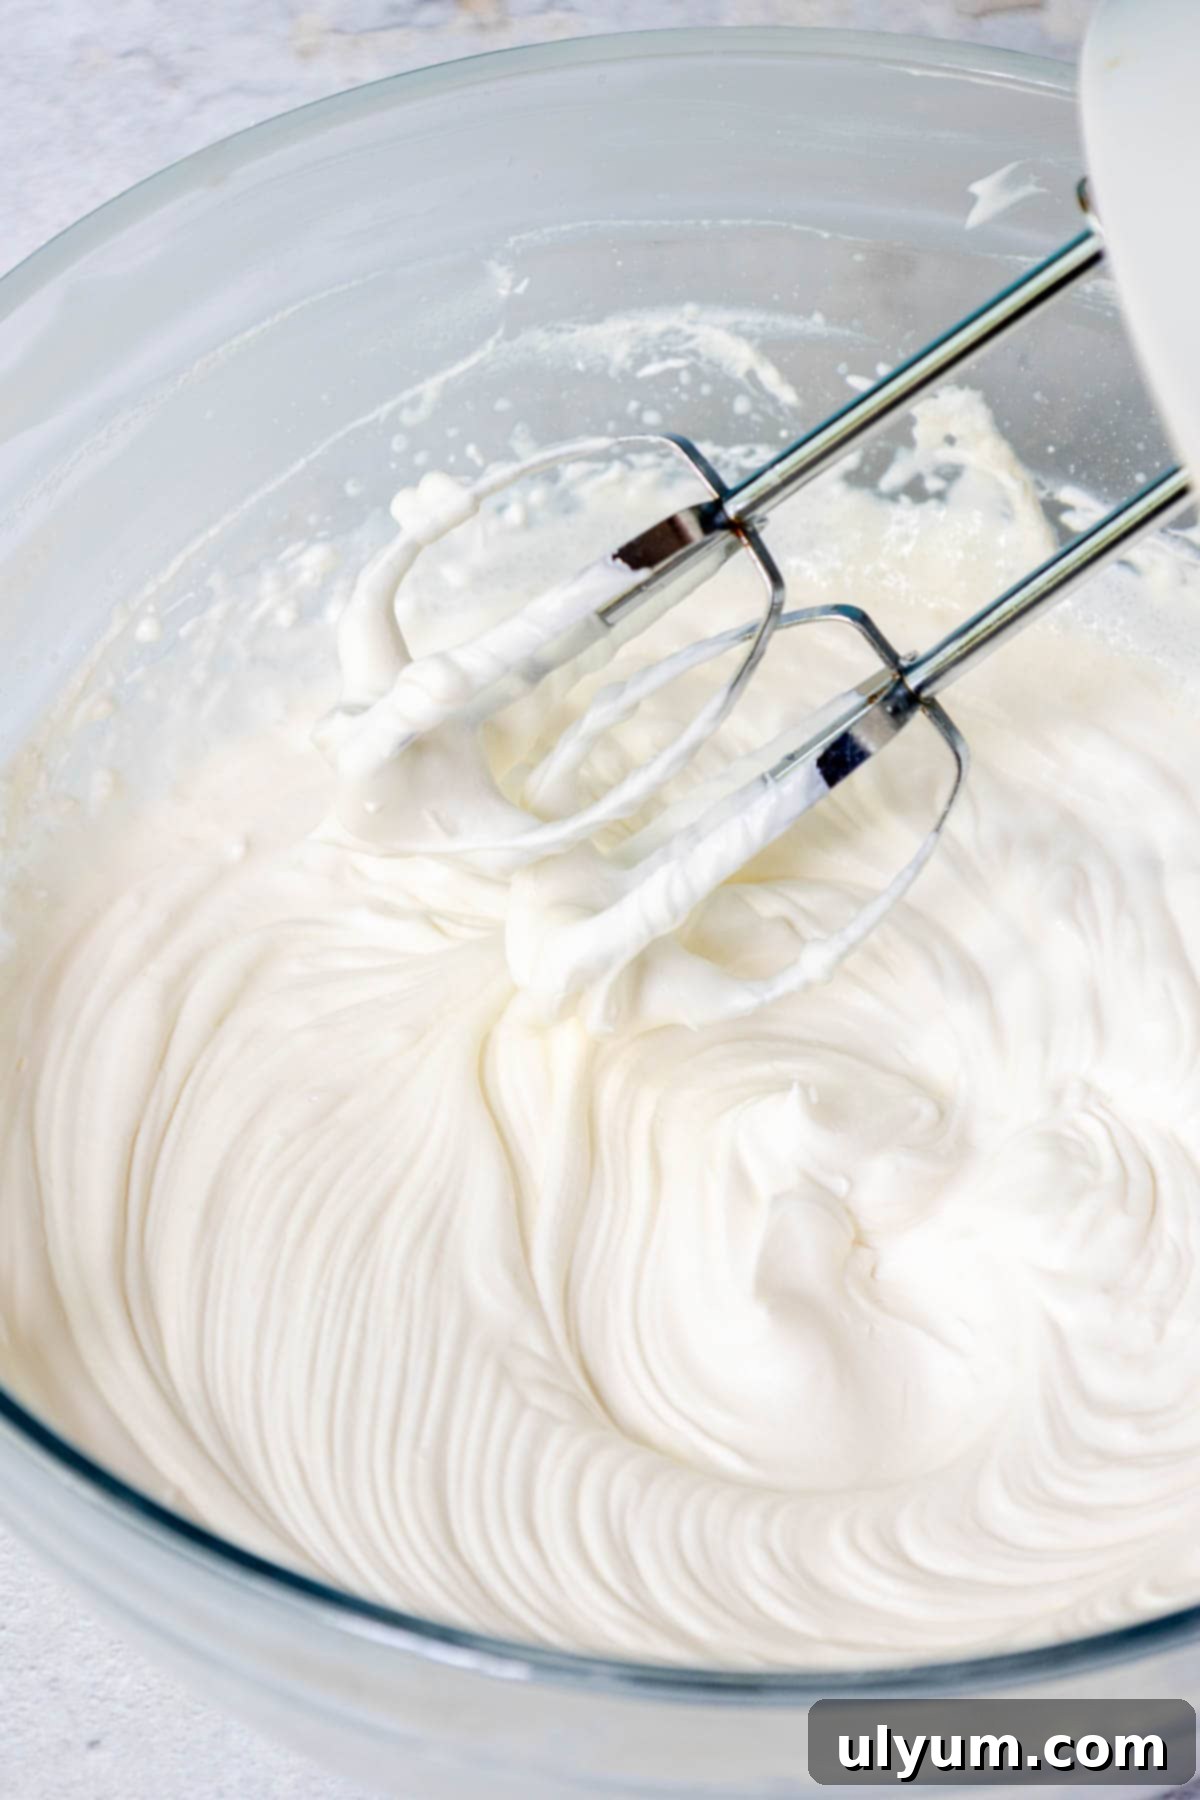
1. Prepare the Whipped Cream: Begin by adding the very cold heavy whipping cream, powdered sugar, and vanilla extract into a large, chilled mixing bowl. Using an electric mixer (with chilled beaters, if possible, as this helps achieve stiff peaks faster), beat the mixture. Start on a low speed to prevent splattering, then gradually increase the speed to medium-high. Continue beating for approximately 4 minutes, or until the cream forms stiff peaks. This means when you lift the beaters, the peaks hold their shape firmly.
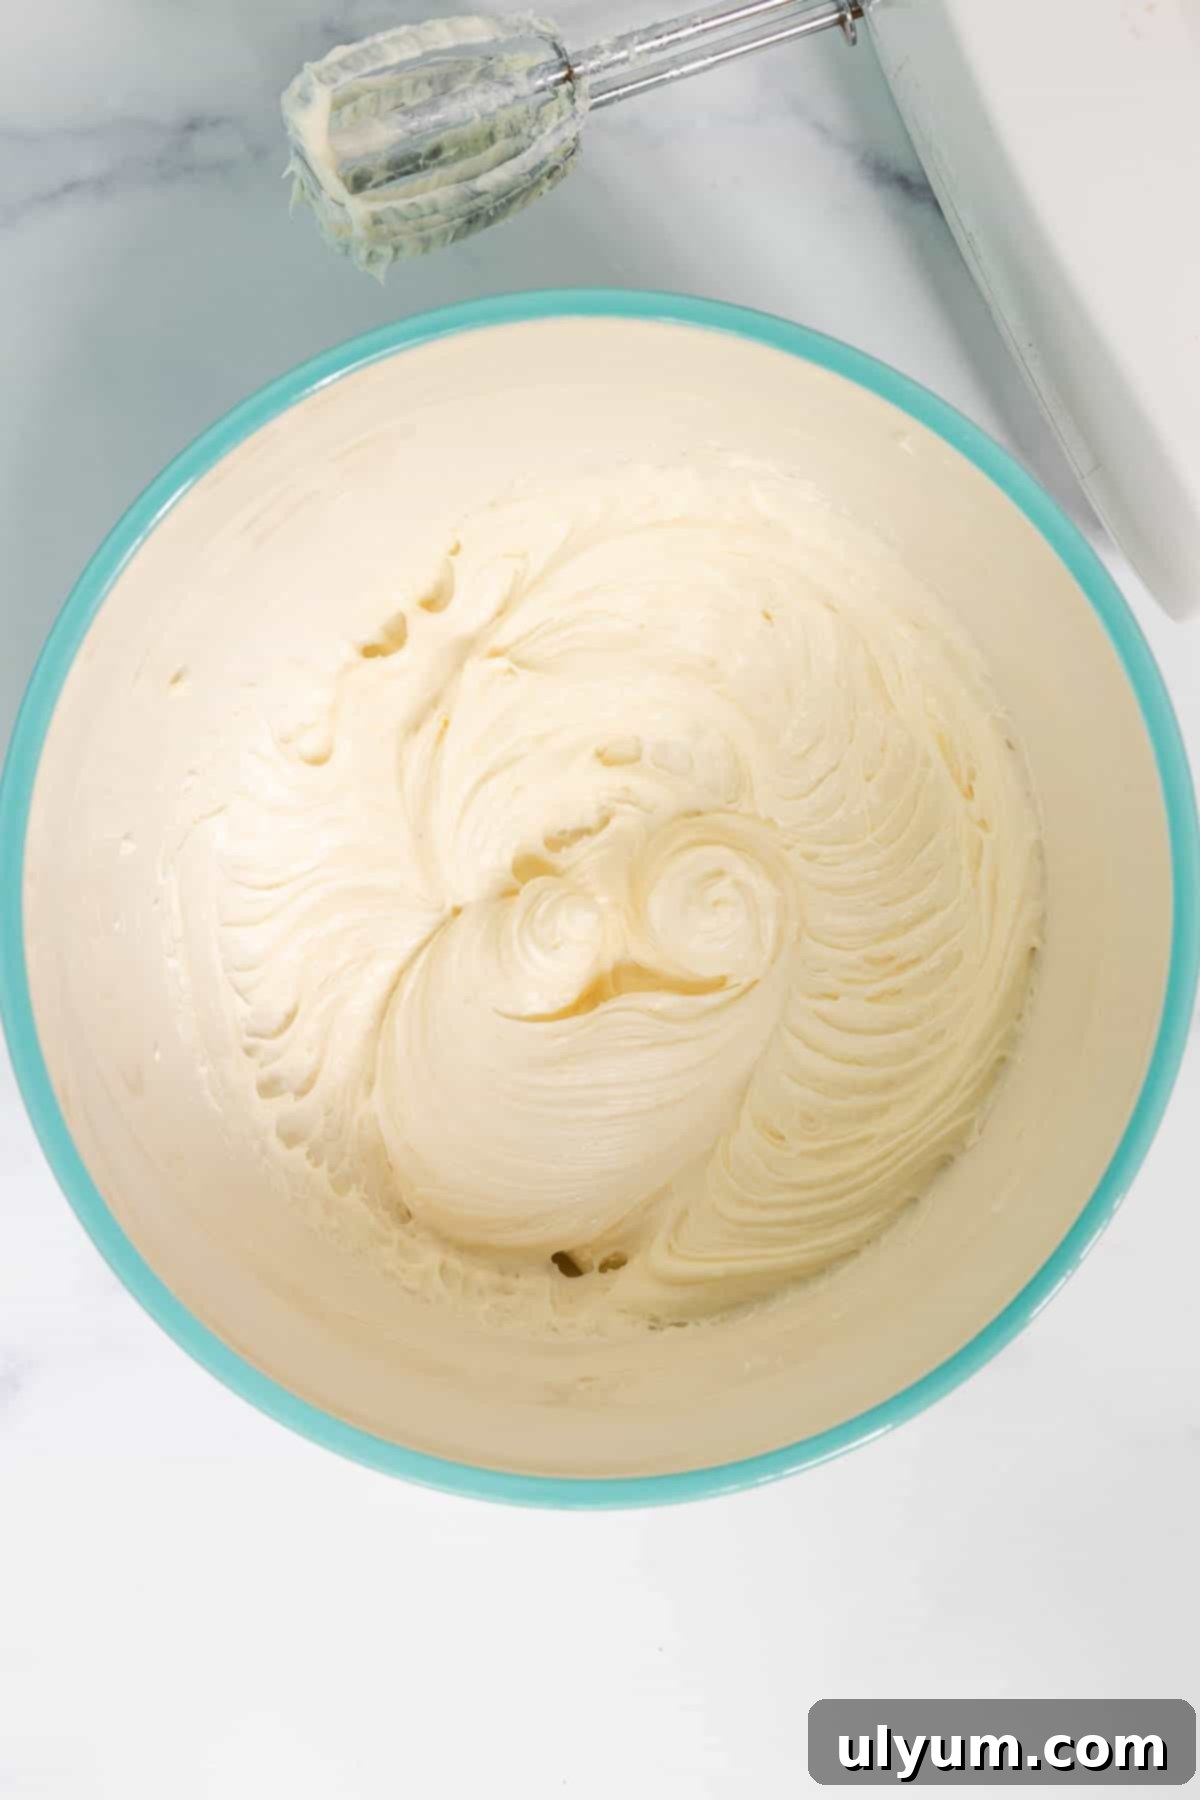
2. Create the Cream Cheese Base: In a second large mixing bowl, combine the softened cream cheese and granulated sugar. Using the same electric mixer (you don’t need to wash the beaters if you’re quick!), beat the mixture until it is completely smooth and free of any lumps. This step is crucial for a silky cheesecake filling.
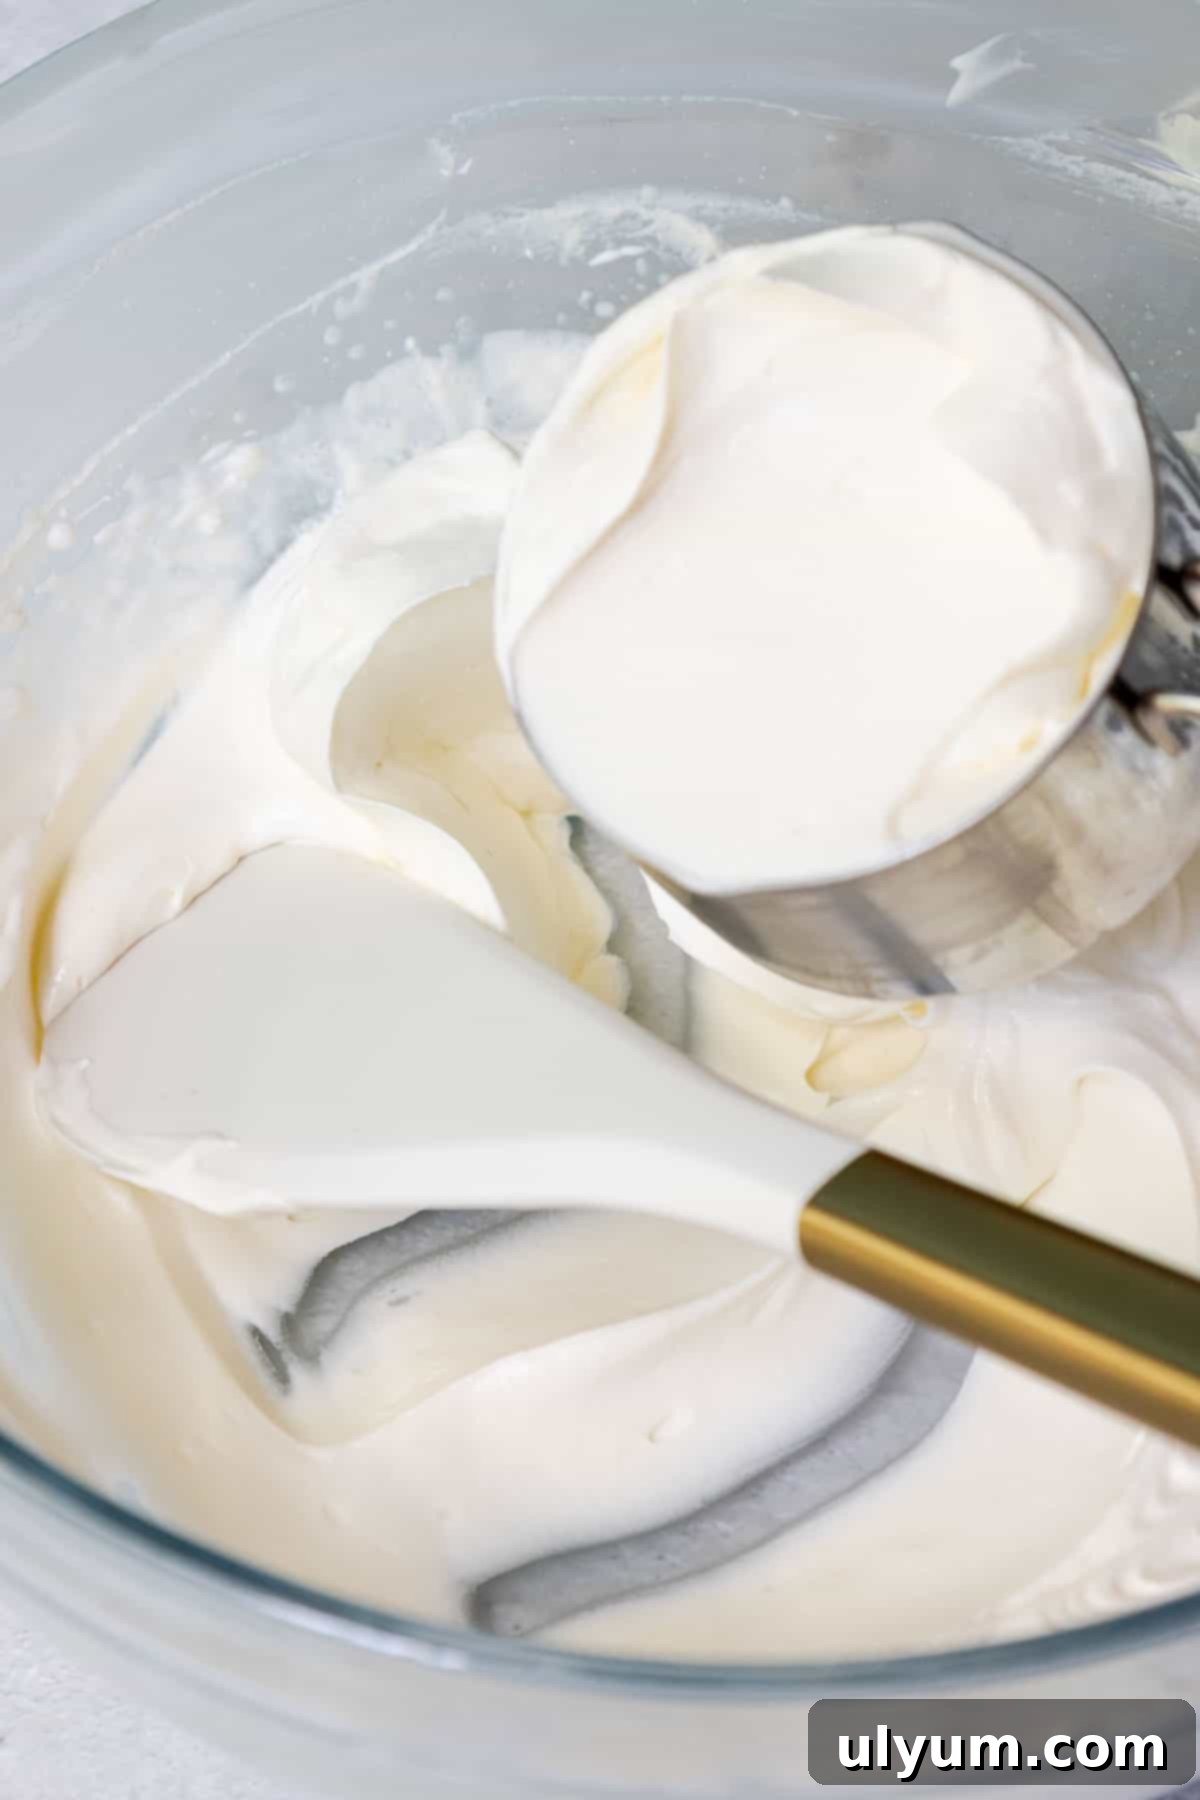
3. Reserve Whipped Cream: Before combining, reserve one heaping cup of the freshly whipped cream and set it aside. This will be used later for topping your assembled cheesecake cups, adding a final touch of lightness and elegance.
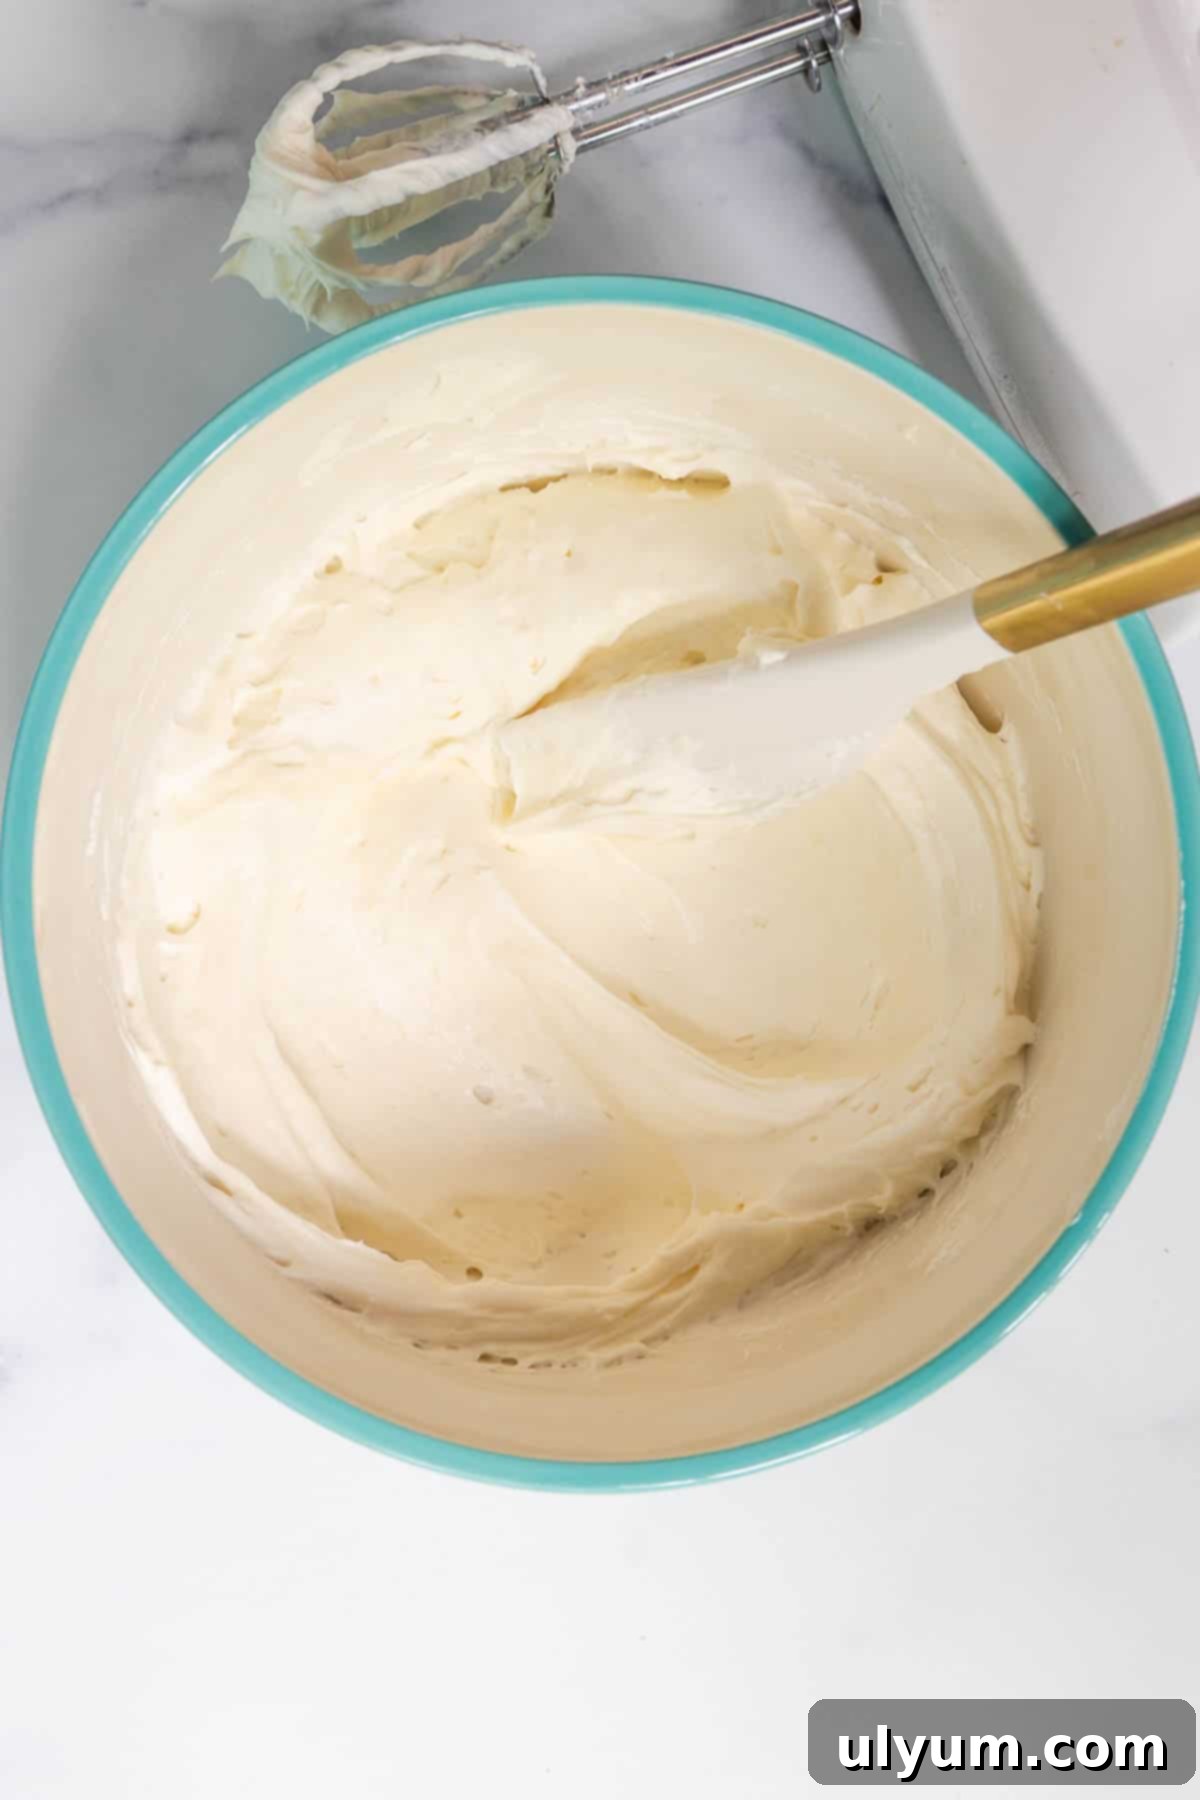
4. Gently Combine: Carefully fold the remaining whipped cream into the cream cheese mixture using a silicone spatula. Use a gentle hand and a “cut and fold” motion to incorporate the whipped cream without deflating it. This creates the light, airy, and creamy cheesecake filling. Mix just until combined; do not overmix.
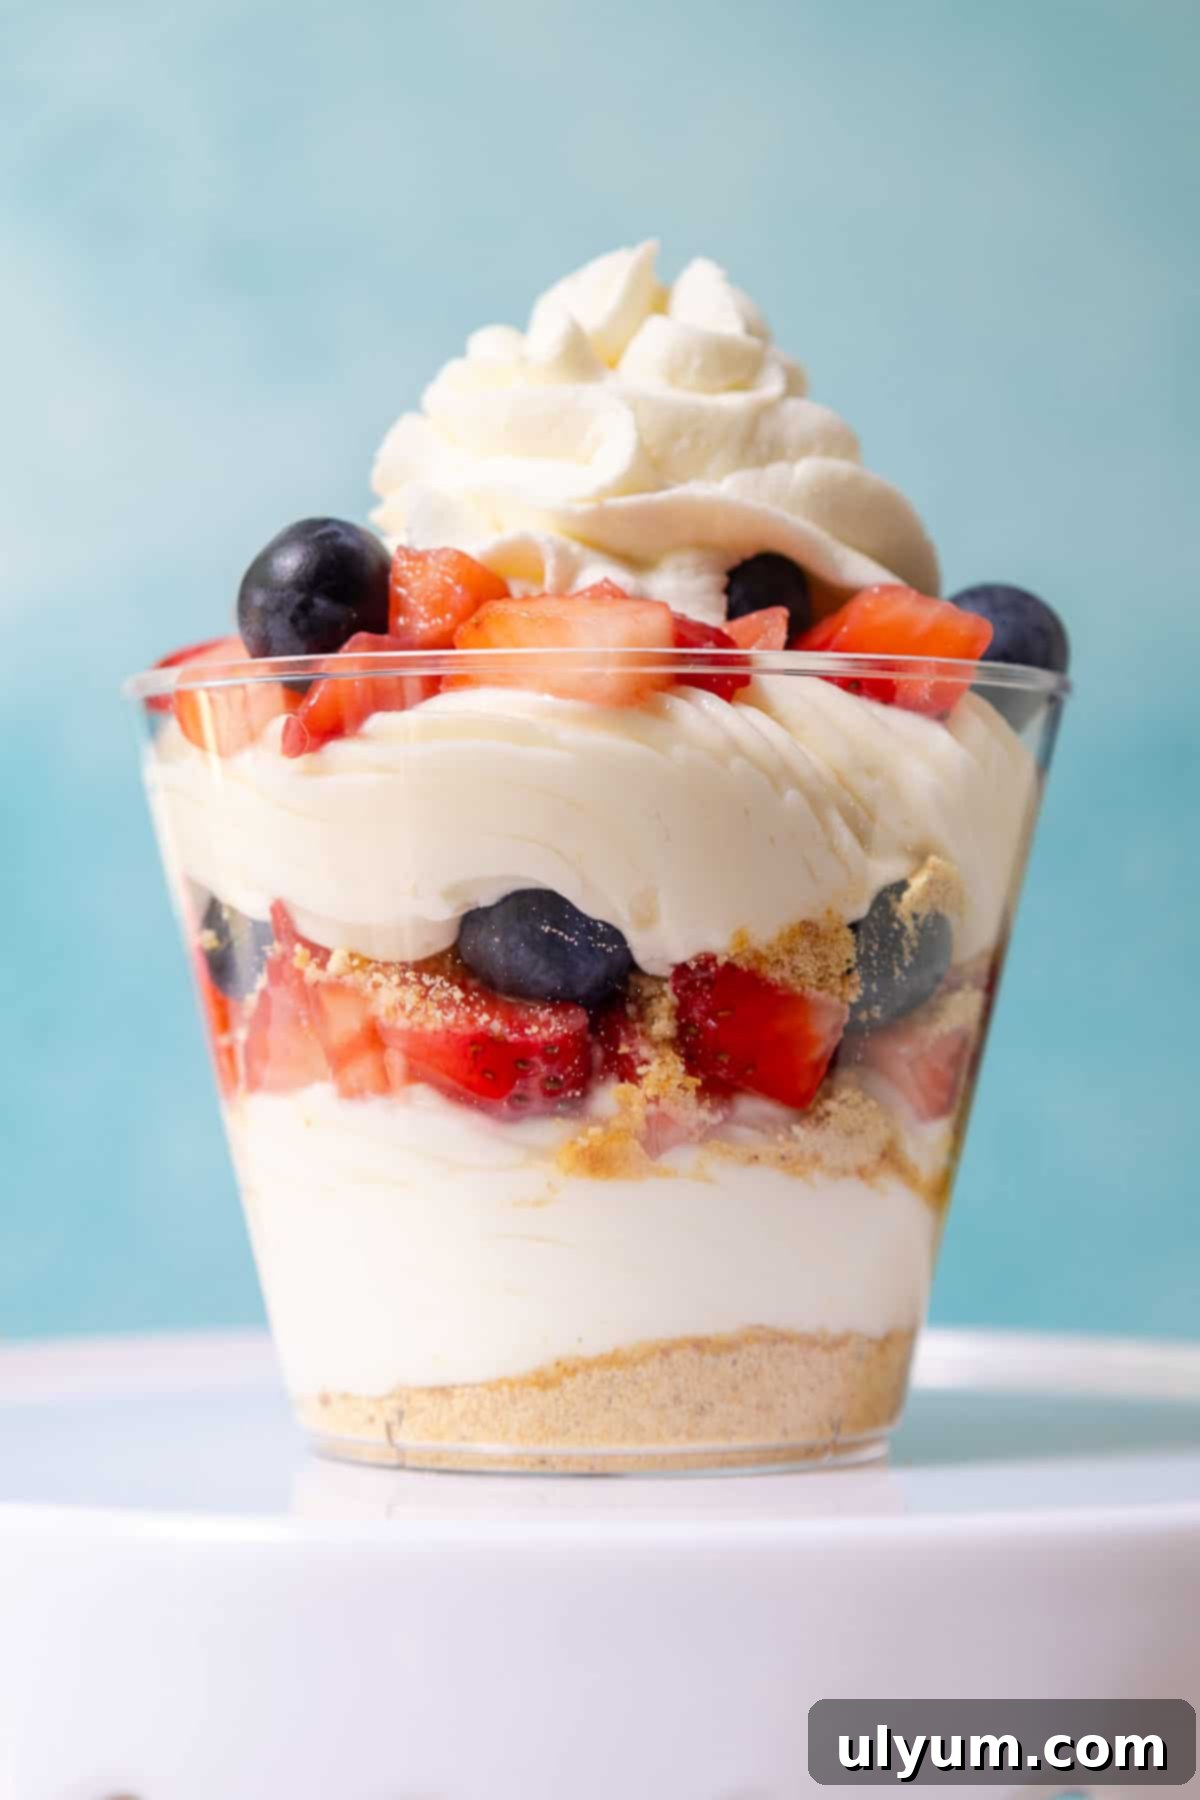
5. Assemble the Cups: Now for the fun part! Take six 9-ounce dessert cups (clear cups work best for showcasing the beautiful layers). Start by layering 1 tablespoon of graham cracker crumbs at the bottom of each cup. Next, add a generous swirl of the cheesecake filling. Follow this with about 3 tablespoons of mixed fresh berries (strawberries and blueberries). Repeat these layers until all the ingredients are used, creating a visually appealing pattern. Finally, top each cheesecake cup with a beautiful swirl of the reserved whipped cream.
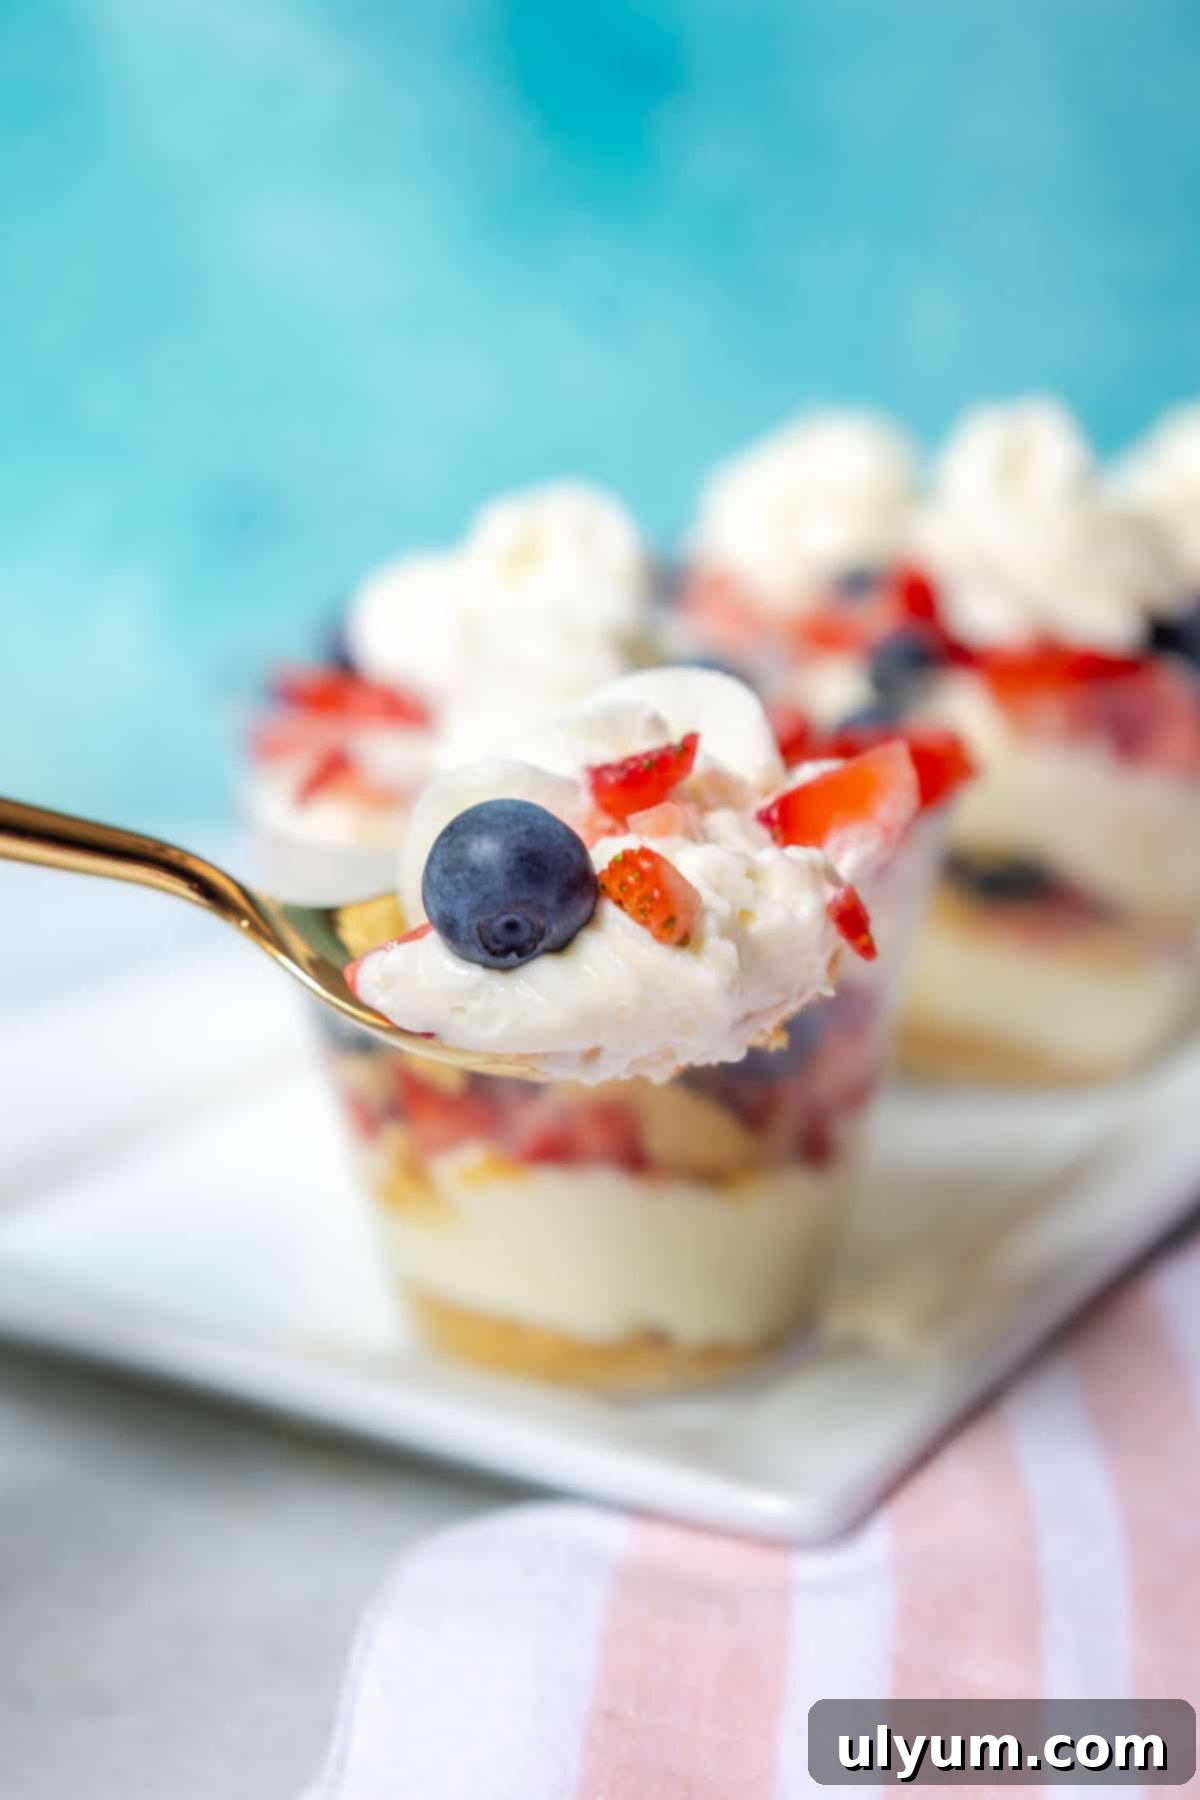
6. Chill and Serve: You can serve these delightful cheesecake cups immediately for a softer, more pillowy texture. For a firmer, more set cheesecake, chill them in the refrigerator for at least 1-2 hours before serving. While they are best enjoyed within 24 hours to maintain the freshness of the fruit and the optimal texture of the cheesecake, they can be stored for up to 2-3 days.
Creative Substitutions and Variations
One of the best things about these no-bake berry cheesecake cups is their versatility. Feel free to experiment with different ingredients to suit your taste preferences or what you have on hand:
- Sugar Alternatives: You can easily substitute the granulated sugar with an equal amount of powdered sugar in the cream cheese mixture for a slightly smoother consistency. Conversely, granulated sugar can replace powdered sugar in the whipped cream, though it might take a bit longer to dissolve fully. For a sugar-free option, liquid Stevia or your favorite granular sugar substitute (like erythritol or sucralose-based blends) can be used, adjusting to taste.
- Crust Variations: While graham cracker crumbs are classic, don’t limit yourself! Crushed ginger snaps will add a spicy, warm note, perfect for fall. Vanilla wafers offer a delicate, sweet flavor, while Biscoff cookies (speculoos) bring a caramelized, spiced depth that is truly unique. You could also try crushed shortbread cookies or even chocolate wafer crumbs for a different twist. If your chosen crumb is very dry, a tablespoon or two of melted butter can be mixed in to help it bind slightly, though it’s not strictly necessary for this layered cup recipe.
- Berry Swaps and Beyond: The beauty of fresh berries is undeniable, but the possibilities are endless!
- Other Fresh Berries: Fresh raspberries or blackberries are excellent alternatives or additions, offering different flavor profiles and beautiful colors.
- Fruit Preserves: For a less seasonal option or a different texture, replace fresh berries with your favorite berry jam, fruit preserves, or compote. Simply spread a thin, even layer instead of whole fruit pieces.
- Lemon Curd: A zesty lemon curd can provide a bright, tangy contrast to the sweet creaminess of the cheesecake, creating a vibrant citrus dessert.
- Tropical Twist: Consider diced mango or passion fruit puree for an exotic flair.
- Chocolate Lover’s Dream: Drizzle with chocolate sauce or sprinkle with mini chocolate chips in place of or in addition to some of the berries.
- Flavor Enhancements: A few drops of almond extract can complement berries beautifully, or a little lemon zest can brighten the cream cheese mixture.
Essential Equipment for Effortless Preparation
You won’t need any fancy gadgets to whip up these no-bake cheesecake cups. Here’s a list of the basic equipment that will make the process smooth and enjoyable:
- 9 oz Clear Plastic Cups: The cups pictured in this recipe are standard 9-ounce clear plastic cups, which are perfect for individual portions and beautifully showcase the layered dessert. You can find these at party supply stores like Party City, general merchandise retailers like Target, or even most supermarkets. Alternatively, use individual glasses, ramekins, or even small Mason jars for a rustic touch.
- Hand Mixer: An electric handheld mixer or a stand mixer is essential for achieving the perfect consistency for both the heavy cream and the cream cheese. It whips the heavy cream into fluffy peaks and beats the softened cream cheese until it’s smooth and lump-free, saving you a lot of arm work!
- Silicone Spatula: A silicone or rubber spatula is crucial for gently folding the whipped cream into the cream cheese mixture. Its flexible nature allows you to scrape the sides of the bowl effectively while preserving the airy texture of the whipped cream.
- Mixing Bowls: You’ll need at least two large mixing bowls – one for whipping the heavy cream and another for beating the cream cheese. Stainless steel or glass bowls work well. For best results with whipped cream, a chilled metal bowl can be particularly helpful.
Storage and Make-Ahead Tips
Proper storage ensures your no-bake berry cheesecake cups remain fresh and delicious. Here’s how to store them effectively and what to consider for making them ahead:
Store your assembled no-bake cheesecake cups in an airtight container in the refrigerator. This will protect them from absorbing odors and keep them fresh. For the absolute best results in terms of both flavor and texture, serve these cups within 24 hours of assembly. The reason for this recommendation is that fresh fruit, especially berries, will begin to macerate over time. Maceration is the process where the fruit softens and releases its juices, which can make the graham cracker crumbs soggy and alter the consistency of the cheesecake filling. While still edible, the texture will not be as ideal.
Can You Freeze No-Bake Cheesecake Cups?
While technically possible, freezing is generally not recommended for these specific no-bake cheesecake cups, primarily due to the fresh fruit layers. When berries are frozen and then thawed, their texture can become mushy, and they release a significant amount of water, which can make the entire dessert watery and affect the creamy consistency of the cheesecake. If you wish to freeze a no-bake cheesecake, it’s best to do so without fresh fruit layers, adding them only upon thawing and serving. However, for this recipe, refrigeration is the superior method.
Expert Tips for Perfect No-Bake Cheesecake Cups
Achieving perfectly creamy and beautifully layered cheesecake cups is easy with a few simple tricks. Keep these expert tips in mind for success every time:
- Chilled Whipped Cream is Key: For the quickest and most stable whipped cream, always use heavy cream that is very cold. Additionally, chilling your mixing bowl and electric mixer beaters for 10-15 minutes before you start can significantly speed up the whipping process and help the cream achieve stiff peaks more easily.
- Room Temperature Cream Cheese: Ensure your cream cheese is completely softened to room temperature. This is vital for achieving a smooth, lump-free cream cheese mixture. If it’s too cold, it will be difficult to beat, resulting in a lumpy texture.
- Gentle Folding for Airiness: When combining the whipped cream with the cream cheese mixture, use a gentle folding technique with a silicone spatula. Overmixing will deflate the whipped cream, leading to a denser cheesecake filling instead of the desired light and airy texture. Fold just until no streaks of whipped cream remain.
- Assemble All Cups at Once: Instead of assembling one cup from start to finish, layer all of your dessert cups simultaneously. Add a layer of graham cracker crumbs to each cup, then a layer of cheesecake filling, and finally a layer of berries to each. Repeat this process until all ingredients are evenly distributed. This method ensures consistent layering and makes the assembly more efficient.
- Consider Mini Cheesecake Cups: For smaller portions or a bite-sized treat, divide the ingredients into 12 four-ounce jars or mini dessert cups. This is perfect for larger gatherings or when you want to offer a variety of desserts.
- Enhance Your Crust: For a slightly richer crust, you can gently toss the graham cracker crumbs with 1-2 tablespoons of melted unsalted butter before layering. This will give the crust a more cohesive texture and a buttery flavor, though it’s not strictly necessary for this recipe as the layers are soft.
- Garnishing for Presentation: Don’t forget the final touches! A few extra fresh berries, a sprig of mint, or a light dusting of powdered sugar can elevate the presentation of your cheesecake cups, making them even more appealing.
Frequently Asked Questions About No-Bake Berry Cheesecake Cups
Yes, these no-bake berry cheesecake cups are an excellent make-ahead dessert! They actually benefit from chilling for at least 1-2 hours, which allows the flavors to meld and the cheesecake filling to set properly. However, for the very best texture and to prevent the fresh fruit from macerating (softening and releasing juices), they are best served within 24 hours of assembly. If preparing further in advance, you can assemble the cheesecake layers and add the fresh fruit and reserved whipped cream just before serving.
Absolutely! Using jam or fruit preserves is a wonderful substitution if fresh berries are out of season or if you prefer a different texture. Simply replace the layers of fresh berries with a spoonful of your favorite berry jam or fruit preserves. Spread the jam into an even layer over the cheesecake filling. This can also enhance the “make-ahead” aspect, as jam is less prone to maceration than fresh fruit, maintaining its texture longer.
This recipe is designed to make 6 individual no-bake berry cheesecake cups using 9-ounce clear plastic cups. You can easily adjust the yield by using smaller or larger cups, or by scaling the ingredients. For example, using 4-ounce cups would yield approximately 12 mini cheesecake cups.
Lumps in the cream cheese mixture usually occur if the cream cheese wasn’t softened enough to room temperature before beating. To avoid this, always let your cream cheese sit out on the counter for at least 30-60 minutes (or longer if it’s very cold) until it’s very soft. If you still end up with small lumps, continue beating for a bit longer, scraping down the sides of the bowl frequently. A slightly warmer bowl can also help, so you might try placing the bowl over a larger bowl of warm water (not hot) for a few minutes while beating.
📖 Recipe
Pin Recipe
Save RecipeSaved!
Email
Print
No Bake Berry Cheesecake Cups
Equipment
-
9 oz Clear Plastic Cups
-
Hand mixer
-
Silicone spatula
-
Mixing bowls
Ingredients
- 2 cups heavy whipping cream
- ½ cup powdered sugar
- 1 teaspoon pure vanilla extract
- 8 oz cream cheese softened to room temperature
- ½ cup granulated sugar
- ¾ cup graham cracker crumbs
- 1-½ cups diced strawberries
- ¾ cup blueberries
Instructions
-
WHIPPED CREAM: Add the heavy whipping cream, powdered sugar, and vanilla extract to a chilled large mixing bowl. Using an electric mixer with chilled beaters, beat the heavy cream mixture for about 4 minutes or until stiff peaks form, gradually increasing the speed from low to medium-high.
-
CREAM CHEESE: In a second large mixing bowl, beat the softened cream cheese and granulated sugar with the electric mixer until it is smooth with no lumps.
-
COMBINE: Reserve one heaping cup of whipped cream, setting it to the side for later. Fold the remaining whipped cream into the cream cheese mixture until combined.
-
ASSEMBLE: In six 9-ounce dessert cups, layer 1 tablespoon of graham cracker crumbs, a swirl of cheesecake filling, and about 3 tablespoons of berries. Using the remaining ingredients, repeat the layers. Top each cheesecake cup with a large swirl of the reserved whipped cream. Serve immediately or chill until ready to serve.
