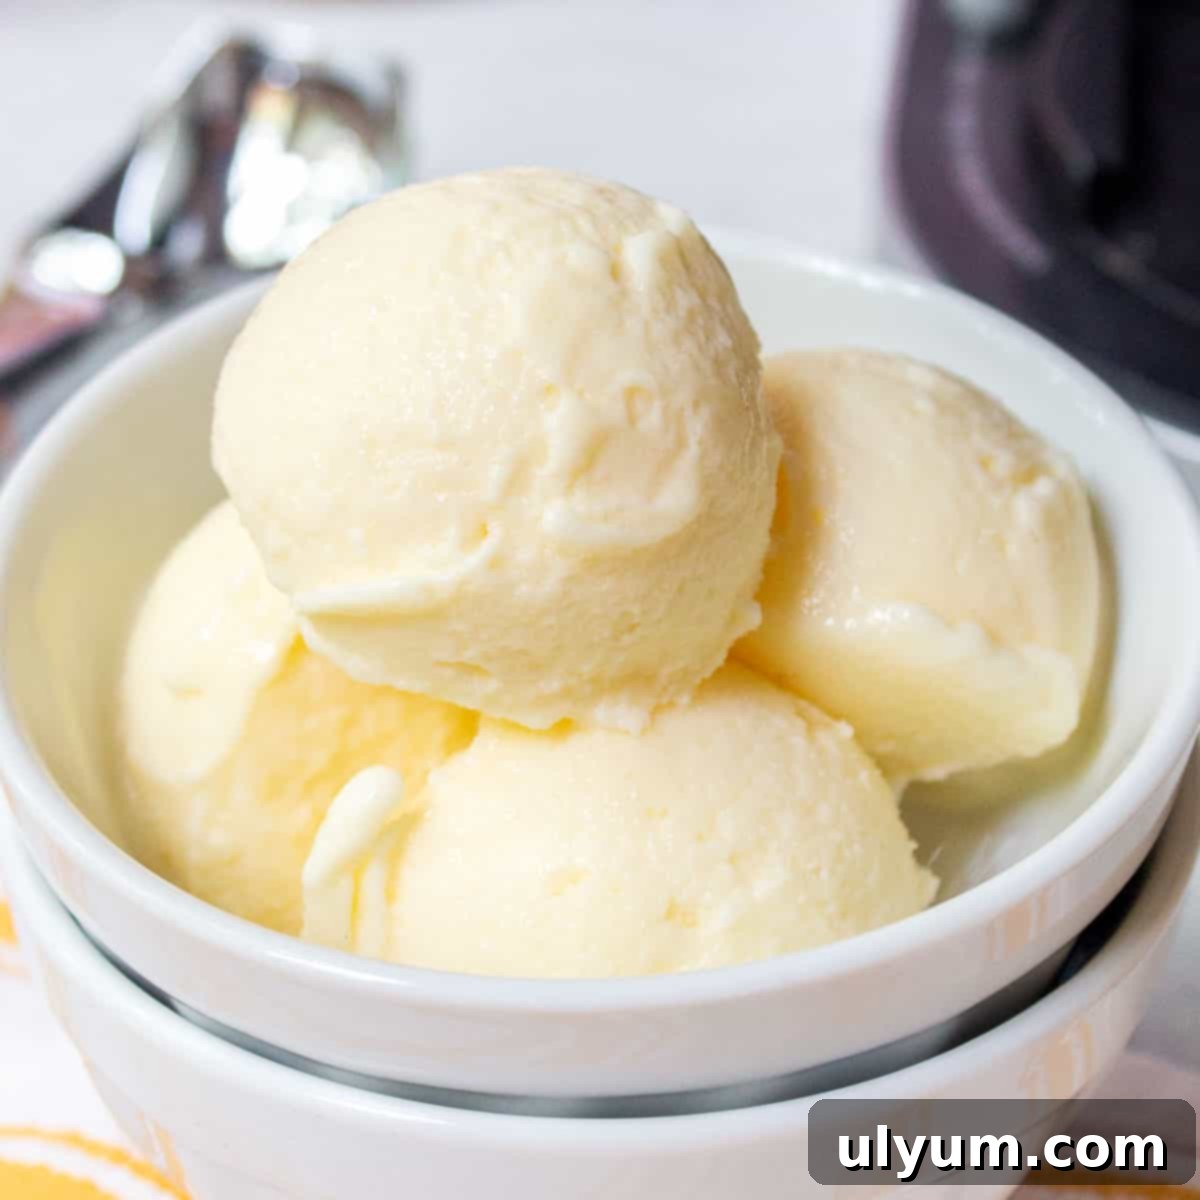
Delicious & Healthy: Crafting the Perfect Ninja Creami Vanilla Protein Ice Cream
Indulge your sweet tooth without the guilt with this incredible Ninja Creami vanilla protein ice cream recipe! It’s designed to be a high-protein, low-carb frozen treat that tastes just like your favorite dessert. Forget the heavy cream and excessive sugar; this recipe leverages the power of a Fairlife Core Power vanilla protein shake, natural stevia, and a touch of sugar-free instant vanilla pudding mix to create a remarkably creamy texture and rich vanilla flavor.
The beauty of the Ninja Creami machine lies in its ability to transform simple, frozen liquids into a variety of delightful concoctions, from traditional full-fat ice cream to lite ice cream, sorbets, and even smoothie bowls. This particular vanilla recipe serves as an excellent foundation, offering a versatile base that you can easily customize with your preferred mix-ins and flavor variations. Whether you’re looking to boost your protein intake, manage your macros, or simply enjoy a healthier dessert, this Ninja Creami creation is a game-changer.
This comprehensive guide includes detailed ingredients and instructions for both standard Ninja Creami pints and the larger Deluxe versions, ensuring you can make this delicious treat regardless of your machine model. Get ready to revolutionize your dessert game!
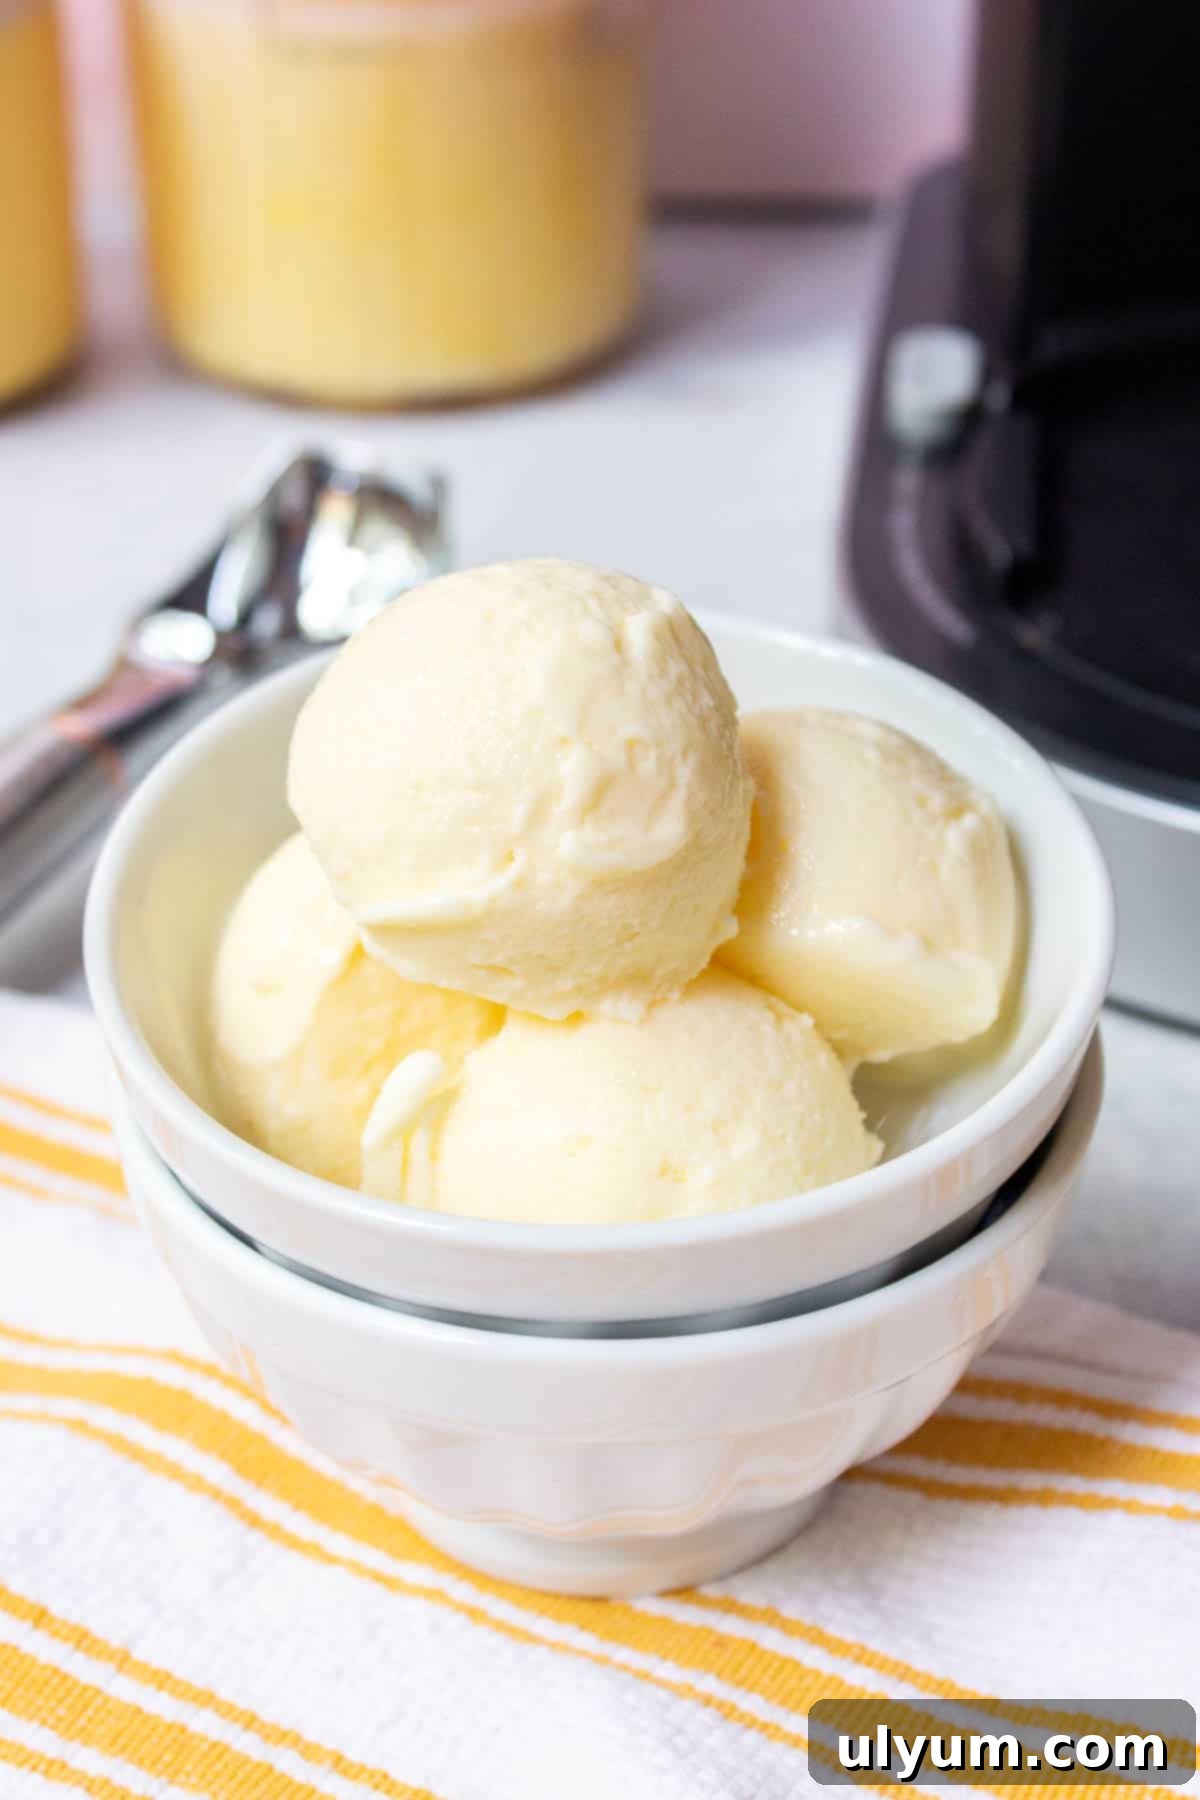
Looking for more Ninja Creami protein recipes? After perfecting this vanilla version, be sure to explore my Ninja Creami lite chocolate ice cream recipe. It’s another fan favorite that delivers on taste and nutrition!
Why You’ll Love This High-Protein Ninja Creami Vanilla Ice Cream
- High Protein for a Satisfying Treat: Each standard pint of this delicious vanilla protein ice cream packs approximately 190 calories and an impressive 26 grams of protein. This makes it an ideal dessert or snack for those actively building muscle, managing weight, or simply seeking a more satisfying and nutritious alternative to traditional ice cream. It helps you stay full longer and supports your fitness goals.
- Low Carb & Keto-Friendly: With only around 14 grams of carbohydrates (13g net carbs) per standard Ninja Creami pint, this recipe is perfect for individuals following a low-carb, keto, or diabetic-friendly diet. You can enjoy a rich, creamy dessert without worrying about high sugar spikes or compromising your dietary goals.
- Effortlessly Easy with Just 3 Simple Ingredients: You’ll be amazed at how simple it is to prepare this gourmet-tasting protein ice cream. With only three core ingredients – a vanilla protein shake, stevia, and sugar-free instant vanilla pudding mix – the prep time is minimal, making it a convenient option for busy lifestyles. Just mix, freeze, and spin!
- Perfect Base for Customization: While delicious on its own, this vanilla protein ice cream provides a fantastic neutral base for countless flavor combinations. It’s an open invitation to unleash your culinary creativity with various mix-ins and toppings.
[feast_advanced_jump_to]
Essential Ingredients for Your Creamy Vanilla Protein Ice Cream
Creating this delightful high-protein vanilla ice cream requires just a few key components. Each ingredient plays a crucial role in achieving that perfect creamy texture and rich flavor while keeping the macros in check.
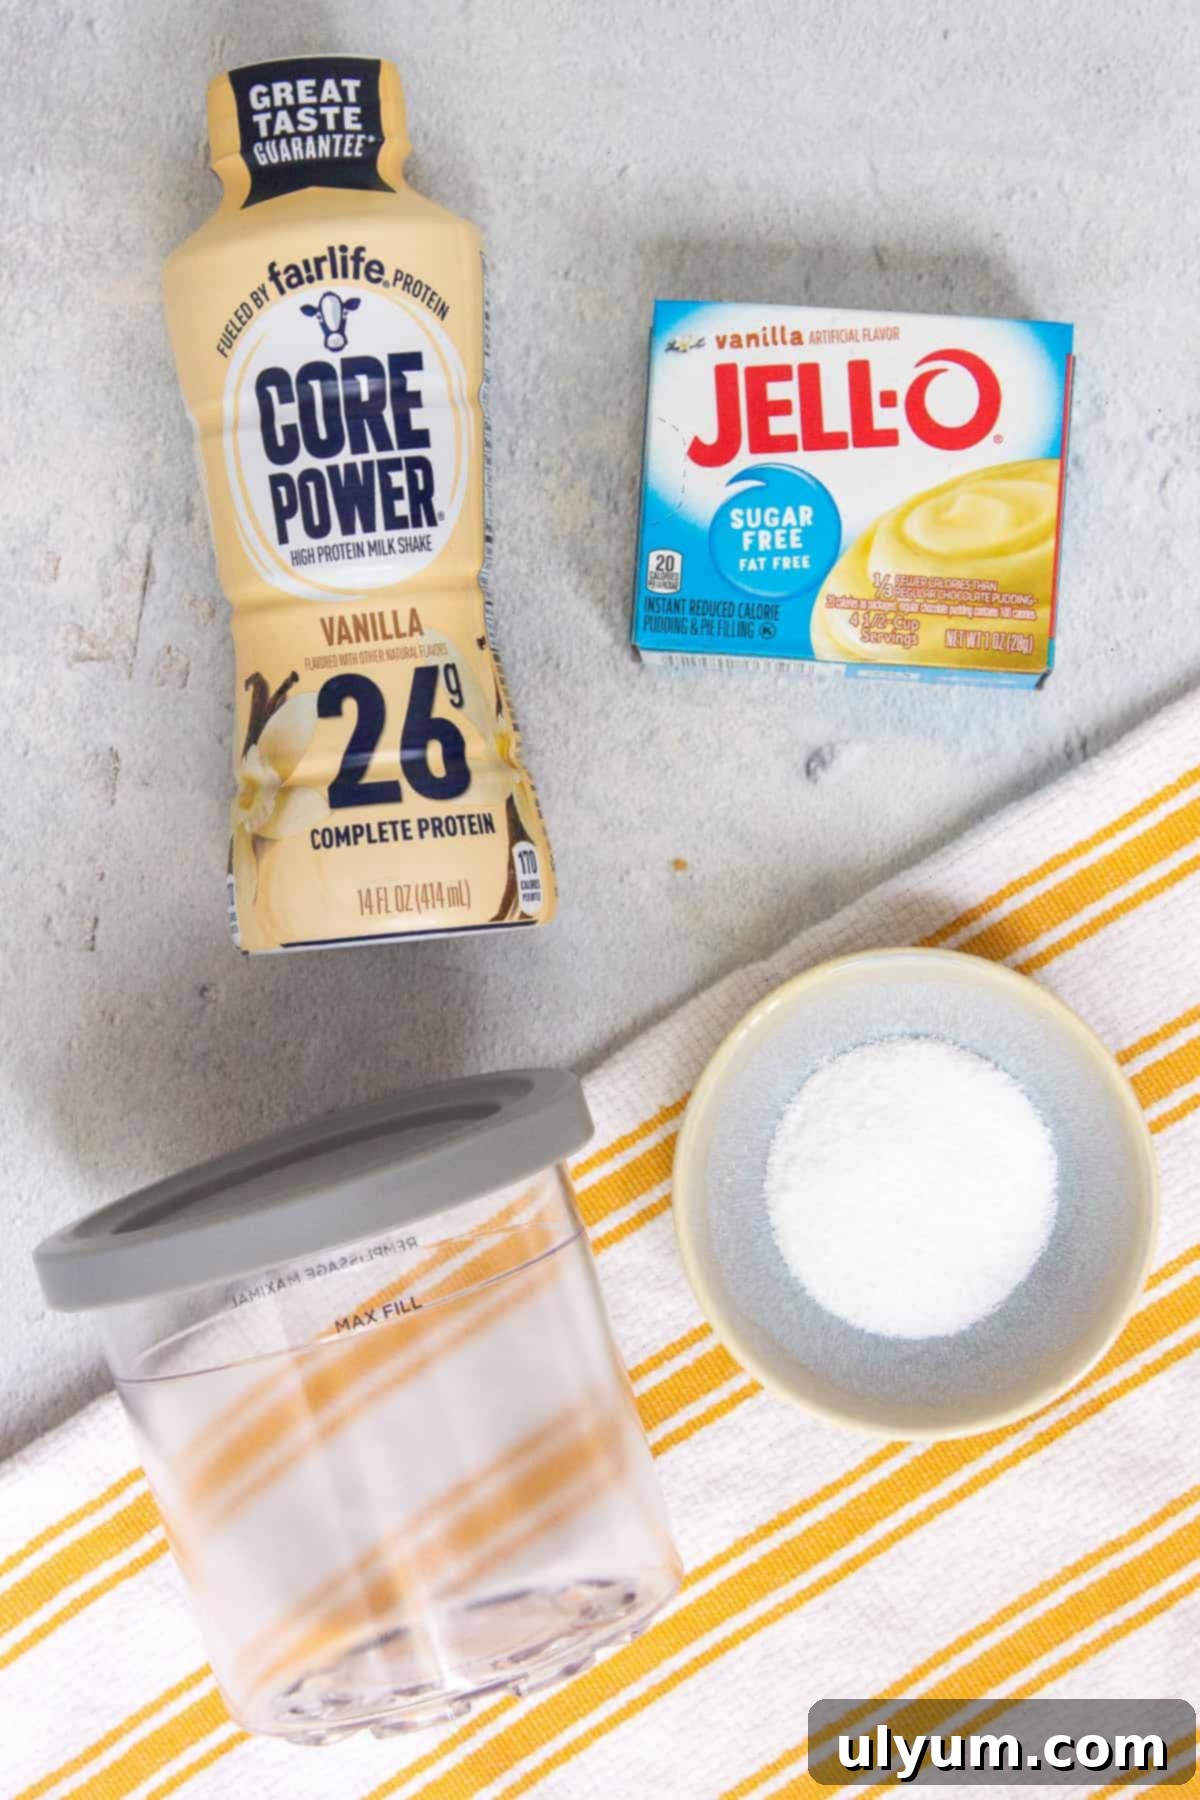
- Fairlife Core Power Vanilla Protein Shake (14 fl oz): This is the star of our recipe! Fairlife Core Power shakes are uniquely made with ultra-filtered milk, which concentrates the protein and removes much of the lactose, making it an excellent high-protein and lactose-free base. The vanilla flavor is robust and provides a perfect starting point for your ice cream, eliminating the need for additional protein powder or milk. Its specific consistency is ideal for yielding a smooth, creamy result in the Ninja Creami.
- Stevia: As a natural, zero-calorie sugar substitute, stevia allows us to achieve a delightful sweetness without adding any sugar or carbohydrates. Adjust the amount to your personal taste preference, as stevia’s potency can vary. You can also experiment with other sugar substitutes if you prefer (see substitutions section).
- Sugar-Free Instant Vanilla Pudding Mix (Dry Mix): This ingredient is essential for achieving the signature creamy texture of your Ninja Creami creation. Found in the baking aisle of most grocery stores, this dry pudding mix acts as a stabilizer and thickener. In low-fat or low-sugar recipes like this protein ice cream, it prevents the mixture from turning icy, helping to create a smooth, scoopable consistency that closely mimics traditional ice cream. It also enhances the vanilla flavor, adding depth to the dessert.
Refer to the recipe card below for precise quantities tailored for both standard and deluxe Ninja Creami pints.
Unleash Your Creativity: Amazing Mix-In Ideas for Vanilla Protein Ice Cream
One of the most exciting aspects of making ice cream with your Ninja Creami is the ability to customize it with your favorite mix-ins! This vanilla protein ice cream provides a versatile canvas for endless flavor combinations. Here are some fantastic ideas to get you started, perfect for adding texture and extra flavor after the initial spin:
- Chocolate Chips: Classic mini chocolate chips or sugar-free chocolate chips melt slightly when mixed in, creating delicious pockets of chocolatey goodness.
- Oreo Cookies: Crush a few regular or reduced-fat Oreo cookies for a cookies and cream delight. The chocolatey crunch perfectly complements the vanilla base.
- Protein Cookies or Keto Cookies: For an extra protein boost or to maintain a low-carb profile, crumble your favorite protein or keto-friendly cookies into the mix. This adds both flavor and satisfying texture.
- Small Frozen Berries: Add a handful of small frozen raspberries, blueberries, or blackberries for a fruity burst. The tartness provides a refreshing contrast to the sweet vanilla.
- Nut Butters: Swirl in a tablespoon of peanut butter, almond butter, or cashew butter for a nutty, rich addition. For best results, slightly warm the nut butter to make it more pliable before adding.
- Sprinkles: A fun and colorful addition, especially if you’re serving this to kids or just want to brighten up your treat.
- Cereal: For a delightful crunch, try adding a small amount of your favorite low-sugar cereal like Cheerios or a high-fiber option.
- Caramel or Chocolate Syrup: Drizzle in a sugar-free caramel or chocolate syrup for an extra layer of sweetness and flavor.
- Coconut Flakes: Toasted or untoasted coconut flakes can add a tropical twist and pleasant chewiness.
Remember, when adding mix-ins, you’ll utilize the “Mix-In” program on your Ninja Creami after the first spin, ensuring they are perfectly incorporated without being pulverized.
Step-by-Step Guide to Perfect Ninja Creami Vanilla Protein Ice Cream
Making your own high-protein, low-carb ice cream with the Ninja Creami is incredibly straightforward. Follow these steps for a perfectly creamy and delicious treat every time.
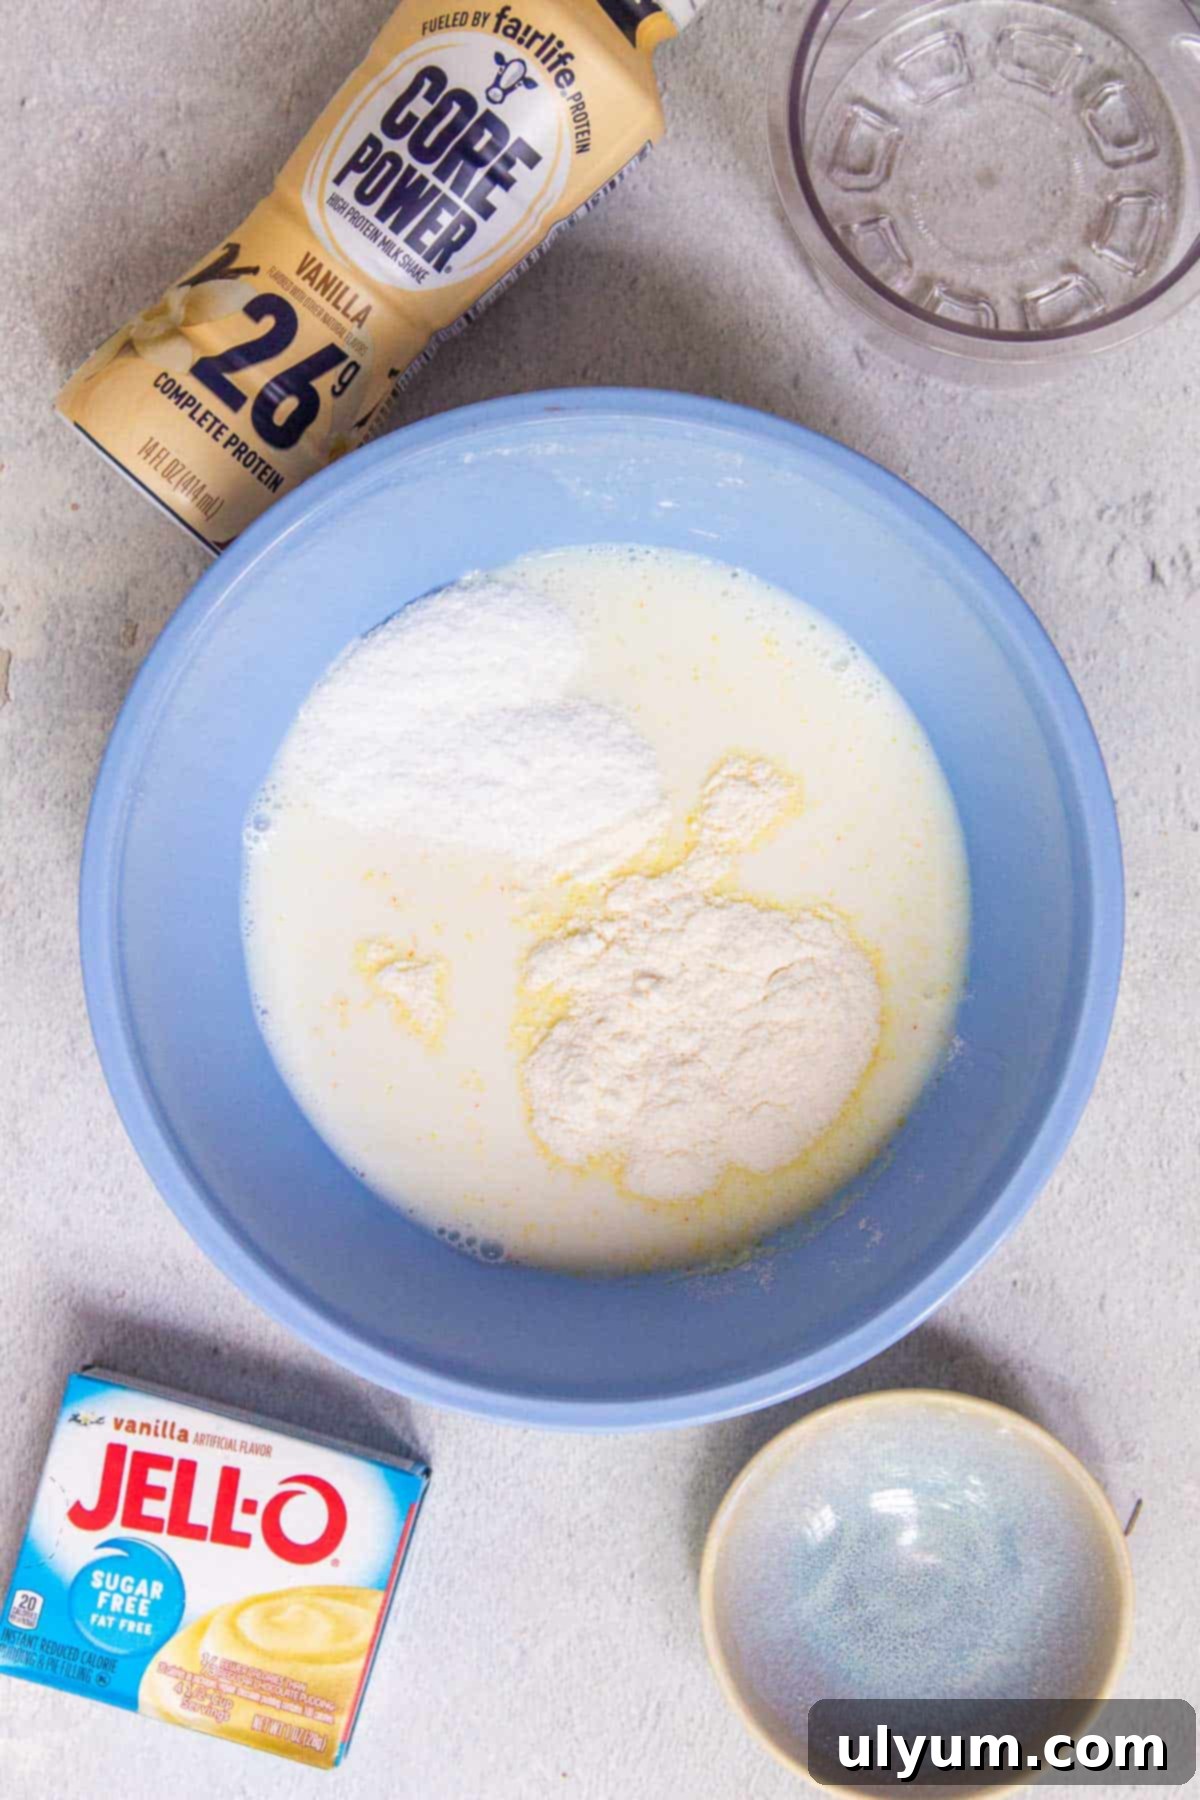
Step 1: Combine Ingredients. In a large mixing bowl, pour in the Fairlife Core Power Vanilla Protein Shake. Add the measured amount of stevia and the sugar-free instant vanilla pudding mix. Using a whisk, thoroughly combine these ingredients. Continue whisking until the stevia is fully dissolved and there are no visible lumps of pudding mix. It’s perfectly normal for the pudding mix not to fully dissolve into a completely smooth liquid at this stage; its action as a stabilizer will occur during the freezing process.
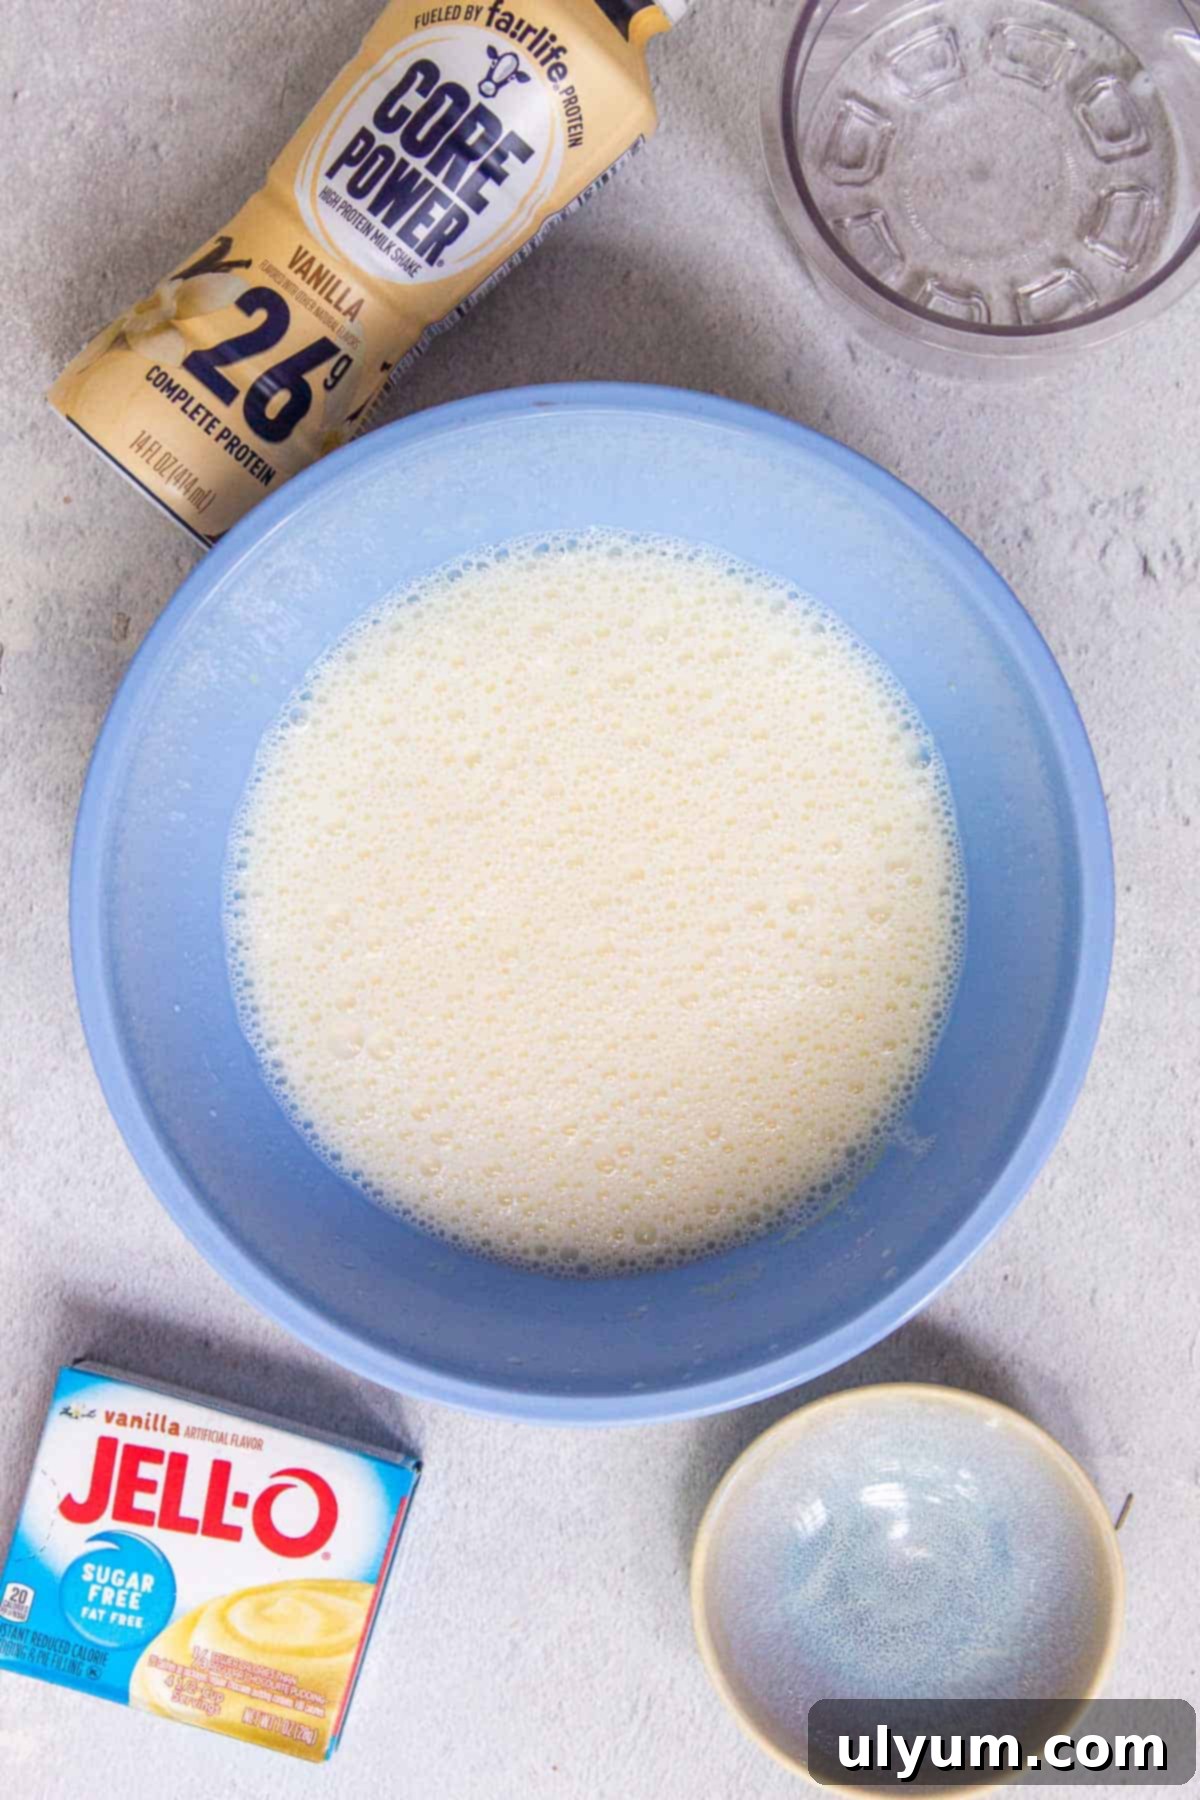
Step 2: Let Bubbles Settle. After whisking, you’ll notice some foam or bubbles on the surface of the mixture. Allow these bubbles to settle for a short period, typically less than one minute. This step helps ensure a smoother, more uniform freeze and prevents air pockets in your final ice cream. Once settled, you’re ready to transfer the mixture.
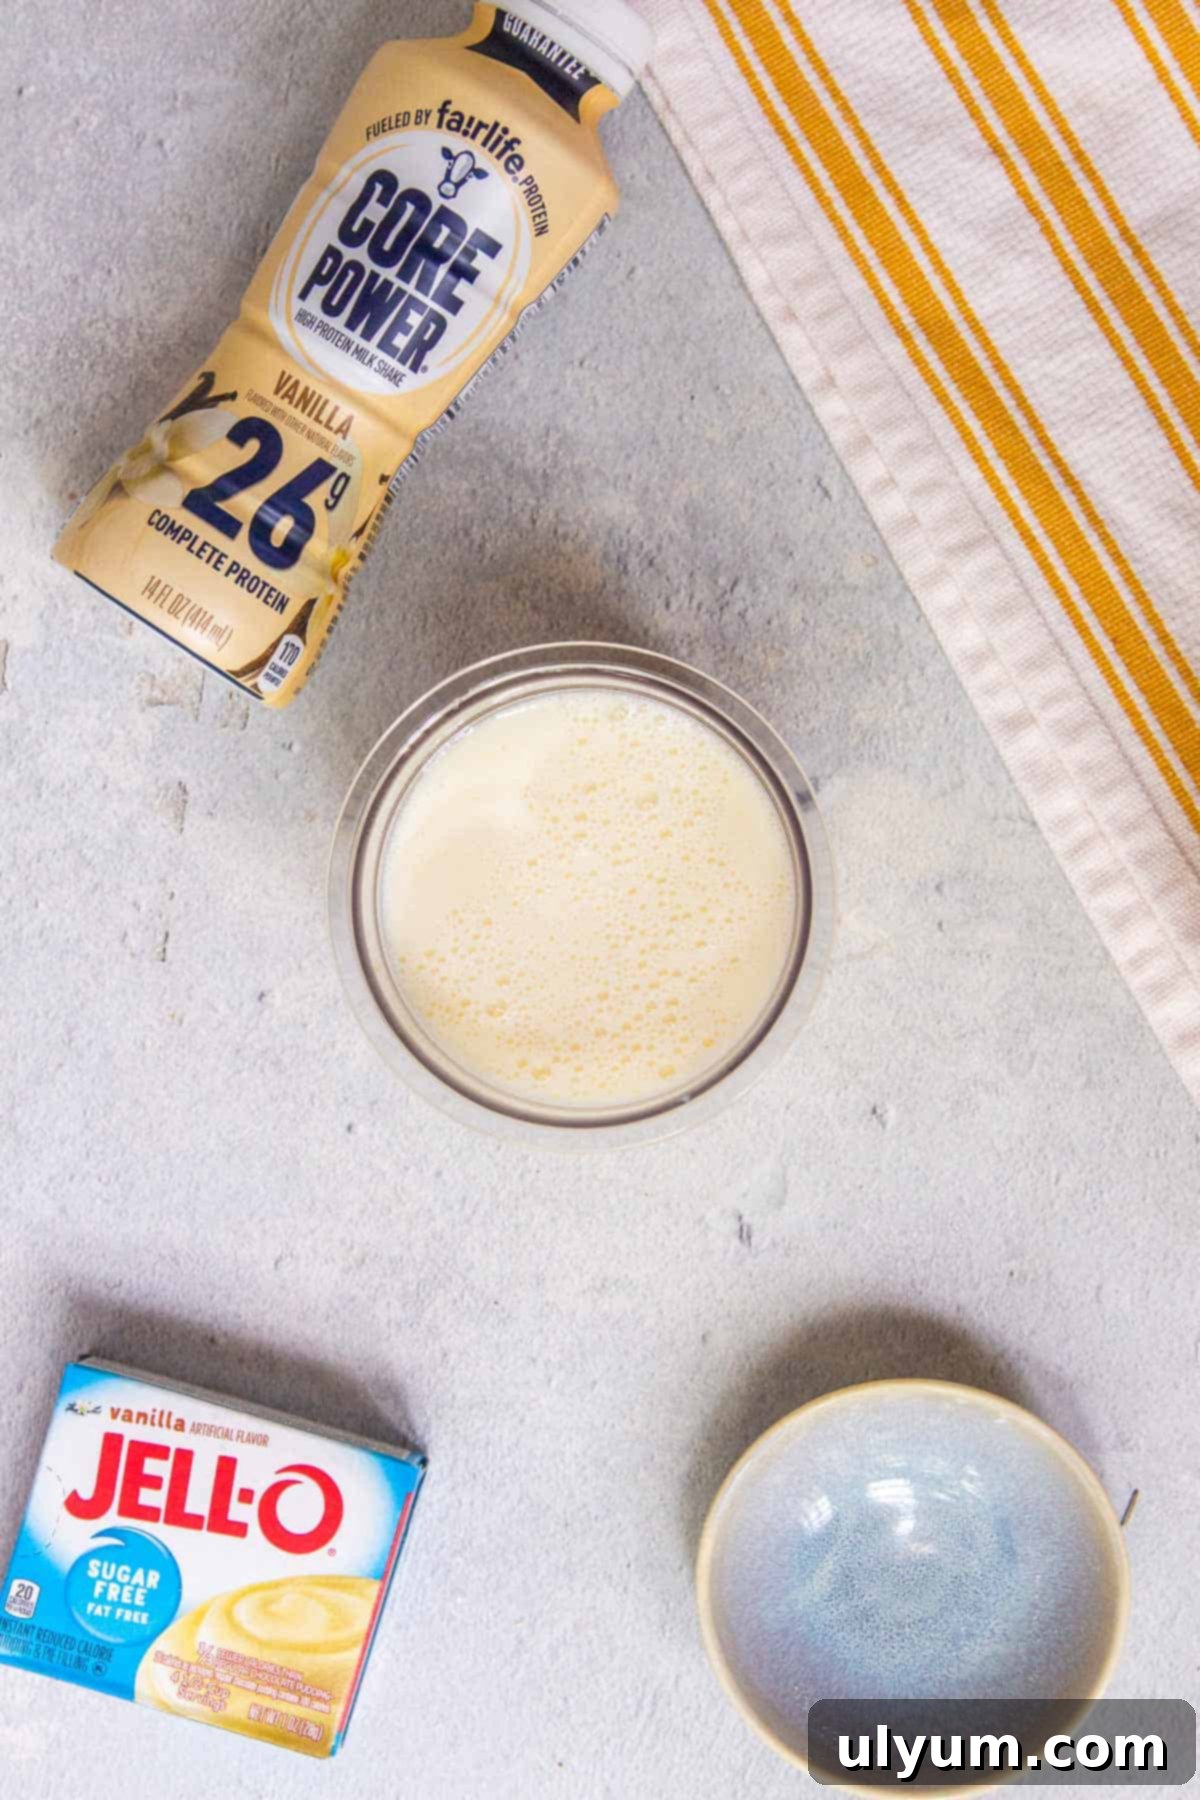
Step 3: Freeze the Mixture. Carefully pour the prepared mixture into a clean Ninja Creami pint container. Ensure that the liquid does not exceed the “Max Fill” line marked on the pint. Securely cover the pint with its lid and place it on a level surface in your freezer. It’s crucial to freeze the mixture for a minimum of 12 hours, but for best results and optimal consistency, 24 hours is recommended. A consistent, deep freeze is vital for the Creami to work its magic.
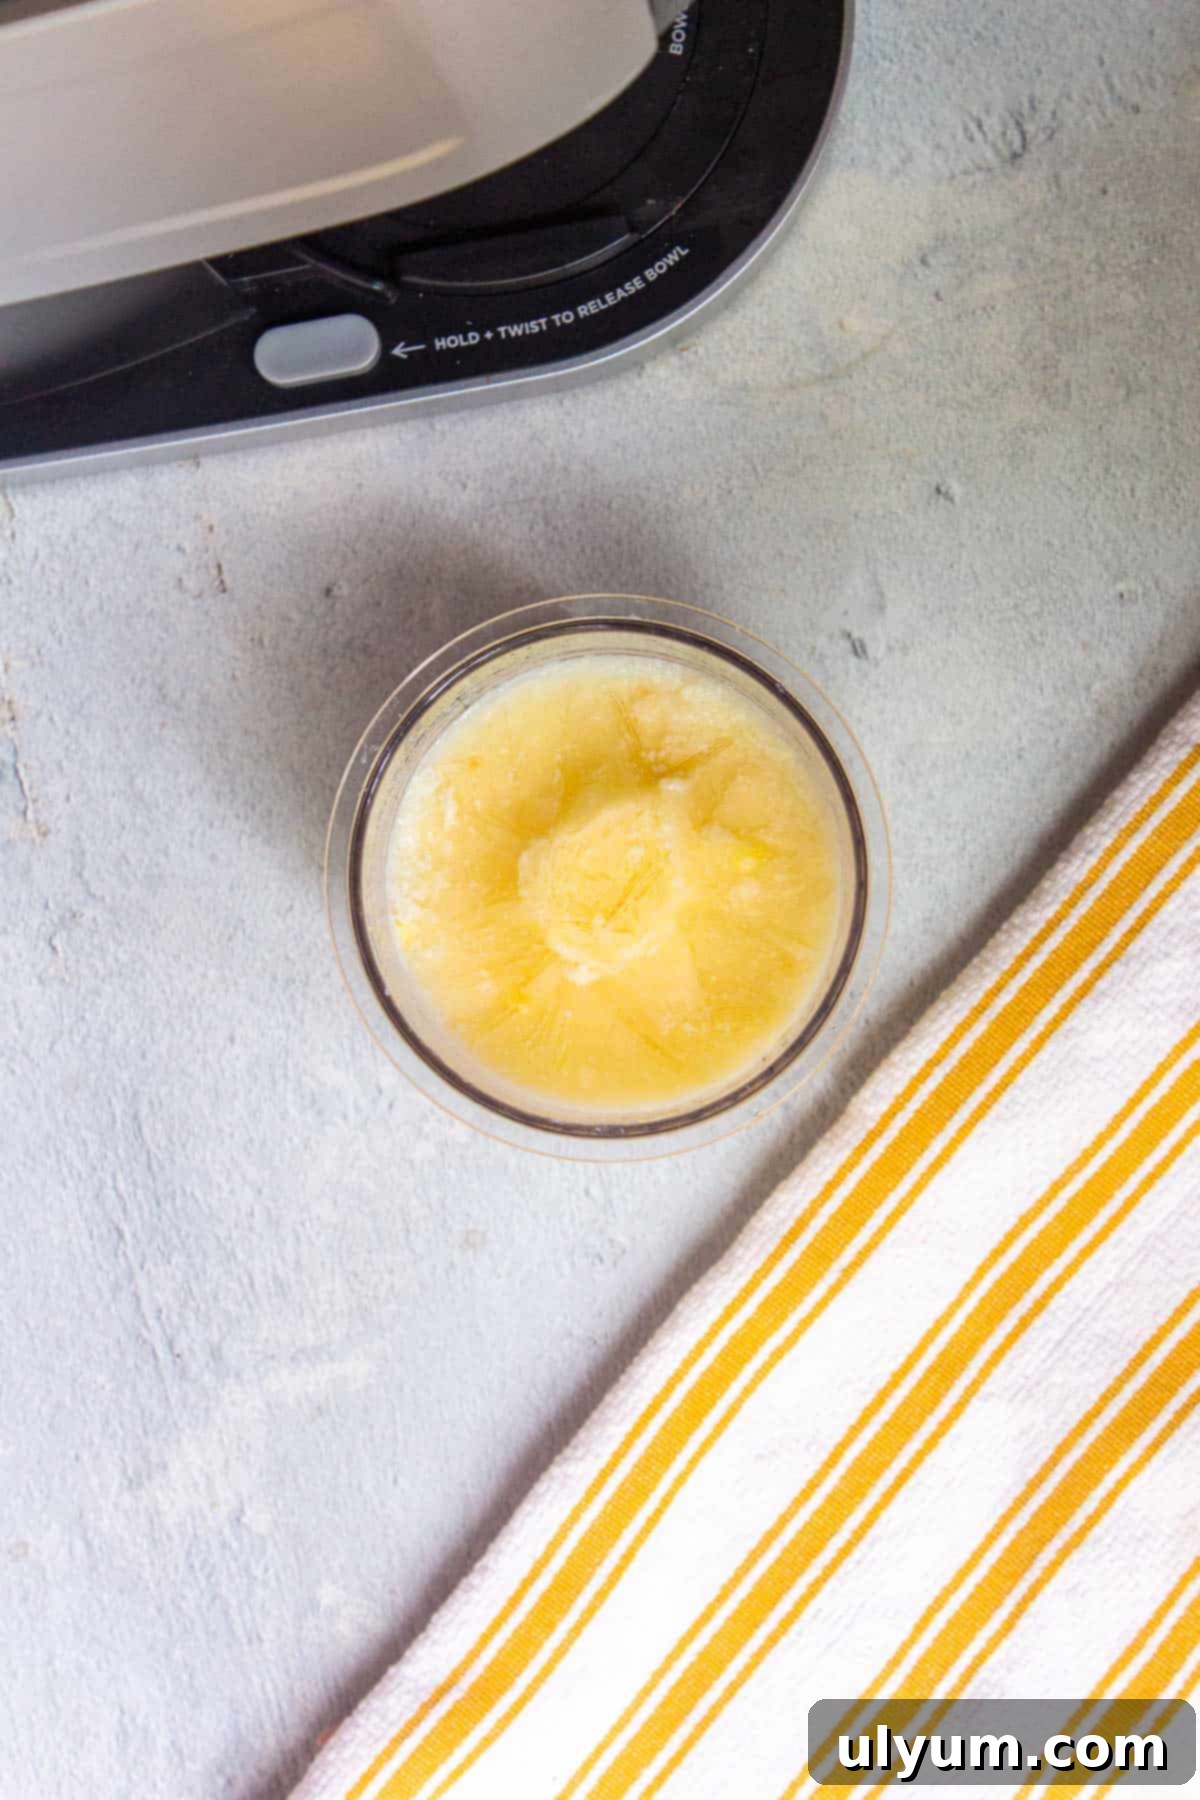
Step 4: Prepare for Processing. Once your pint is thoroughly frozen (it should be solid to the touch, like a block of ice), remove it from the freezer and take off the storage lid. It’s now ready to be transformed into creamy ice cream. Ensure your Ninja Creami machine is clean and ready for use.
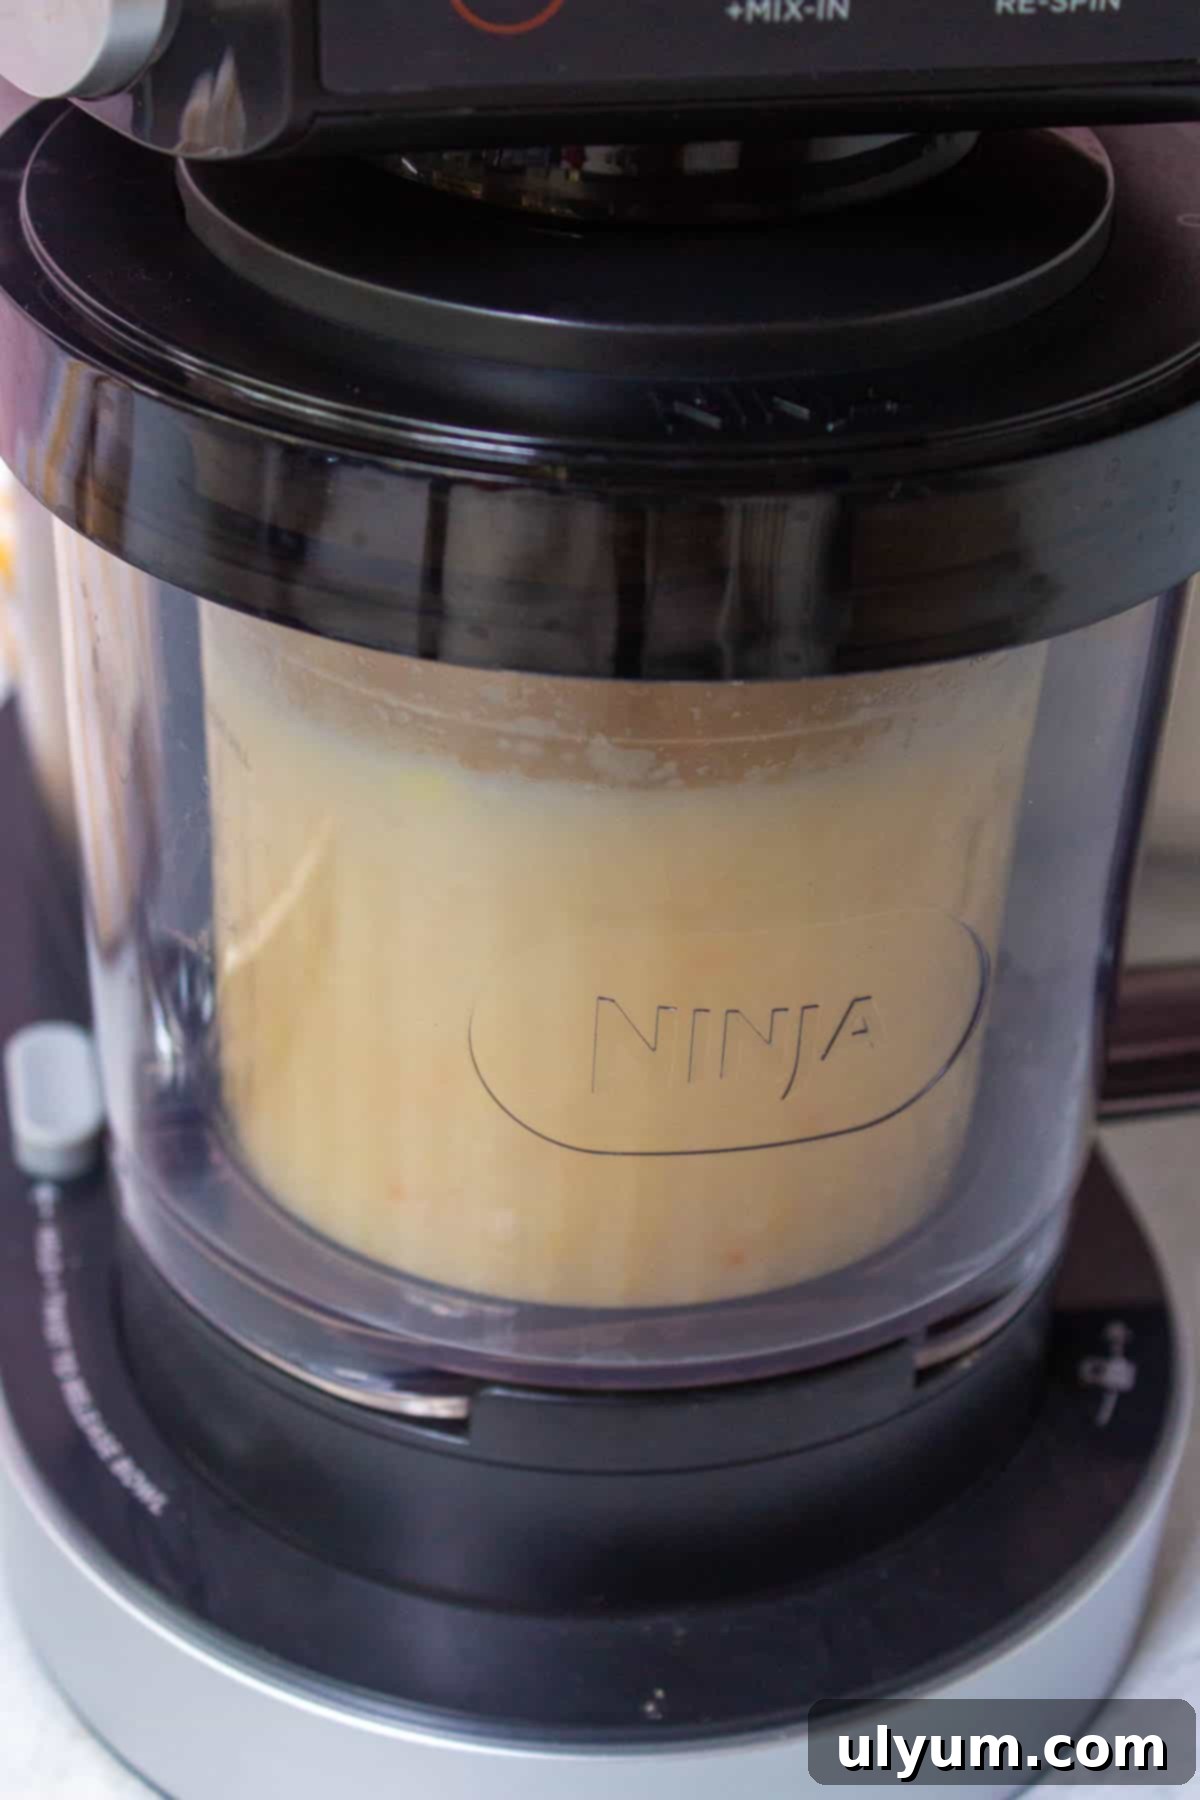
Step 5: Process in the Ninja Creami. Place the opened frozen pint into the outer bowl of your Ninja Creami machine. Attach the Creamerizer Paddle to the lid, then firmly lock the lid assembly onto the outer bowl. Slide the entire bowl assembly into the machine’s motor base and twist it to the right until it securely locks into place. Select the “Lite Ice Cream” button on your Ninja Creami. This setting is specifically designed for lower-fat, lower-sugar recipes like our protein ice cream, ensuring optimal results.
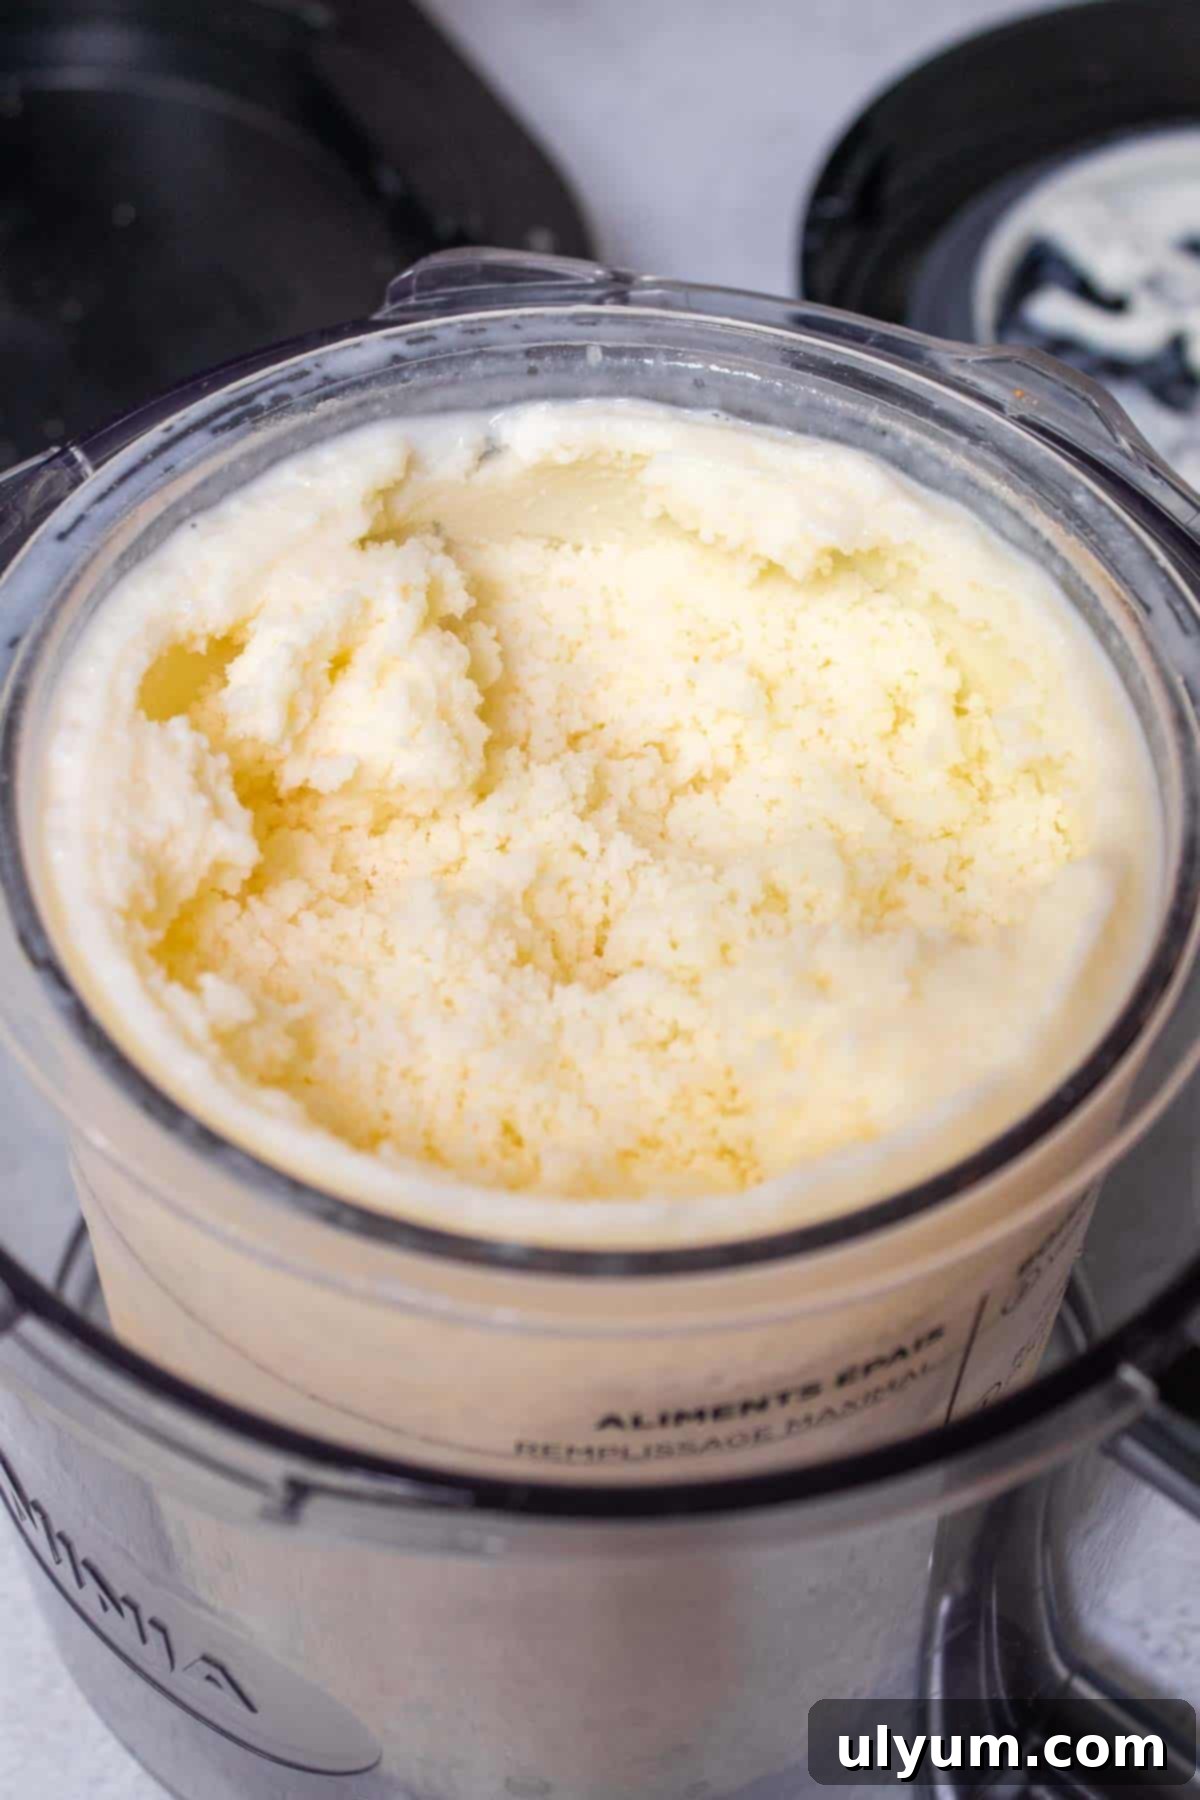
Step 6: Assess and Re-Spin. After the initial processing cycle is complete, unlock and remove the bowl assembly from the ice cream maker, then detach the outer bowl lid. Because this is a lite ice cream recipe with a lower fat content, the mixture will likely appear icy, crumbly, or powdery after the first spin. This is completely normal and expected. If your ice cream isn’t perfectly creamy, simply insert the pint back into the machine and select the “Re-spin” button. Repeat this step as needed, usually one or two re-spins are sufficient, until you achieve your desired smooth, creamy consistency.
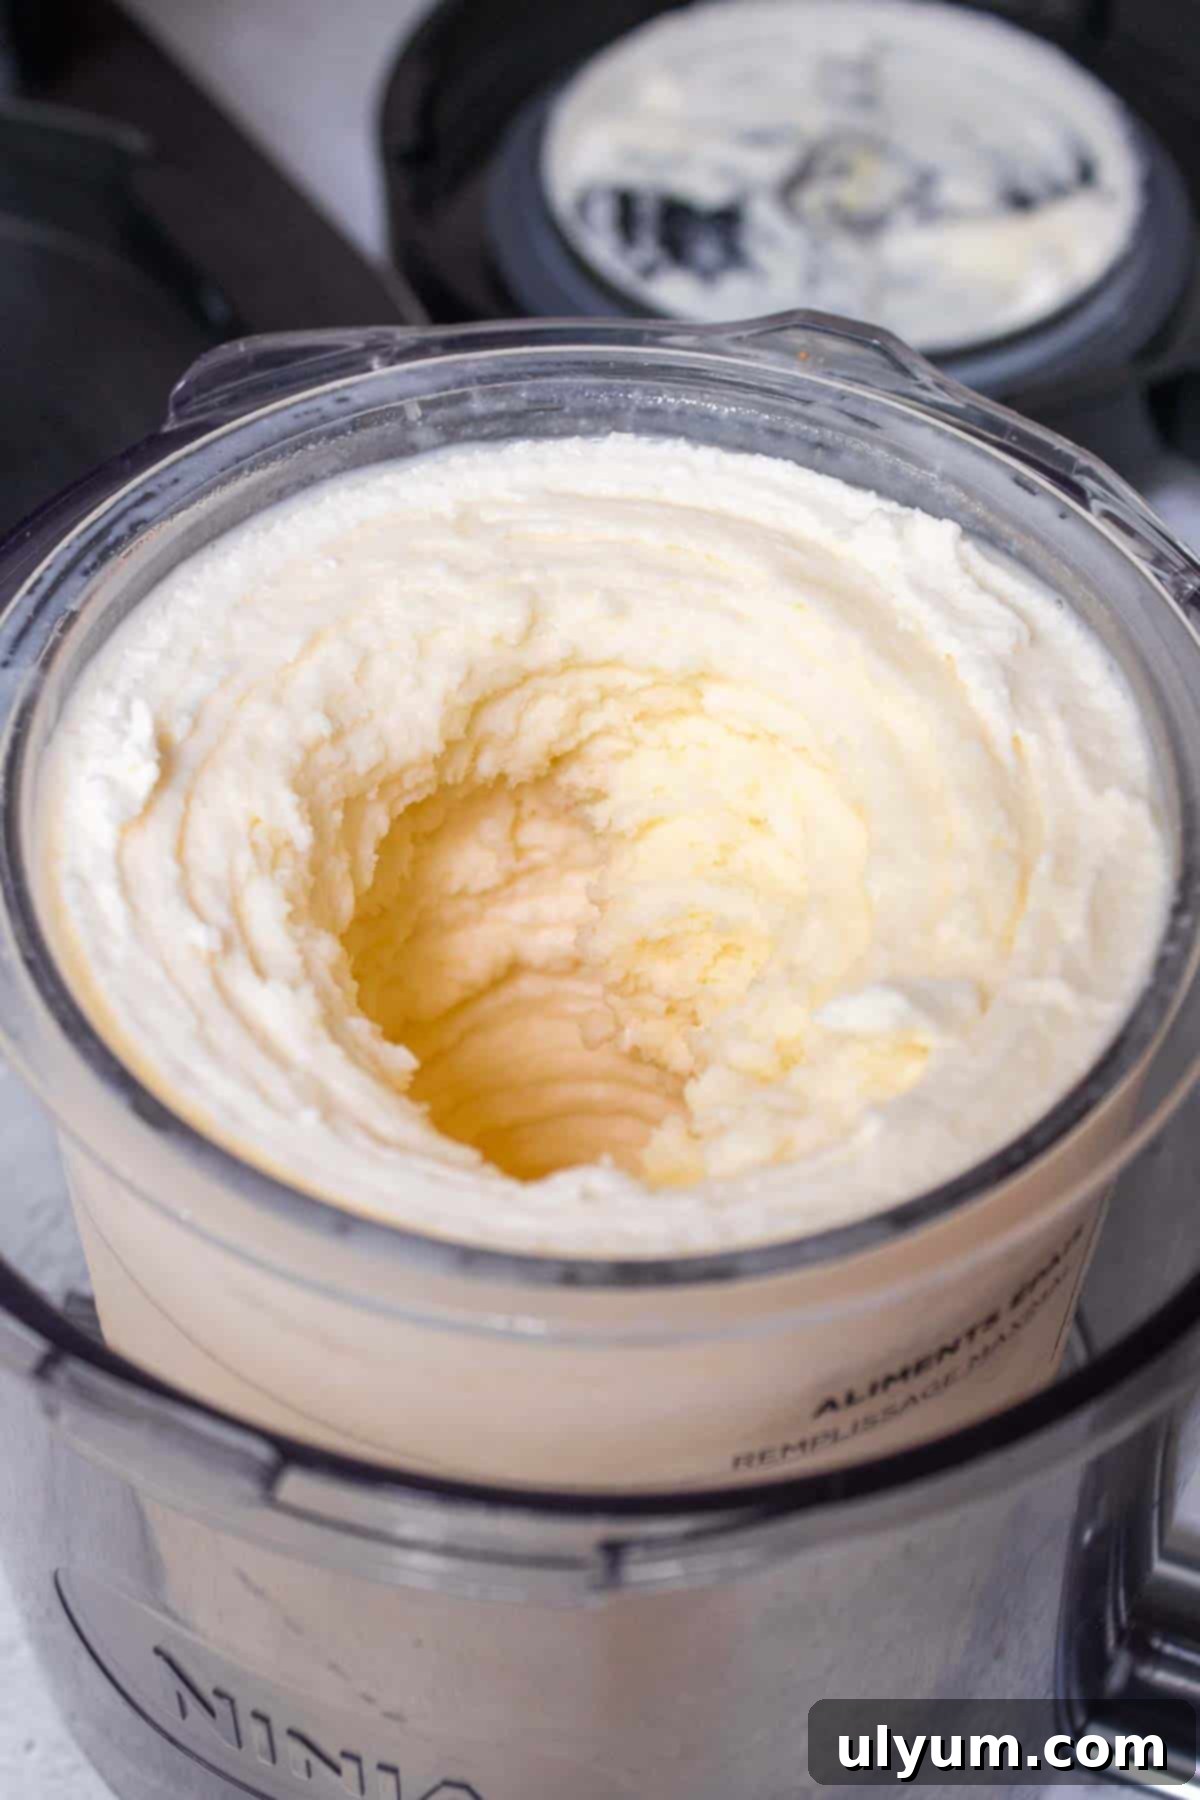
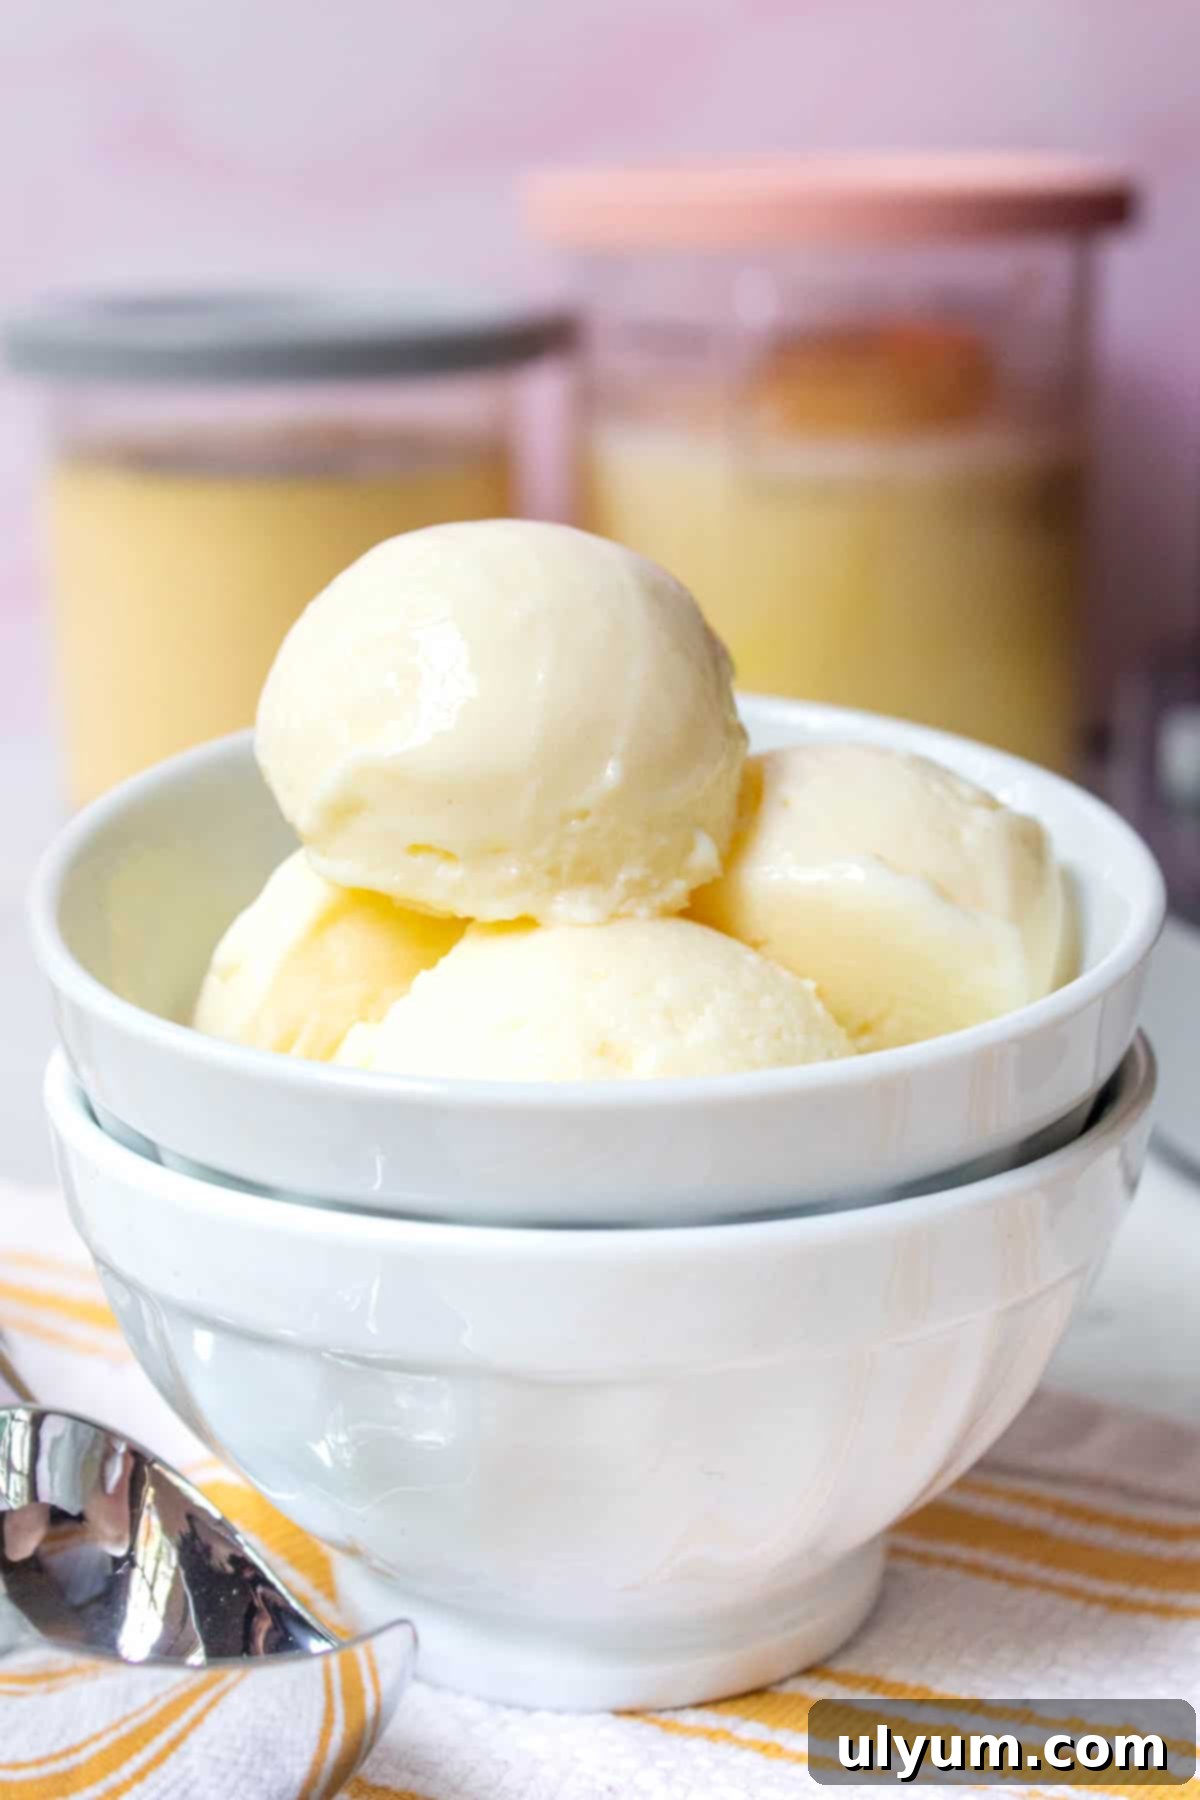
Step 7: Serve and Enjoy. Once your Ninja Creami vanilla protein ice cream has reached a perfectly creamy consistency, it’s ready to be served immediately. The texture will be delightfully smooth, often resembling a rich soft-serve or a thick frosty. While it may not be as hard-scoopable as traditional high-fat ice cream, you can still achieve lovely, soft scoops perfect for enjoyment. Garnish with your favorite toppings or enjoy it as is!
Optional: Adding Mix-ins. If you wish to incorporate mix-ins for added flavor and texture, do so after the initial processing and re-spins (if needed). Use a spoon to create a small tunnel in the center of the ice cream, extending down to the bottom of the pint. Add your chosen mix-ins into this tunnel. Reassemble the outer bowl and lid, then return it to the machine. Select the “Mix-In” program on your Ninja Creami to gently incorporate them without over-processing.
Smart Substitutions for Your Ninja Creami Vanilla Protein Ice Cream
Flexibility is key in healthy cooking! Here are some smart substitutions you can make for this Ninja Creami vanilla protein ice cream recipe, allowing you to tailor it to your preferences or what you have on hand:
Protein Shake Alternatives: This recipe shines with a pre-made protein shake like the Fairlife Core Power Vanilla Protein Shake due to its ultra-filtered nature and high protein content. However, you can use your favorite vanilla protein shake. Popular choices include the smaller vanilla Fairlife Nutrition Plan shakes (which might have slightly different macros) or a Premier Protein vanilla shake. Just ensure it’s a ready-to-drink shake, as their consistency is perfect for freezing.
Using Protein Powder & Milk: If you prefer to make your own base from scratch using protein powder, you absolutely can! Instead of a pre-made shake, combine 12-14 ounces of your preferred milk (such as unsweetened almond milk, fat-free Fairlife milk, or even regular dairy milk for a slightly richer result) with one scoop of high-quality vanilla protein powder. You may also want to add a small splash (½ to 1 teaspoon) of pure vanilla extract to boost the natural vanilla flavor, as protein powders can sometimes have a milder taste. Adjust sweetener to taste.
Sweetener Options: While stevia is recommended for its zero-calorie, natural profile, you have several other excellent sugar substitute options. Popular choices that work well in frozen desserts include Splenda (sucralose), Swerve (erythritol), and monk fruit with erythritol blends. Always adjust the amount according to the specific sweetener’s potency and your personal taste preference.
Pudding Mix Alternatives: The sugar-free instant vanilla pudding mix is crucial for texture. If you don’t have it or prefer an alternative, consider these options:
- Regular Pudding Mix: If calories/sugar aren’t a concern, regular instant vanilla pudding mix will also work as a stabilizer, though it will change the nutritional macros.
- Cream Cheese: A tablespoon of softened cream cheese (full-fat or reduced-fat) can add richness and creaminess, helping to prevent an icy texture. Note that this will also alter the macros.
- Guar Gum or Xanthan Gum: For a purely functional stabilizer with minimal impact on flavor or macros, use about ½ teaspoon of guar gum or xanthan gum. These powerful thickening agents require careful measurement, as too much can result in a gummy texture.
Creative Variations for Your Ninja Creami Vanilla Protein Treat
Once you master the base vanilla protein ice cream, the possibilities for flavor variations are endless! Here are some delicious ideas to inspire your next Ninja Creami creation:
- Chocolate Protein Ice Cream: Easily transform this recipe into a chocolate lover’s dream. Simply swap the Fairlife Core Power Vanilla Protein Shake for a Fairlife Core Power Chocolate Protein Shake (or any similar chocolate protein shake). For an even richer experience, you can add a tablespoon of unsweetened cocoa powder to the mix. Don’t forget to check out my dedicated Ninja Creami lite chocolate ice cream recipe for more tips.
- Classic Full-Fat Vanilla Ice Cream: If you’re craving a more traditional, indulgent ice cream experience, the Ninja Creami can do that too! Instead of the protein shake, use a base of heavy cream, whole milk, and sugar. This will result in a high-fat, fully sweet dessert. Find a classic recipe like my Ninja Creami vanilla ice cream for guidance.
- Cookies and Cream Protein Ice Cream: This is a crowd-pleaser! After your vanilla protein ice cream has been processed, create a tunnel and add crushed Oreo cookies (or sugar-free chocolate sandwich cookies for a low-carb option) before using the “Mix-In” program. Alternatively, try my Ninja Creami Oreo protein ice cream recipe for a dedicated version.
- Raspberry White Chocolate Protein Ice Cream: Elevate your vanilla base with a sophisticated twist. Swap the vanilla pudding mix for a sugar-free white chocolate pudding mix. After spinning, add ¼ cup of small frozen raspberries as your mix-in. The combination of sweet white chocolate and tart berries is simply divine.
- Cheesecake Protein Ice Cream: Indulge in a guilt-free cheesecake experience. Substitute the vanilla pudding mix with a sugar-free cheesecake flavored instant pudding mix. Once processed, create a tunnel and add crushed graham crackers (or low-carb/keto graham cracker crumbs) as your mix-in for that authentic cheesecake crust texture.
- Strawberry Shortcake Protein Ice Cream: Use sugar-free strawberry pudding mix and add diced fresh or frozen strawberries as a mix-in. You can also crumble in a few low-carb vanilla wafers.
- Birthday Cake Protein Ice Cream: Add a touch of almond extract to the base and stir in some sugar-free sprinkles before freezing. After spinning, you can add more sprinkles or even a few crumbled low-carb birthday cake cookies.
Essential Equipment for Your Ninja Creami Creations
To successfully make this Ninja Creami vanilla protein ice cream, you’ll need a few key pieces of equipment. Each item plays an important role in the preparation and processing of your delicious frozen treat:
- Ninja Creami: The star of the show! Whether you have the original Ninja Creami Breeze, or the Ninja Creami Deluxe, any model will work to transform your frozen base into creamy ice cream. The specific “Lite Ice Cream” function is perfect for this recipe.
- Large Mixing Bowl: Essential for easily combining your protein shake, sweetener, and pudding mix before transferring to the pint.
- Whisk: A simple whisk is all you need to thoroughly combine the ingredients and ensure the stevia dissolves properly, creating a smooth base for freezing.
- Ninja Creami Pints: While not explicitly listed, having an adequate number of Ninja Creami pints is crucial for preparing and freezing your bases. This recipe is designed specifically for these containers.
Storing Your Homemade Protein Ice Cream
If you have any leftover Ninja Creami vanilla protein ice cream (which is rare, it’s so delicious!), proper storage is key to enjoying it later. To store, simply use a spoon or a flat spatula to flatten the top of the remaining ice cream in the pint container. Then, cover it tightly with the original storage lid. Return the pint to the freezer.
When you’re ready to enjoy your refrozen ice cream, it’s important to note that it will likely harden significantly, much like a traditional ice block, due to its low fat and sugar content. To restore its creamy, soft-serve consistency, you will need to process it again in your Ninja Creami machine. Simply re-spin it on the “Lite Ice Cream” setting until it reaches your desired texture. This quick re-spin will bring back its smooth and enjoyable consistency, making your leftovers just as good as fresh!
Pro Tips for the Best Ninja Creami Vanilla Protein Ice Cream
Achieving consistently perfect Ninja Creami protein ice cream requires a few insider tricks. Keep these pro tips in mind for optimal results:
- Upright Freezer is Preferred: While any freezer will work, upright freezers often provide a more consistent temperature, which is ideal for Creami creations. Chest freezers can sometimes get too cold, leading to “ice walls” forming inside the pint. An ice wall is a layer of ice that can form around the edges of the pint, which the Creamerizer paddle might struggle to fully incorporate, especially with lower-fat lite ice cream recipes. If you only have a chest freezer, try moving the pint to a less intensely cold spot or allowing it to sit out for a few minutes before processing.
- Always Freeze on a Flat Surface: This tip is crucial for both the safety of your machine and the quality of your ice cream. Always place your Ninja Creami pint on a completely flat, level surface in the freezer. If the mixture freezes at an angle, it can create an uneven block of ice. Processing an unevenly frozen pint can potentially damage the Creamerizer Paddle or the machine itself, and it will also lead to an inconsistent texture in your final product.
- Observe the Max Fill Line: When pouring your liquid base into the Creami pint, never fill it past the designated “Max Fill” line. Overfilling can cause the contents to expand during freezing and spill over, or worse, put undue stress on the machine during processing, potentially leading to damage. The only exception is when adding mix-ins *after* the initial ice cream processing; in that case, the volume increase is minimal and typically safe.
- Ensure a Full Freeze: As mentioned in the instructions, a minimum of 12 hours, and preferably 24 hours, is essential for a deep, solid freeze. If the base isn’t frozen hard enough, the Creami paddle won’t be able to properly shave and churn the ice crystals, resulting in a slushy or icy texture rather than creamy ice cream. Patience is a virtue here!
- Re-Spin for Creaminess: Don’t be discouraged if your first spin results in a crumbly or powdery texture. This is especially common with low-fat, low-sugar protein recipes. A re-spin (or even two) is usually all it takes to achieve that perfectly smooth, creamy, soft-serve consistency. The machine simply needs more time to break down all the ice crystals.
For detailed operational guidelines and important safety information, always refer to your Ninja Creami user manual prior to use.
Ninja Creami Vanilla Protein Ice Cream FAQ
Absolutely, yes! Freezing protein shakes is a fantastic way to create a high-protein, low-calorie ice cream alternative. However, simply freezing a protein shake might result in an icy texture. To achieve that desirable creamy consistency instead of a block of ice, it’s highly recommended to add a stabilizer like sugar-free instant pudding mix. This helps to bind the ingredients and create a smoother, more enjoyable texture. Additionally, incorporating a little extra artificial sweetener (like stevia or monk fruit) can boost the flavor, making it taste more indulgent and satisfying.
The total time required to make ice cream with a Ninja Creami is split into two main phases: freezing and processing. The initial freezing of your liquid base typically takes between 12 to 24 hours to ensure it is thoroughly solid. The precise freezing time can vary depending on your specific recipe (higher fat/sugar content generally freezes a bit softer) and the efficiency of your freezer. Once frozen, the actual processing time in the Ninja Creami machine is surprisingly quick, usually taking only 2-4 minutes per pint. This duration depends on the function selected (e.g., “Lite Ice Cream” might take slightly longer or require a “Re-spin” compared to “Gelato” or “Sorbet”). For lower-fat, lower-sugar recipes like this protein ice cream, you might need one or two “Re-spin” cycles, adding an extra 1-2 minutes per cycle, to achieve the perfect creamy texture.
More Delicious Ninja Creami Protein Ice Cream Recipes
Once you’ve fallen in love with this vanilla protein ice cream, you’ll surely want to explore more high-protein, guilt-free frozen treats made with your Ninja Creami! Here are a few more irresistible recipes to try that will keep you on track with your health and fitness goals without sacrificing flavor. Don’t hesitate to let me know what other ice cream recipes you’d like to see next!
- 5 Ninja Creami Protein Ice Cream Recipes
- Ninja Creami Cookies and Cream Ice Cream
- Ninja Creami Vanilla Ice Cream
- Ninja Creami Oreo Protein Ice Cream
📖 Recipe
Pin Recipe
Save Recipe
Saved!
Email
Print
Ninja Creami Vanilla Protein Ice Cream
Equipment
-
Ninja Creami
-
Large mixing bowl
-
Whisk
Ingredients
For a standard pint
- 14 ounces Fairlife Core Power Vanilla Protein Shake
- 1 tablespoons stevia
- 1 tablespoons sugar free instant vanilla pudding mix
For a deluxe pint
- 21 ounces Fairlife Core Power Vanilla Protein Shake
- 1-½ tablespoons stevia
- 1-½ tablespoons sugar free instant vanilla pudding mix
Instructions
Part One: Prepare & Freeze
-
In a mixing bowl, combine the Fairlife Core Power vanilla protein shake, stevia, and sugar-free instant vanilla pudding mix. Whisk thoroughly until the stevia is fully dissolved and any lumps from the pudding mix are mostly gone. Don’t worry if the pudding mix doesn’t completely dissolve, it will still function as a stabilizer. Allow any bubbles to settle for less than 1 minute before proceeding.
-
Pour the mixture into a clean Ninja Creami pint. Ensure the liquid does not exceed the “Max Fill” line. Cover the pint with its lid and freeze on a level surface in your freezer for a minimum of 12 hours, ideally 24 hours, for best results.
Part Two: Process & Serve
-
Once thoroughly frozen, remove the pint from the freezer and take off the lid. Place the pint into the outer bowl of your Ninja Creami machine. Install the Creamerizer Paddle into the lid and securely lock the lid assembly onto the outer bowl. Slide the entire bowl assembly into the machine’s motor base and twist it to the right until locked. Select the “Lite Ice Cream” button.
-
After the initial processing is complete, unlock and remove the bowl assembly from the machine and take off the outer bowl lid. The mixture will likely appear icy, powdery, or crumbly after the first spin, which is normal for lite ice cream recipes. If it’s not creamy, perform a “Re-spin” cycle. Continue to re-spin as needed until you achieve a smooth, soft-serve-like consistency. Serve your delicious vanilla protein ice cream immediately.
-
Optional: Adding Mix-ins. If you wish to add mix-ins, create a small tunnel in the center of the ice cream using a spoon, extending down to the bottom of the pint. Add your desired mix-ins. Reassemble the bowl and lid, place it back into the machine, and process using the “Mix-In” program to evenly distribute them.
Video
Notes
Storage & Re-spinning: To store any leftover ice cream, flatten the top with a spoon and cover the pint with its storage lid before refreezing. Note that the ice cream will harden considerably upon refreezing. When you’re ready to enjoy it again, you will need to process it once more on the “Lite Ice Cream” setting to restore its creamy texture.
Deluxe Model Mix-In Flexibility: If you are using a Ninja Creami Deluxe model, you have the option for advanced mix-in customization. You can process the top half of the pint with one type of mix-in, scoop that portion into a separate bowl, and then add a different mix-in to the remaining bottom half of the pint and process it separately. This allows for multi-flavored pints!
