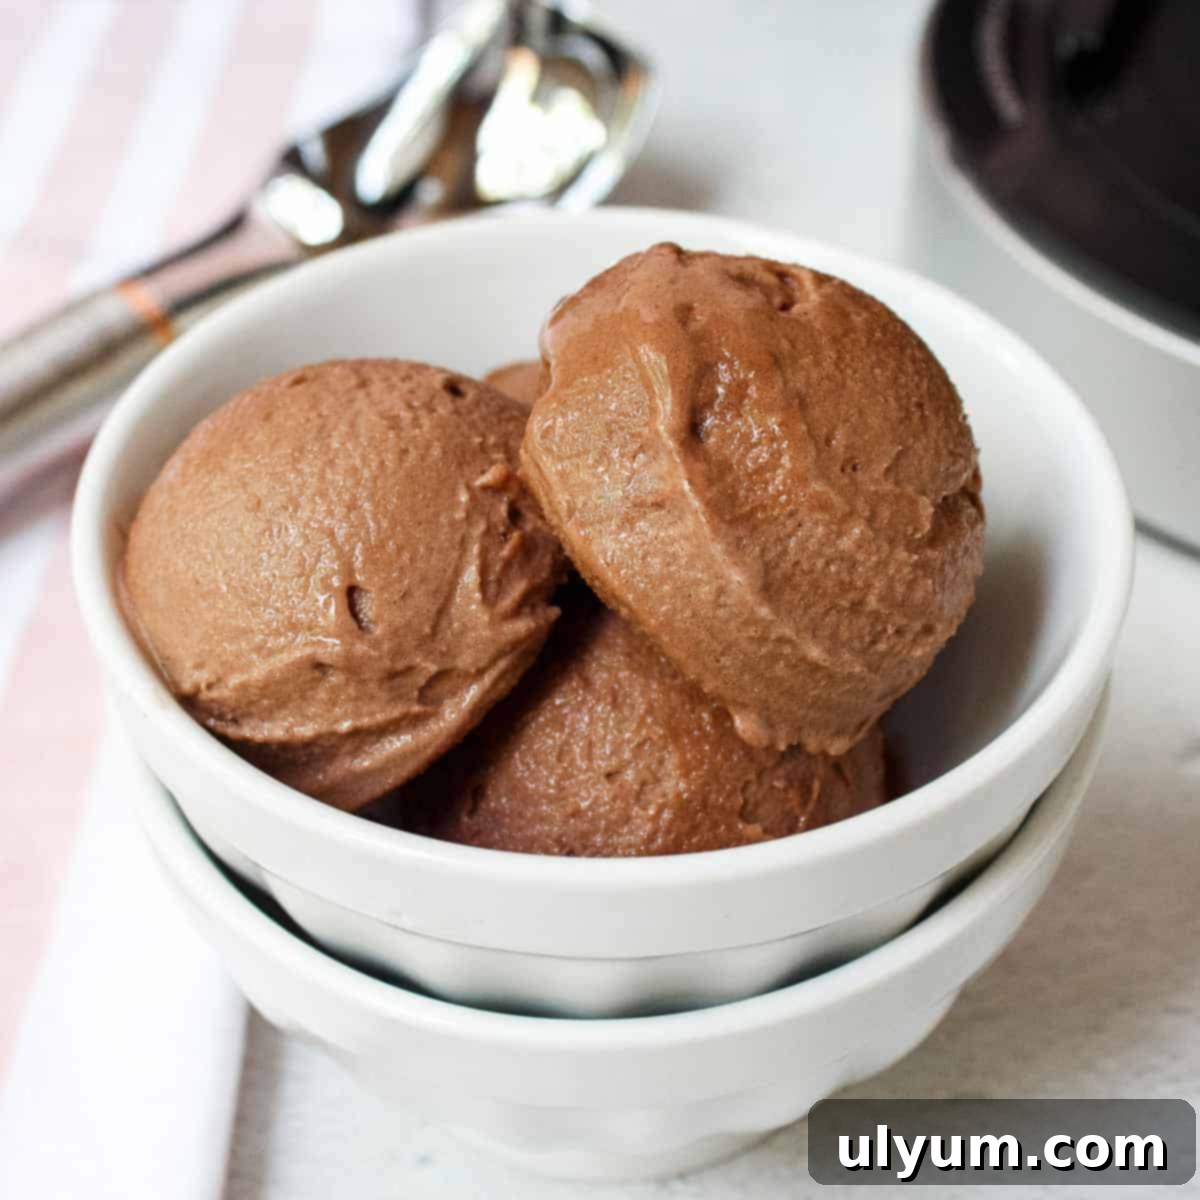
Guilt-Free Indulgence: The Easiest Ninja Creami Chocolate Protein Ice Cream (No Protein Powder Required!)
Are you searching for a delicious, healthy treat that satisfies your sweet tooth without derailing your diet? Look no further! This incredibly easy Ninja Creami chocolate protein ice cream recipe is a game-changer. It’s a low-calorie, high-protein dessert made with just three simple ingredients – and here’s the best part: it requires no protein powder! That’s right, you can achieve a wonderfully creamy, rich chocolate ice cream experience that’s both nutritious and incredibly satisfying, all thanks to the magic of your Ninja Creami.
The secret to this exceptional Ninja Creami protein ice cream lies in using high-quality ingredients that naturally boost protein content and enhance flavor. Our star ingredient is Fairlife 2% chocolate milk. This isn’t just any chocolate milk; it’s an ultra-filtered, lactose-free option that packs a significant protein punch and has less sugar than traditional chocolate milk. This makes it an ideal base for a healthier dessert without compromising on taste or texture.
To further enhance the creaminess and rich chocolate flavor, we incorporate instant Jell-O sugar-free chocolate pudding mix. This ingenious addition acts as a binder, helping to create that perfect, scoopable ice cream consistency. Since it’s dairy-free (in its dry mix form) and sugar-free, it complements the Fairlife milk perfectly, making this a fantastic recipe if you’re lactose intolerant or simply looking to reduce sugar intake.
This streamlined, 3-ingredient approach simplifies your dessert-making process. All you need is chocolate milk, a stevia sugar substitute, and the chocolate Jell-O powder. These three components are combined to form your ice cream base. The mixture is then poured into a Creami pint, frozen for 24 hours, and finally processed on the “Lite Ice Cream” setting. The result? A remarkably creamy, deeply chocolatey protein ice cream that tastes indulgent but fits perfectly into a healthy lifestyle.
Whether you own a standard Ninja Creami or the larger Deluxe model, this recipe is incredibly adaptable. You can easily adjust the ingredient quantities to fit both pint sizes, ensuring everyone can enjoy this delightful treat. (Refer to the Notes section in the recipe card for specific adjustments for Deluxe pints).
This post contains affiliate links. As an Amazon Associate, I earn from qualifying purchases.
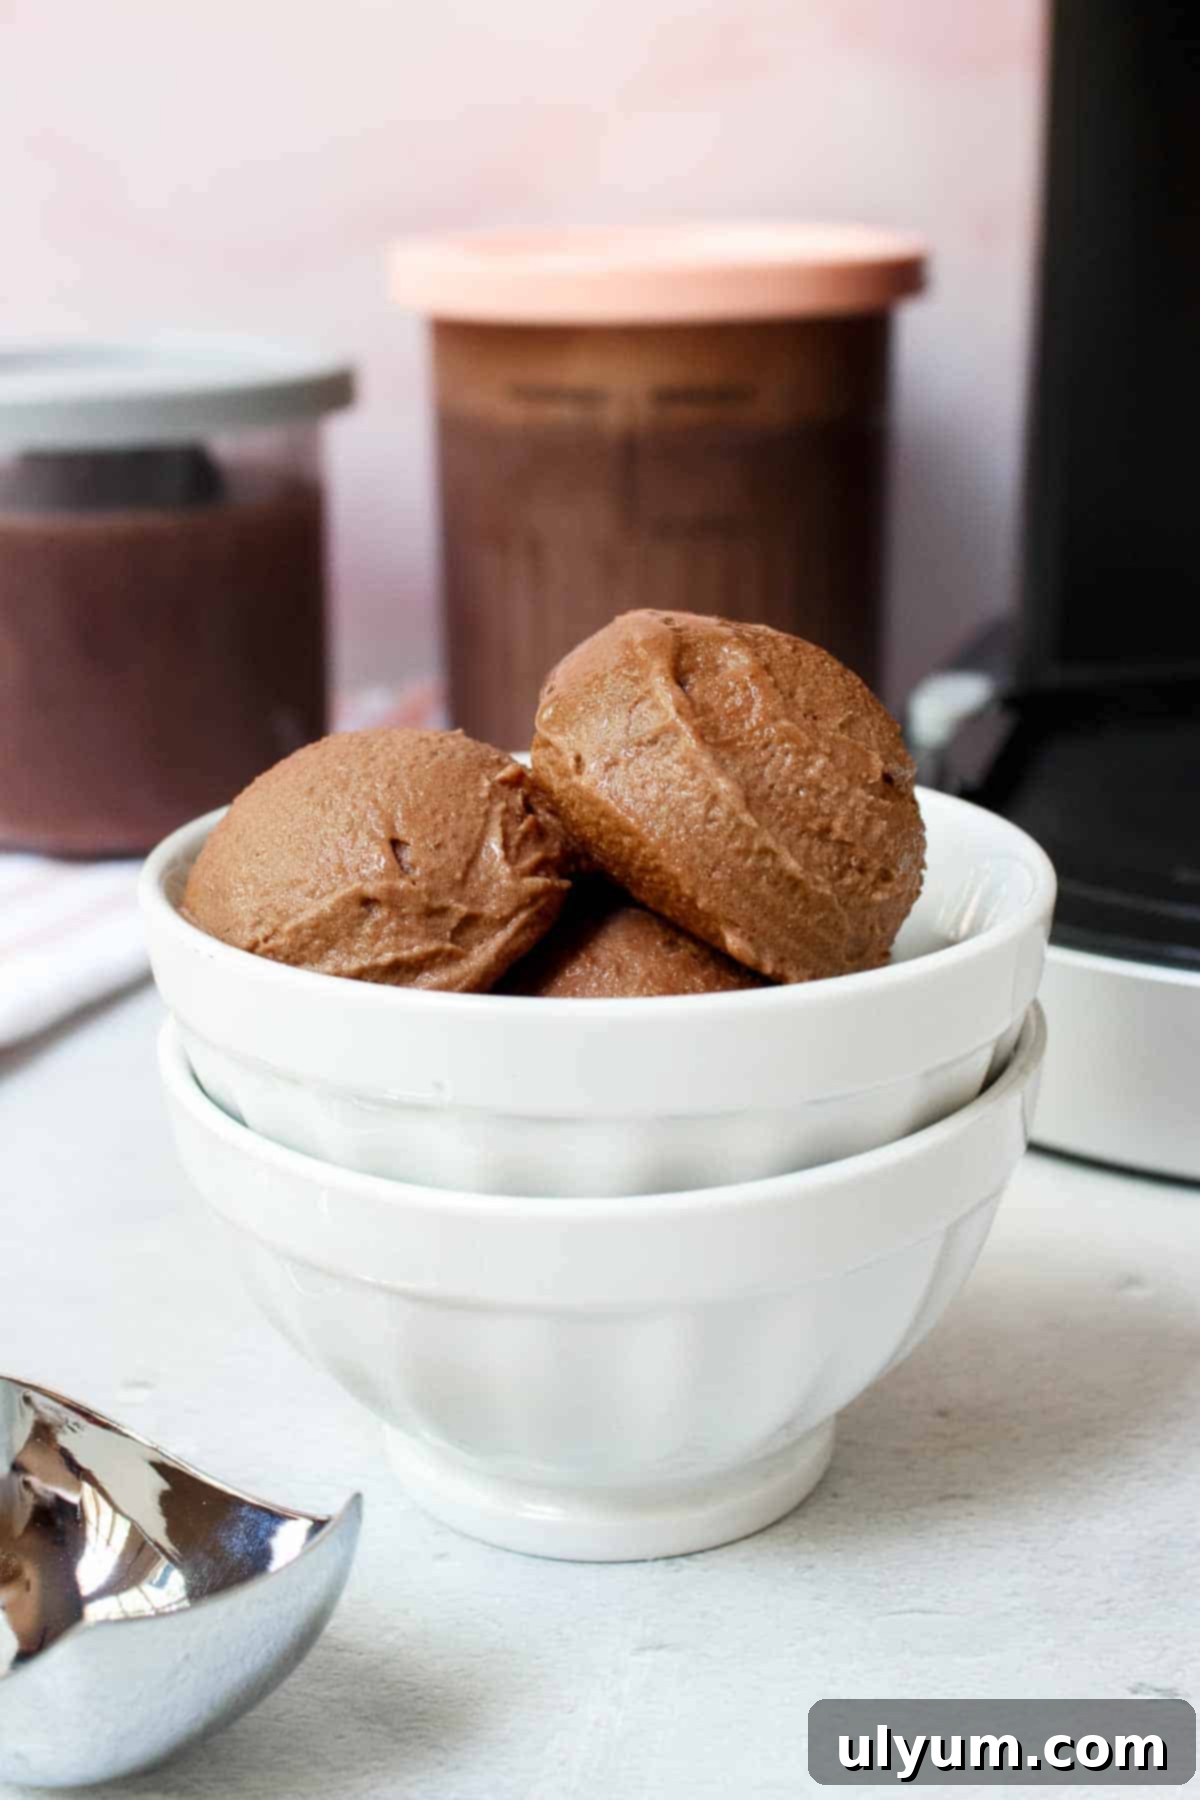
This homemade ice cream is truly the perfect healthy treat to satisfy your cravings. With its impressive nutritional profile, you can enjoy the entire pint without an ounce of guilt! For detailed nutritional information, please refer to the recipe card below. It’s an excellent way to boost your protein intake while enjoying a delicious dessert.
For those looking for more low-calorie dessert options, be sure to check out our other popular recipes like the vanilla protein ice cream or these delightful Diet 7UP Strawberry Cupcakes. Expand your healthy dessert repertoire and enjoy guilt-free indulgence!
Recipe Highlights: Why You’ll Love This Chocolate Protein Ice Cream
- High Protein, Low Calorie: Enjoy a whole pint for approximately 340 calories and a whopping 28 grams of protein! This makes it an incredibly satisfying snack or dessert that supports your fitness goals. A standard Creami pint holds 16 ounces (2 cups), which can easily be multiple servings, but many enjoy the entire pint guilt-free.
- Remarkably Simple: Forget complicated steps or long ingredient lists. This is a genuinely easy three-ingredient recipe that anyone can master. Perfect for busy individuals or novice cooks who want delicious results with minimal effort.
- No Protein Powder Needed: Unlike many protein ice cream recipes, this one achieves its high protein content purely through Fairlife milk, making it a natural and clean option for those who prefer to avoid protein supplements.
- Incredibly Creamy Texture: Thanks to the combination of ultra-filtered milk and instant pudding mix, this ice cream boasts a smooth, luscious consistency similar to soft-serve, making it incredibly enjoyable.
- Lactose-Free Friendly: Fairlife milk is lactose-free, and the sugar-free pudding mix is also dairy-free, making this a great option for individuals with lactose sensitivities.
Essential Ingredients for Your Ninja Creami Chocolate Protein Ice Cream
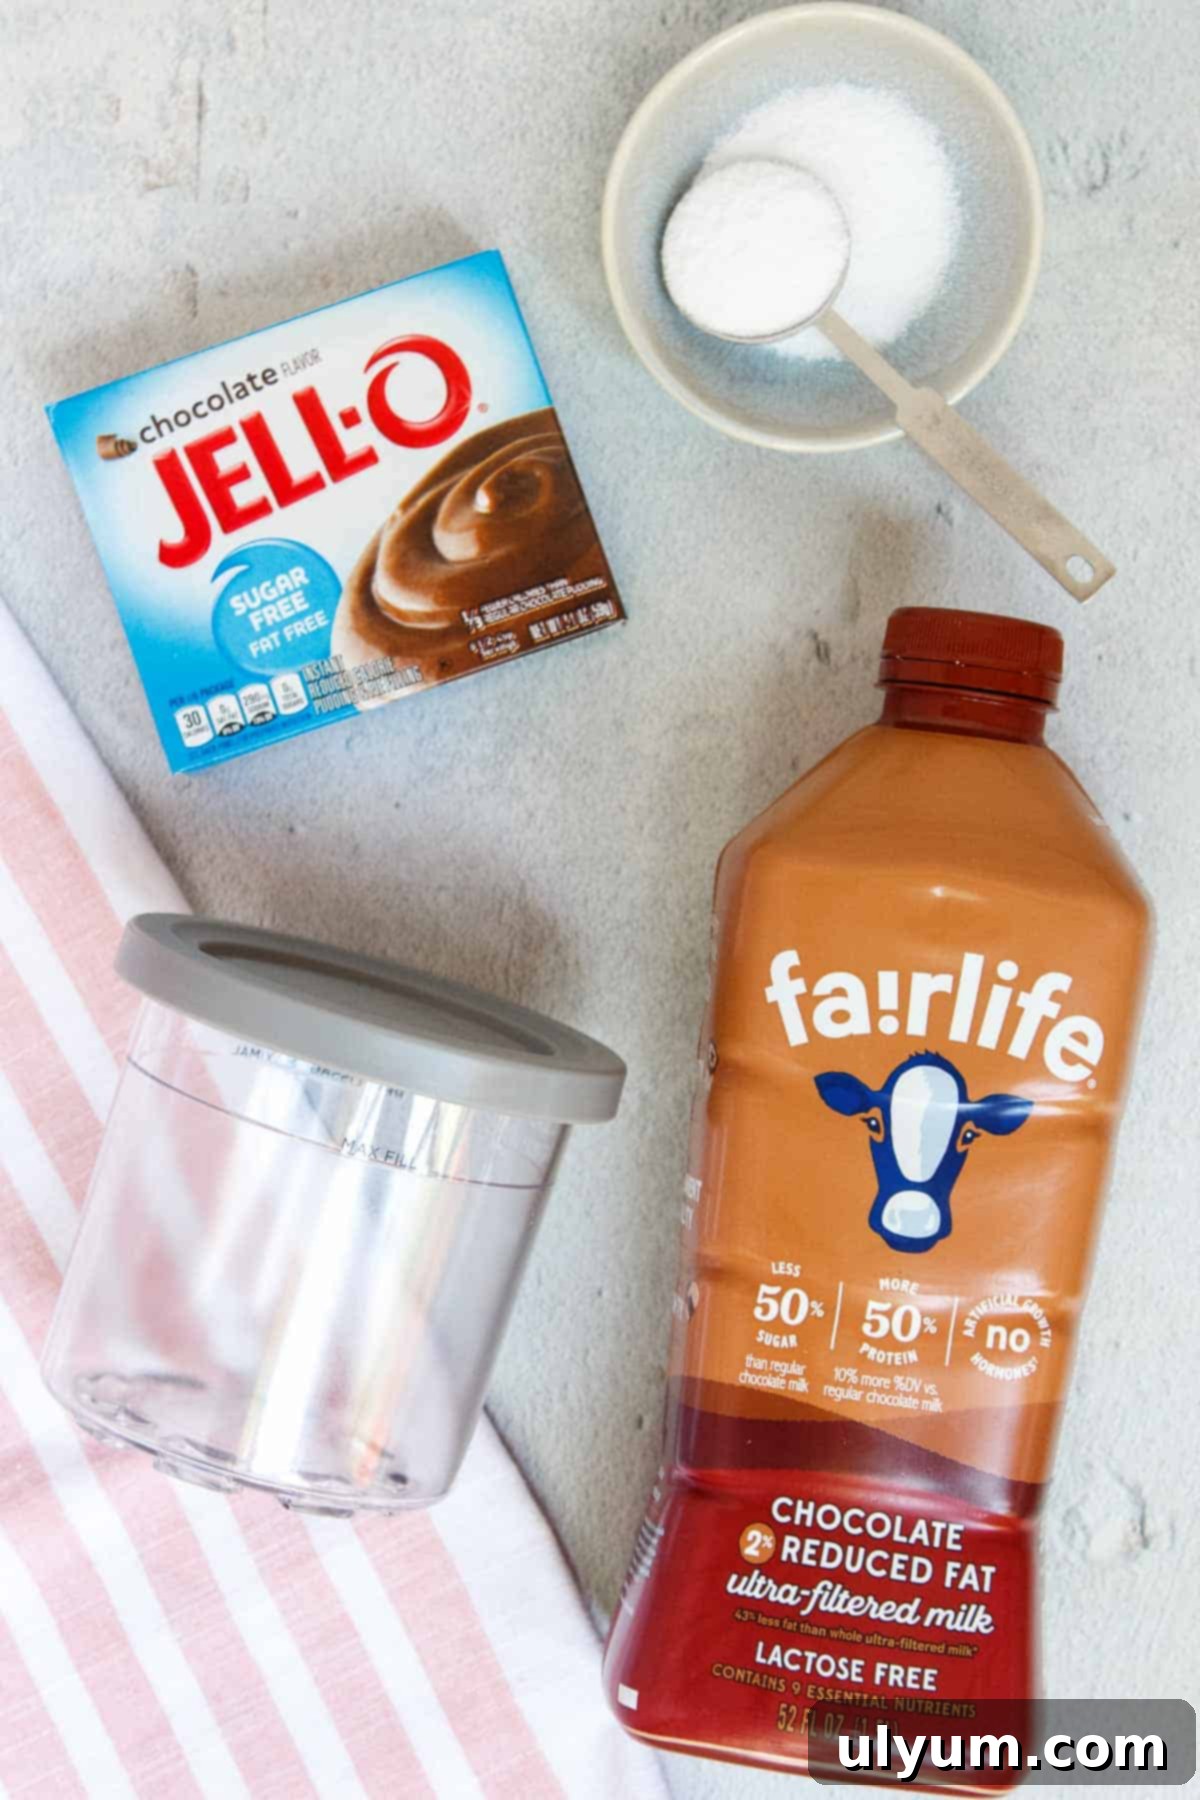
- Fairlife 2% Chocolate Milk: This is the cornerstone of our recipe. It’s crucial to use the regular 2% chocolate milk, not the Fairlife protein shakes (though those work well for variations, as we’ll discuss later). Fairlife milk is ultra-filtered, which removes most of the lactose and concentrates the protein, resulting in milk with 50% more protein and 50% less sugar than conventional chocolate milk. Its rich flavor and higher protein content are what make this ice cream so satisfying without added protein powder.
- Stevia: Our chosen sweetener for a sugar-free treat. Stevia is a zero-calorie, natural sweetener derived from the stevia plant. We recommend using a stevia blend that measures cup-for-cup like sugar, ensuring easy substitution and consistent sweetness without the added calories or glycemic impact of traditional sugar.
- Sugar-Free Chocolate Pudding Mix: Specifically, Jell-O Chocolate Sugar Free & Fat Free Instant Pudding & Pie Filling Mix is ideal. This dry powder mix, commonly found in the baking aisle, is instrumental in achieving the creamy, smooth texture of our ice cream. It acts as a stabilizer and thickener, preventing ice crystal formation and giving the final product a delightful consistency that mimics traditional ice cream. It also enhances the chocolate flavor significantly.
See the recipe card below for exact quantities.
Pro Tip for Creami Deluxe Users: If you’re utilizing the larger Creami Deluxe pints, simply multiply the ingredient quantities by 1.5 to fill the larger capacity. The preparation and processing instructions remain identical for both standard and deluxe sizes, ensuring a consistent and delicious outcome every time.
Step-by-Step Instructions: Crafting Your Chocolate Protein Ice Cream
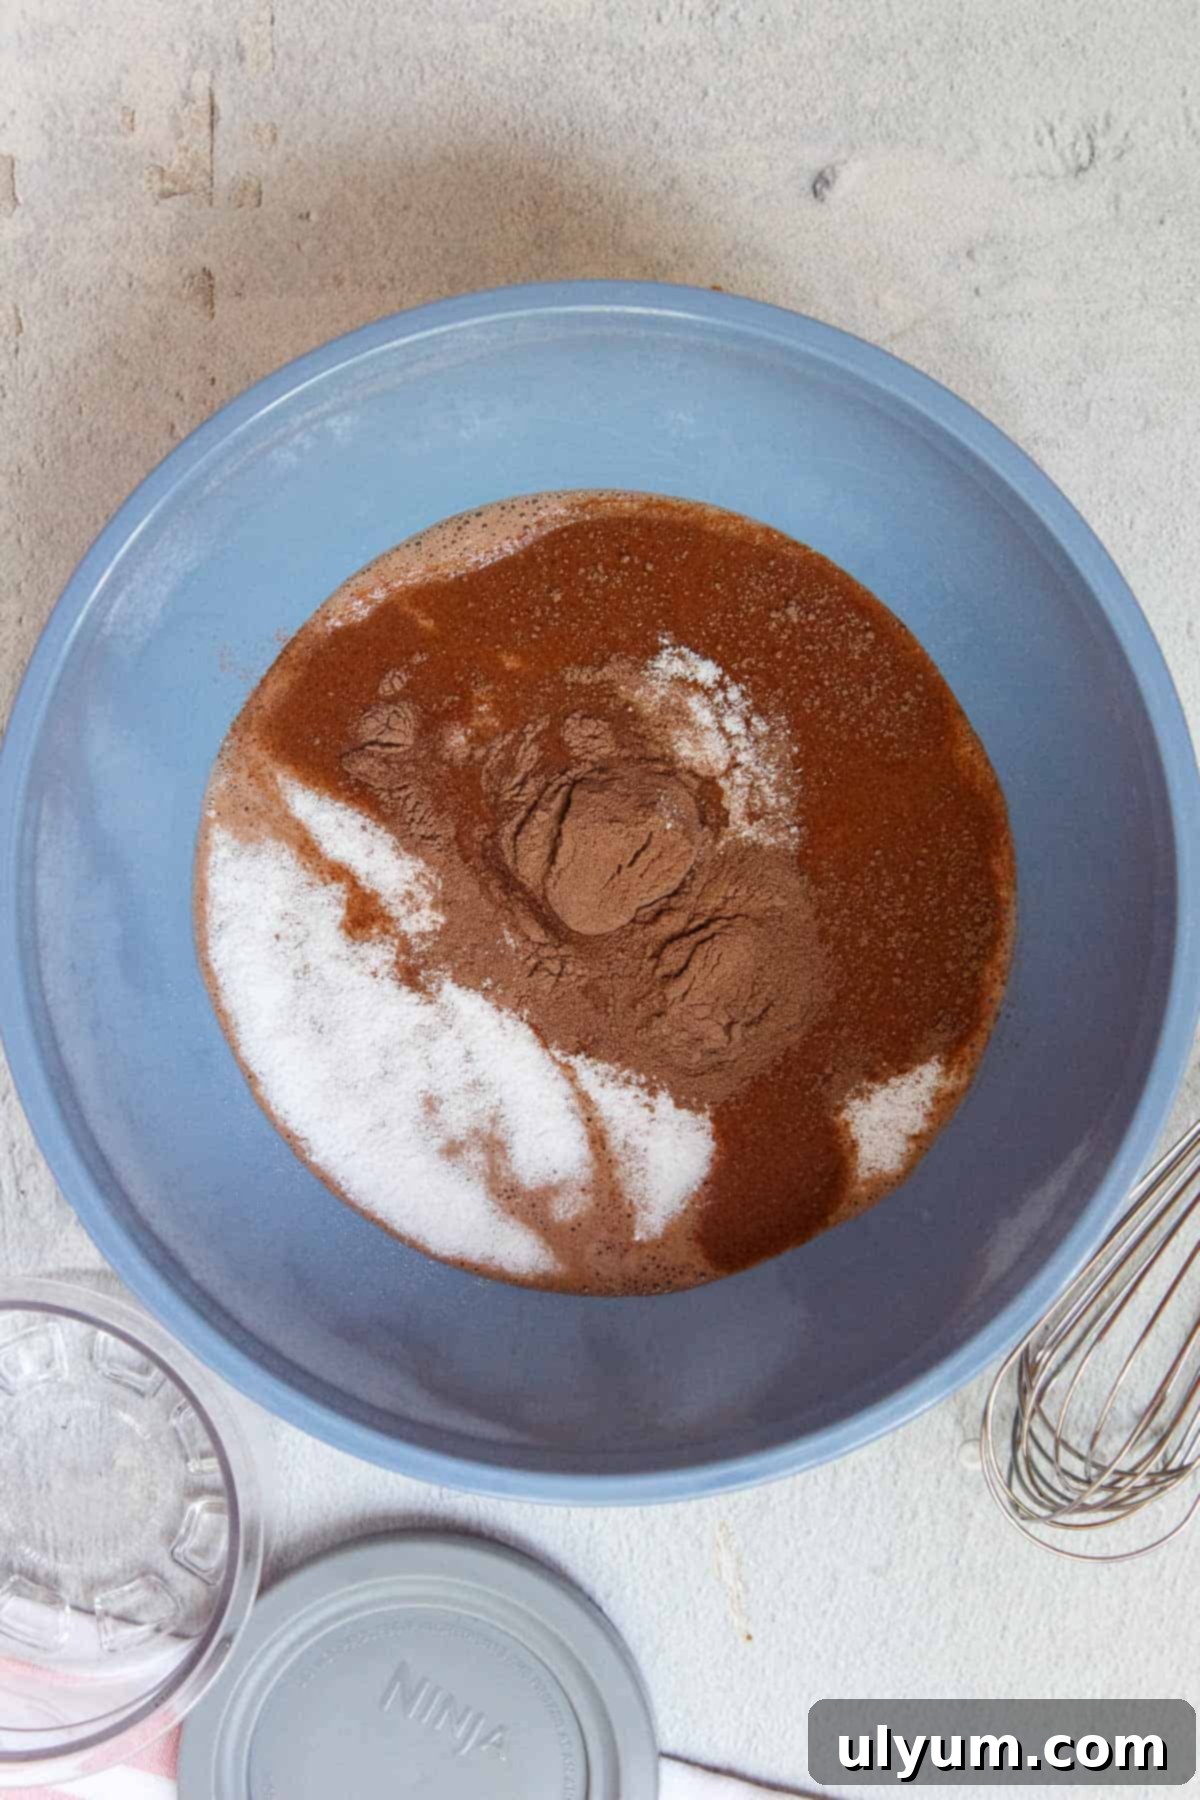
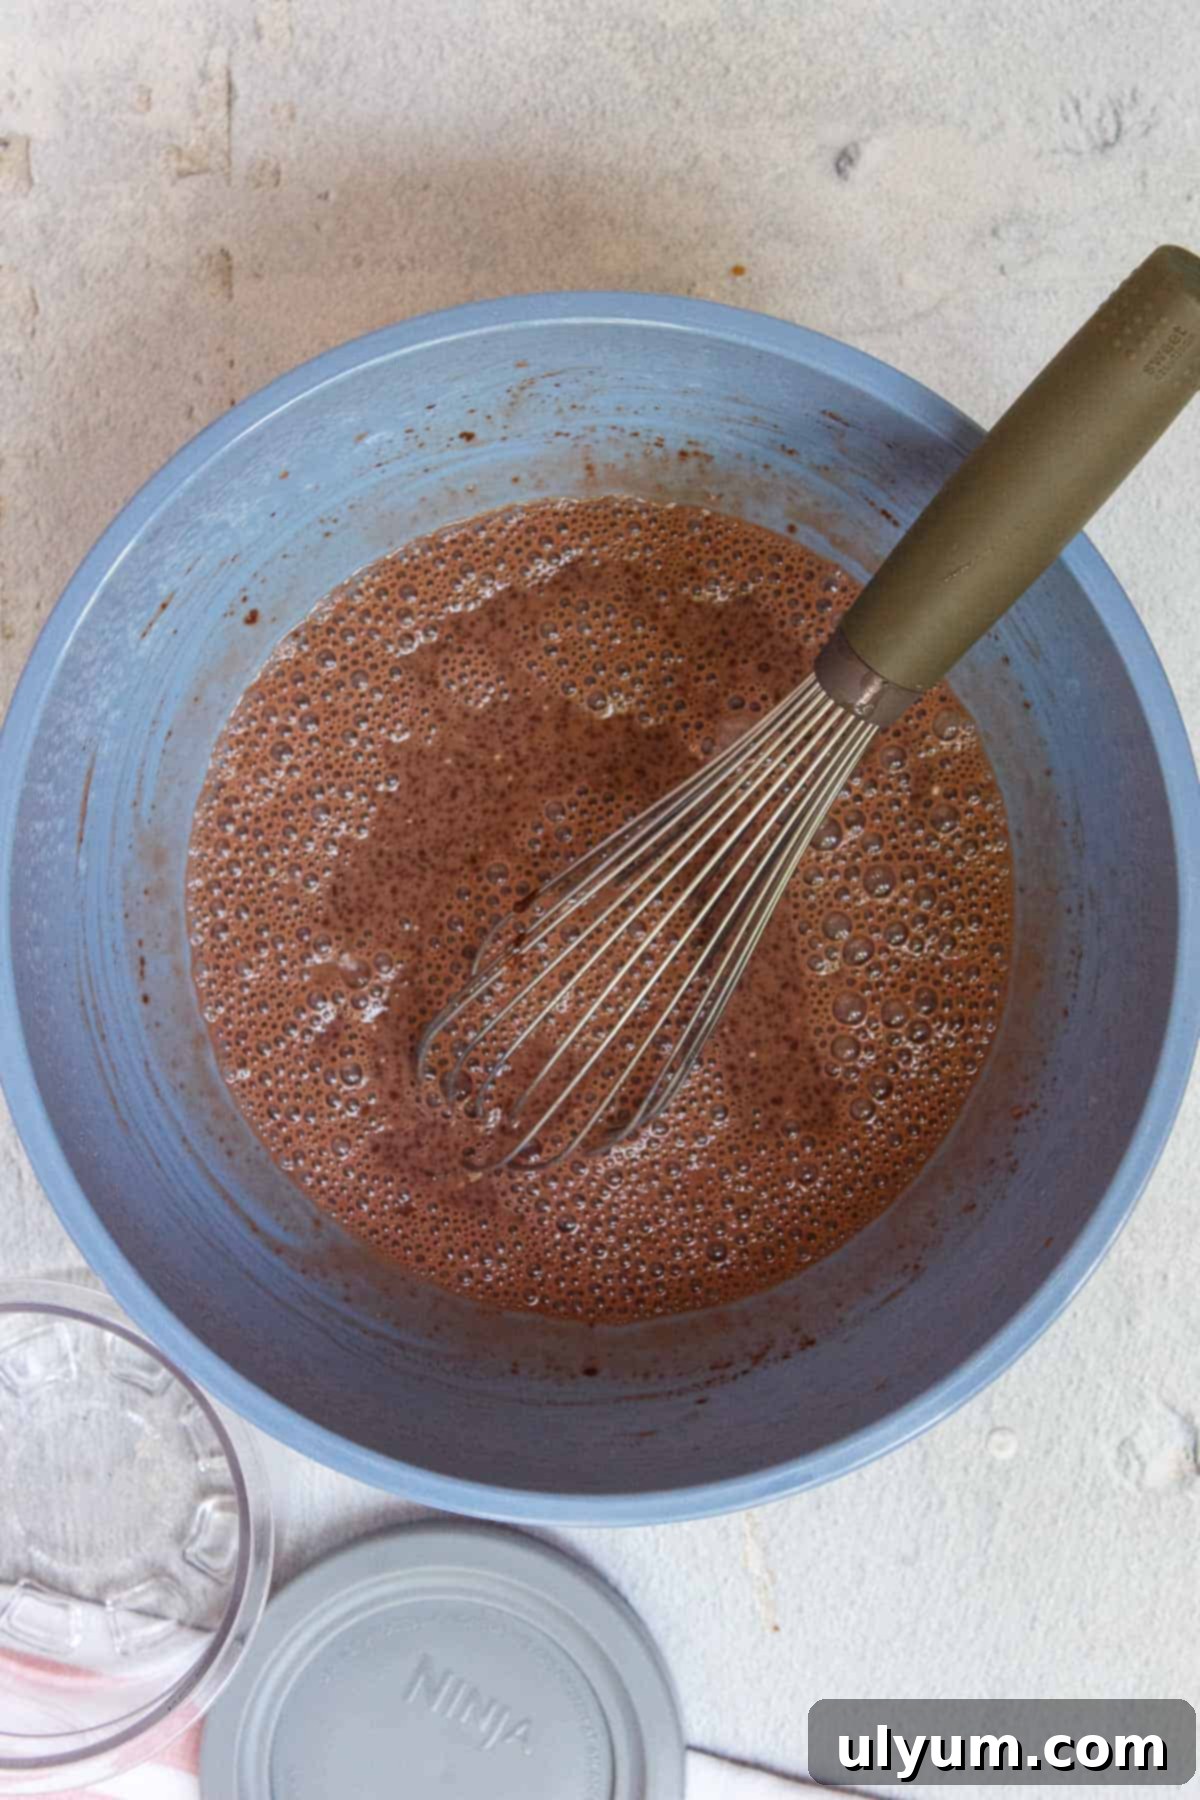
Step 1: Prepare the Base. In a medium-sized mixing bowl, combine the specified amount of Fairlife chocolate milk, stevia, and the sugar-free Jell-O pudding powder. Whisk these ingredients together thoroughly until the stevia is completely dissolved. It’s important to note that the pudding mix may not fully dissolve into a completely clear liquid, which is normal. Just ensure it’s well incorporated.
Step 2: Settle and Pour. After whisking, allow the mixture to rest for a very short period (less than 1 minute) to let any surface bubbles dissipate. This step helps create a smoother frozen base. Once settled, carefully pour the mixture into a clean Ninja Creami pint container.
Helpful Mixing Tip: While you *can* technically mix the ingredients directly in the Creami pint, experience has shown that using a separate mixing bowl yields a more consistent and thoroughly combined base. Pudding and sugar substitutes can sometimes clump in the pint’s crevices, leading to uneven texture. A mixing bowl ensures everything is perfectly blended before freezing.
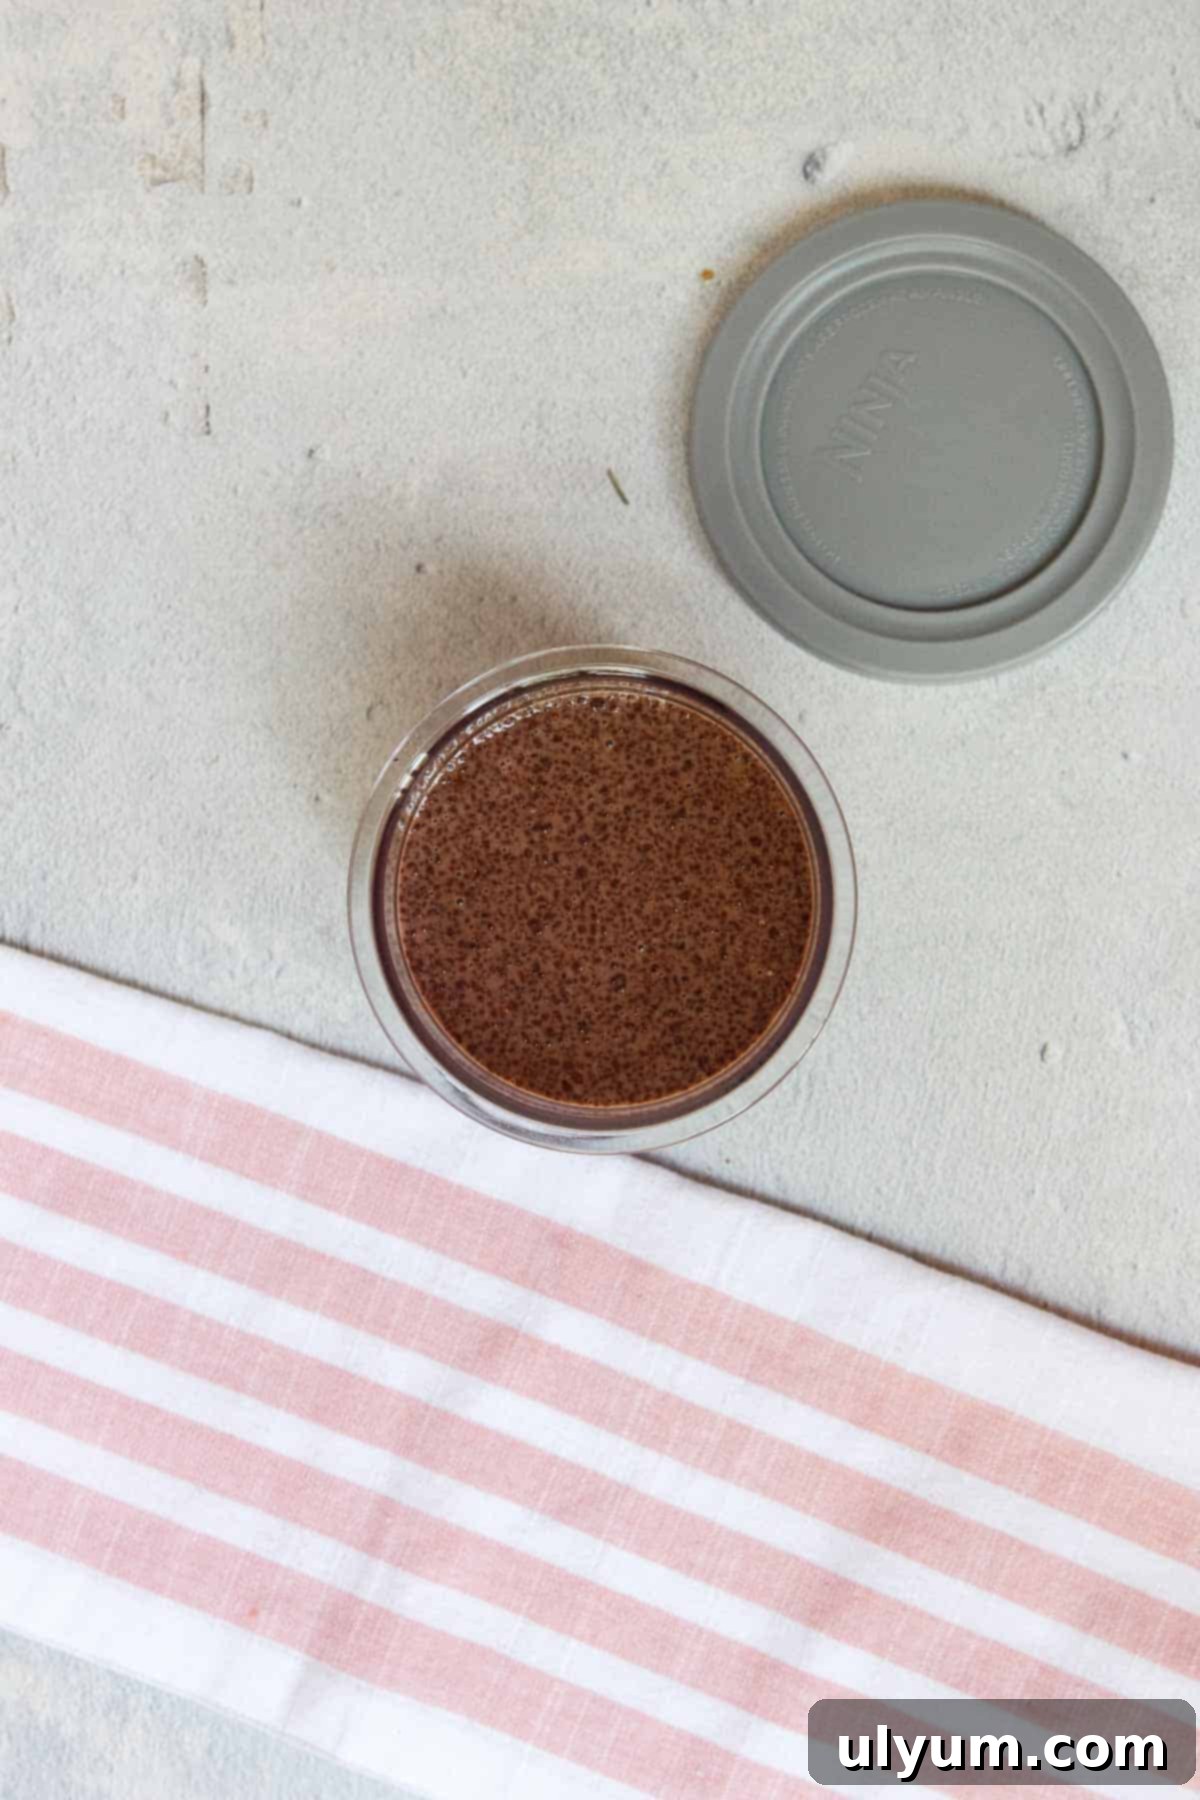
Step 3: Freeze the Base. Once the mixture is in the Ninja Creami pint, securely cover it with its lid. Place the pint in your freezer and allow it to freeze solid for a minimum of 24 hours. This extended freezing time is crucial for the optimal consistency of your final ice cream.
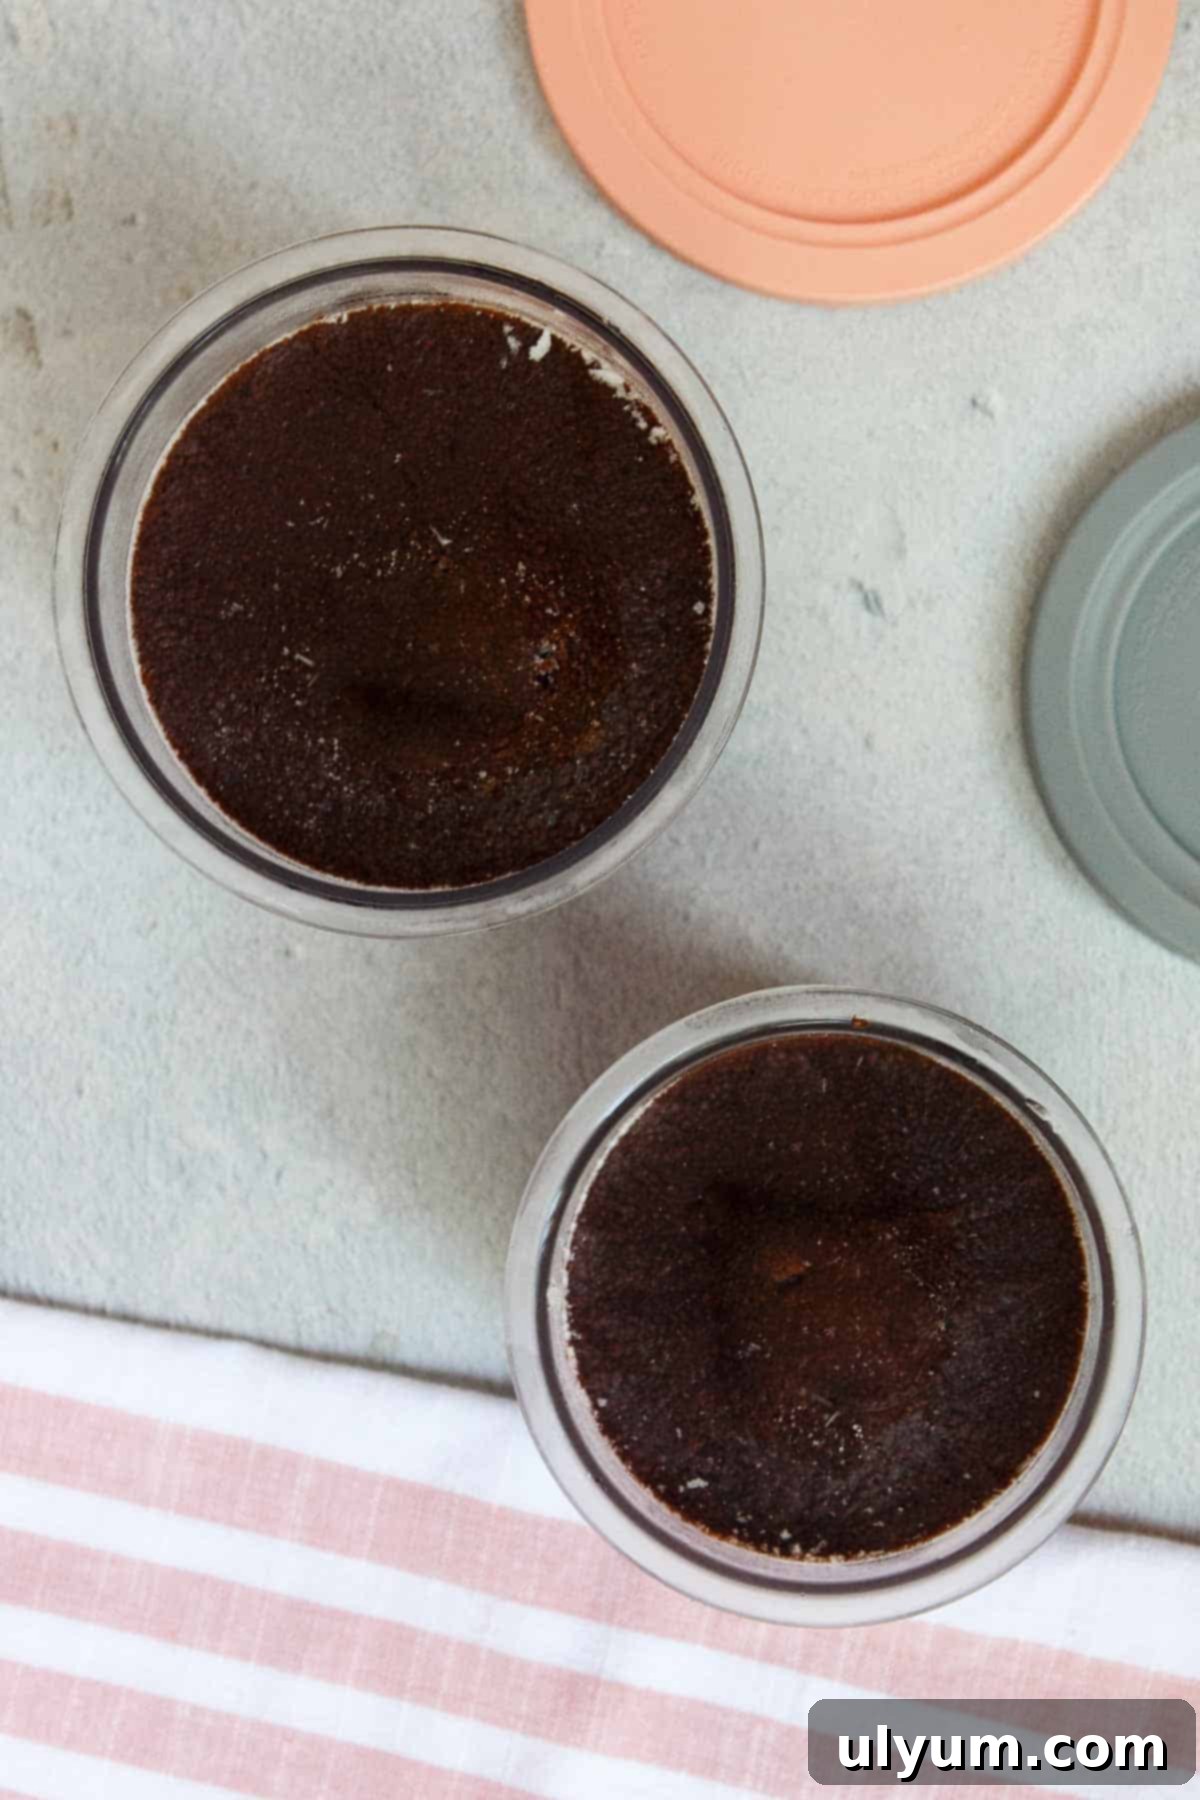
Step 4: Prepare for Processing. Once frozen, remove the pint from the freezer and take off its lid. Ensure the frozen base is level and not tilted, as this could impact the machine’s performance.
Critical Freezing Tip: Always freeze your ice cream pints on a perfectly level surface. Processing a base that was frozen at an angle can cause the blade to be unevenly engaged, potentially damaging your Ninja Creami machine or the paddle attachment. Safety first!
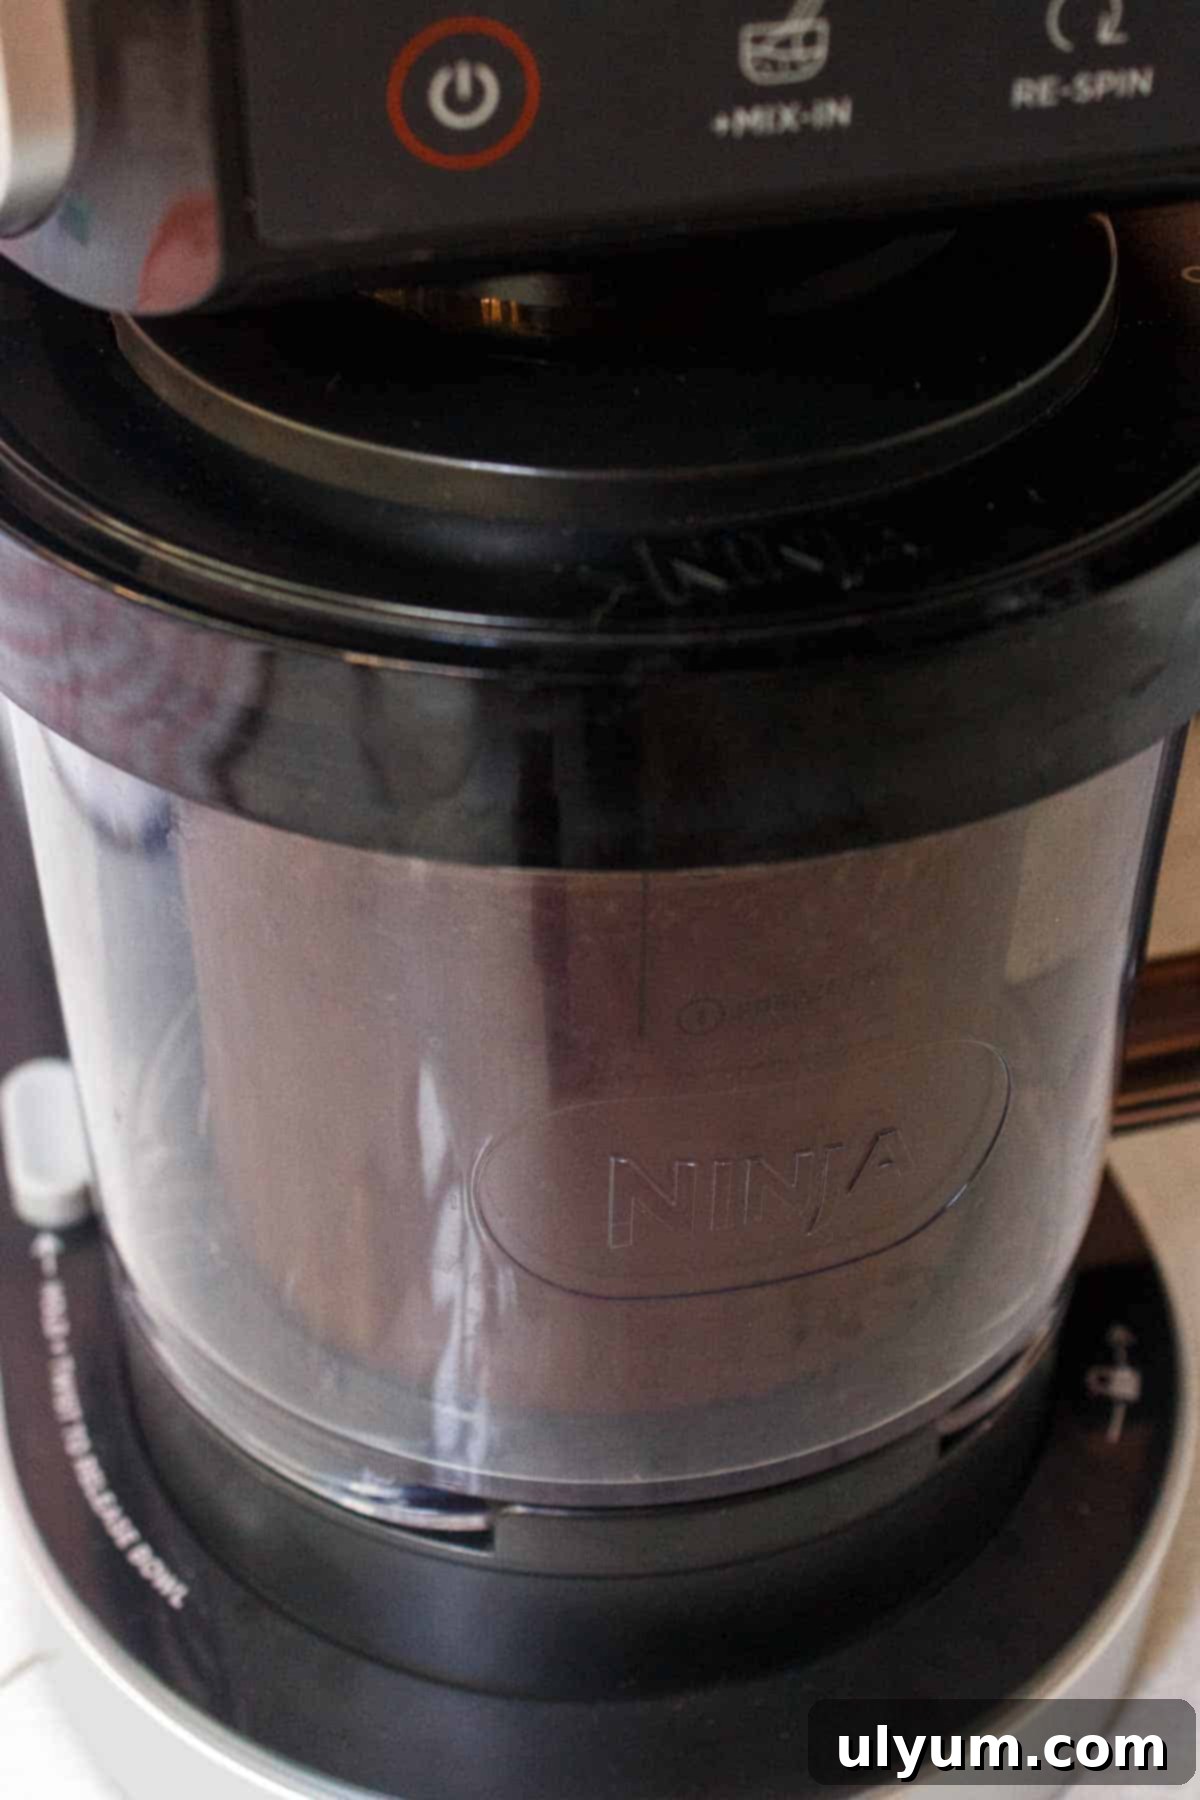
Step 5: Process in the Ninja Creami. Place the opened pint into the Ninja Creami’s outer bowl. Attach the Creamerizer Paddle securely to the lid, then lock the entire lid assembly onto the outer bowl. Slide the complete bowl assembly into the machine’s motor base and twist it firmly to the right until it locks into place. Now, select the “Lite Ice Cream” program button. For Deluxe model owners, you have the option to process the full pint or just the top half, depending on your serving preference.
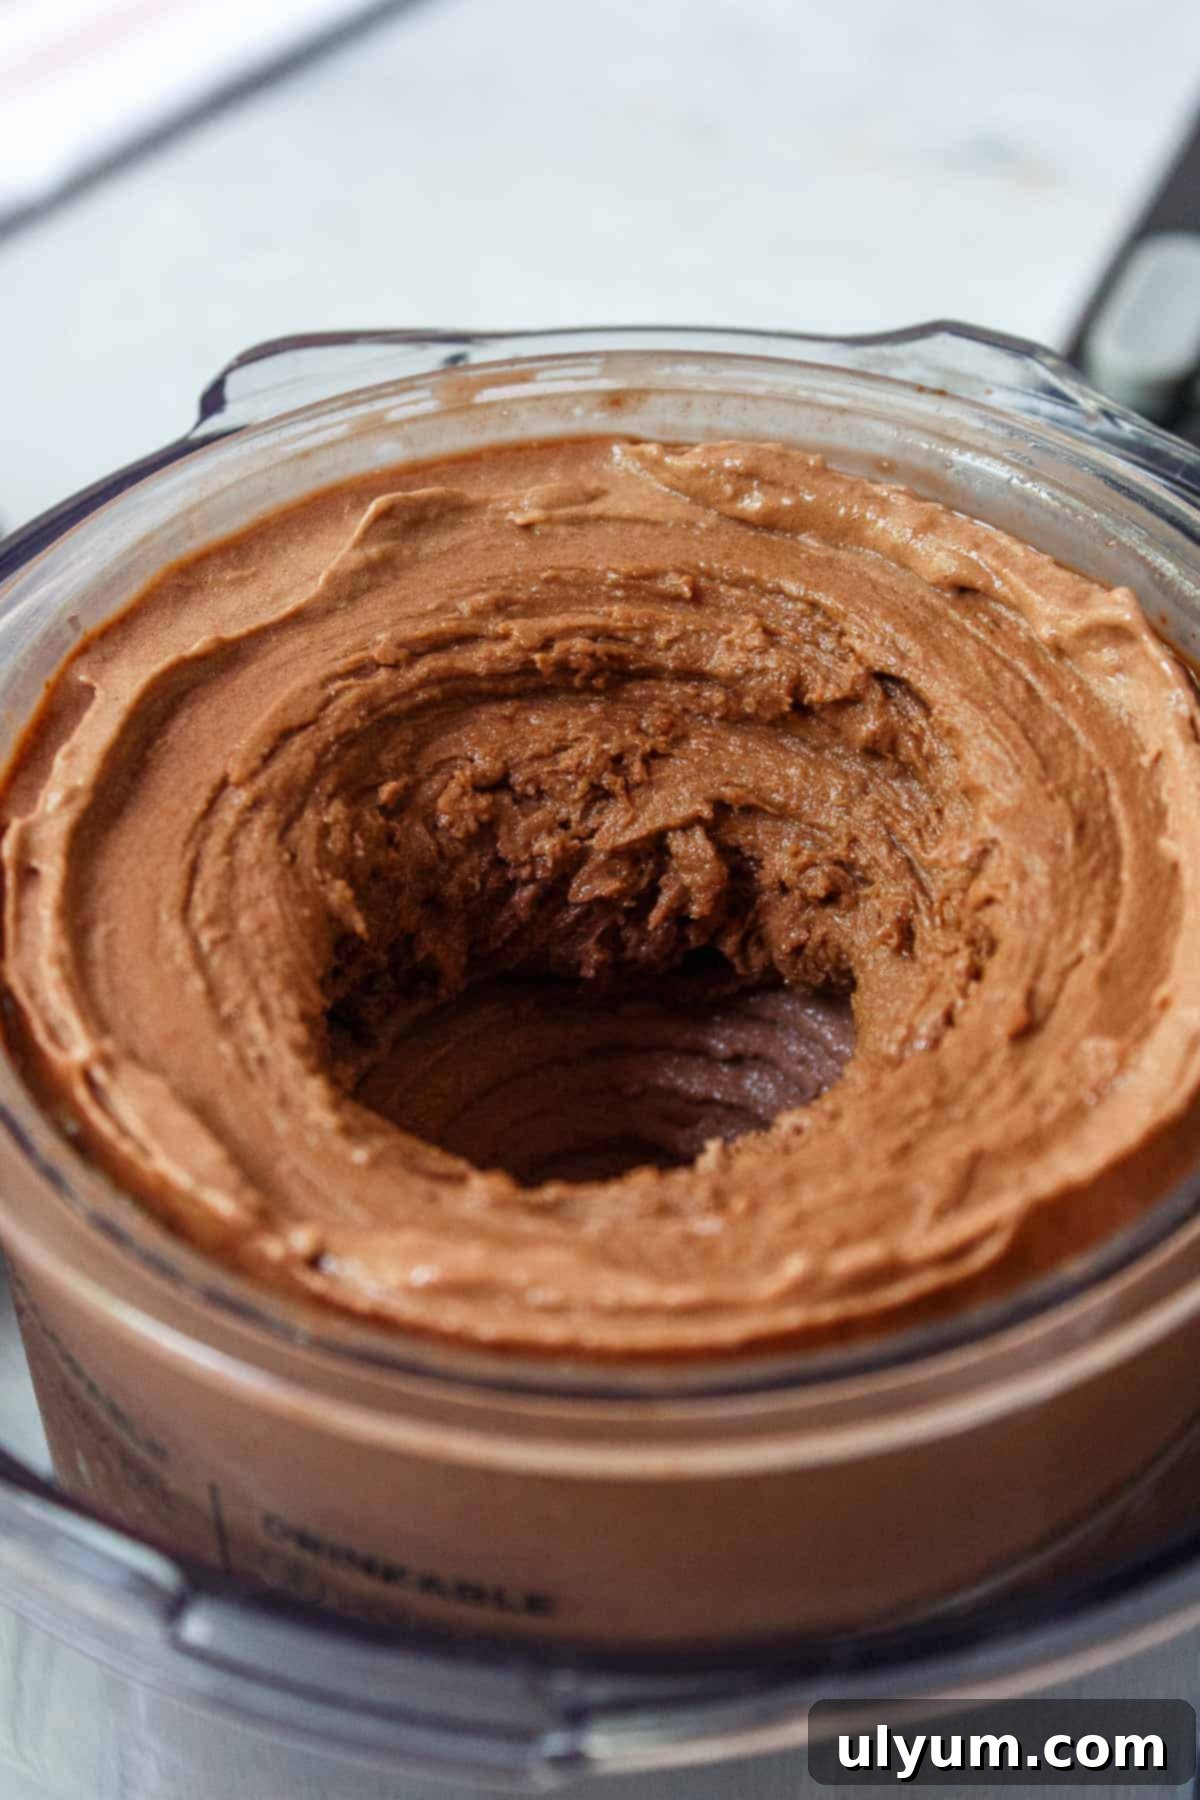
Step 6: Check Consistency and Re-Spin if Needed. Once the processing cycle is complete, unlock and carefully remove the outer bowl assembly from the Ninja Creami, then unlock the lid. Inspect the ice cream. If it appears powdery, crumbly, or not perfectly creamy, don’t worry! Simply close the lid, lock the bowl assembly back into the machine, and select the “Re-spin” program. Repeat this step as needed (usually 1-2 re-spins are sufficient) until you achieve your desired smooth, soft-serve-like consistency.
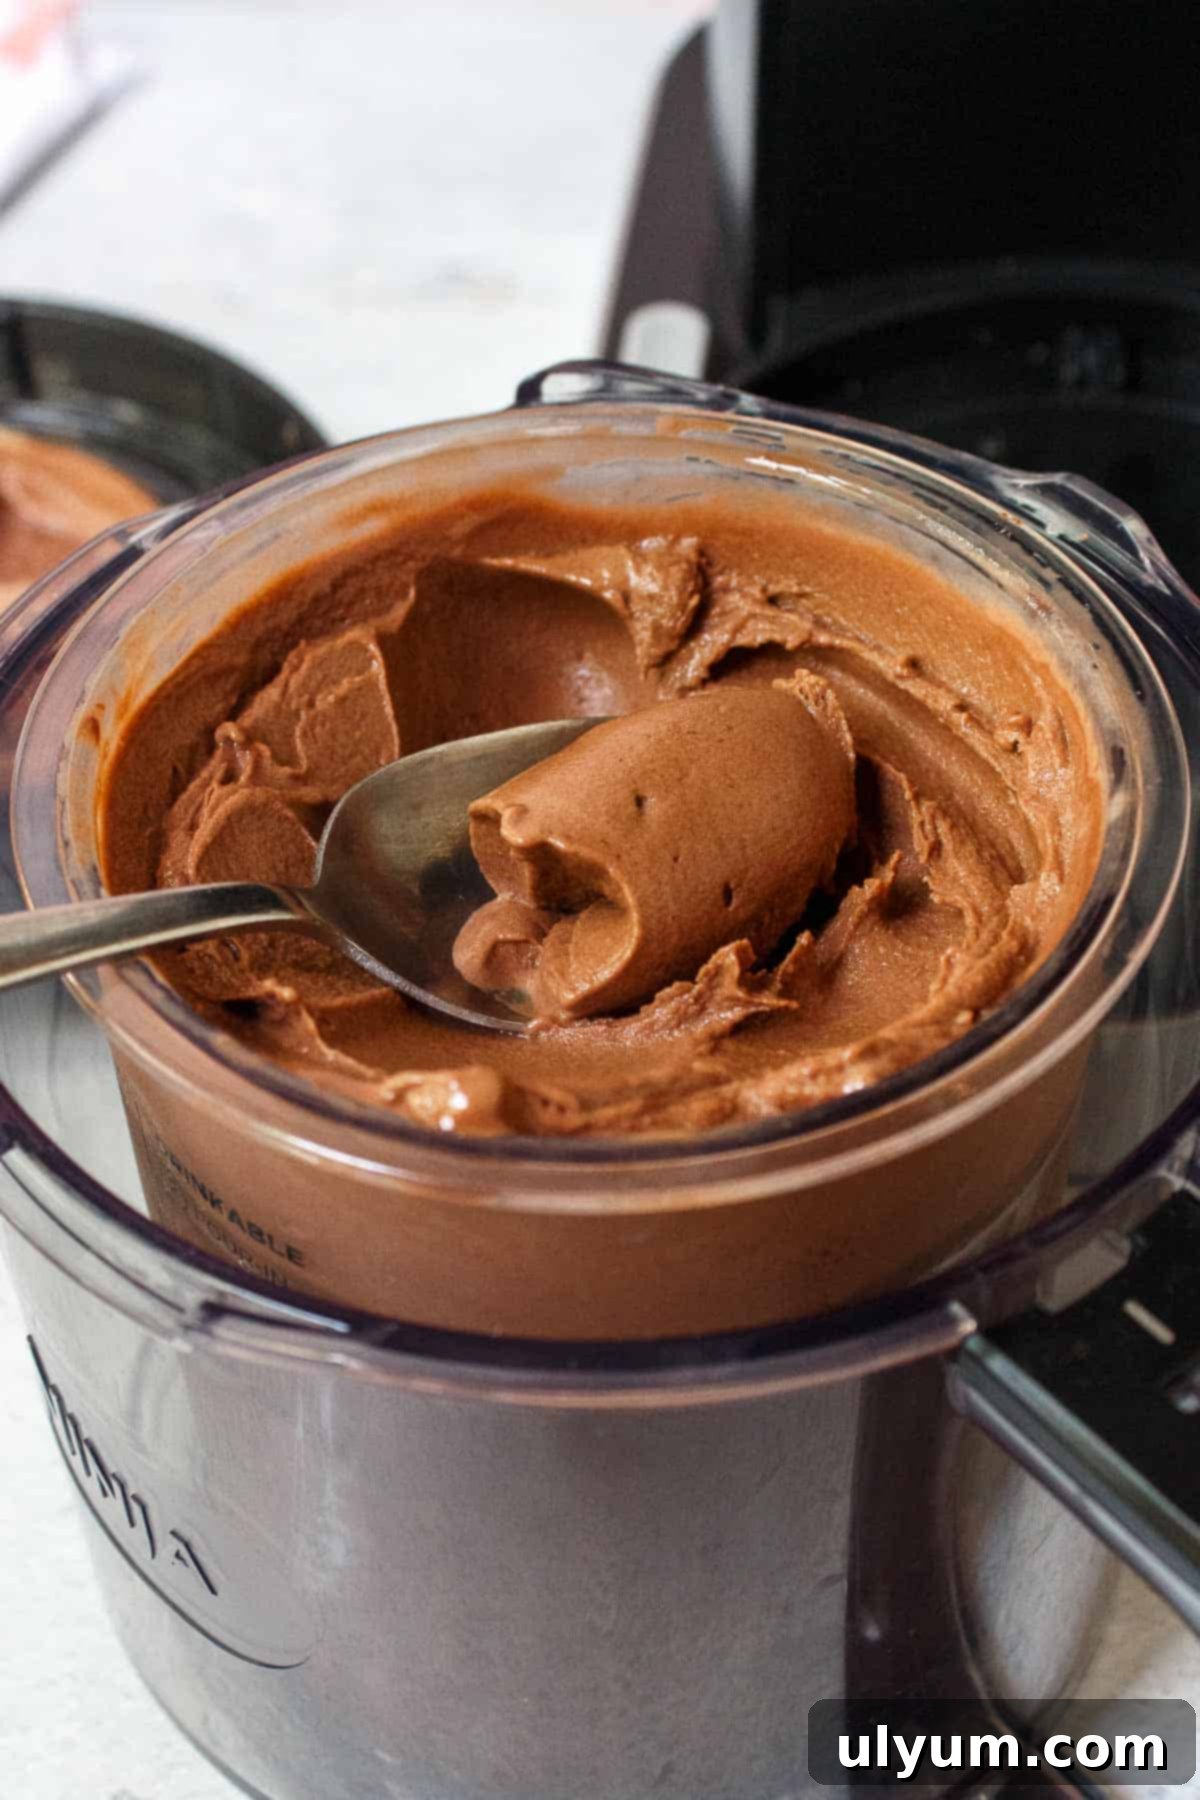
Important Note on Consistency: It’s important to remember that “lite” or “protein” ice creams, by nature, contain less fat than traditional ice cream. This means their consistency will naturally be closer to a rich soft-serve or a thick frosty rather than the hard-scoop texture of full-fat ice cream. This is a desirable characteristic, making it perfectly enjoyable straight from the machine! Additionally, for these lighter bases, you might find they don’t require the full 24-hour freezing time; as little as 12 hours can sometimes be sufficient. Experiment with your machine and freezer to discover what works best for your ideal texture.
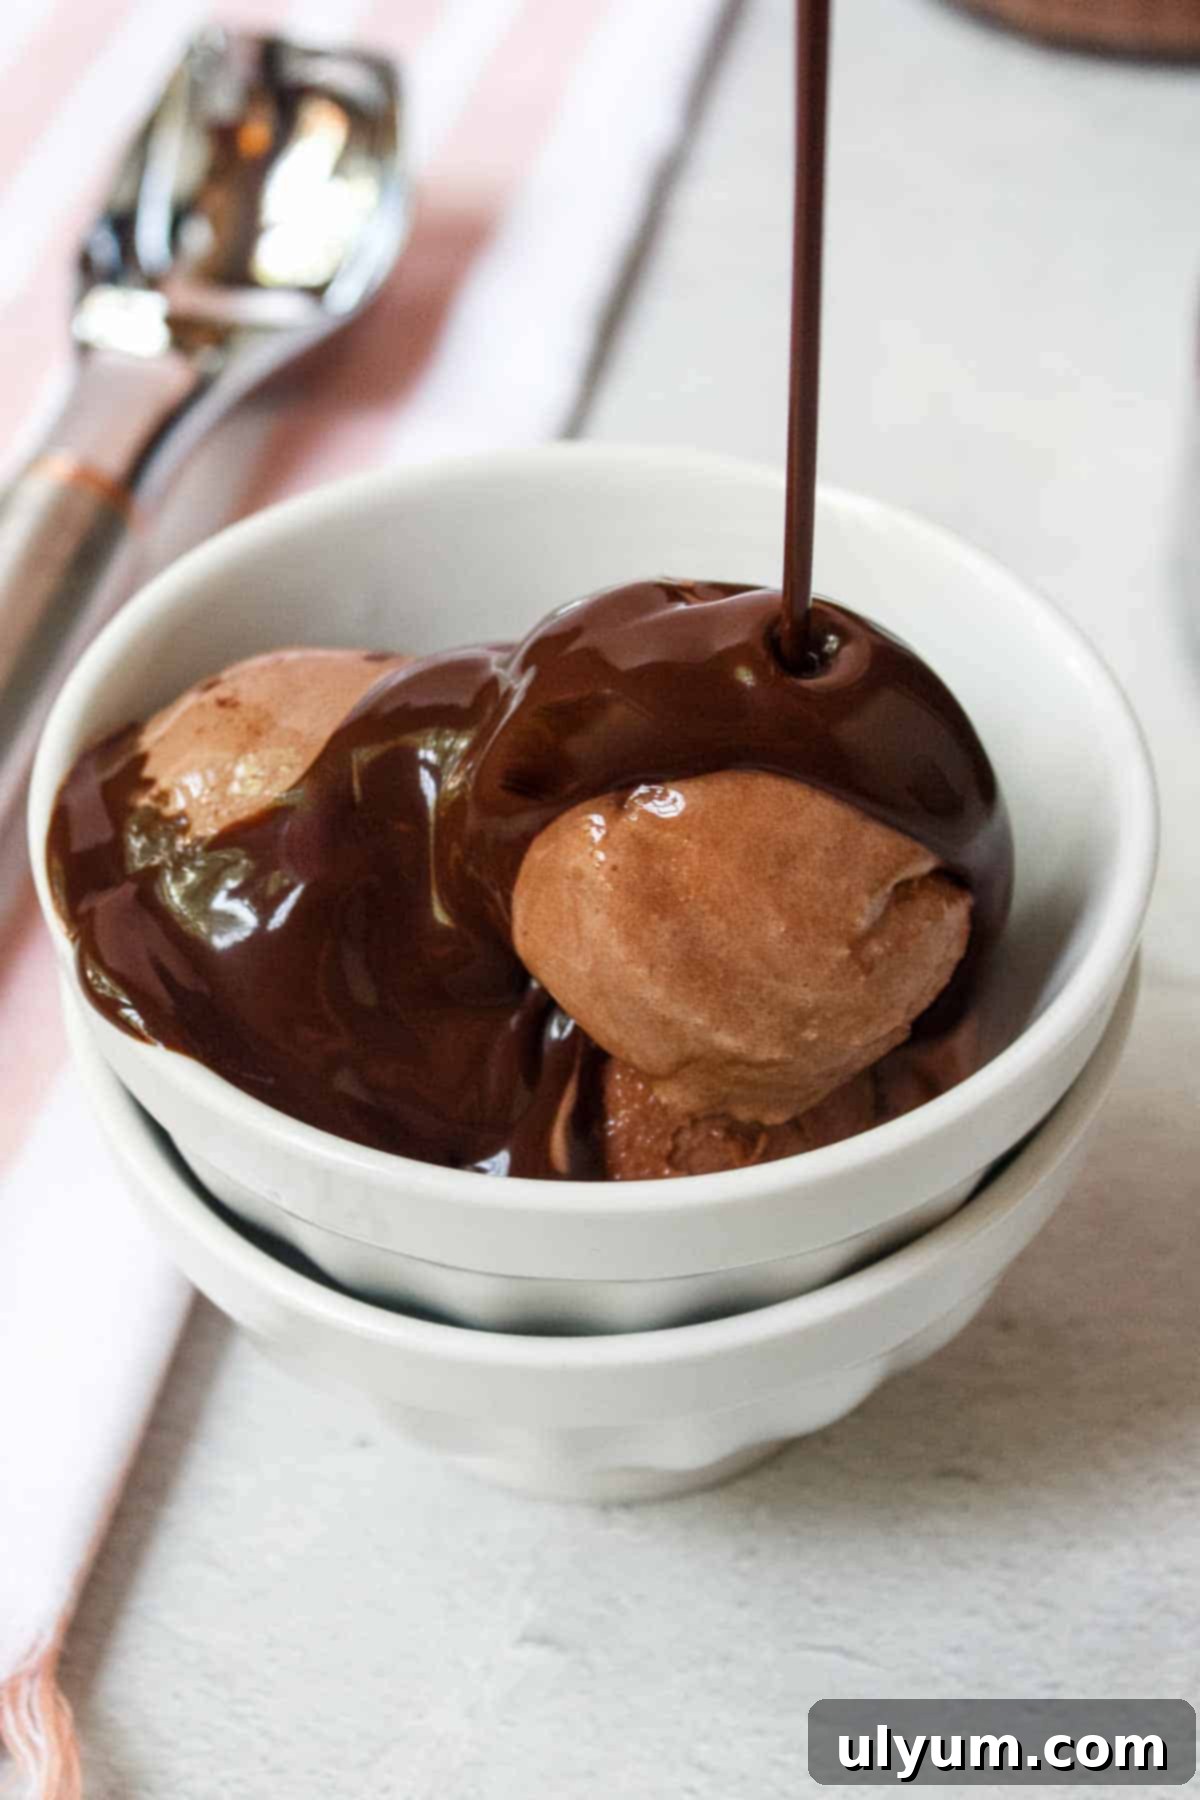
Step 7: Serve and Enjoy! Once your chocolate protein ice cream has reached its perfect creamy state, it’s ready to be savored. For an extra touch of indulgence, top it with a drizzle of sugar-free chocolate syrup, a sprinkle of your favorite low-calorie toppings, or even some fresh berries. Serve immediately to enjoy its optimal soft-serve texture.
Smart Substitutions for Your Chocolate Protein Ice Cream
Flexibility is key in healthy eating! Here are some excellent substitutions you can make while maintaining the integrity and deliciousness of this recipe:
- Milk Alternatives: While Fairlife is highly recommended for its protein and low sugar content, you can certainly experiment. For similar macros (high protein, low sugar), look for other ultra-filtered, high-protein milk options like Horizon Organic Protein milk or Kroger CARBmaster milk. These alternatives offer comparable nutritional benefits and will yield similar creamy results. If you don’t mind a slight change in macros, you can also use a chocolate protein shake as your base (see the “Variations” section for more on this exciting option).
- Sweetener Options: Stevia is a great choice, but many other zero-calorie or low-calorie sweeteners work beautifully. Popular alternatives include Splenda, Swerve, or monk fruit with erythritol blends. The key is to use a sweetener that measures cup-for-cup like sugar for accurate sweetness levels. Adjust to your personal taste preference!
- Pudding Mix Alternatives: The instant chocolate pudding mix plays a vital role in both deepening the chocolate flavor and acting as a binder for that essential creamy, scoopable consistency. If you omit it, expect a more icy, frosty-like texture, which some people prefer. You could also use a full-sugar Jell-O mix, but in that case, you might want to significantly reduce or even omit the added Stevia to balance the sweetness. For a truly homemade touch, consider making your own sugar-free chocolate pudding mix from scratch. For our readers in the UK, Angel Delight is often cited as a similar product to Jell-O, though it hasn’t been personally tested in this specific recipe.
Exciting Variations to Customize Your Creami Treat
Unleash your creativity and customize your chocolate protein ice cream with these delicious variations:
- Boost the Protein Further: For an even more protein-packed treat, there are a couple of excellent options. You can either add a scoop of your favorite chocolate or unflavored protein powder directly to the base mixture before freezing. Alternatively, for a super convenient protein boost, swap out the Fairlife milk for a ready-to-drink chocolate protein shake. Brands like Fairlife Protein Shakes, Premier Protein shakes, or Pure Protein shakes are fantastic choices that will yield an even higher protein content while maintaining great flavor and texture.
- Irresistible Mix-ins: Elevate your ice cream with delightful mix-ins! After the initial processing (and any re-spins), use a spoon to create a small, deep hole in the center of your ice cream, extending to the bottom of the pint. Fill this cavity with your chosen mix-ins. Fantastic options include mini chocolate chips, crushed pretzels for a salty crunch, your favorite chopped candies, crumbled cookies, nuts, cereal, or even frozen fruit pieces. Once added, place the pint back in the Ninja Creami, and process it on the “Mix-In” program to evenly distribute your additions throughout the creamy base.
- Flavor Twists:
- Mint Chocolate: Add a few drops of peppermint extract to the base before freezing.
- Mocha Dream: Stir in a teaspoon of instant espresso powder for a coffee-chocolate fusion.
- Peanut Butter Swirl: After the first spin, drizzle in a tablespoon of melted peanut butter and use the “Mix-In” function.
- Spicy Chocolate: A tiny pinch of cayenne pepper can add a surprising and delicious kick!
Essential Equipment for Perfect Ninja Creami Ice Cream
To create this delectable chocolate protein ice cream, you’ll need a few key pieces of kitchen equipment:
- Large Mixing Bowl: This provides ample space to thoroughly combine your ingredients without spills. As mentioned, while you *can* mix directly in the pint, a bowl ensures a more consistent and lump-free base, especially for the pudding powder.
- Whisk: An indispensable tool for vigorously blending the milk, sweetener, and pudding mix until smooth. A good whisk helps dissolve the stevia and prevents lumps from the pudding powder.
- Ninja Creami, Ninja Creami Breeze, or Ninja Creami Deluxe: The star of the show! The standard Creami and Creami Breeze models process 16-ounce (2 cups) pints, while the Deluxe model accommodates larger 24-ounce (3 cups) pints. Whichever model you have, it’s designed to transform your frozen base into perfectly creamy ice cream.
- Freezer: A reliable freezer capable of maintaining a consistent temperature, ideally between 9ºF and -7ºF (or -12ºC to -22ºC), is essential for freezing the base solid and ensuring optimal processing results.
Storing Your Ninja Creami Chocolate Protein Ice Cream
While this ice cream is best enjoyed immediately for its optimal soft-serve texture, it’s perfectly fine to save any leftovers for later. For proper storage and to maintain the best quality:
Carefully flatten the top surface of any remaining ice cream in the pint using a spoon or spatula. This minimizes air exposure and helps prevent excessive ice crystal formation. Once flattened, cover the pint tightly with its original storage lid. Return the pint to the freezer.
When you’re ready to enjoy your leftover ice cream, you’ll notice it has likely re-hardened to a very firm consistency, similar to a block of ice. This is normal for low-fat, low-sugar ice creams. To restore its creamy texture, simply place the frozen pint back into your Ninja Creami machine and process it again on the “Lite Ice Cream” setting. This re-spinning process will bring it back to that delightful soft-serve consistency you love, ready to be enjoyed once more.
Frequently Asked Questions About Ninja Creami Protein Ice Cream
The processing time for ice cream in a Ninja Creami varies depending on the function selected and the model. Generally, it takes between 2 to 4 minutes. For example, on the Deluxe model, the “Ice Cream” setting typically takes 2 minutes, while the “Lite Ice Cream” setting, which we use for this recipe, takes approximately 4 minutes to achieve its optimal consistency.
If your Ninja Creami ice cream turns out powdery or crumbly after the initial spin, there are a few common reasons. Your freezer might be set too low, making the base too hard. For the best results, ensure your freezer temperature is between 9ºF and -7ºF (-12ºC to -22ºC). Additionally, low-fat or “lite” ice cream bases, like this protein recipe, often appear powdery after just one spin. This is perfectly normal! The solution is simple: just re-spin the pint. Close the lid, put it back in the machine, and select the “Re-spin” button. Repeating this process once or twice usually does the trick, transforming the powdery texture into a smooth, creamy consistency.
Yes, you can use regular chocolate milk, but be aware that the nutritional profile will change significantly. Regular chocolate milk typically contains more sugar and less protein than Fairlife’s ultra-filtered version. This will result in a less “protein-rich” and potentially higher-calorie ice cream. The consistency might also be slightly different due to varying fat and protein content. If you use regular milk, you might want to adjust the stevia amount to your taste.
While 24 hours is recommended for optimal results, especially for consistency across different freezers, some users find success with as little as 12-16 hours of freezing, particularly with lighter bases. The key is that the pint must be frozen solid all the way through. If it’s not fully frozen, the Creami paddle won’t be able to process it correctly, leading to a soupy or uneven texture. Always ensure your base is rock hard before spinning.
More Delicious Ninja Creami Recipes to Explore
Loved this chocolate protein ice cream? Dive into more amazing Ninja Creami creations that are both healthy and incredibly flavorful. Expand your repertoire with these fantastic recipes:
- 5 Ninja Creami Protein Ice Cream Recipes
- Ninja Creami Cookies and Cream Ice Cream
- Ninja Creami Vanilla Ice Cream
- Ninja Creami Oreo Protein Ice Cream
📖 Recipe
Pin Recipe
Save RecipeSaved!
Email
Print
Ninja Creami Chocolate Protein Ice Cream
Equipment
-
Large mixing bowl
-
Whisk
-
Ninja Creami
Ingredients
- 2 cups Fairlife 2% Chocolate Milk
- 2 tablespoons Stevia
- 2 tablespoons sugar free chocolate pudding mix
Instructions
-
In a mixing bowl, add the chocolate milk, stevia, and pudding mix. Whisk until the stevia is dissolved. The pudding mix will not fully dissolve. Allow the bubbles to settle (less than 1 minute) before pouring the mixture into a Creami pint.
-
Pour the mixture into a clean Creami pint. Cover it with a lid and freeze for 24 hours.
-
After freezing, remove the pint from the freezer and remove the lid. Put the opened pint into the outer bowl of the Ninja Creami machine, install the Creamerizer Paddle to the lid, and lock the lid assembly to the bowl. Slide the bowl assembly into the machine’s motor base, twist it to the right to lock it into place, and select the Lite Ice Cream button.
-
After processing is complete, unlock and remove the bowl assembly from the ice cream maker and unlock the lid. If the ice cream is powdery in appearance, close the lid, lock the bowl assembly back into the machine, and re-spin as needed until you reach a creamy consistency.
-
Serve immediately.
Video
Notes
Storage: For any leftover ice cream, do your best to flatten the top of the ice cream with a spoon or spatula and cover it with the storage lid before refreezing. The ice cream will harden as it re-freezes, so you will need to process it again on the lite ice cream setting.
Nutrition
Achieving the Best Results with Your Ninja Creami
To ensure your chocolate protein ice cream (and all your Ninja Creami creations) turn out perfectly creamy and delicious every time, keep these essential tips in mind:
- Optimal Freezer Type: For consistent results, an upright freezer is generally preferable to a chest freezer. Chest freezers can sometimes get excessively cold, which can lead to your pint freezing too hard and developing icy sides that don’t process well, potentially affecting the overall texture.
- Freeze on a Flat, Level Surface: This tip is crucial for the longevity of your machine and the quality of your ice cream. Always ensure your Creami pint is placed on a completely flat, level surface in the freezer. If the base freezes at an angle, it can cause the Creamerizer Paddle to hit the uneven surface, potentially damaging both the paddle and the machine’s motor base.
- Respect the Max Fill Line: Never overfill your pint beyond the designated “Max Fill” line. Overfilling can prevent the lid from sealing properly and may cause spillage or damage to the machine during processing.
- Process Half the Pint (Deluxe Models): If you own a Ninja Creami Deluxe model, you have the convenient option to process only the top half of the pint. This is perfect for single servings or if you want to enjoy some now and save the rest for later without compromising the texture of the remaining frozen base.
- Pre-Chill Your Ingredients: While not strictly necessary for this recipe due to the overnight freeze, ensuring your milk is very cold before mixing can sometimes aid in a smoother initial blend and better texture.
- Monitor Freezer Temperature: Maintain a consistent freezer temperature, ideally between 9ºF and -7ºF (-12ºC to -22ºC). If your freezer is too warm, the base won’t freeze hard enough, resulting in a runny ice cream. If it’s too cold, it can lead to a crumbly, icy texture that requires more re-spins.
Always refer to your Ninja Creami user manual and safety instructions prior to use for complete operational guidelines.
We hope you love this easy and delicious chocolate protein ice cream as much as we do! If you’d like to try more healthy protein ice cream recipes, let us know what flavor you’d like to see next in the comments below. Happy creaming!
