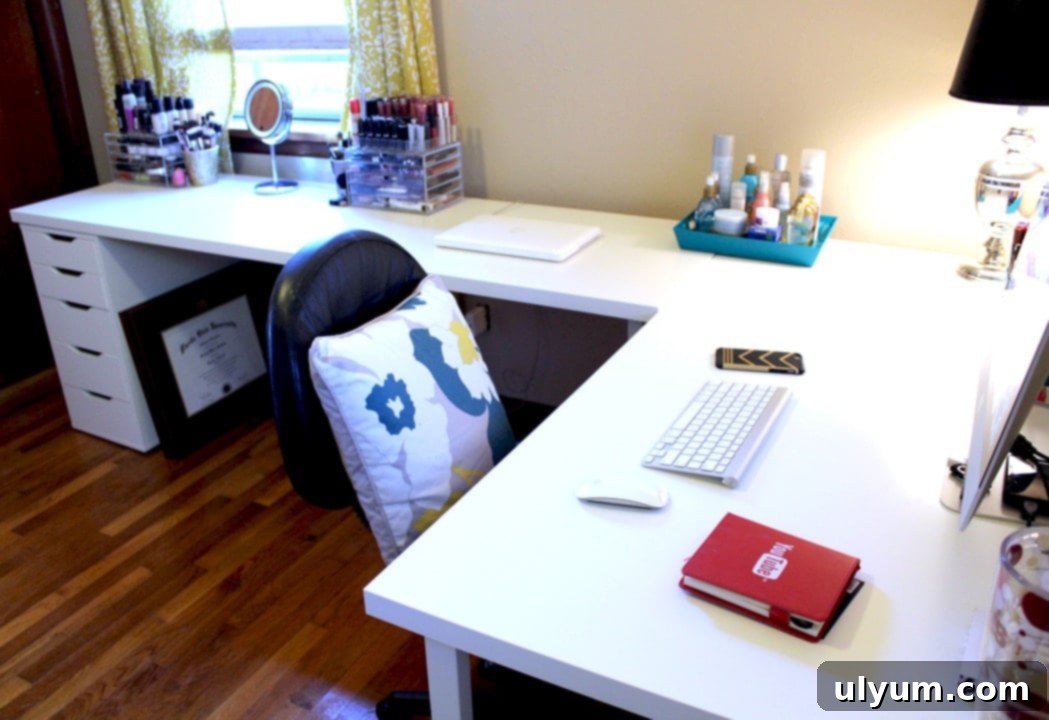
Transform Your Home Office: The Ultimate IKEA L-Shaped Desk & Vanity Makeover (Part 1)
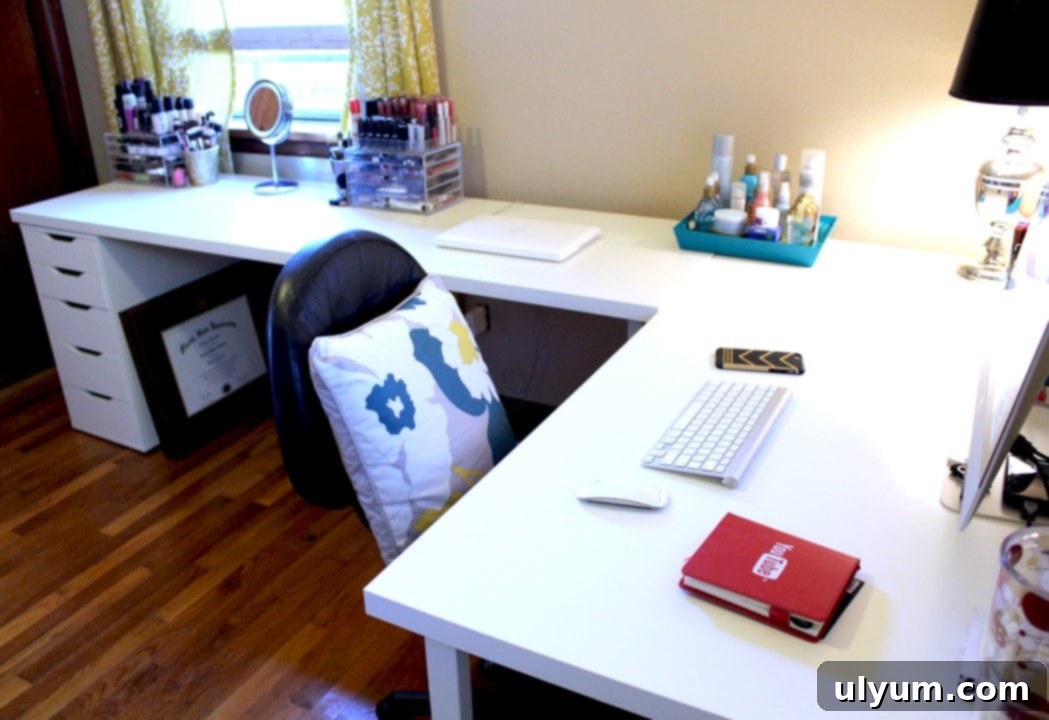
Welcome to the first installment of my exciting home office transformation! I’m confidently titling this “IKEA Desks & Office Makeover Part One” because there’s so much more I envision for this space. This project is about more than just new furniture; it’s about reclaiming a multi-purpose room and transforming it into a highly functional and inspiring environment for both work and daily routines. If you’ve ever struggled with a cluttered, inefficient workspace, you’ll understand the thrill of embarking on such a project.
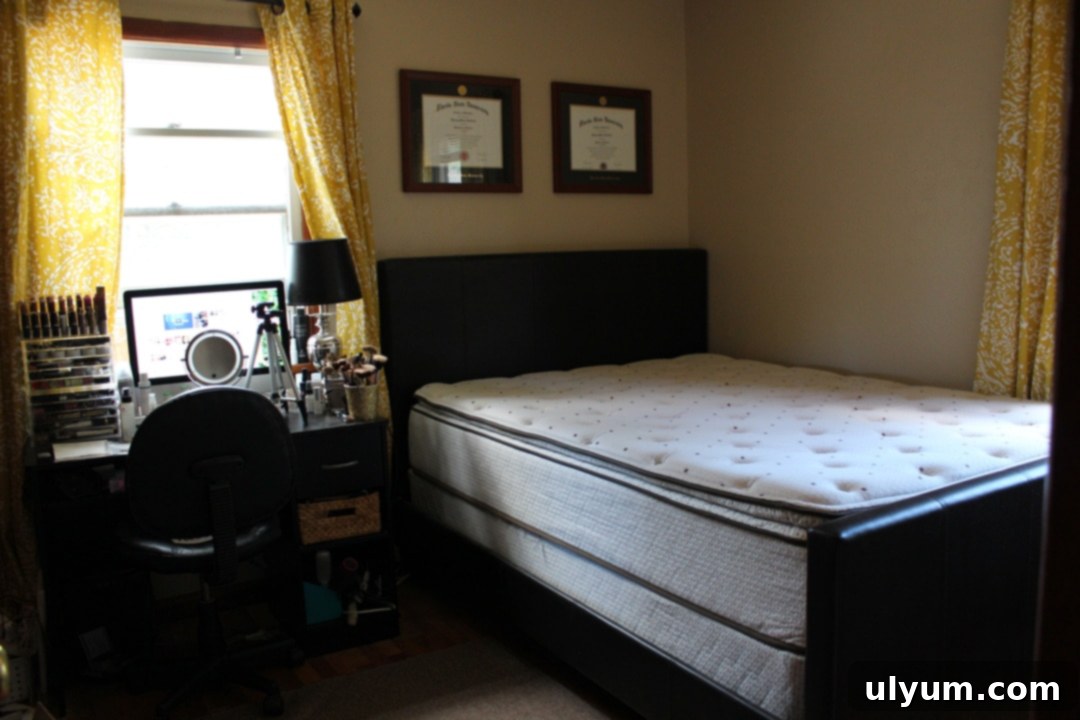
For years, our guest room served a dual, often conflicting, purpose. It was designed to accommodate overnight guests, but simultaneously housed half of my office setup and my entire vanity station. This meant that whenever friends or family visited – which, thankfully, was only two or three times a year – I faced the inconvenient task of dismantling my makeup and beauty essentials to make way for sleeping arrangements. It was a recurring hassle that often left me wishing for a dedicated space.
This post contains affiliate links. As an Amazon affiliate, I earn a commission on qualifying purchases, which helps support content like this.
Considering how infrequently we actually hosted guests, it became increasingly clear that the room’s current setup was a significant waste of valuable space. My photography equipment – primarily two large white foam boards – lived precariously on the foot of the guest bed. The bed itself often devolved into a catch-all surface for all my “to review” items, creating a perpetual state of disarray. There were even a few instances where Xavier’s best friend couldn’t comfortably use the guest bed because it was so completely overrun with my work-related clutter!
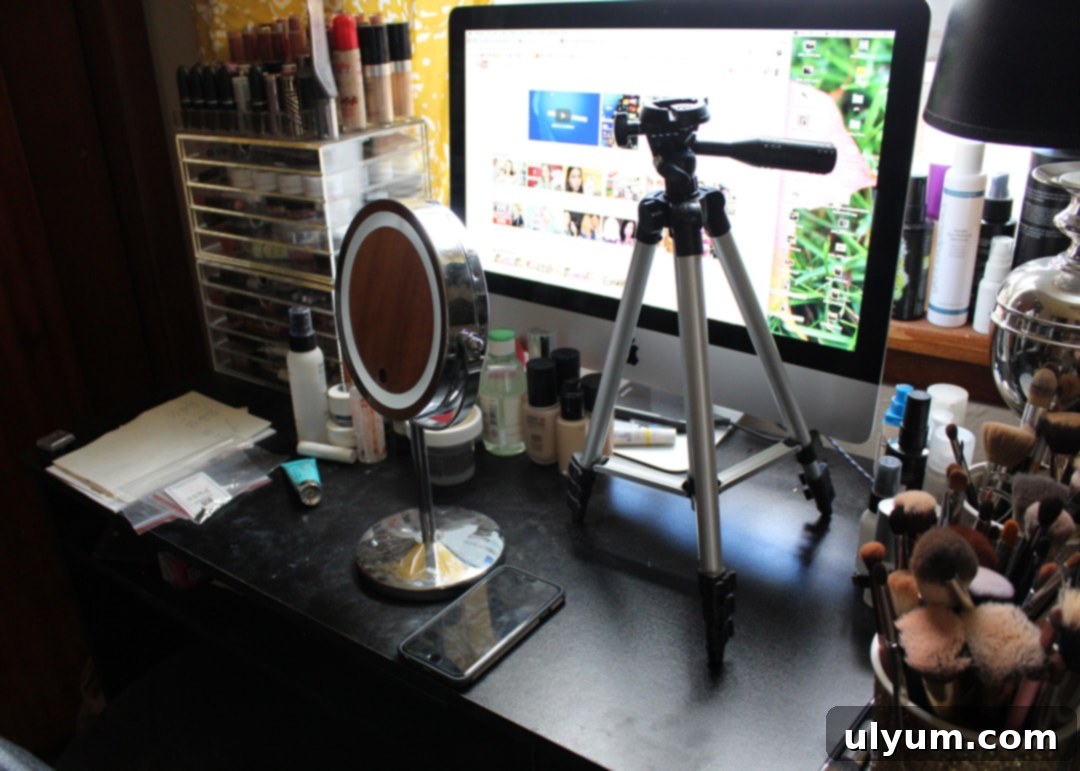
My old desk, purchased nearly four years ago, was simply too small. I quickly outgrew its limited surface area. Between my Muji drawers for makeup storage, my desktop computer, and my filming setup for content creation, there was never enough room to spread out and work efficiently. The constant struggle for space stifled my productivity and creativity.
The vision of reclaiming this underutilized space and transforming it into my dream office and vanity was not just appealing, it was absolutely thrilling. I imagined a dedicated zone where I could work, organize, and get ready each day without compromise. This transformation was about creating an environment that supports my daily activities, fosters creativity, and enhances productivity. It’s an exciting journey into designing a space that truly works for me.
Designing My Dream Workspace: Why IKEA Was the Perfect Choice
My number one priority for this makeover was to establish a spacious and functional basic desk setup. I immediately turned to IKEA, not just for its renowned affordability but also for the incredible flexibility it offers in customizing furniture to meet specific needs. The ability to mix and match components to create a bespoke solution is truly a game-changer for anyone looking to optimize their space without breaking the bank.
My ultimate goal was to create an L-shaped corner desk. This configuration is ideal for maximizing corner spaces and providing ample surface area for various tasks, from computer work to creative projects. Unfortunately, ready-made L-shaped desks can be surprisingly difficult to find, and the options available online were often prohibitively expensive. This left me feeling a bit discouraged until I stumbled upon The L Shape Desk Hack post from Leah Remillet’s site. This ingenious idea instantly clicked, and all the pieces of my desk puzzle began to fall into place.
The beauty of IKEA’s LINNMON desk series is that all the tabletops share the same thickness. This crucial detail allows you to seamlessly piece together different desk sizes, creating a custom configuration that perfectly fits your space and requirements. Furthermore, the tabletops and legs are sold separately, providing unparalleled flexibility. If you prefer to have part of your desk supported by a sturdy storage unit, like the popular ALEX drawers, instead of traditional legs, you can easily mix and match components. This modular approach is what makes IKEA hacks so popular and effective for personalized solutions.
The planning process for this IKEA desk hack was incredibly straightforward thanks to their intuitive website. I was able to browse all the available LINNMON tabletops, GODVIN legs, and ALEX drawer units, adding each item to a personalized list. This list could then be emailed to myself, providing all the necessary item numbers and even their exact locations within my local IKEA warehouse. This feature saved a tremendous amount of time and effort during my in-store visit.
In total, my entire IKEA setup, including two LINNMON table tops, six GODVIN legs, and two ALEX drawer units, came to approximately $360 after tax. To offset this cost and clear out the old guest room clutter, I successfully sold all of our guest room furniture on Craigslist for a total of $260. This smart approach made the entire transformation highly affordable and sustainable.
Essential Components for Your IKEA L-Shaped Desk Hack
Here’s a detailed list of the IKEA items I used to create my L-shaped desk and vanity setup. Keep in mind that IKEA’s product lines can evolve, so always check their current offerings. I’ve also included Amazon affiliate links where similar or exact items might be available, though buying directly from IKEA is often the most cost-effective option.
-
LINNMON Table top, white (for the computer station):
- Length: 59 “
- Width: 29 ½ “
- Thickness: 1 ⅜ “
-
LINNMON Table top, white (the long vanity side):
Note: This Amazon listing may come with legs (different from the ones I used).- Length: 78 ¾ “
- Width: 23 ⅝ “
- Thickness: 1 ⅜ “
-
GODVIN Leg, white (I purchased 6 legs):
Note: This Amazon listing is typically a 4-pack, so you’d need to adjust quantity.- Width: 1 ⅝ “
- Depth: 1 ⅛ “
- Height: 27 ½ “
-
ALEX Drawer unit, white (the short 5-drawer unit):
- Width: 14 ⅛ “
- Depth: 22 ⅞ “
- Height: 27 ½ “
-
ALEX Drawer unit with 9 drawers, white:
- Width: 14 ⅛ “
- Depth: 18 ⅞ “
- Height: 45 ¼ “
Step-by-Step Assembly: Building My IKEA L-Shaped Desk
The assembly process for this custom L-shaped desk was surprisingly manageable, though some parts required more dedication than others. I envisioned the layout with the long 78-inch LINNMON tabletop forming the vanity side, supported by two GODVIN legs on one end and the short ALEX drawer unit on the other. This long table then butts up against the 59-inch LINNMON desk, which offers greater depth and rests on four GODVIN legs, creating the perfect computer station. When attaching the GODVIN legs, a key tip is to always check the alignment before drilling. Ensure they are perfectly squared with the edges for a clean and stable look.
I began the assembly with the short ALEX drawer unit. As I unpacked the box and saw the sheer number of parts and screws, a wave of terror briefly washed over me at the prospect of tackling the larger 9-drawer unit! However, I quickly discovered that once you get into the rhythm of IKEA assembly, it becomes much easier. In fact, the time it took me to assemble both ALEX units was roughly the same. I found my groove, followed the instructions methodically, and was able to complete them efficiently.
The ALEX drawers were undoubtedly the most time-intensive part of this entire project. They involve numerous small pieces, slides, and careful alignment. If you were simply assembling the LINNMON tabletops with the GODVIN legs, you could realistically finish in under 20 minutes – it’s incredibly fast and straightforward. But don’t let the drawer units deter you; the added storage and stability they provide are well worth the effort. For anyone taking on an IKEA project with many drawers, I highly recommend dedicating a solid block of time, putting on some music, and perhaps even enlisting a friend for an extra pair of hands.
An important decision I made was not to permanently attach the two desk corners together with screws or brackets, at least not yet. I want to live with this desk setup for a while to ensure it’s the absolute perfect configuration for my needs. Drilling holes into furniture, especially a brand-new desk, feels pretty permanent, and I wanted the flexibility to adjust or reconfigure if necessary down the line. So far, the desks are stable enough simply buttressing against each other and the wall.
My New Desk Setup: A Tour of Functionality and Style
The transformation of this space has truly elevated my daily routine. My primary computer station now resides on the 59-inch LINNMON desk. The deeper surface area is a significant improvement, providing ample room for my desktop computer, keyboard, mouse, and other essentials without feeling cramped. It’s a joy to have enough space to work comfortably. Looking ahead, I plan to invest in a taller, more ergonomic desk chair to ensure my elbows are consistently at a comfortable 90-degree angle, further enhancing my posture and productivity during long work sessions.

As you transition along the larger 78-inch table, you’ll find my dedicated hair station. This area is currently home to my old laptop, which I’m in the process of refurbishing and getting back up and running. The long-term vision for this space includes a large, elegant mirror mounted on the wall, transforming it into a fully functional hair styling zone. It’s designed to be a practical area for getting ready, keeping hair tools organized and easily accessible.
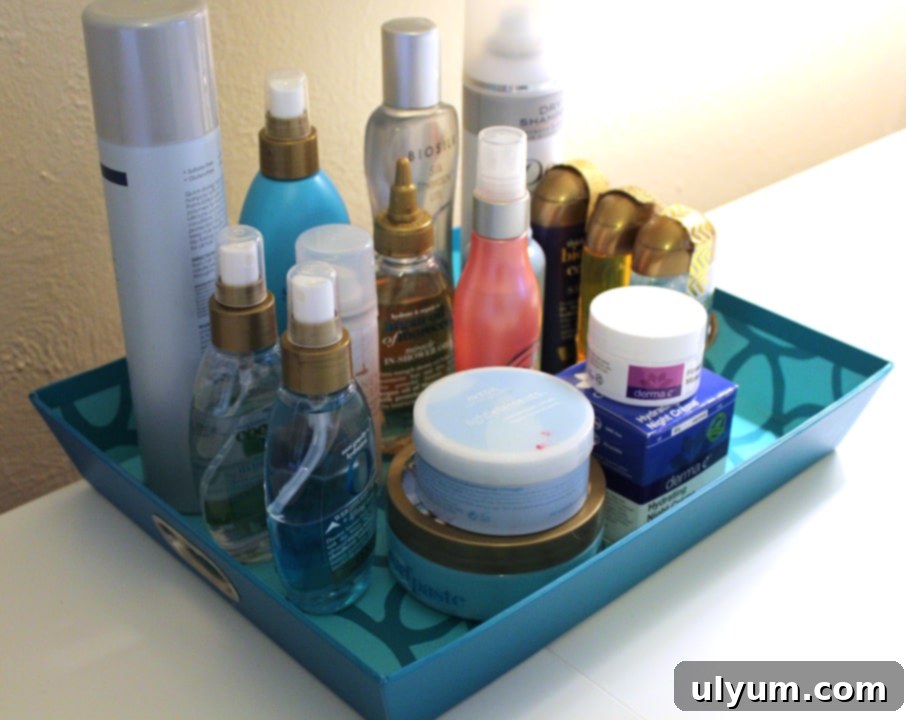
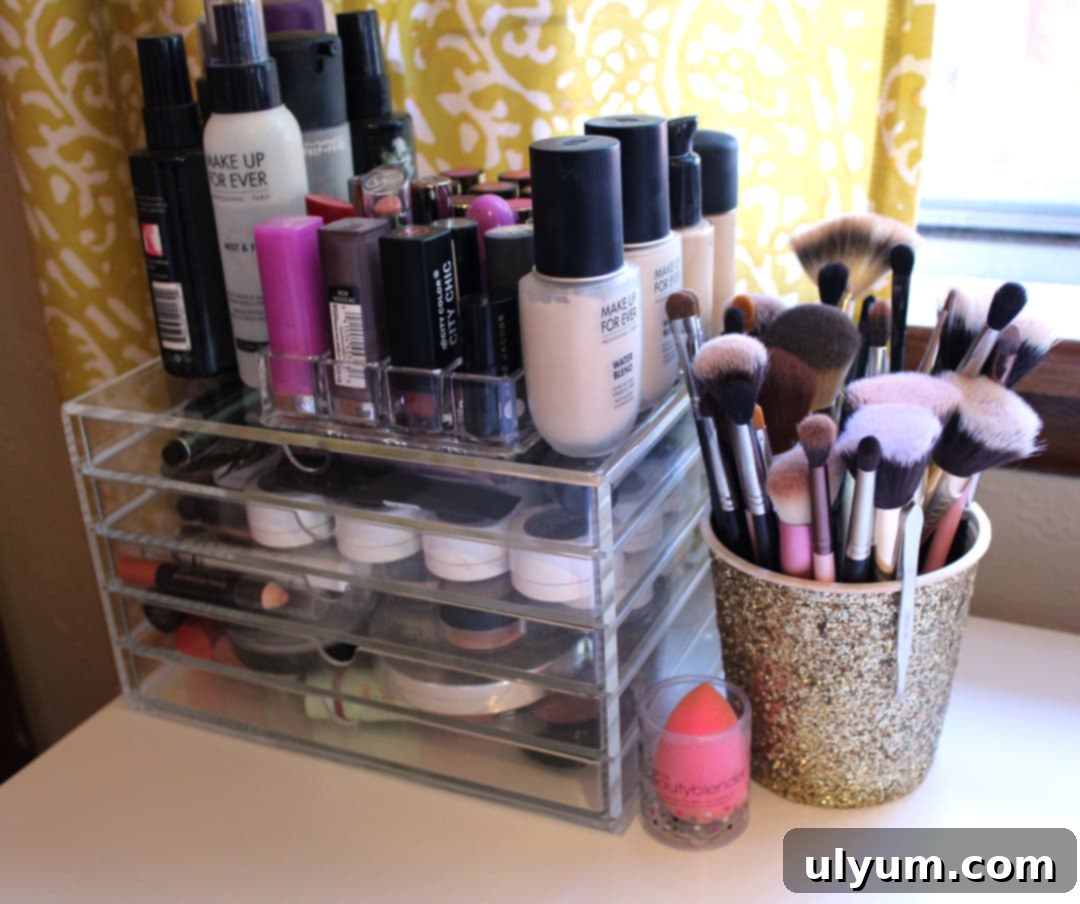
At the far end of this longer desk segment is my vanity, complete with a small light-up mirror positioned strategically in front of the window. This setup is one of my absolute favorite features. I adore having the window’s natural light flooding the area as I get ready each morning; it’s perfect for applying makeup and doing my hair. While I know the quality of light will shift as we move into the fall and winter months, it also creates excellent natural lighting conditions for filming YouTube videos in the afternoons, which is a huge bonus for my content creation work. The vanity end of the desk is precisely where I’ve placed the short ALEX drawer unit. This unit is now a highly organized home for all my hair tools, makeup, skincare products, and various beauty accessories, keeping everything tidy and within easy reach.
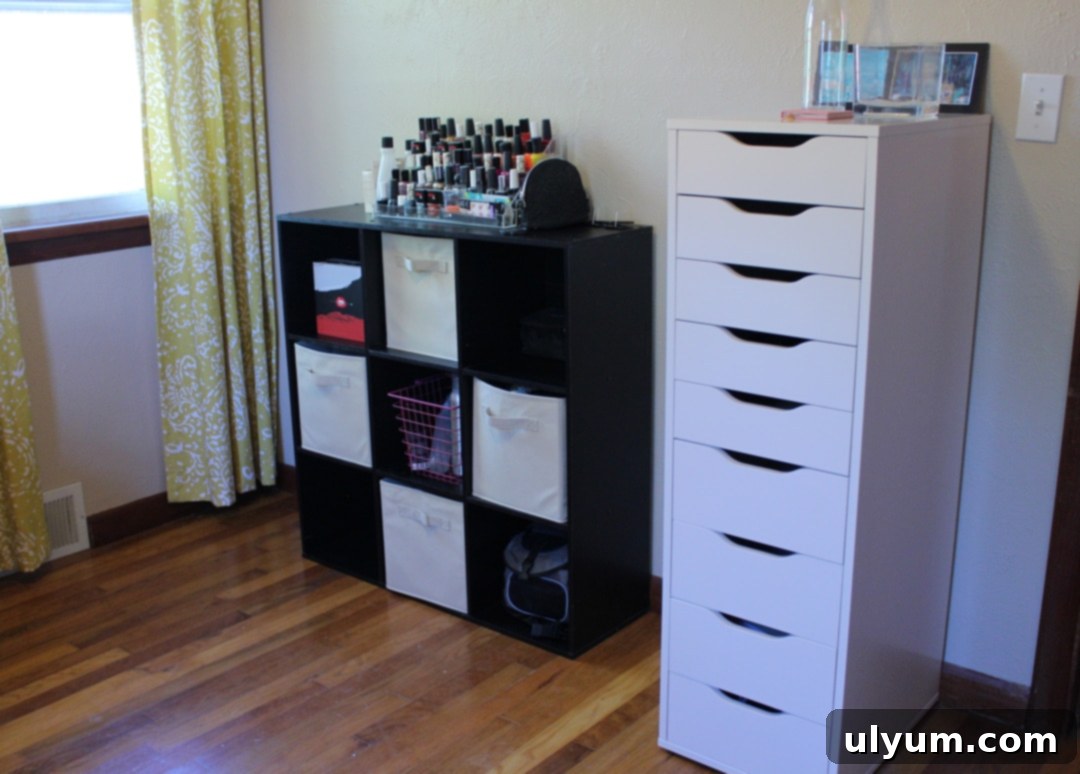
Across the room from the main desk, I’ve established a dedicated storage and organization zone. I repurposed my existing cube shelf unit (which I believe I originally purchased from Target) and strategically placed the larger IKEA ALEX 9-drawer unit beside it. While this larger drawer unit is currently largely empty, its potential is immense. I plan to utilize it as a “library” or inventory system for items I’ve either already reviewed for my blog and channels or items that are awaiting review. This systematic approach will ensure I always know exactly where everything is, significantly streamlining my content creation workflow and preventing clutter from accumulating.
What’s Next for the Home Office Makeover: Future Plans and Decor
While the core desk setup is complete and highly functional, this is just “Part One” of my office transformation journey. There are several exciting elements I’m eager to add to truly finalize the space and infuse it with my personal style and maximum comfort. The next steps will focus on enhancing the aesthetics and ergonomics of the room.
First on the list is finding the perfect desk chairs. I currently have my eye on a couple of upholstered desk chairs from Wayfair, but the specific color scheme is still to be determined. My existing yellow paisley curtains from Target, while once loved, no longer resonate with my evolving aesthetic for this new space. Once I’ve settled on a cohesive color palette, I’ll purchase two new sets of curtains to complement the refreshed decor and create a more tranquil environment.
In a similar vein, a new rug is definitely on the agenda. The old brown rug from Walmart that’s currently on the floor is merely a placeholder. I envision a rug that ties all the colors and textures together, adding warmth and defining the workspace. It’s amazing how a well-chosen rug can anchor a room and make it feel more complete and inviting.
For my hair station, I’m actively searching for a large mirror. Ideally, I’d love to find a unique piece on Craigslist or at a local thrift store. This approach not only saves money but also allows for a creative DIY touch. My plan is to paint the mirror’s border with a bright pop of color, transforming it into a personalized statement piece that reflects my vibrant personality. A large mirror will not only be functional for styling my hair but will also visually expand the space and enhance the natural light.
Finally, the question of shelving remains open. Eventually, I may incorporate some shelving somewhere in the room to display decorative items, books, or additional storage. However, the jury is still out on the exact placement and style. I want to ensure that any added shelving contributes to the room’s organized and airy feel, rather than cluttering it. This decision will likely come as I live with the space and discover any evolving storage needs.

I hope you’ve enjoyed this first look into my IKEA L-shaped desk and office makeover as much as I’ve enjoyed creating it! This transformation has already made a significant positive impact on my daily productivity and overall well-being. It’s a testament to how thoughtful planning and a bit of DIY spirit can turn an underperforming space into a dream workspace. Stay tuned for “Part Two,” where I’ll delve into the decorative elements and final touches that will bring this home office vision to full fruition. What are your favorite IKEA hacks? Share your tips in the comments below!
