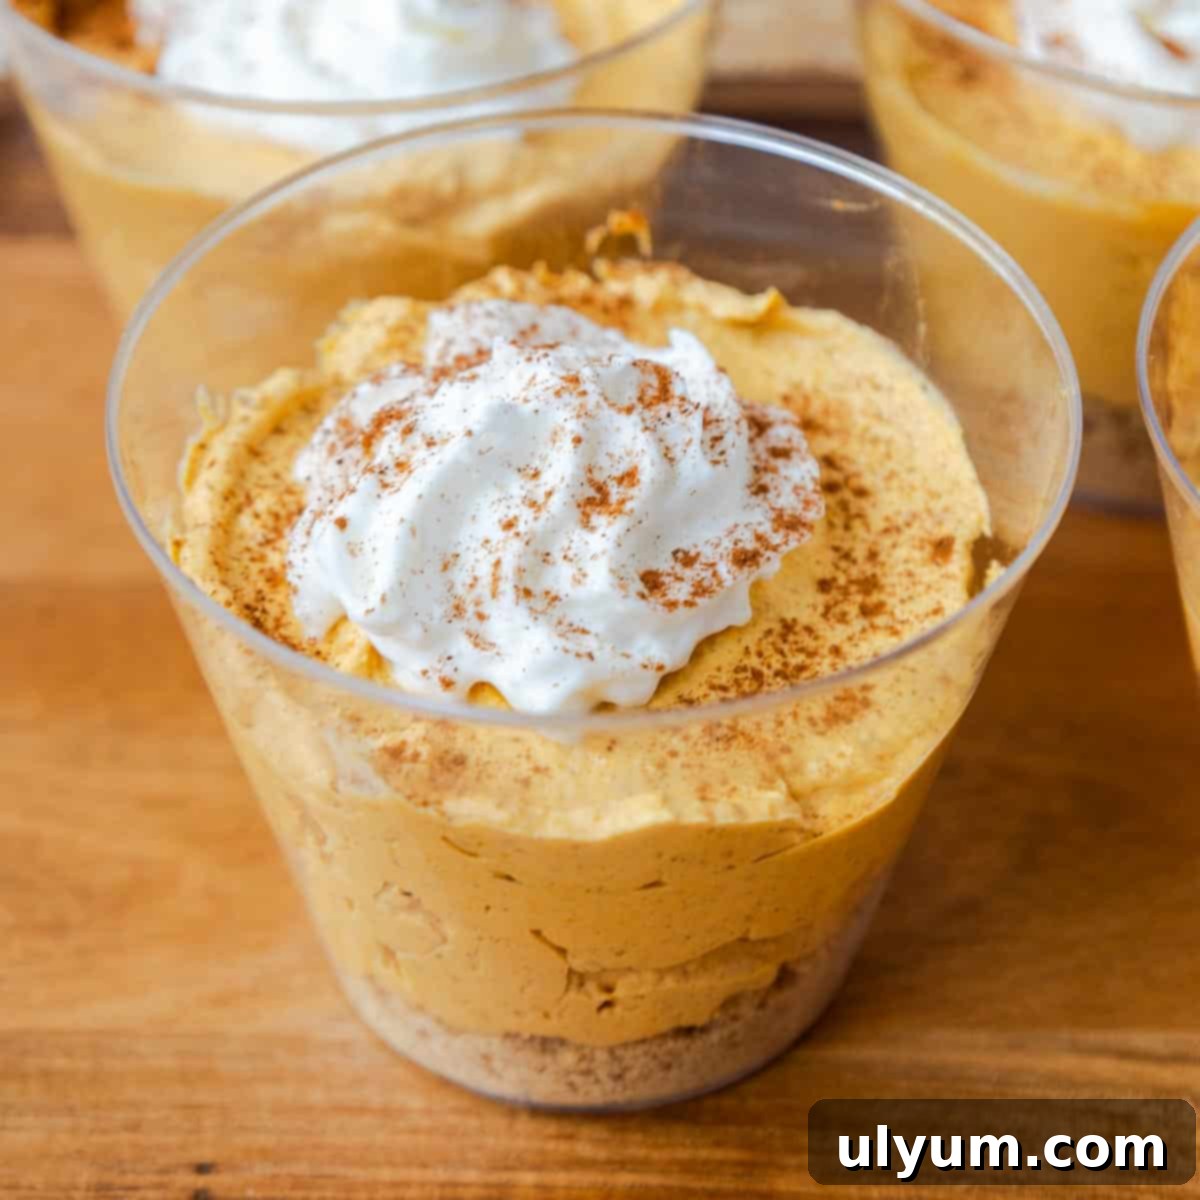
Easy No-Bake Pumpkin Pie Cups: Your Go-To Fall Dessert Recipe
Embrace the flavors of autumn with these incredibly easy and utterly delicious no-bake pumpkin pie cups. These individual dessert cups are the perfect treat for any occasion, from casual weeknight desserts to festive fall gatherings, and especially as a hassle-free addition to your Thanksgiving dessert spread. Combining the comforting taste of classic pumpkin pie with the convenience of a no-bake recipe, they offer a delightful experience without the need for an oven.
This post contains affiliate links. As an Amazon Associate, I earn from qualifying purchases.
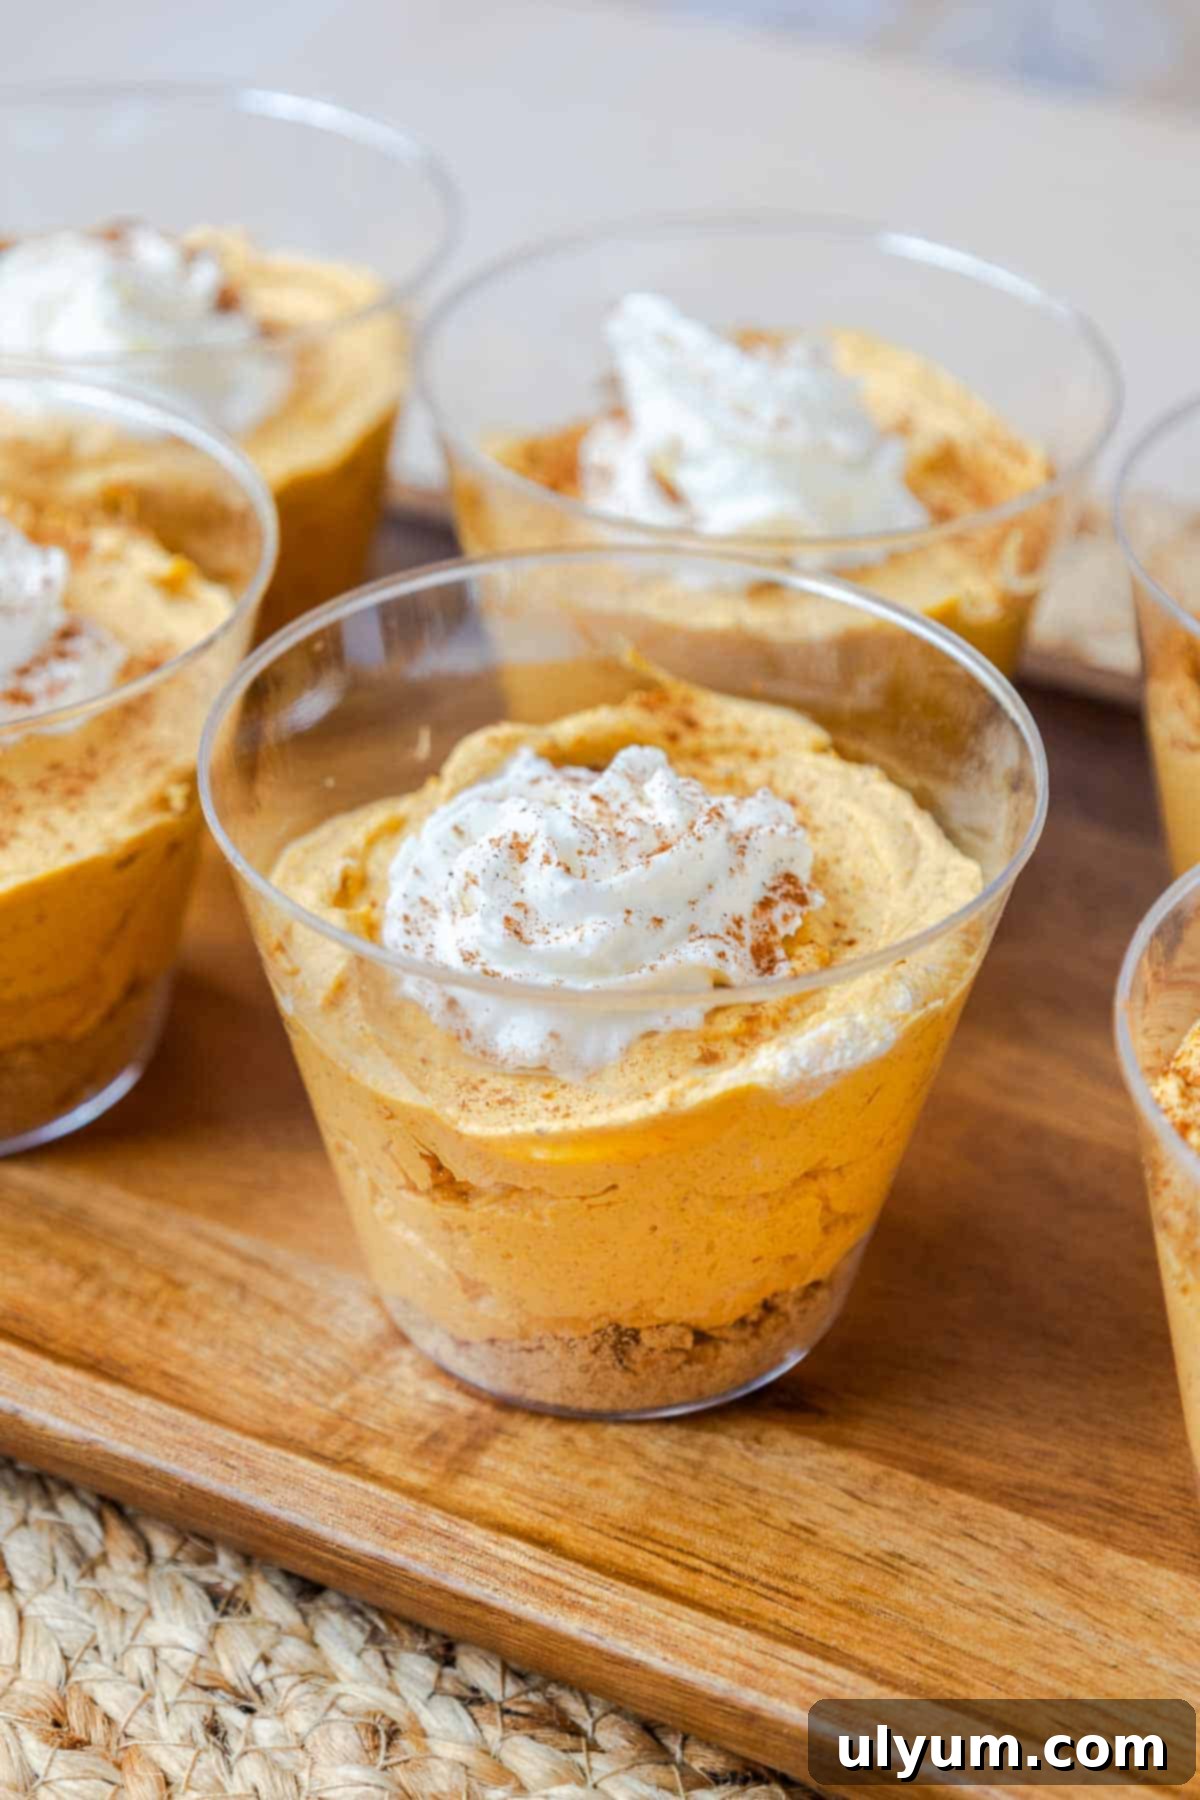
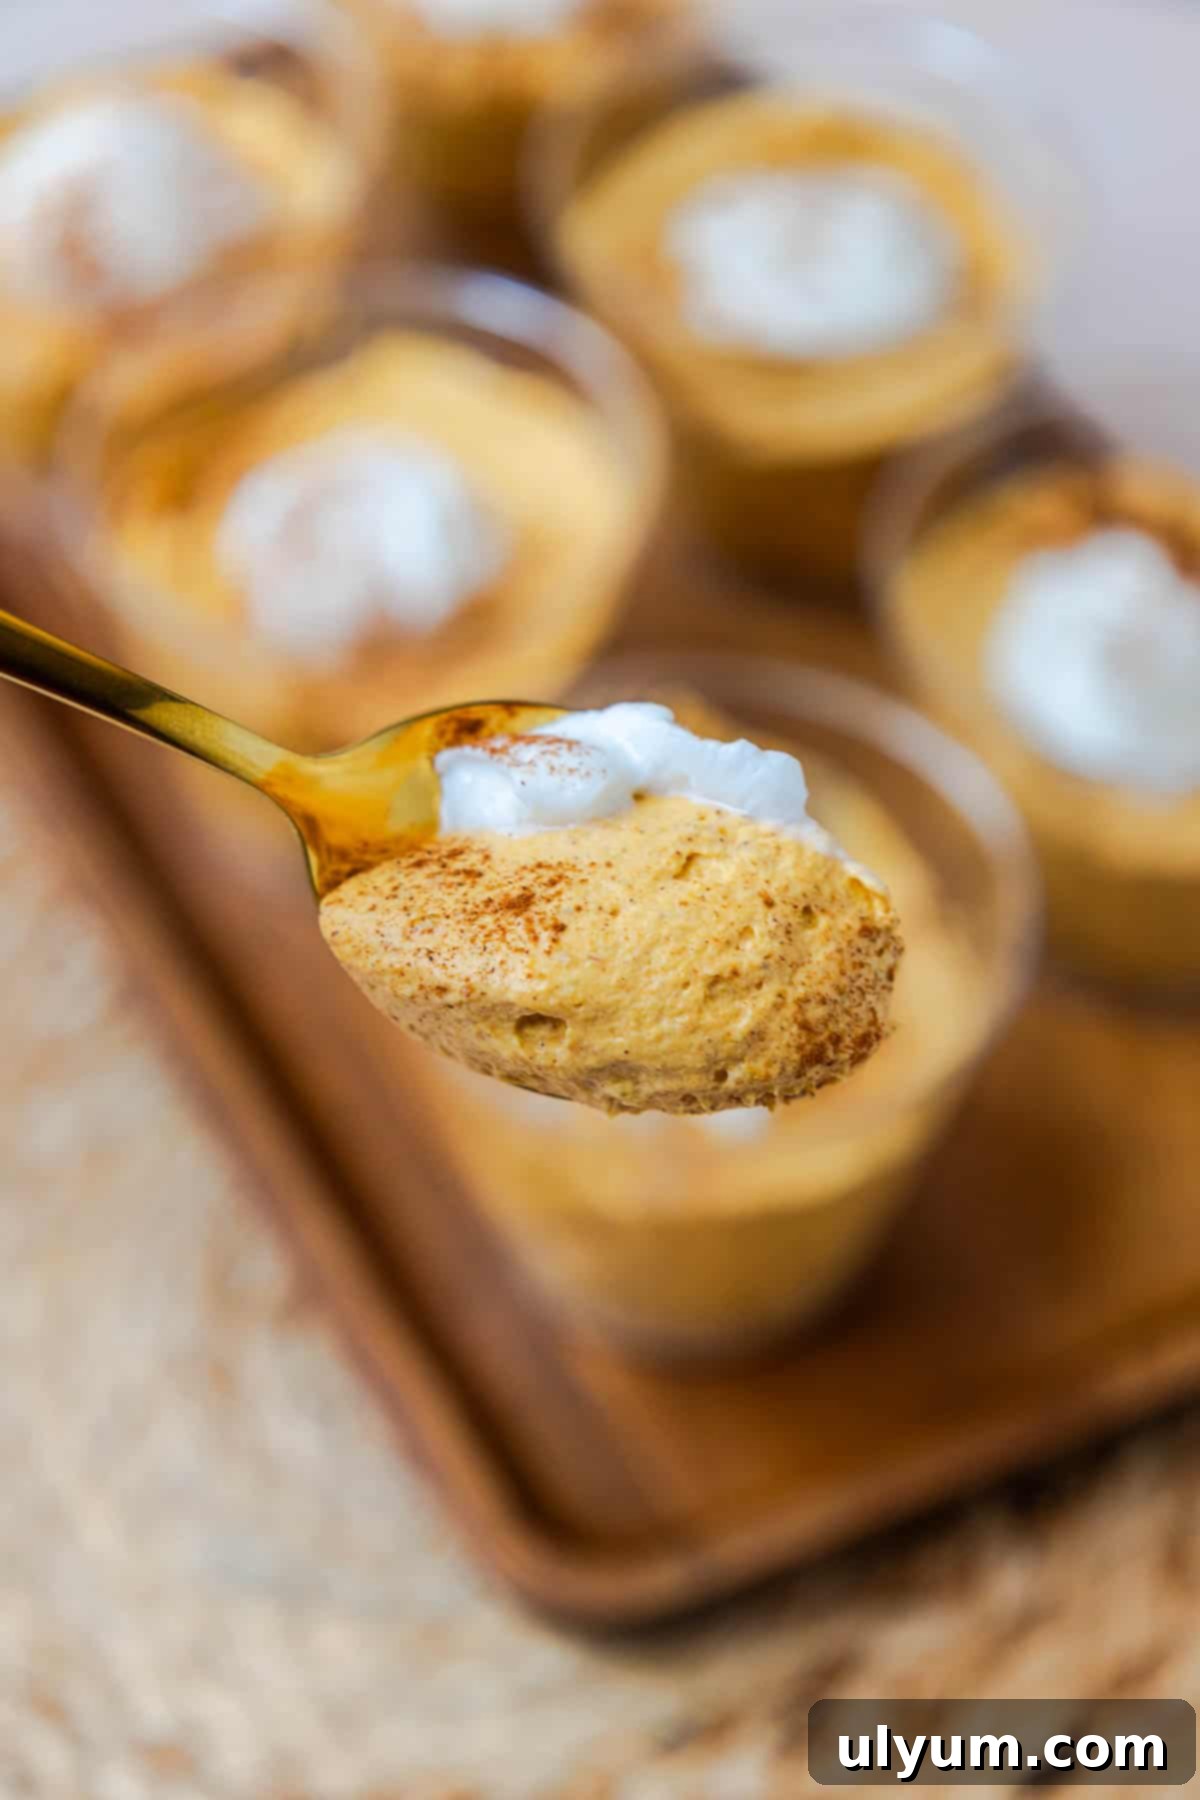
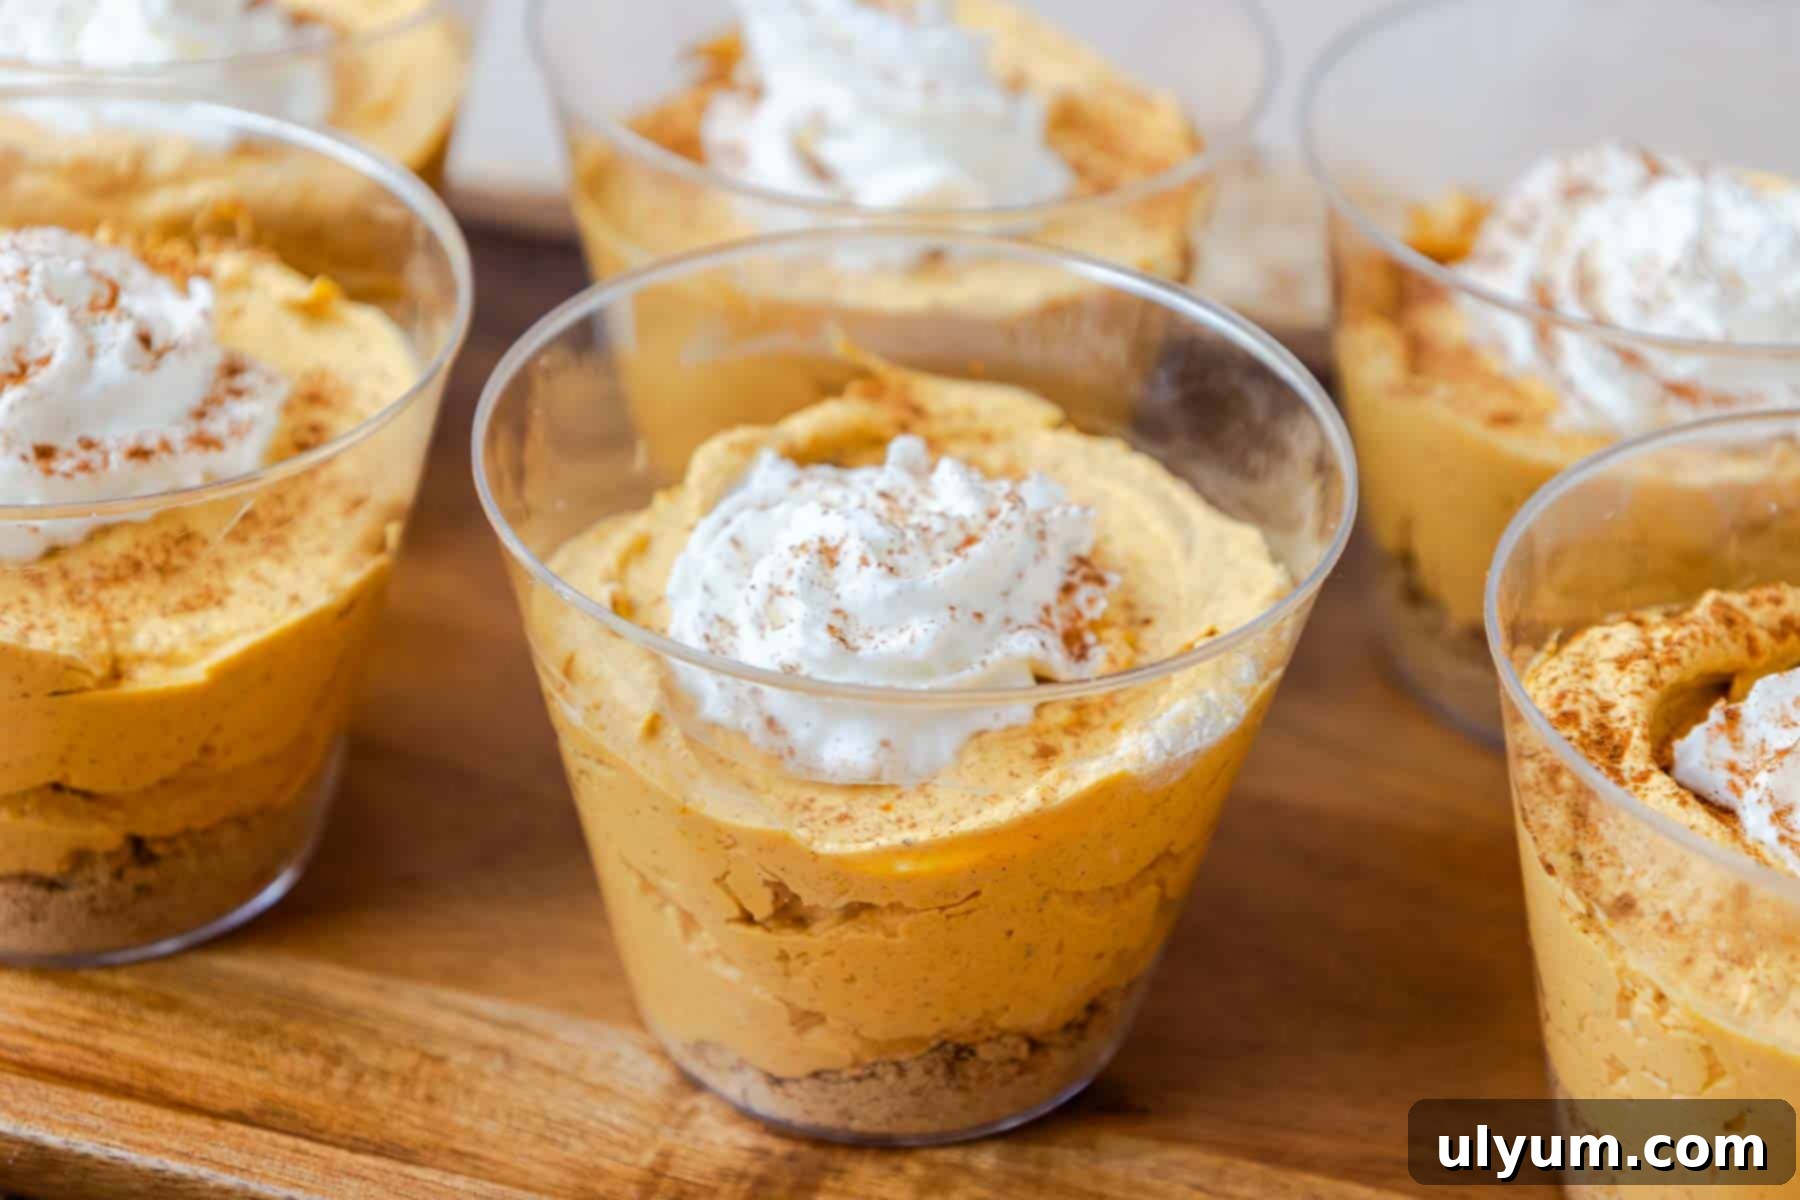
Each cup is a delightful symphony of flavors and textures, featuring a creamy, perfectly spiced pumpkin filling resting atop a buttery graham cracker crust. Unlike traditional pumpkin pie, the filling in these cups boasts a light, mousse-like consistency, reminiscent of a decadent whipped pumpkin pudding. This unique texture makes them incredibly satisfying and a true indulgence for any pumpkin enthusiast.
These no-bake pumpkin pie cups truly shine during busy holiday seasons, especially when oven space is a premium commodity (we’re looking at you, Thanksgiving dinner!). They come together quickly and effortlessly, offering a stress-free yet undeniably impressive dessert option that will satisfy everyone’s sweet cravings. Their individual serving size makes them not only charming but also incredibly practical for potlucks, parties, or any gathering where easy transport and serving are key. Plus, they’re a fantastic recipe to involve children in the kitchen – simple steps lead to delicious results!
Recipe Highlights: Why You’ll Love These Pumpkin Pie Cups
- Effortless No-Bake Design: Forget about preheating the oven! This dessert is perfect for busy schedules or when your oven is already occupied, freeing up valuable time and kitchen space.
- Perfect for Make-Ahead Preparations: These cups are ideal for preparing in advance, allowing you to chill them hours or even a day before your event. This means stress-free entertaining and more time to enjoy with your guests.
- Simple Ingredients, Maximum Flavor: Don’t let the ease fool you. This simple recipe delivers an explosion of classic fall flavors with minimal effort, making it a winning dessert every time.
- Individual Portions: Each guest gets their own perfectly portioned pumpkin pie cup, making serving a breeze and ensuring everyone enjoys a consistent, delightful treat.
[feast_advanced_jump_to]
Essential Ingredients for Your No-Bake Pumpkin Pie Cups
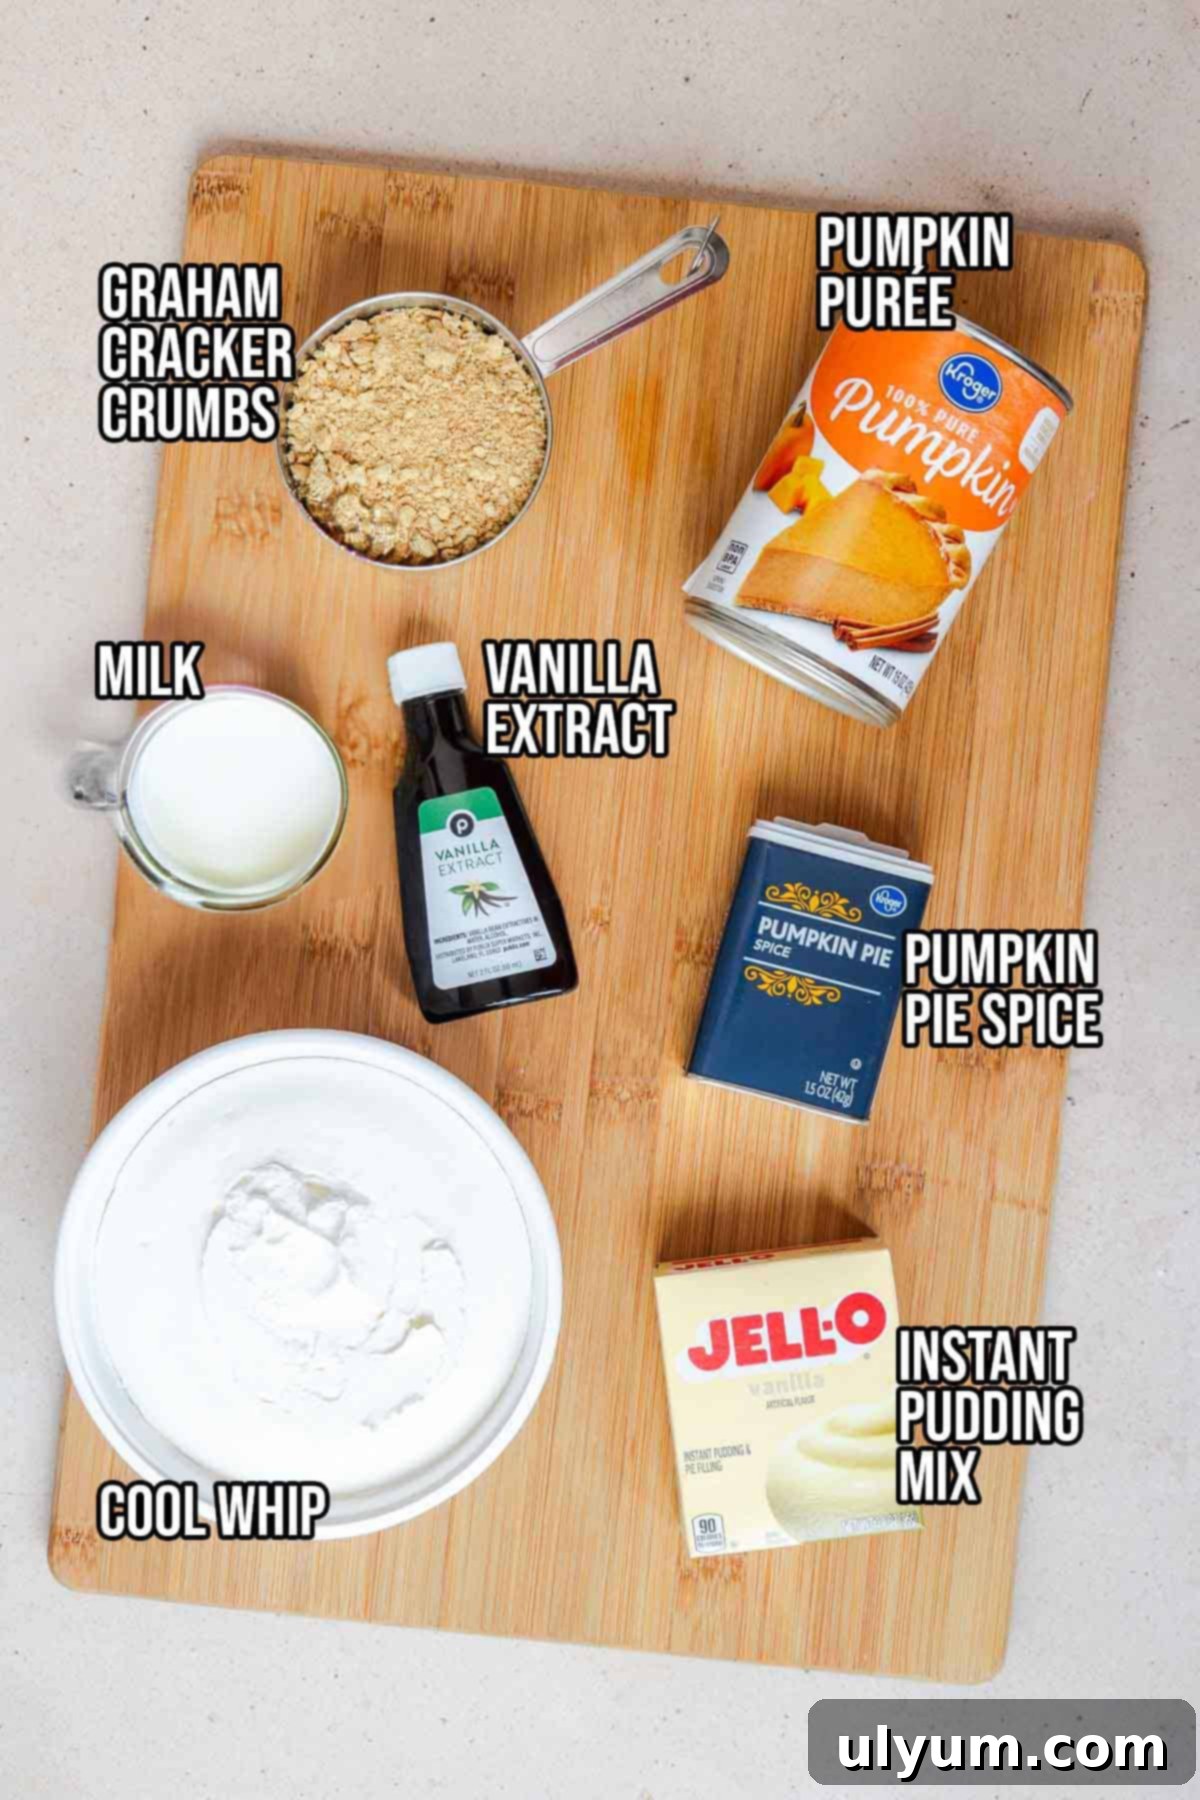
- Canned Pumpkin Purée: This is the star of our dessert, delivering that unmistakable, rich pumpkin flavor. Ensure you grab pure pumpkin purée, not pumpkin pie filling, which often contains added spices and sugar that would alter the recipe’s balance.
- Cold Whole Milk: Essential for activating the instant pudding mix and achieving that perfectly smooth, creamy, and set pumpkin filling. Using cold milk helps the pudding set properly and quickly.
- Instant Vanilla Pudding Mix: The secret to the incredible no-bake texture! It acts as a thickener and stabilizer, giving the dessert its luscious, pudding-like consistency and a delicate hint of vanilla that complements the pumpkin beautifully.
- Pumpkin Pie Spice: A fragrant blend of cinnamon, nutmeg, ginger, and cloves (and sometimes allspice) that infuses our cups with the quintessential warm and cozy flavors of fall. Adjust to your personal preference for a stronger or milder spice kick.
- Pure Vanilla Extract: A touch of pure vanilla extract elevates all the other flavors, adding depth and a pleasant aromatic sweetness to the pumpkin mixture.
- Cool Whip (Thawed): This light and airy whipped topping is folded into the pumpkin mixture to create a wonderfully mousse-like, fluffy texture that distinguishes these cups from a denser traditional pie. Remember to thaw it according to package directions before incorporating.
- Graham Cracker Crumbs: These form the delightful, crunchy base, perfectly mimicking a traditional pie crust without any baking. You can easily make your own by crushing whole graham crackers in a food processor or a Ziploc bag with a rolling pin, or simply buy pre-made crumbs from the baking aisle for extra convenience.
- Whipped Cream: A luxurious cloud of whipped cream on top adds an extra layer of indulgence and visual appeal. Homemade or store-bought, it’s the perfect finishing touch.
- Cinnamon: A light dusting of ground cinnamon provides a beautiful garnish and an added aromatic warmth, inviting you to dive in.
See the recipe card below for exact quantities and detailed instructions.
Step-by-Step Instructions: Crafting Your Delicious Pumpkin Pie Cups
Creating these no-bake pumpkin pie cups is incredibly simple. Follow these steps for a perfect fall treat:
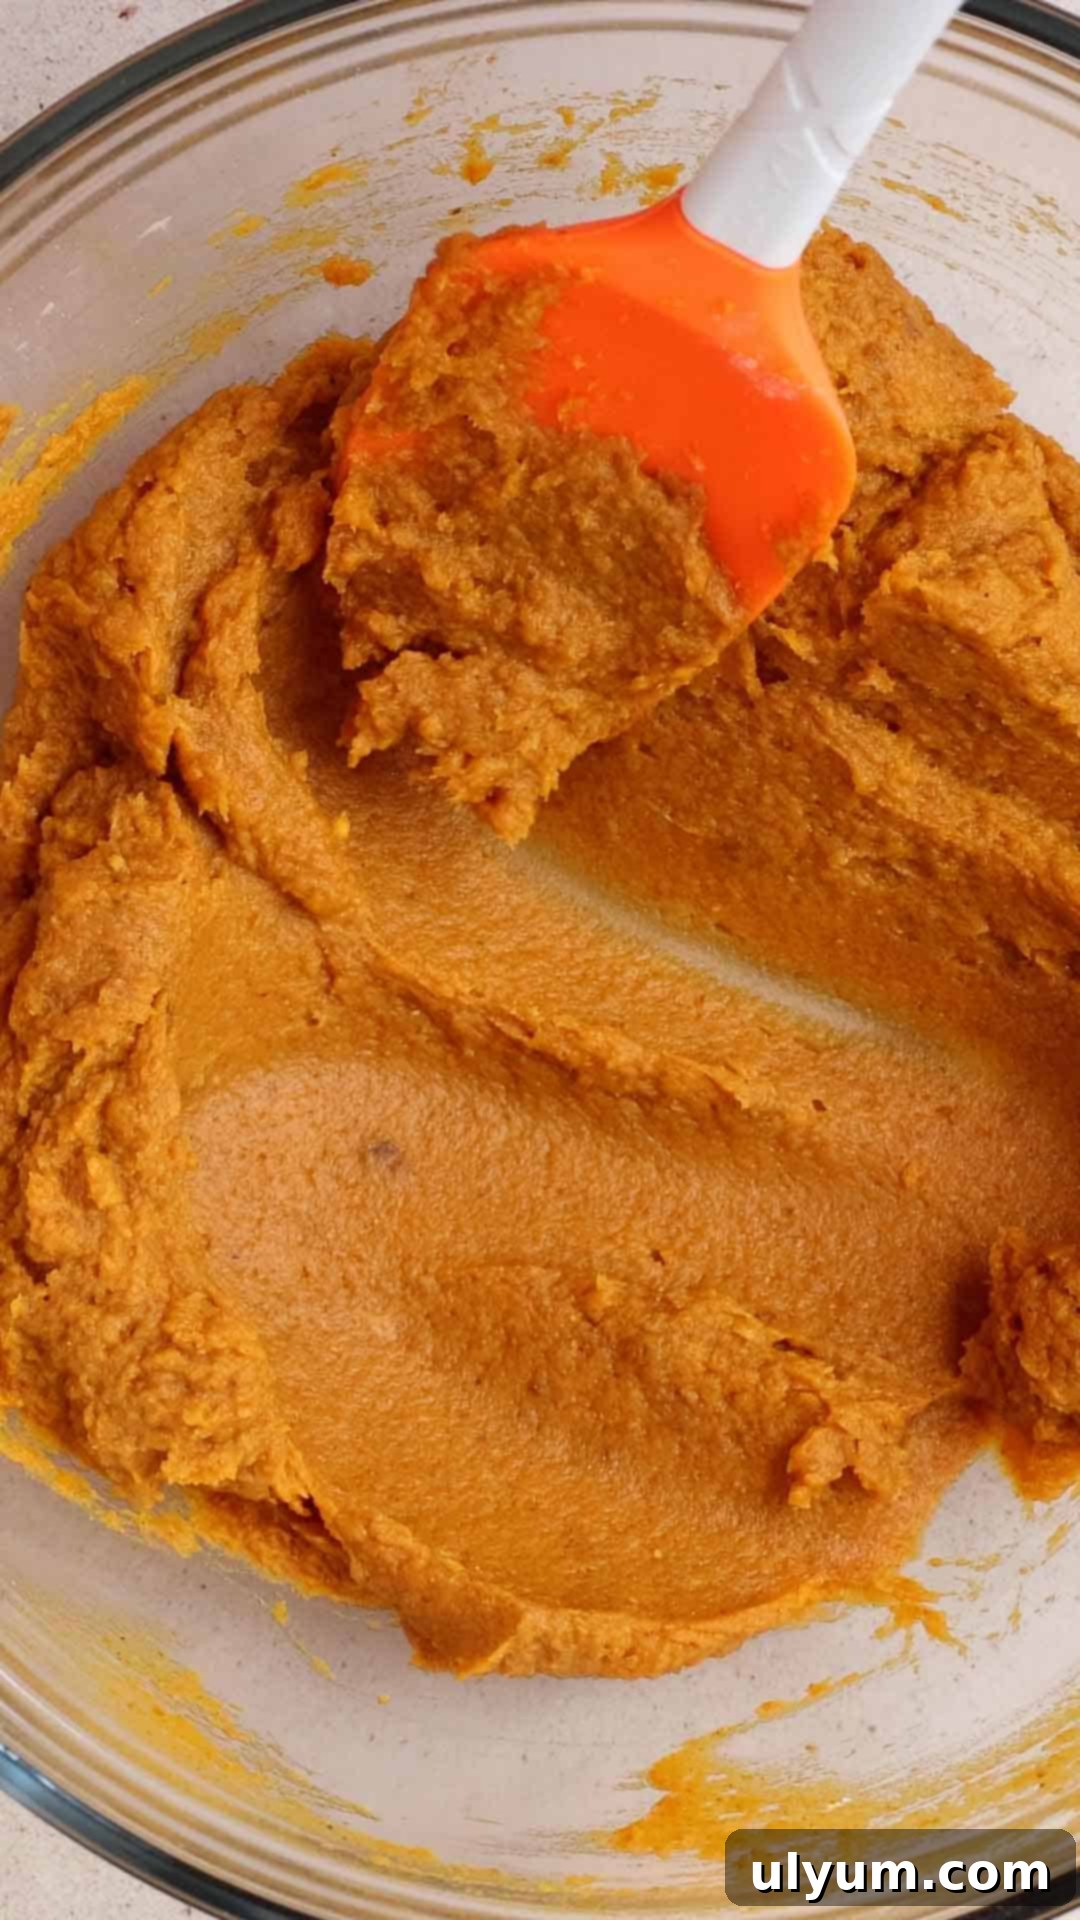
1. In a large mixing bowl, combine the canned pumpkin puree, cold whole milk, instant vanilla pudding mix, pumpkin pie spice, and pure vanilla extract. Whisk or use an electric mixer on low speed until the mixture is completely smooth and well combined, ensuring no dry pockets of pudding mix remain. The mixture will begin to thicken as the pudding activates.
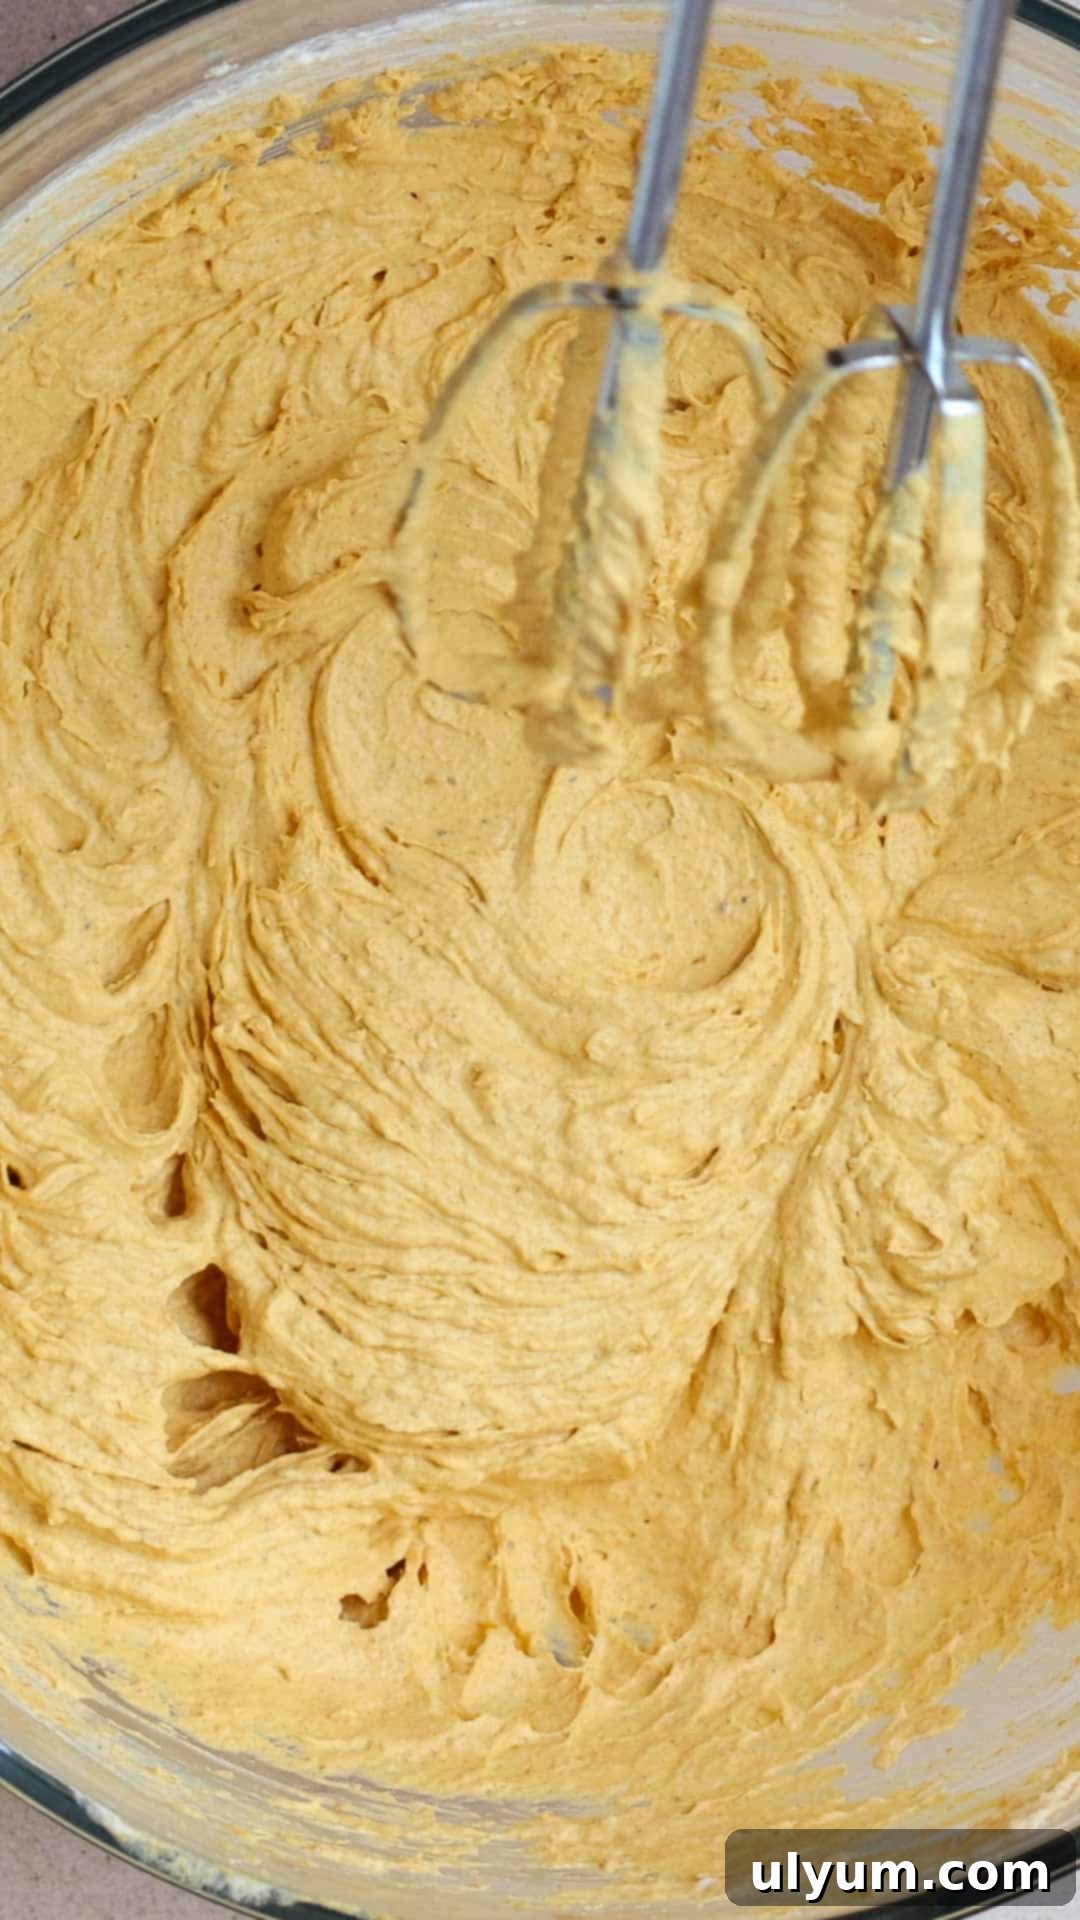
2. Gently fold in the thawed Cool Whip. Use a spatula or a hand mixer on its lowest speed to combine until it is fully incorporated and the mixture is uniformly light and fluffy. Be careful not to overmix, which can deflate the Cool Whip and make the filling less airy.
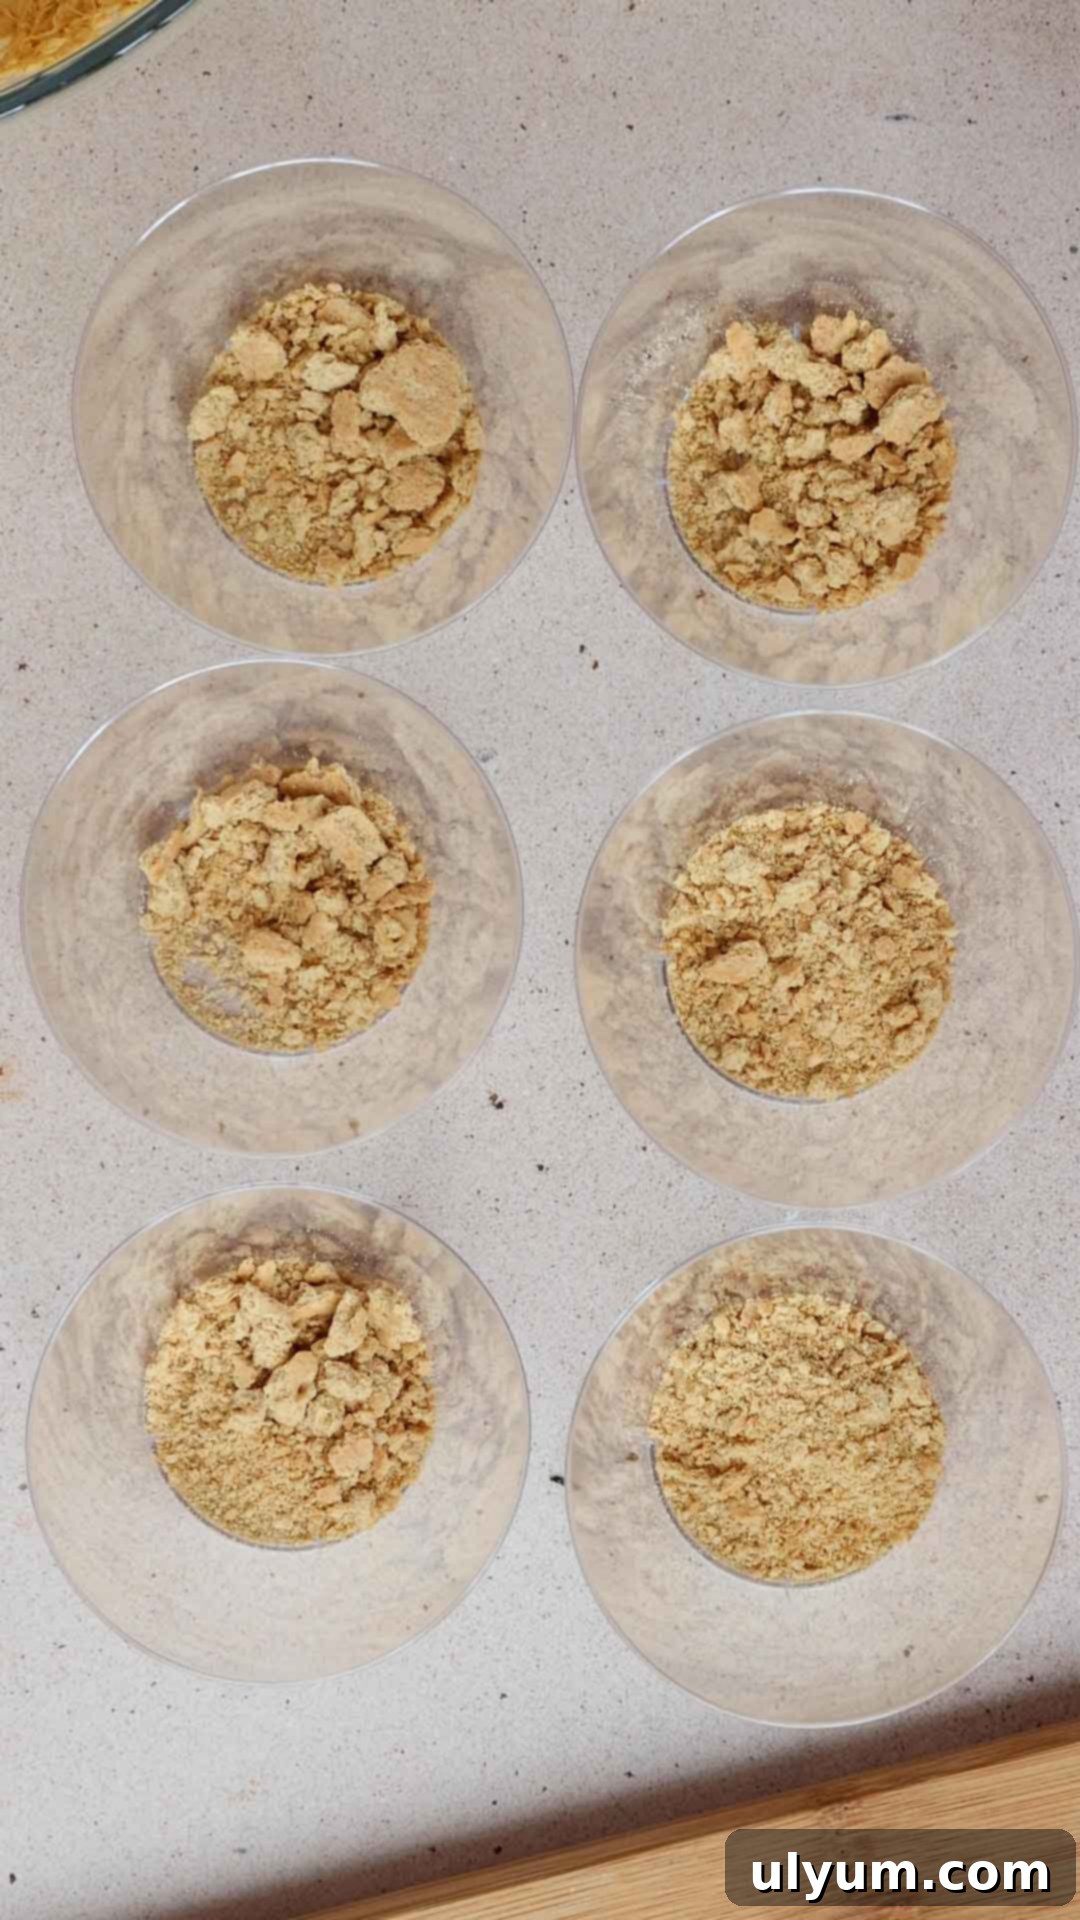
3. Prepare your dessert cups. In six individual dessert cups, small mason jars, or ramekins, evenly add 2 tablespoons of graham cracker crumbs to the bottom of each cup. You can lightly press them down to form a more compact base if desired.
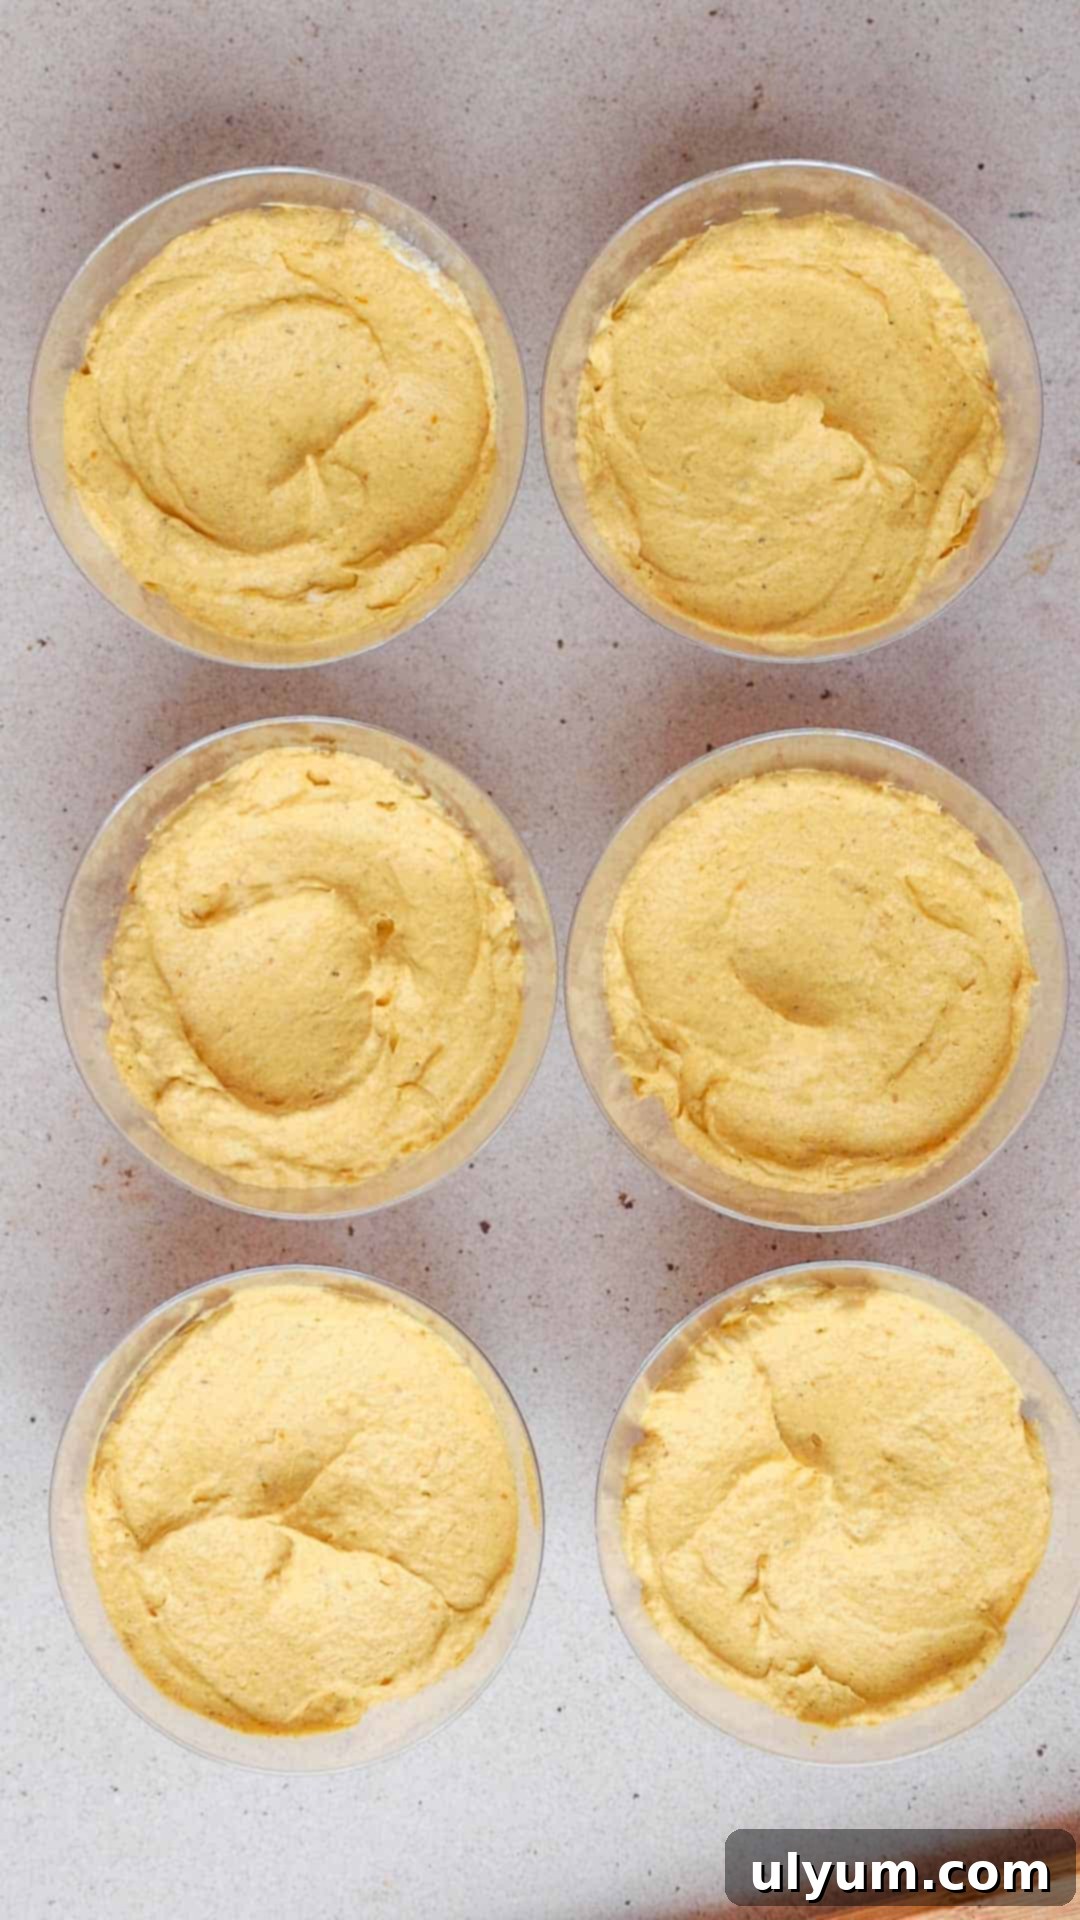
4. Carefully spoon or pipe the pumpkin pie filling mixture evenly into each of the six cups, layering it over the graham cracker crumbs. Use the back of a spoon to gently smooth the top of the pumpkin filling, creating an attractive and uniform surface.
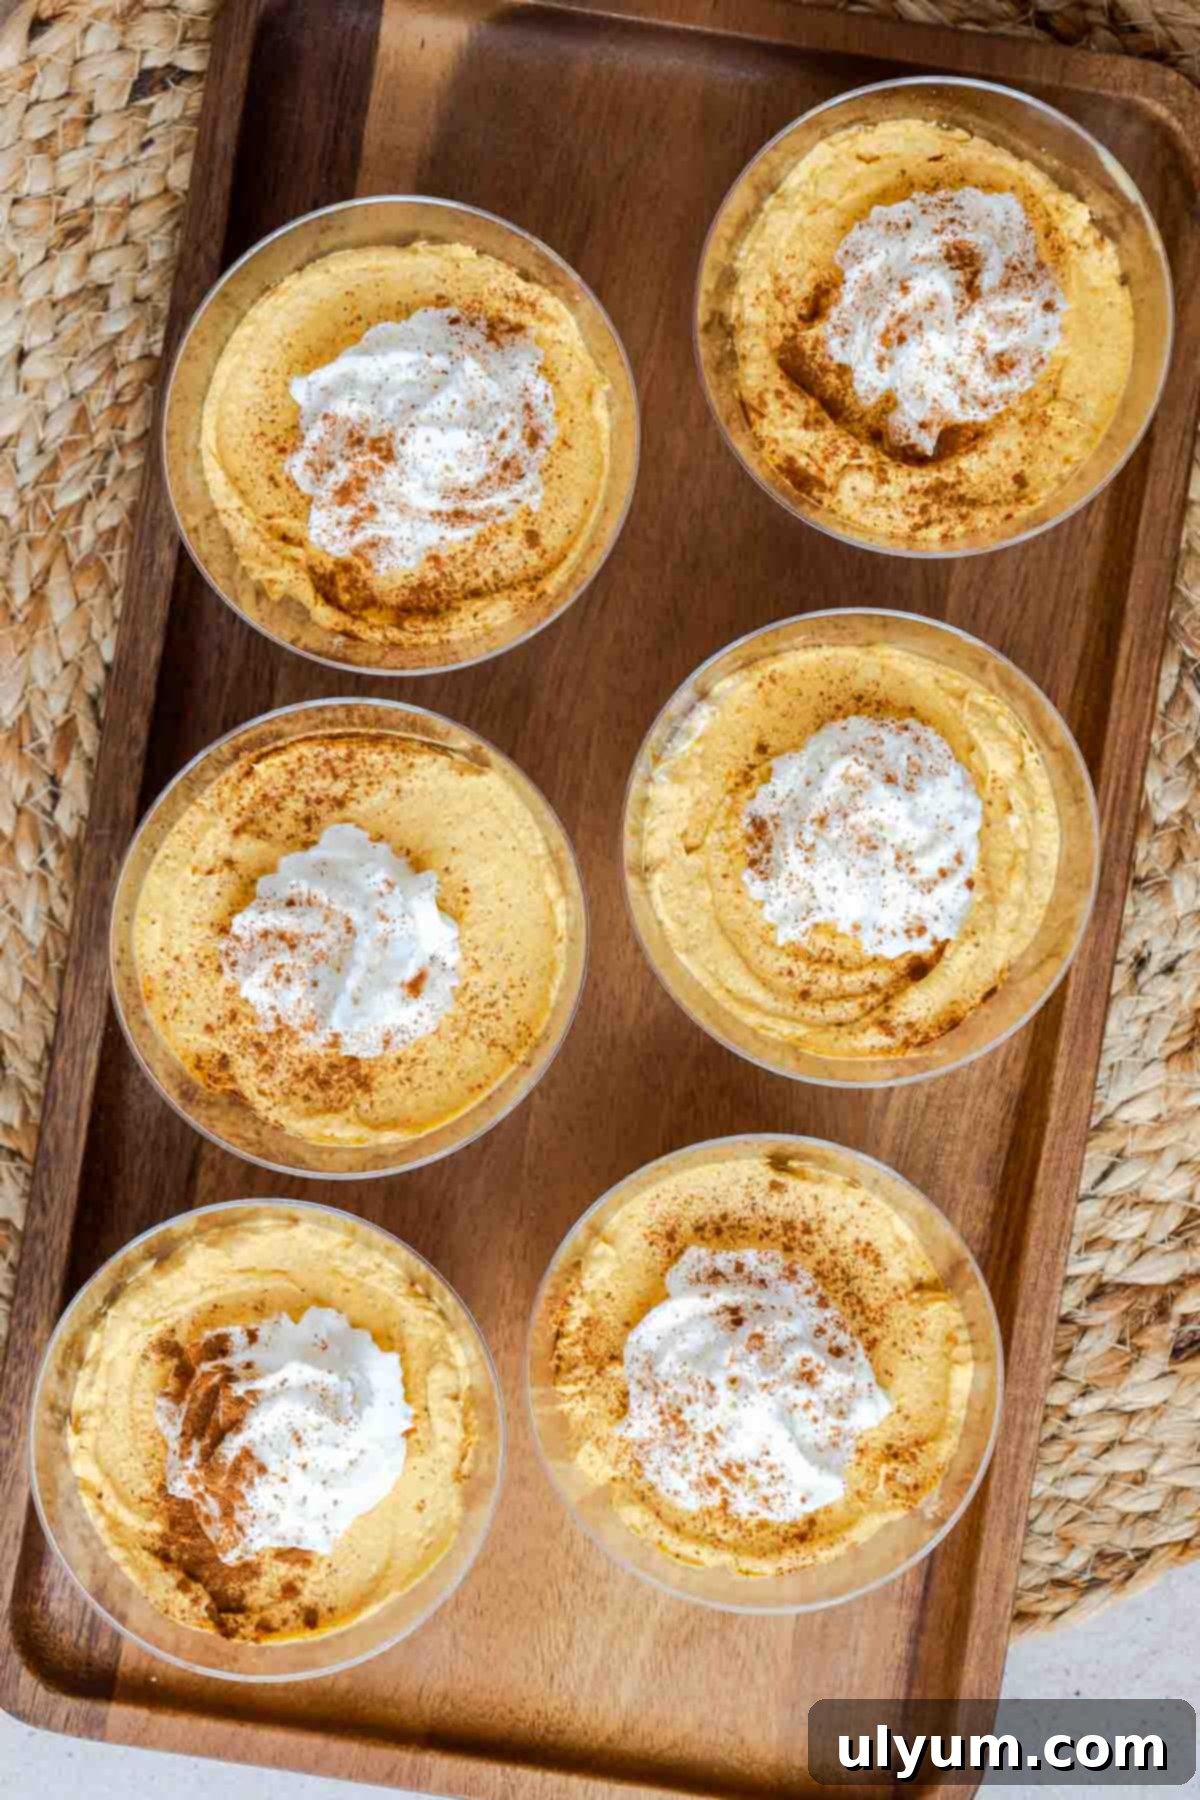
5. Once assembled, place the cups in the refrigerator to chill for at least 1 hour. This crucial step allows the pudding mixture to fully set and the flavors to meld, resulting in the best possible texture and taste. Just before serving, top each cup generously with whipped cream and a delicate sprinkle of cinnamon for an extra touch of elegance and flavor.
Pro Tips for Perfect No-Bake Pumpkin Pie Cups
- Ensure Cold Milk: The colder your milk, the quicker and better your instant pudding will set. This is a small but important detail for a firm filling.
- Don’t Overmix the Cool Whip: Once the Cool Whip is added, mix just until it’s incorporated. Overmixing can cause the mixture to lose its airy texture.
- Proper Chilling Time: While 1 hour is the minimum, chilling for 2-3 hours, or even overnight, will yield the best results. This allows the flavors to deepen and the texture to become perfectly firm and creamy.
- Crust Variations: For an extra rich crust, you can mix the graham cracker crumbs with 1-2 tablespoons of melted unsalted butter before pressing them into the cups. This creates a more cohesive, traditional “pie crust” base.
- Garnish Just Before Serving: To keep your whipped cream topping looking fresh and fluffy, add it right before you plan to serve the cups.
- Adjust Sweetness: If you prefer a sweeter dessert, you can add 1-2 tablespoons of powdered sugar to the pumpkin mixture along with the pudding mix.
Creative Substitutions for Your No-Bake Pumpkin Pie Cups
Feel free to get creative and adapt this recipe to your preferences or what you have on hand. Here are some fantastic substitution ideas:
- Pumpkin Purée: If you prefer a homemade touch, you can easily use homemade pumpkin purée made from fresh pumpkin. Alternatively, mashed sweet potatoes can offer a similar creamy texture and subtly different flavor profile. Just ensure they are pure and unseasoned.
- Whole Milk: For dietary reasons or flavor variations, substitute whole milk with almond milk, oat milk, or even evaporated milk for a richer consistency. Keep in mind that plant-based milks might alter the final texture slightly.
- Instant Vanilla Pudding Mix: To add a delicious twist, swap the vanilla pudding with instant cheesecake pudding mix. This will introduce a tangy, rich cheesecake flavor that pairs wonderfully with pumpkin.
- Pumpkin Pie Spice: No pre-made mix? No problem! Create your own blend by mixing 1 teaspoon ground cinnamon, ½ teaspoon ground nutmeg, ¼ teaspoon ground ginger, and ⅛ teaspoon ground cloves. You can adjust these ratios to suit your taste.
- Cool Whip: For a more gourmet touch or if you prefer a dairy-free option, use homemade whipped cream (sweetened to taste) or a dairy-free whipped topping. Remember to whip your homemade cream just before folding it in.
- Graham Cracker Crumbs: Explore other delicious crust alternatives! Crushed gingersnaps will add a spicy kick, while vanilla wafer crumbs offer a delicate, buttery sweetness. Even crushed shortbread cookies or chocolate wafers could work for a unique flavor.
Delicious Variations to Try
Once you’ve mastered the basic recipe, you can experiment with these exciting variations to keep things interesting:
- Cheesecake Pumpkin Cups: For a delightful, tangy upgrade, fold 4 ounces of softened cream cheese into the pumpkin filling mixture along with the Cool Whip. This adds a rich cheesecake element that perfectly complements the pumpkin spice.
- Caramel Drizzle: Before serving, drizzle a generous amount of caramel sauce over the whipped cream topping for an extra layer of sweetness and sticky, chewy texture. A sprinkle of flaky sea salt can balance the sweetness beautifully.
- Toasted Pecan Topping: For added crunch and nutty flavor, gently toast some chopped pecans in a dry skillet for a few minutes until fragrant. Sprinkle them over the whipped cream before serving.
- Chocolate Chip Delight: Fold mini chocolate chips into the pumpkin filling before chilling for a delightful surprise in every bite.
- No-Bake Berry Cheesecake Cups: While not pumpkin-themed, this is another fantastic no-bake dessert cup recipe you should bookmark! It’s perfect for warmer months when you crave something fresh and fruity.
Recommended Equipment
You’ll only need a few basic kitchen tools to whip up these delightful no-bake pumpkin pie cups:
- 9 oz Clear Plastic Cups – These are ideal for showcasing the beautiful layers of your dessert. Small mason jars or elegant ramekins also work wonderfully.
- Hand mixer – Perfect for ensuring your pumpkin pie filling is smooth and the Cool Whip is perfectly incorporated for that mousse-like texture.
- Silicone spatula – Indispensable for gently folding ingredients and scraping down the sides of your mixing bowl, ensuring nothing goes to waste.
- Mixing bowls – You’ll need at least one large mixing bowl for preparing the creamy pumpkin pie filling.
Storage and Make-Ahead Tips
These no-bake pumpkin pie cups are fantastic for making ahead, which is a huge bonus, especially during busy holiday seasons. Here’s how to store them:
Store leftover pumpkin pie cups, or those prepared in advance, in the refrigerator. Make sure they are covered tightly with plastic wrap to prevent them from absorbing other odors and to keep the filling fresh. They will stay delicious for up to 3 days. For the best presentation, it’s recommended to add the whipped cream topping just before serving. This ensures the whipped cream remains fluffy and doesn’t weep or deflate, maintaining a beautiful and fresh appearance.
Frequently Asked Questions About No-Bake Pumpkin Pie Cups
Can I use real pumpkin pie filling instead of pumpkin purée?
No, it’s highly recommended to use pure canned pumpkin purée. Pumpkin pie filling already contains spices and sugar, which would throw off the flavor balance and potentially the consistency of this recipe, which relies on the instant pudding mix for sweetness and setting.
Can I use homemade whipped cream instead of Cool Whip?
Absolutely! Homemade whipped cream can be used. Just make sure it’s stabilized (you can add a touch of powdered sugar and cornstarch when whipping) so it holds its shape well when folded into the pumpkin mixture. You will need about 2 cups of heavy whipping cream, whipped to stiff peaks.
How far in advance can I make these?
You can prepare the pumpkin pie cups up to 2-3 days in advance. Store them covered in the refrigerator. For the freshest look, add the whipped cream topping and cinnamon sprinkle just before serving.
What if my pudding mixture doesn’t set?
Ensure your milk was very cold, and you used “instant” pudding mix (not cook-and-serve). Also, make sure you measure the milk accurately, as too much liquid can prevent it from setting properly. Give it ample time to chill in the refrigerator.
Can I make a larger batch?
Yes, you can easily double or triple the recipe to serve more guests. Just make sure you have enough dessert cups or a large trifle dish if you want to make a layered pumpkin dessert.
More Delicious Fall & Pumpkin Recipes You’ll Love
Looking for more delightful pumpkin treats and fall-inspired recipes? Dive into these other favorites:
- 2-Ingredient Pumpkin Muffins
- Baked Pumpkin Donuts with Cream Cheese Frosting
- Instant Pot Pumpkin Mac and Cheese
- Pumpkin Spice Mug Cake
Did you make this recipe? I’d love to hear what you think! Please take a moment to leave a rating and review—it helps me create high-quality recipes and lets others know what to expect.
📖 Recipe
Pin Recipe
Save Recipe
Saved!
Email
Print
Easy No-Bake Pumpkin Pie Cups
Equipment
-
9 oz Clear Plastic Cups
-
Hand mixer
-
Silicone spatula
-
Mixing bowls
Ingredients
- 15 ounces canned pumpkin purée
- ¼ cup whole milk cold
- 1 (3.4 ounce) box instant vanilla pudding mix
- 2 teaspoons pumpkin pie spice
- 1 teaspoon pure vanilla extract
- 8 ounces Cool Whip thawed
- ¾ cup graham cracker crumbs
- Whipped cream to serve
- Cinnamon to sprinkle on top
Instructions
-
In a large mixing bowl, combine the pumpkin puree, milk, vanilla pudding mix, pumpkin pie spice, and vanilla extract. Whisk or use an electric mixer on low speed until the mixture is completely smooth and well combined, ensuring no dry pockets of pudding mix remain.
-
Gently fold in the thawed Cool Whip. Use a spatula or a hand mixer on its lowest speed to combine until it is fully incorporated and the mixture is uniformly light and fluffy.
-
In six individual dessert cups or ramekins, evenly add 2 tablespoons of graham cracker crumbs to the bottom of each cup.
-
Carefully spoon or pipe the pumpkin pie filling mixture evenly into each of the six cups, layering it over the graham cracker crumbs. Use the back of a spoon to gently smooth the top of the pumpkin filling.
-
Place the cups in the refrigerator to chill for at least 1 hour. Just before serving, top each cup generously with whipped cream and a delicate sprinkle of cinnamon.
Video
Notes
Nutrition
Carbohydrates: 39g
Protein: 3g
Fat: 7g
Saturated Fat: 5g
Polyunsaturated Fat: 0.2g
Monounsaturated Fat: 1g
Cholesterol: 2mg
Sodium: 206mg
Potassium: 227mg
Fiber: 3g
Sugar: 27g
Vitamin A: 11076IU
Vitamin C: 3mg
Calcium: 71mg
Iron: 2mg
