Mastering Leftover Pancakes: Store, Freeze, and Reheat for Easy Breakfasts
Pancakes are a beloved breakfast staple, bringing joy and a touch of sweetness to any morning. Whether it’s a lazy weekend brunch or a special holiday treat, a stack of fluffy pancakes is always a good idea. However, it’s common to end up with more pancakes than you can comfortably eat in one sitting. Instead of letting those delicious remnants go to waste, imagine having a stash of ready-to-eat pancakes for quick, easy breakfasts throughout the week. This comprehensive guide will show you exactly how to properly store, freeze, and reheat your leftover pancakes, ensuring they taste just as good as they did fresh off the griddle.
For many, making a full batch of homemade pancakes often yields more than a small household can consume. Or, perhaps, more than we *should* consume! Rather than scaling down the recipe and sacrificing the joy of a big breakfast spread, the smartest approach is to embrace the leftovers. By simply taking a few extra minutes after cooking, you can transform excess pancakes into convenient, grab-and-go meals for busy weekdays. This strategy not only minimizes food waste but also maximizes your time, making those hectic mornings a little less stressful.
Think of it: a productive Sunday morning in the kitchen, whipping up a generous batch of pancakes, and then enjoying the fruits of your labor for days to come. It’s a game-changer for anyone looking to simplify their breakfast routine without compromising on flavor or homemade goodness. We’ll dive into the best practices for extending the life of your pancakes, from short-term refrigeration to long-term freezer storage, and explore various reheating methods to suit every preference.
This post contains affiliate links. As an Amazon Associate, I earn from qualifying purchases.

[feast_advanced_jump_to]
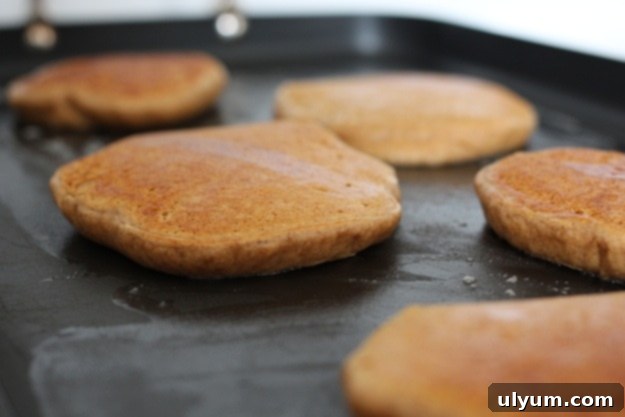
Weekends often call for a more elaborate breakfast spread. In our home, this usually involves classics like scrambled eggs, crispy bacon, and, of course, a generous side of fluffy pancakes. While this can certainly be an abundance of food for two people, the simplicity of preparing pancakes makes it a worthwhile endeavor. Capitalizing on a productive Sunday morning in the kitchen, I always opt to make a full batch. This ensures we can enjoy plenty of fresh pancakes right away, with the added bonus of having delicious leftovers to look forward to.
Why go through the effort of making extra? The answer is simple: convenience and consistency. Having pre-made pancakes stored away means you can enjoy the comfort of a homemade breakfast even on your busiest days. It eliminates the need for last-minute cooking, reduces impulse purchases of less healthy options, and helps maintain a balanced diet. Plus, who doesn’t love the idea of a warm, satisfying pancake with minimal effort?
How to Refrigerate Leftover Pancakes Properly
Refrigeration is the easiest and quickest method for short-term pancake storage, ideal if you plan to enjoy your leftovers within a couple of days. To ensure your pancakes remain fresh and delicious, proper preparation is key. The first crucial step is to allow your pancakes to cool completely to room temperature. Stacking warm pancakes directly into a container will create condensation, leading to soggy pancakes and a breeding ground for bacteria. Patience here pays off!
Once cooled, transfer your pancakes to an airtight container or a high-quality, resealable food storage bag. This barrier is essential to prevent them from drying out, absorbing odors from other foods in your refrigerator, and maintaining their fresh taste and texture. You can typically store refrigerated pancakes for about 2 to 3 days. If you anticipate eating them the next day or within a very short timeframe, this is undoubtedly the most convenient method.
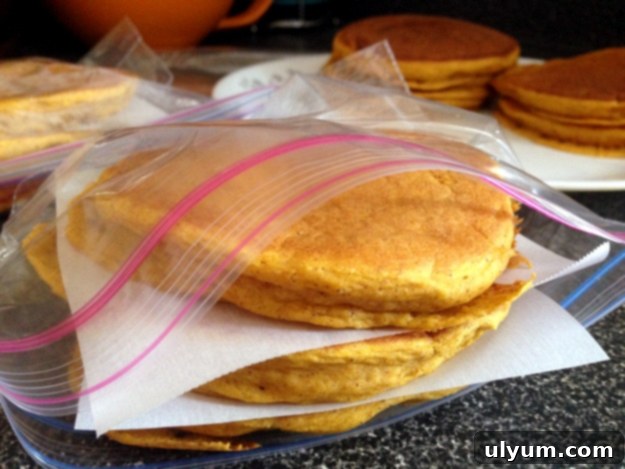
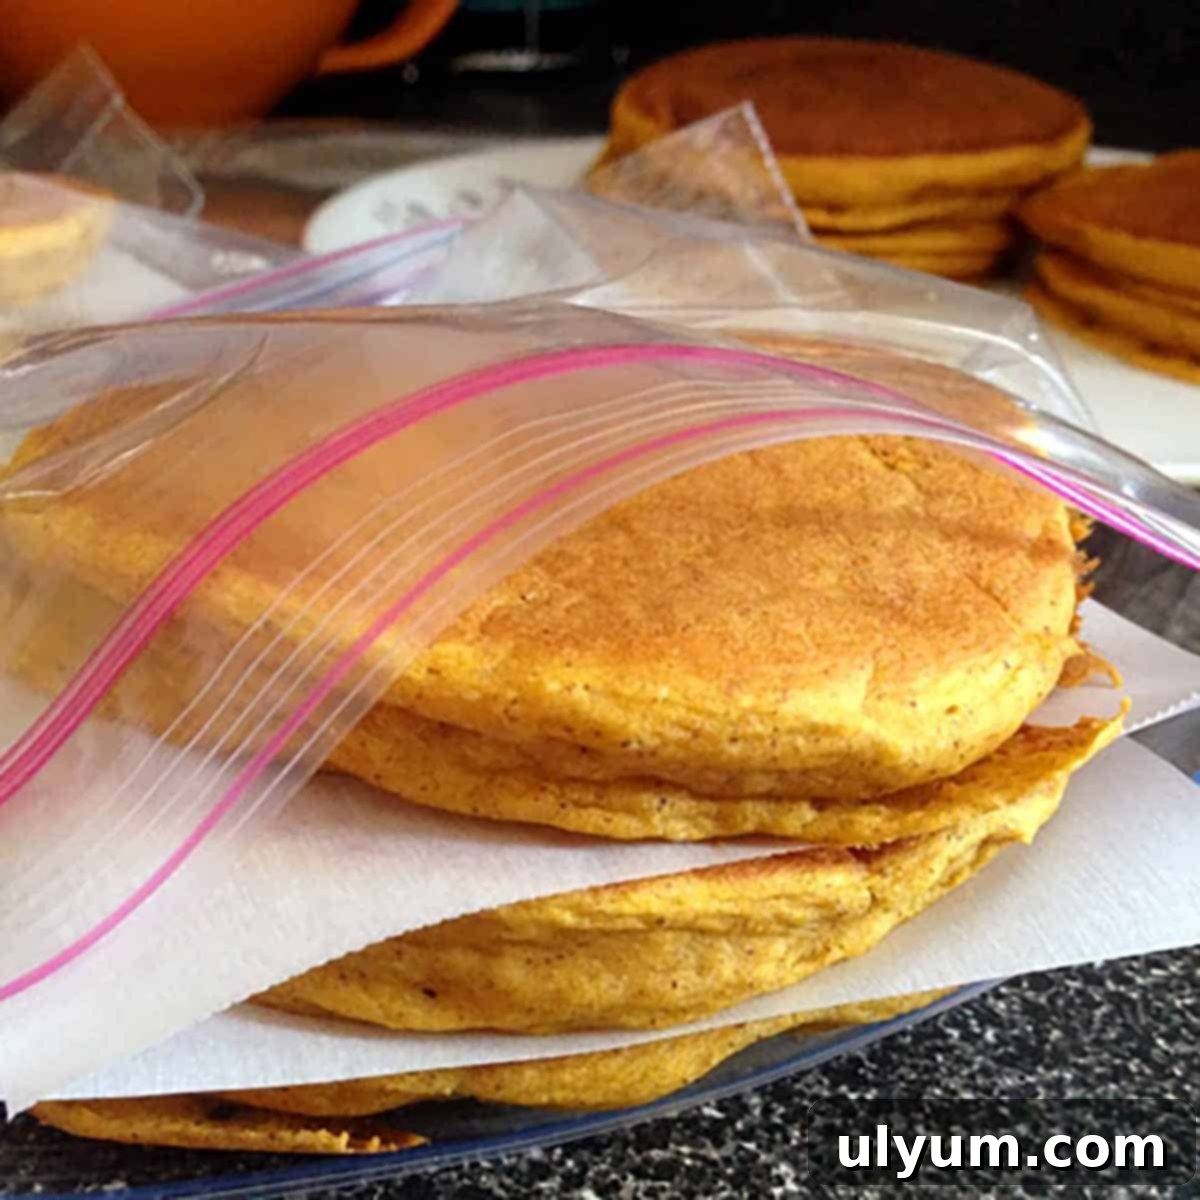
For an extra layer of protection, especially if your container isn’t perfectly airtight or you want to prevent pancakes from sticking together, consider placing a small piece of parchment paper or wax paper between each pancake. While pancakes can also be wrapped in aluminum foil, this method might cause them to dry out slightly faster compared to an airtight container or bag. Always prioritize preventing air exposure for optimal freshness.

How to Freeze Leftover Pancakes for Long-Term Storage
Freezing pancakes is an absolute game-changer, transforming them into the ultimate make-ahead breakfast solution. It’s a remarkably straightforward process, but paying attention to a few simple steps will guarantee perfect results every time, preventing freezer burn and maintaining that delightful fluffy texture. With properly frozen pancakes, you’ll have a delightful breakfast ready in minutes, any day of the week.
- Let the Pancakes Cool Completely: This step cannot be overstated. After cooking, lay your pancakes out on a wire rack to allow them to cool down to room temperature. If you stack and bag warm pancakes, the trapped heat will create condensation inside the bag. This moisture will then freeze into ice crystals, leading to dreaded freezer burn, which can make your pancakes tough and diminish their flavor. Ensure they are absolutely cool before proceeding.
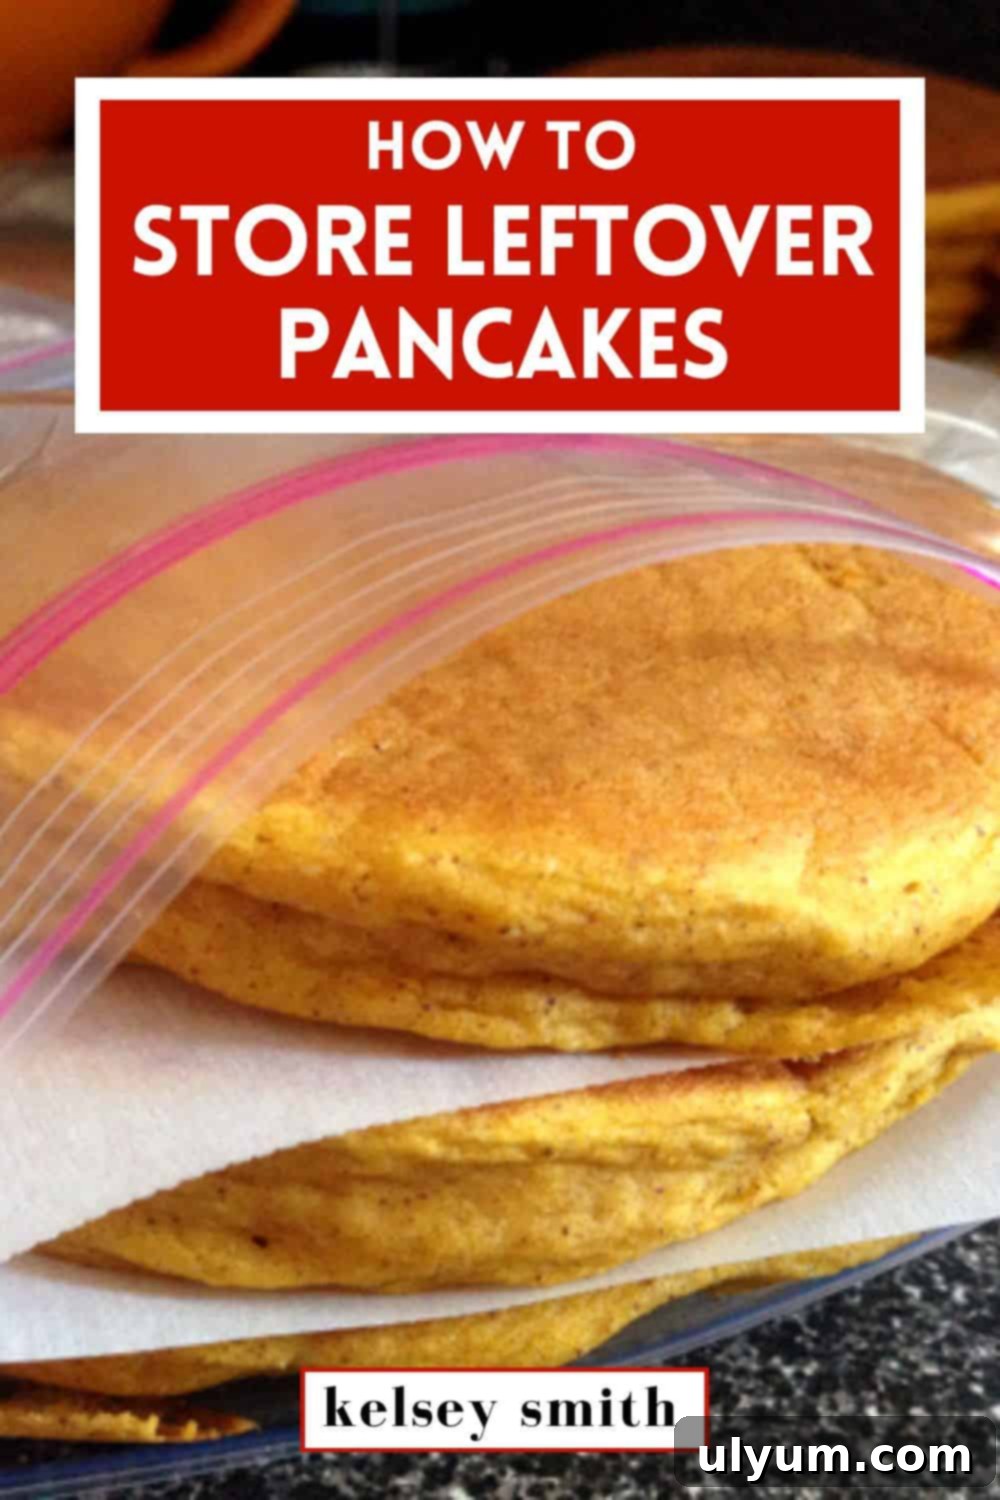
- Layer with Parchment Paper: This is a crucial trick for easy separation later. Once cool, stack your pancakes with a small square of parchment or wax paper placed between each pancake. This simple barrier prevents the pancakes from freezing together, allowing you to easily pull out just one or two at a time without having to defrost the entire stack.
- Remove as Much Air as Possible from the Bag: Place your stacked pancakes into a heavy-duty freezer-safe Ziploc bag. The goal is to minimize air exposure, which is the primary cause of freezer burn. While zipping the bag shut, use your mouth to suck out as much air as you possibly can. Alternatively, you can insert a straw into a small opening, seal the bag around it, and then suck out the air before quickly sealing the bag completely. For the absolute best long-term results, a vacuum sealer would be ideal.
- Store in the Freezer: Once sealed and de-aired, place the bag flat in your freezer. For optimal quality, frozen pancakes are best consumed within 1 to 2 months. Beyond that, while still safe to eat, their texture and flavor might start to degrade.
For even longer-term storage (beyond a month or two) or to provide an extra layer of defense against freezer burn, you might consider wrapping the stacks of pancakes tightly in plastic wrap before placing them into the Ziploc bag. This double-layer protection significantly extends their freezer life, keeping them fresh for up to 3 months. Another option is to use a vacuum sealer, which provides the most effective air removal and will preserve your pancakes for even longer periods, often up to 6 months without noticeable degradation in quality.
Pro Tip: Always write the date on your Ziploc bag or vacuum-sealed package. This simple habit ensures you know exactly how long your pancakes have been stored, helping you rotate your freezer stock and prevent food waste. No more guessing games or wondering if those forgotten pancakes are still good!
While some tutorials suggest flash-freezing pancakes in a single layer on a baking sheet or baking tray before transferring them to an airtight container, my preferred freezer bag method simplifies the process considerably for most home cooks. The flash-freezing method is excellent for preventing crushing if you’re freezing a large, delicate batch, but for everyday pancake storage, the parchment paper and Ziploc approach is efficient, effective, and less cumbersome. It allows you to stack them immediately after cooling and prevents the extra step of waiting for them to freeze solid before bagging.

How to Reheat Leftover Pancakes Perfectly
The excellent news for pancake lovers is that they reheat incredibly well, making them an ideal candidate for a speedy and satisfying weekday breakfast. Imagine having delicious, homemade pancakes ready in just 60 seconds – it truly makes busy mornings feel like a breeze! The best reheating method ultimately depends on your personal preference for texture and how much time you have.
- Eat Cold: For those who enjoy a quick bite, pancakes can absolutely be served cold, straight from the refrigerator. This is perfect for a super-fast grab-and-go option, especially if you’re in a hurry or packing them for a lunchbox.
- Microwave for Fluffy Results: The microwave is your best friend for achieving soft, fluffy pancakes reminiscent of their freshly cooked state. Place a short stack (1-3 pancakes) on a microwave-safe plate. For optimal moisture retention, you can lightly cover them with a damp paper towel. Heat for approximately 60 seconds, or in 20-second increments for one or two pancakes, adjusting based on your microwave’s wattage. This method warms them through quickly and keeps them wonderfully tender. Be careful not to overheat, as this can make them rubbery.
- Pop in the Toaster or Toaster Oven for Crispy Edges: This is arguably the most popular and my personal favorite method, especially for pancakes and waffles, because it yields a slightly crispy exterior while keeping the inside warm and soft. It also makes them much easier to eat on-the-go (no syrup required if you’re really in a rush!). Place one or two pancakes directly into your toaster slots or on the tray of a toaster oven. Use a low-to-medium setting and toast until warm and lightly golden. If you prefer less crispiness, keep the heat setting low and check frequently. The slight crispiness adds a delightful textural contrast that many find irresistible.
- Room Temperature Thaw: If you’re not in a rush, you can simply set frozen pancakes out on the counter and let them come to room temperature naturally. This method maintains their soft texture without any extra cooking, perfect for a leisurely morning or if you plan to use them in a sandwich.
Another fantastic benefit of the toaster method, particularly if your pancake achieves that lovely crispiness, is its versatility as a sandwich base. Forget bread for a moment and consider a pancake sandwich! You can easily layer some leftover bacon or a perfectly fried egg (perhaps over-hard to avoid any runny yolk mishaps) between two toasted pancakes for a truly unique and satisfying breakfast experience. It’s a delicious way to reinvent your leftovers and add a touch of culinary creativity to your morning meal.
Creative Serving Suggestions for Your Reheated Pancakes
Reheated pancakes are a blank canvas for culinary creativity. While classic pancake or maple syrup is always a winning choice, don’t limit yourself! There’s a world of toppings and pairings that can elevate your breakfast experience and make those stored pancakes feel like a brand-new treat. Experiment with different flavors and textures to find your favorite combinations.
Beyond the traditional syrup, consider topping your warm, toasted pancake with a sprinkle of chocolate chips (which will melt slightly), a generous dollop of creamy peanut butter or almond butter, or fresh banana slices. A drizzle of honey or a smear of Nutella or cookie butter can also provide a decadent twist. For a burst of freshness, add fresh berries like blueberries, raspberries, or sliced strawberries, perhaps topped with a dollop of whipped cream or Greek yogurt.
Feeling adventurous? You could even use a toasted pancake as the base for a savory avocado toast! Spread on some mashed avocado, sprinkle with red pepper flakes and a pinch of salt, and perhaps add a poached egg. Or, go for a breakfast sandwich with cheese and ham. The possibilities are truly endless, making these stored pancakes a versatile meal component.
Easy Bisquick Pancake Recipes to Try
If you’re like me, you appreciate the convenience and consistent results of a good box mix. Bisquick makes whipping up a batch of pancakes incredibly simple, leaving more time for enjoying your meal and less time measuring ingredients. Here are some fantastic Bisquick-based pancake recipes that are perfect for making extra and storing for later:
- Fluffy Vegan Bisquick Pancakes: A simple way to make delicious plant-based pancakes.
- Spiced Pumpkin Bisquick Pancakes: Perfect for autumn or any time you crave warm, seasonal flavors.
- Decadent Banana Pancakes with Peanut Butter Syrup: A rich and satisfying combination that’s incredibly easy to make.
I guess you could say I’m a big box mix pancake fan – they truly streamline the cooking process, making delicious breakfasts accessible to everyone, even on the busiest days!
Frequently Asked Questions About Storing and Reheating Pancakes
While some people may leave freshly cooked pancakes at room temperature for a very short period (e.g., to cool), it is generally not recommended for extended storage. For food safety and to maintain quality, it is always best practice to refrigerate or freeze any leftover pancakes as soon as they have cooled down. Pancakes left at room temperature for more than two hours can become a breeding ground for bacteria.
Properly frozen pancakes, stored in airtight freezer bags with parchment paper and minimal air, can last for 1 to 2 months in the freezer while maintaining optimal quality. If wrapped in plastic wrap before bagging or vacuum-sealed, they can extend their freshness for up to 3 to 6 months without significant loss of texture or flavor.
While not strictly mandatory, it is highly recommended. Placing parchment or wax paper between each pancake prevents them from freezing together in a solid block. This makes it incredibly easy to separate individual pancakes without thawing the entire stack, allowing you to grab just one or two for a quick meal.
Yes, you can freeze pancake batter! Pour leftover batter into a freezer-safe bag or container. It’s best to use it within 1-2 months. Thaw overnight in the refrigerator and stir well before cooking. You might need to add a splash of milk or water to reach the desired consistency.
To prevent freezer burn, ensure pancakes are completely cool before freezing. Stack them with parchment paper in between, and most importantly, remove as much air as possible from the freezer bag. A vacuum sealer is the ultimate tool for this. For extra protection, you can wrap stacks of pancakes tightly in plastic wrap before placing them in the freezer bag.
With these simple yet effective storage and reheating techniques, you’ll never have to toss out perfectly good pancakes again. Embrace the convenience of make-ahead meals and enjoy the delight of fresh-tasting pancakes whenever the craving strikes. Whether you prefer them fluffy from the microwave or crispy from the toaster, your future self will thank you for taking these few extra steps. Happy breakfasting!
