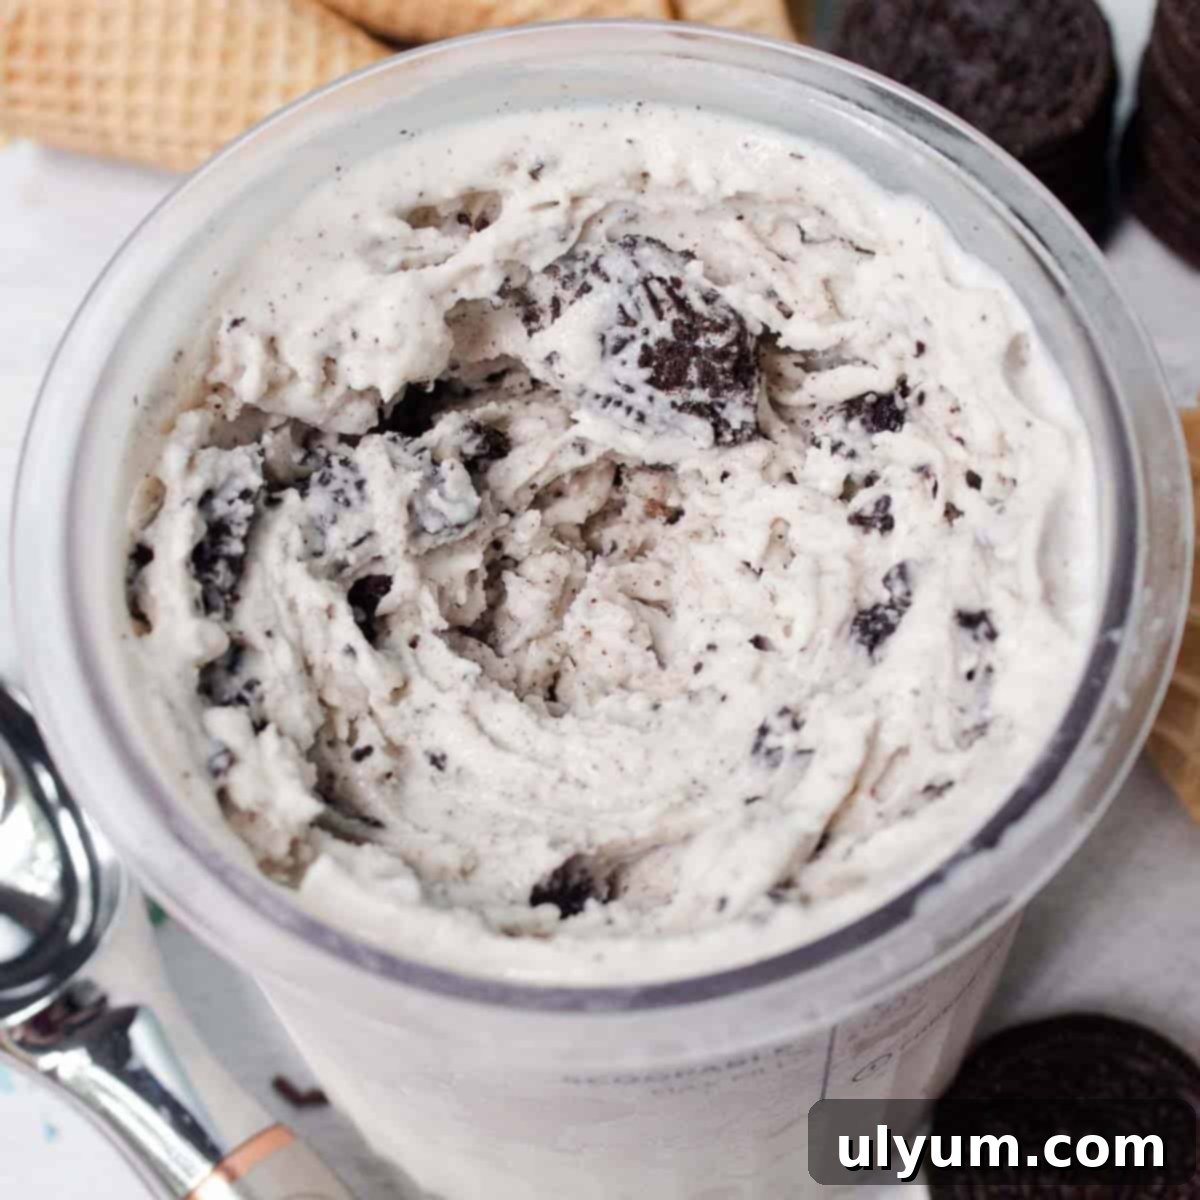
Ultimate Ninja Creami Cookies and Cream Ice Cream Recipe: Creamy Homemade Perfection
Get ready to indulge in the creamiest, dreamiest homemade ice cream you’ve ever tasted! This Ninja Creami cookies and cream ice cream recipe transforms simple ingredients like rich heavy cream, wholesome whole milk, a touch of cream cheese, sugar, vanilla, and crunchy Oreo cookies into an extraordinary frozen delight. Designed specifically for your Ninja Creami ice cream maker, this recipe promises a perfectly smooth texture every time, bringing your favorite ice cream parlor experience right into your kitchen.
Making homemade ice cream with the Ninja Creami is not just a cooking process; it’s an adventure in flavor and texture. You’ll start with a luscious classic vanilla ice cream base, which serves as the perfect canvas for your mix-ins. The magic truly happens when you utilize the Creami’s unique processing power and its dedicated mix-in function to evenly incorporate those irresistible chocolate sandwich cookies, ensuring every spoonful is bursting with cookie chunks and velvety goodness.
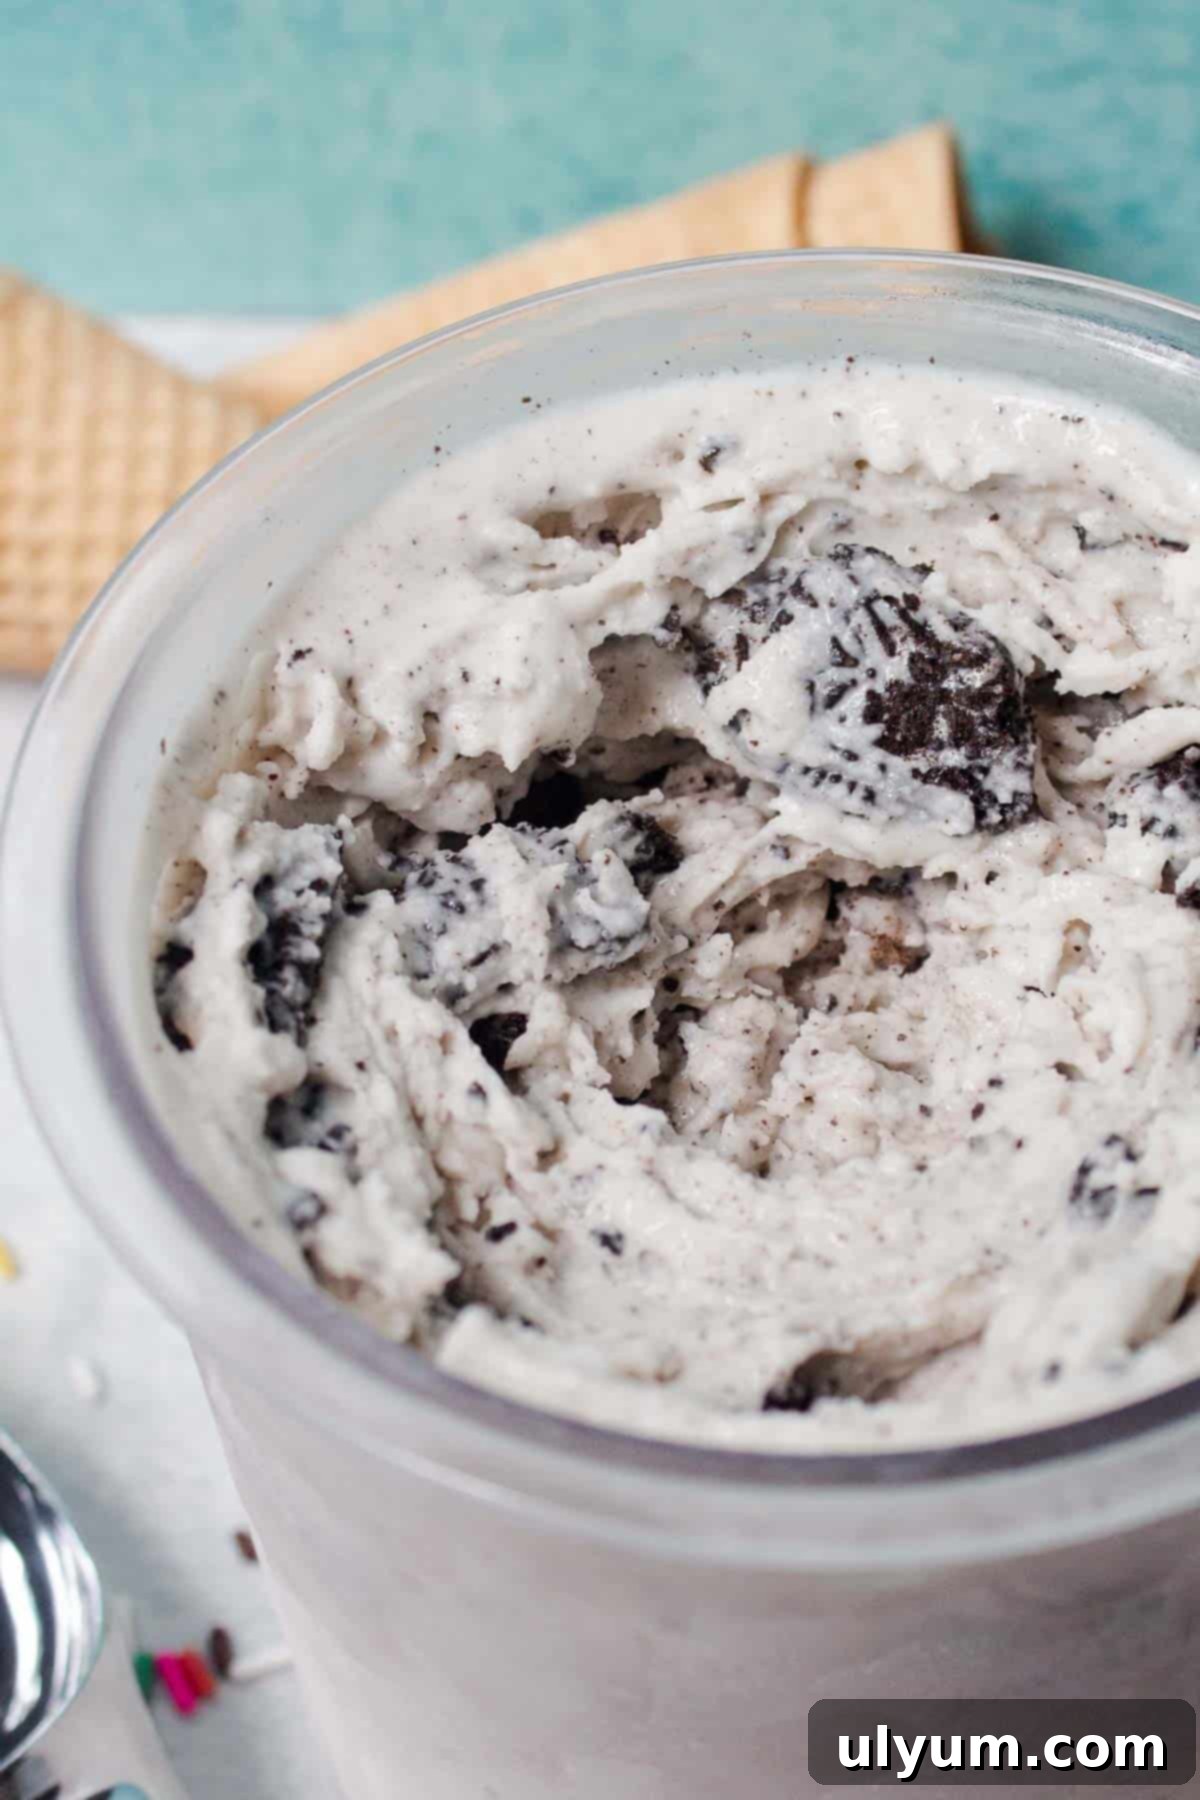
The result is a luscious, creamy ice cream with an absolutely perfect texture that will satisfy even the most demanding sweet tooth. While the initial freeze time of 24 hours might test your patience, rest assured that this essential step is well worth the wait. It allows the base to reach the optimal frozen consistency needed for the Ninja Creami to work its magic, transforming a solid block into a scoopable, delightful treat. And why stop at Oreos? This versatile vanilla base is the perfect foundation for experimenting with your other favorite mix-ins!
This post contains affiliate links. As an Amazon Associate, I earn from qualifying purchases.
Recipe Highlights
Why this Ninja Creami Cookies and Cream recipe will become your new favorite:
- Unbeatably Creamy Texture: Thanks to the precise power of the Ninja Creami and a balanced blend of whole milk and heavy cream, this ice cream boasts a luxuriously smooth and rich consistency that rivals store-bought premium brands.
- Simple, Accessible Ingredients: You only need 6 basic ingredients, most of which you likely already have on hand. No obscure stabilizers or complex components required!
- Effortless Customization: While Oreos are the star here, this delicious vanilla base is incredibly versatile. It’s an easy foundation you can return to again and again, ready for any mix-in you can dream up to create your own signature frozen desserts.
- Perfect for the Ninja Creami: This recipe is optimized to work perfectly with your Ninja Creami, ensuring optimal freezing and processing for the best results.
[feast_advanced_jump_to]
Ingredients for Your Creamy Dream
Crafting the perfect Ninja Creami Cookies and Cream ice cream starts with selecting the right ingredients. Each component plays a vital role in achieving that signature creamy texture and irresistible flavor. Here’s a closer look at what you’ll need and why each element is essential:
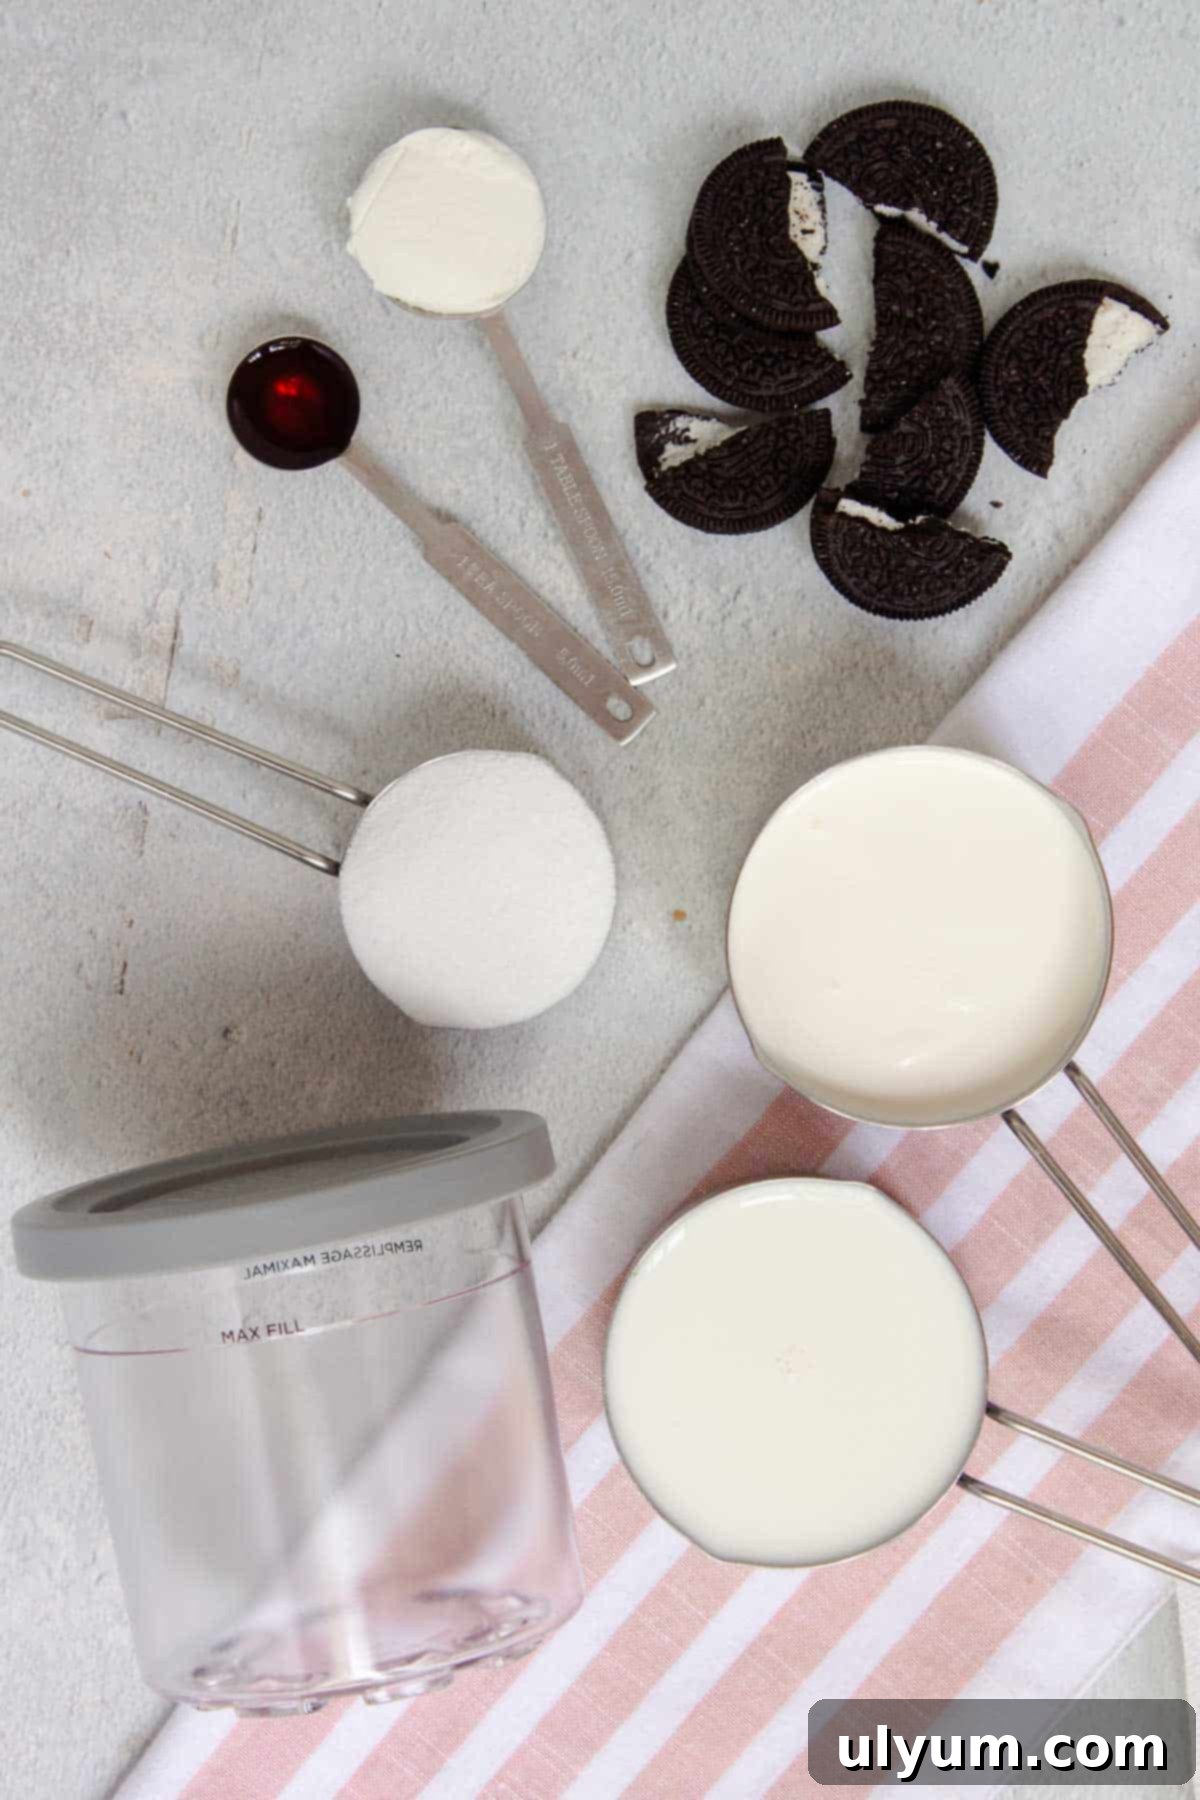
- Cream cheese: This is our secret ingredient for an exceptionally rich, smooth, and creamy texture. Just a small amount helps prevent iciness and provides a delightful tang that balances the sweetness. Make sure it’s softened for easy blending.
- Sugar: Granulated sugar (also known as white sugar) is used here. It’s not just for sweetness; sugar is crucial for the ice cream’s texture, preventing it from freezing into a solid block and contributing to its scoopability.
- Vanilla extract: For that classic, warm, and inviting flavor. Use a good quality pure vanilla extract for the best results.
- Whole milk: Full-fat milk forms the foundational liquid of our ice cream base. The fat content is essential for creaminess. While other milks can be used (see substitutions), whole milk will give you the most luxurious result.
- Heavy cream: The key to a truly smooth, rich, and indulgent consistency. Heavy cream, with its high milk fat content, creates the desired mouthfeel and velvety texture that sets homemade ice cream apart.
- Oreos: The iconic chocolate sandwich cookies are the heart of “cookies and cream” flavor. We’ll break them into halves, which allows for perfect distribution and delightful crunchy bits after the Creami’s mix-in process. Feel free to explore other Oreo flavors for a fun twist!
See the recipe card below for exact quantities tailored for both standard and deluxe Ninja Creami pints.
Step-by-Step Ninja Creami Cookies and Cream Perfection
Follow these detailed steps to create your incredible homemade cookies and cream ice cream. Patience with the freezing process is key, but the hands-on preparation is surprisingly quick and simple!
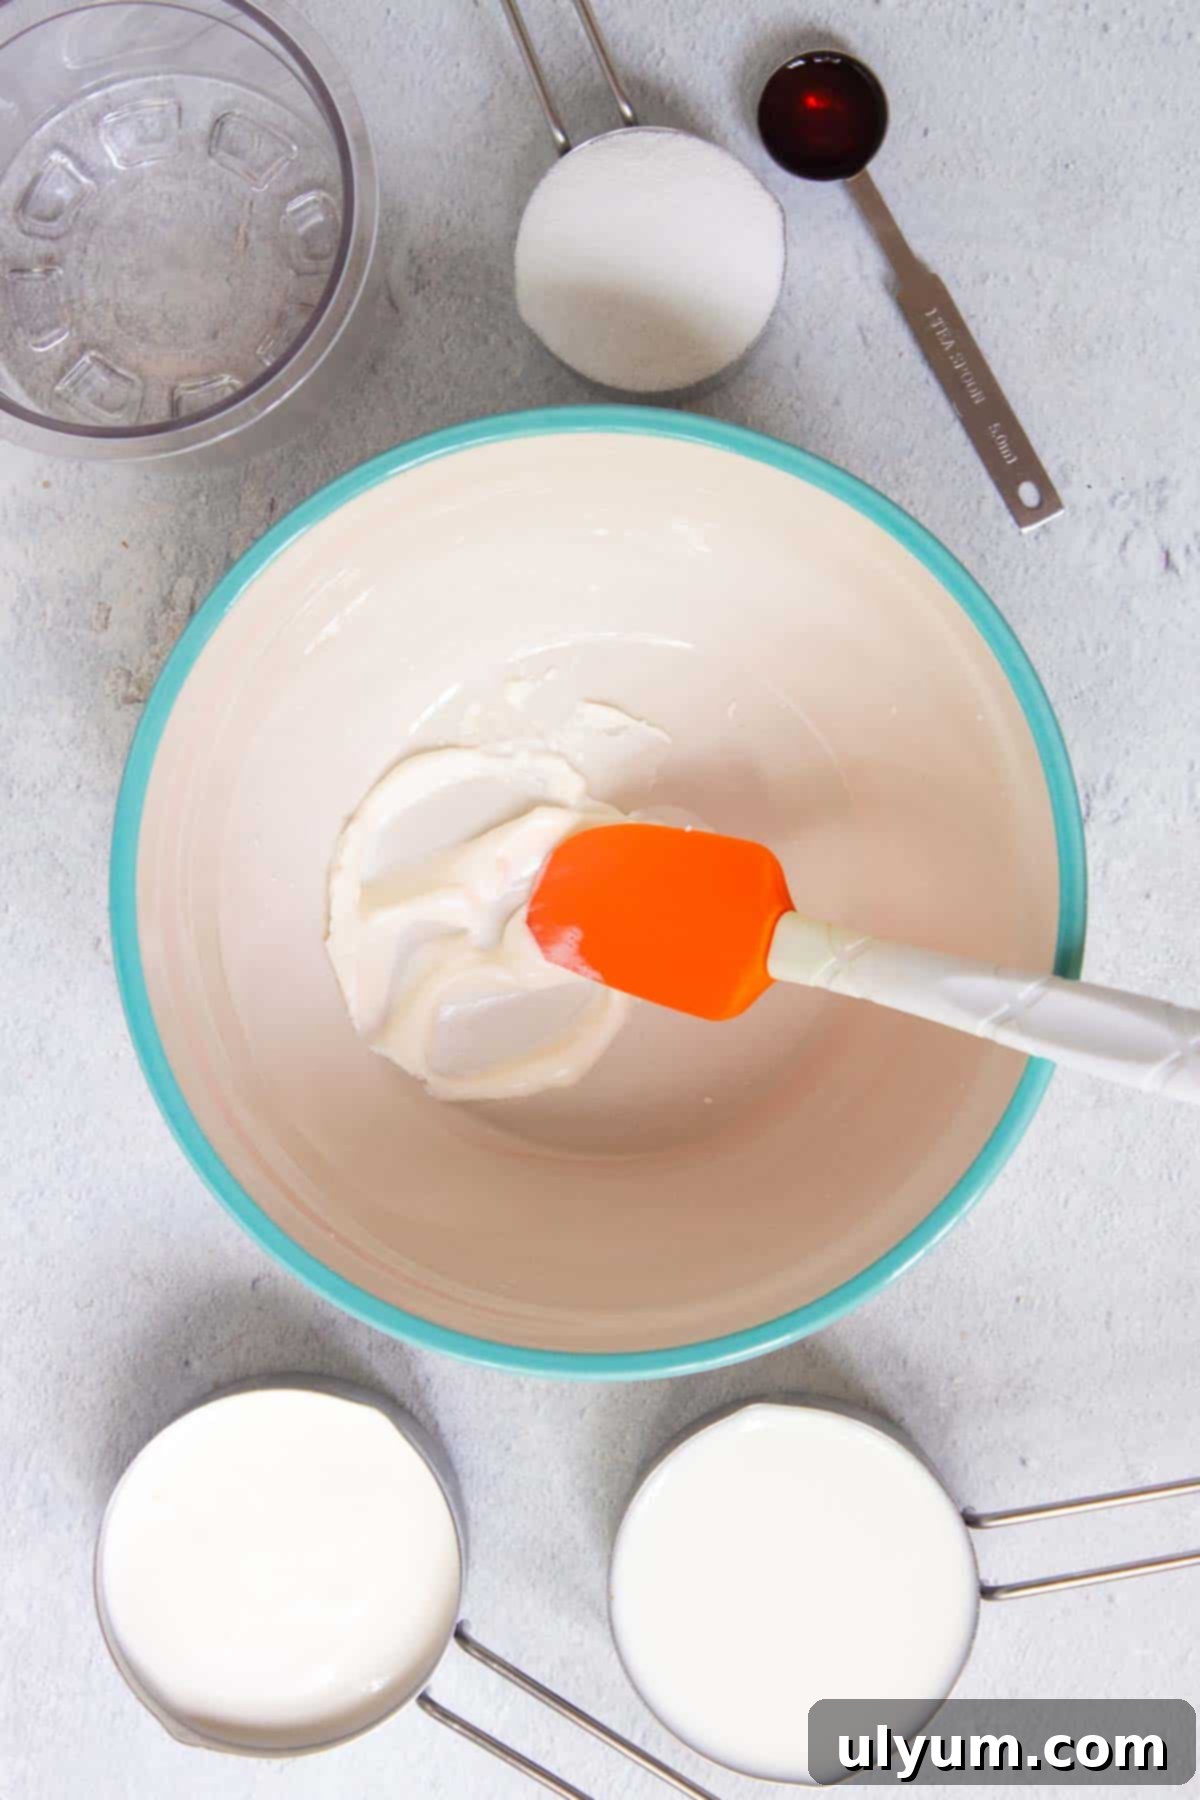
Step 1: Soften Cream Cheese. Place the cream cheese in a large, microwave-safe bowl. Microwave it for 10-15 seconds until it’s just softened. This makes it much easier to incorporate smoothly into the mixture without any lumps.
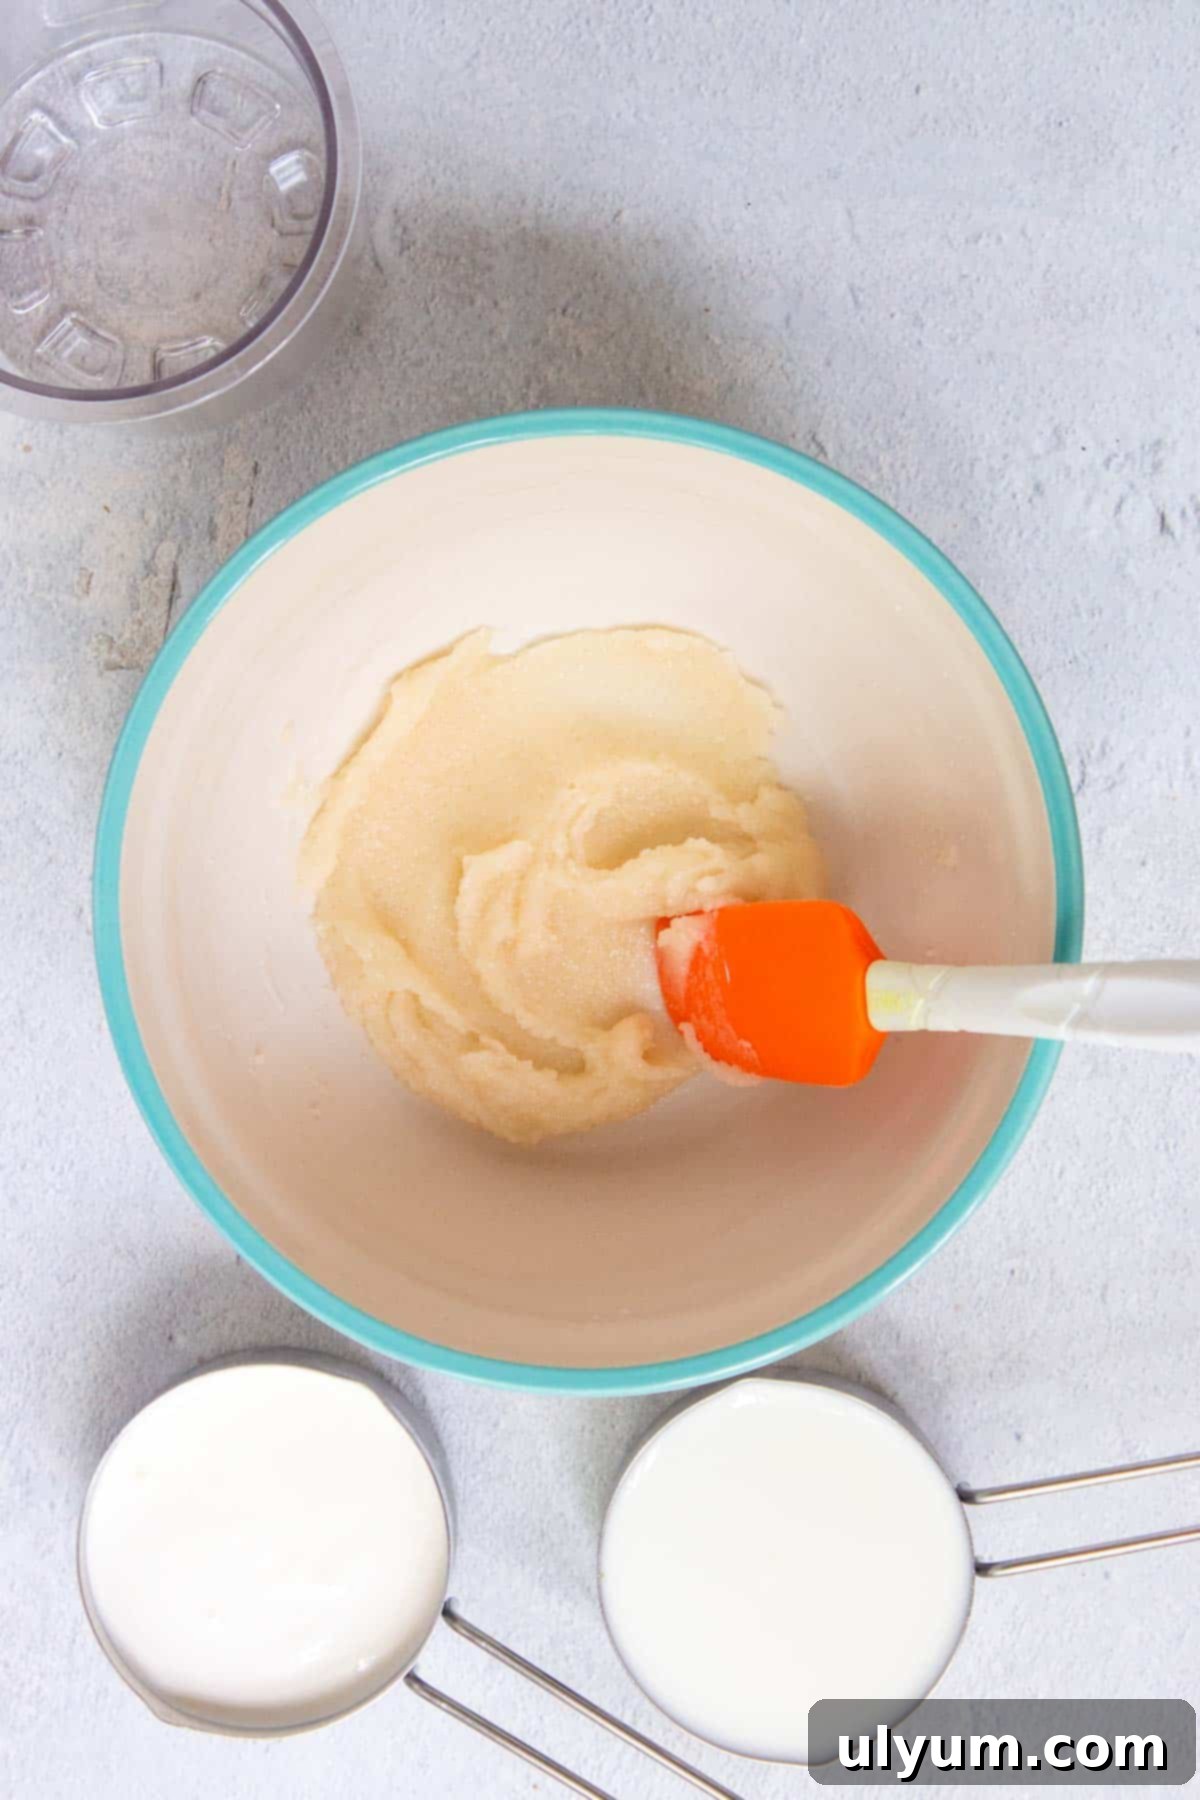
Step 2: Create the Paste. Once the cream cheese is soft, add the granulated sugar and vanilla extract to the bowl. Using a silicone spatula, mix thoroughly until a thick, uniform paste forms. Ensure there are no large lumps of cream cheese remaining.
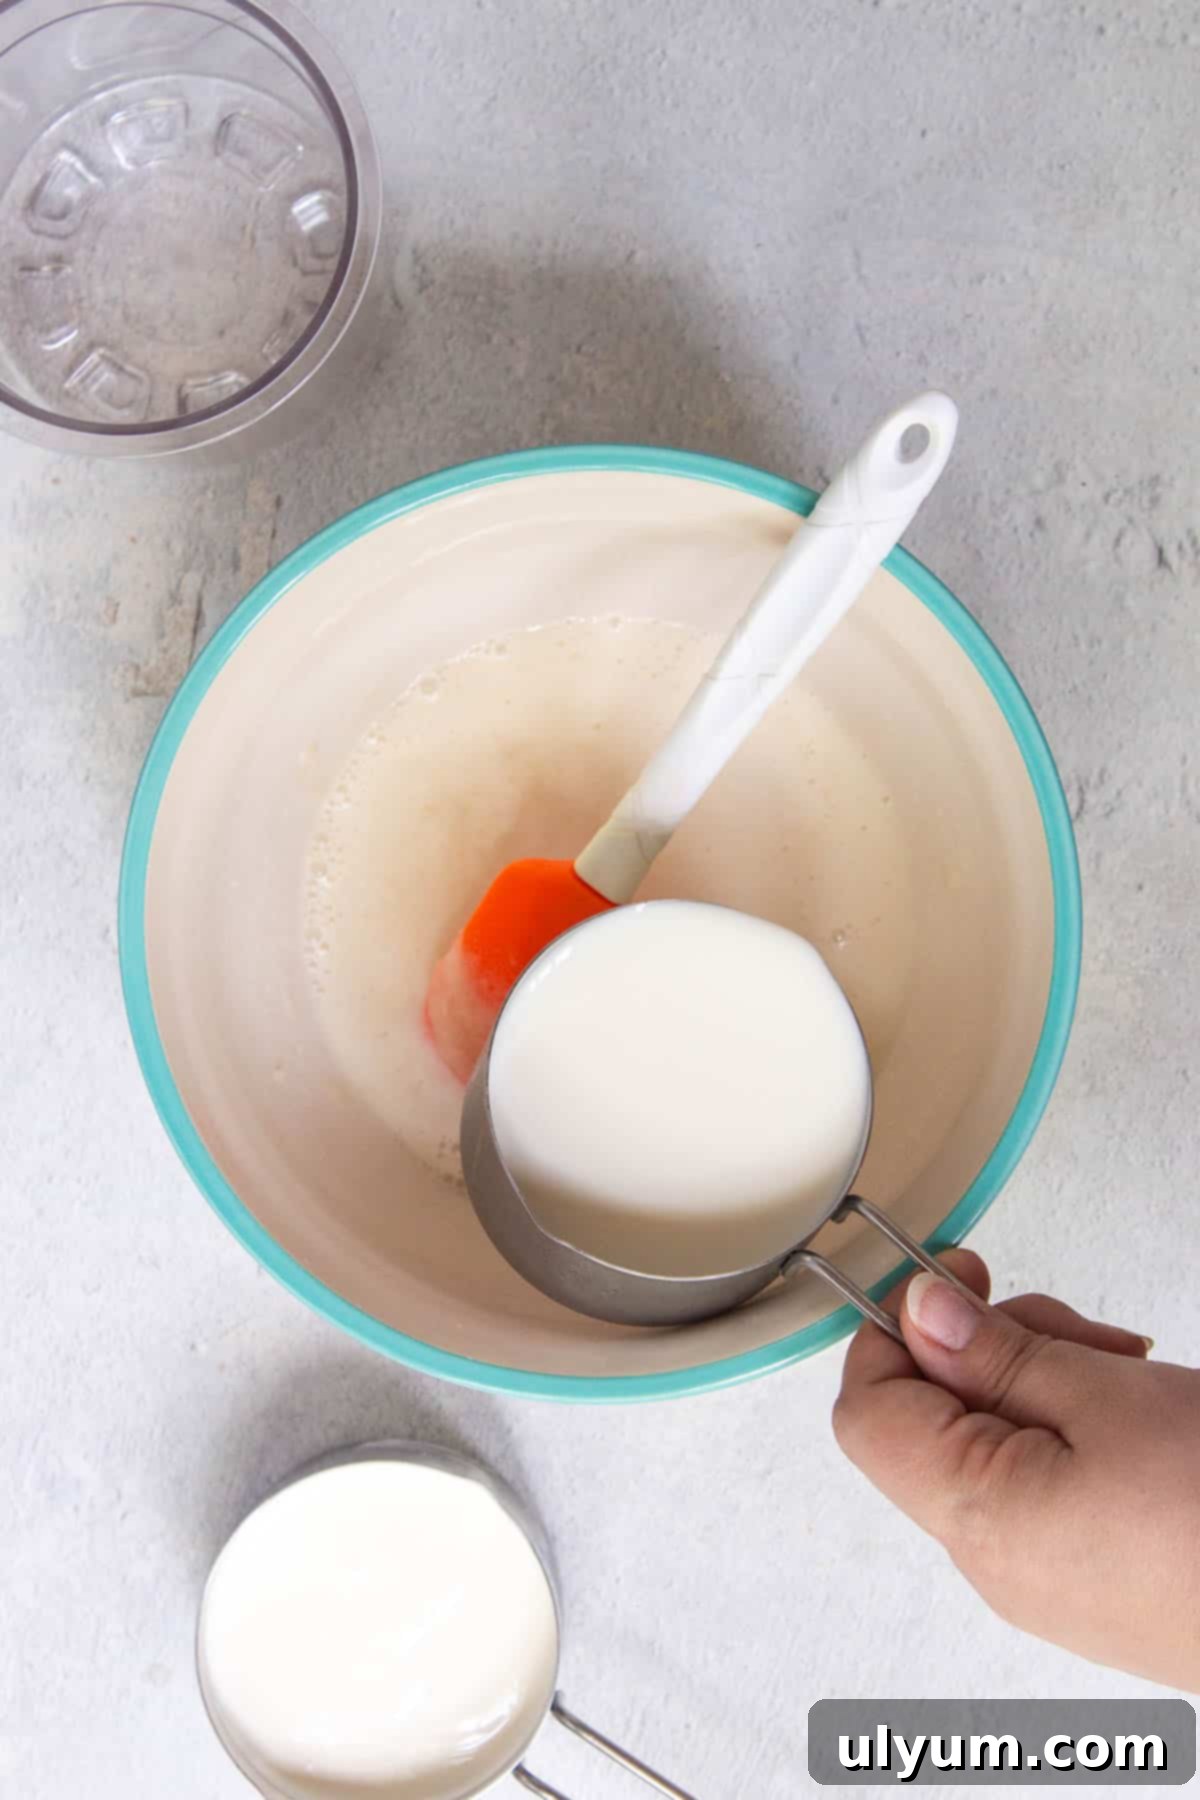
Step 3: Gradually Add Liquids. Begin mixing in the whole milk and heavy cream, adding a little bit at a time. Stir continuously with your silicone spatula until everything is fully combined into a smooth liquid base. This gradual addition helps prevent the cream cheese from seizing and ensures a homogeneous mixture.
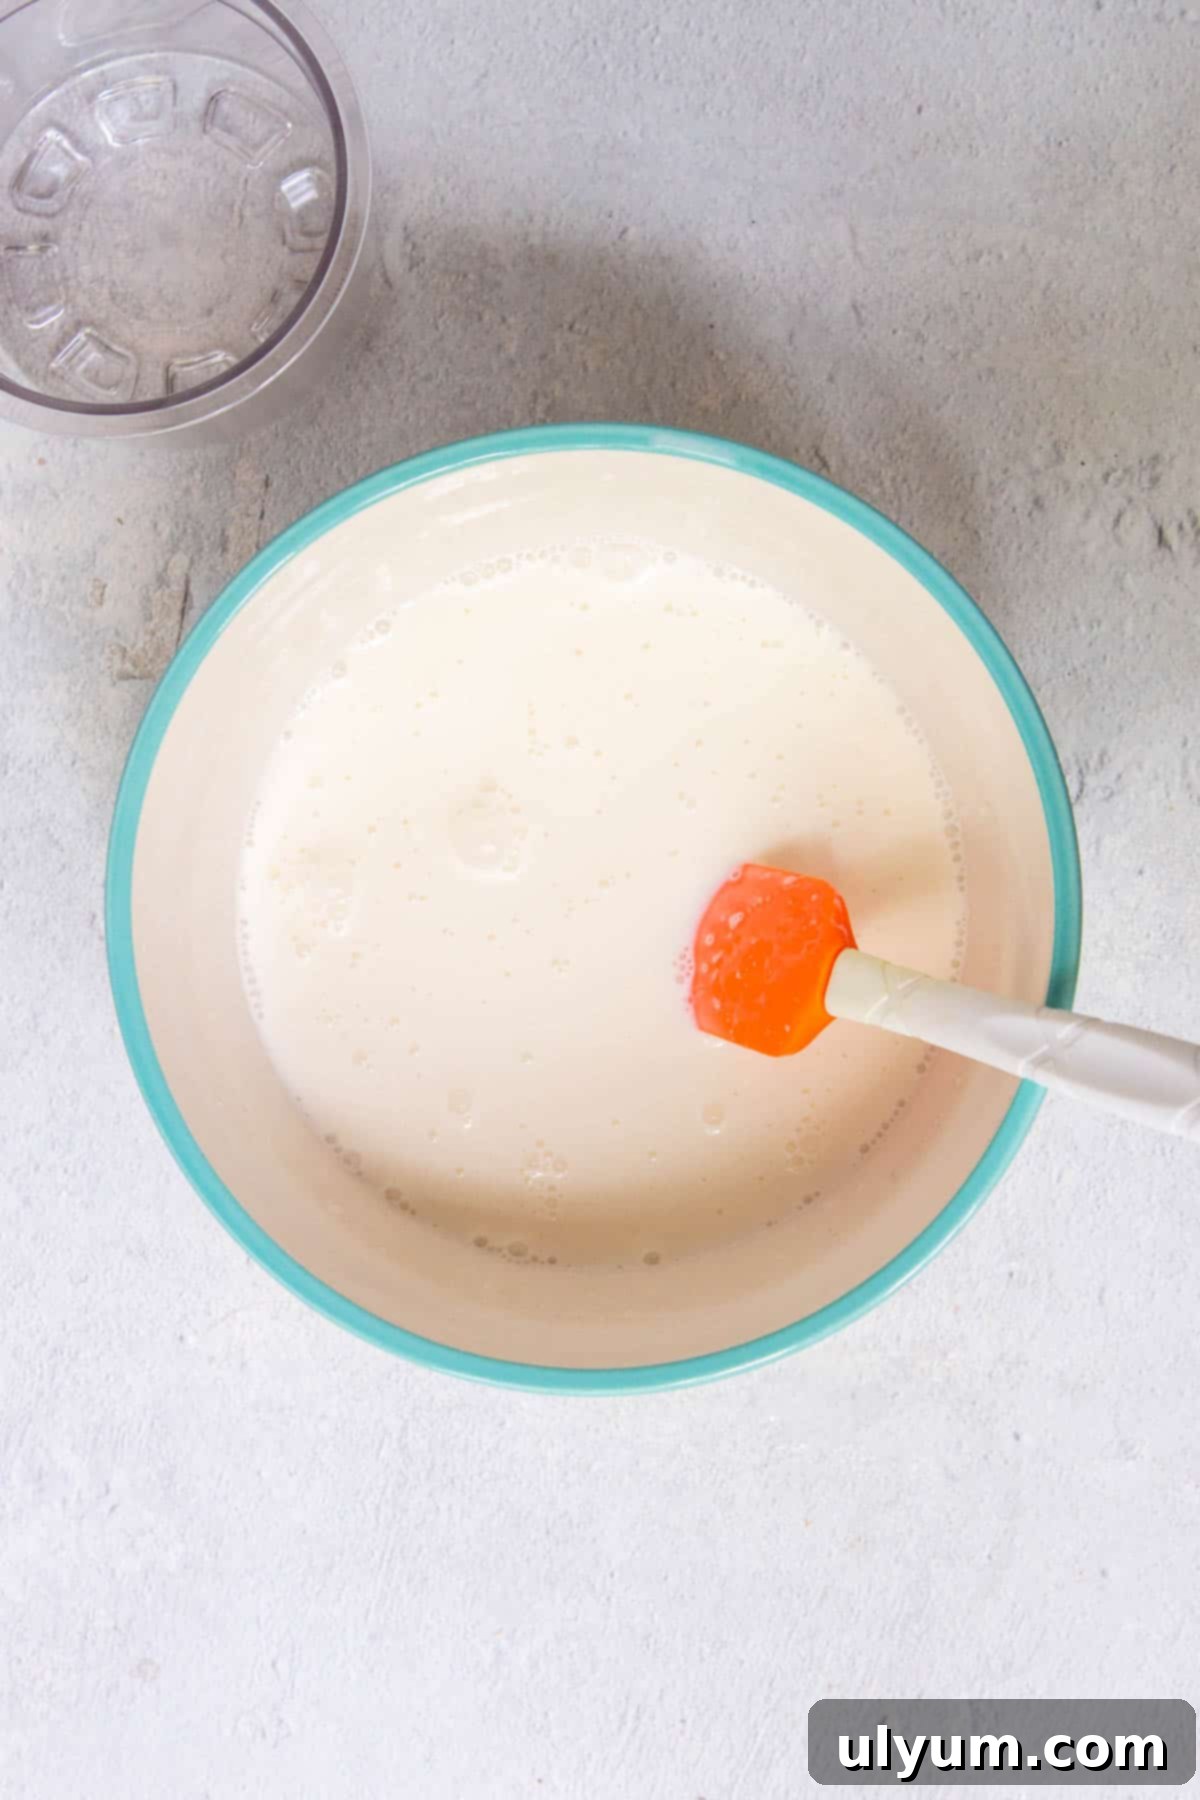
Step 4: Ensure Sugar Dissolves. At this point, the sugar should be completely dissolved. Use your spatula to scrape the bottom of the bowl and check for any undissolved sugar granules. If you find any, continue stirring until the mixture is perfectly smooth.
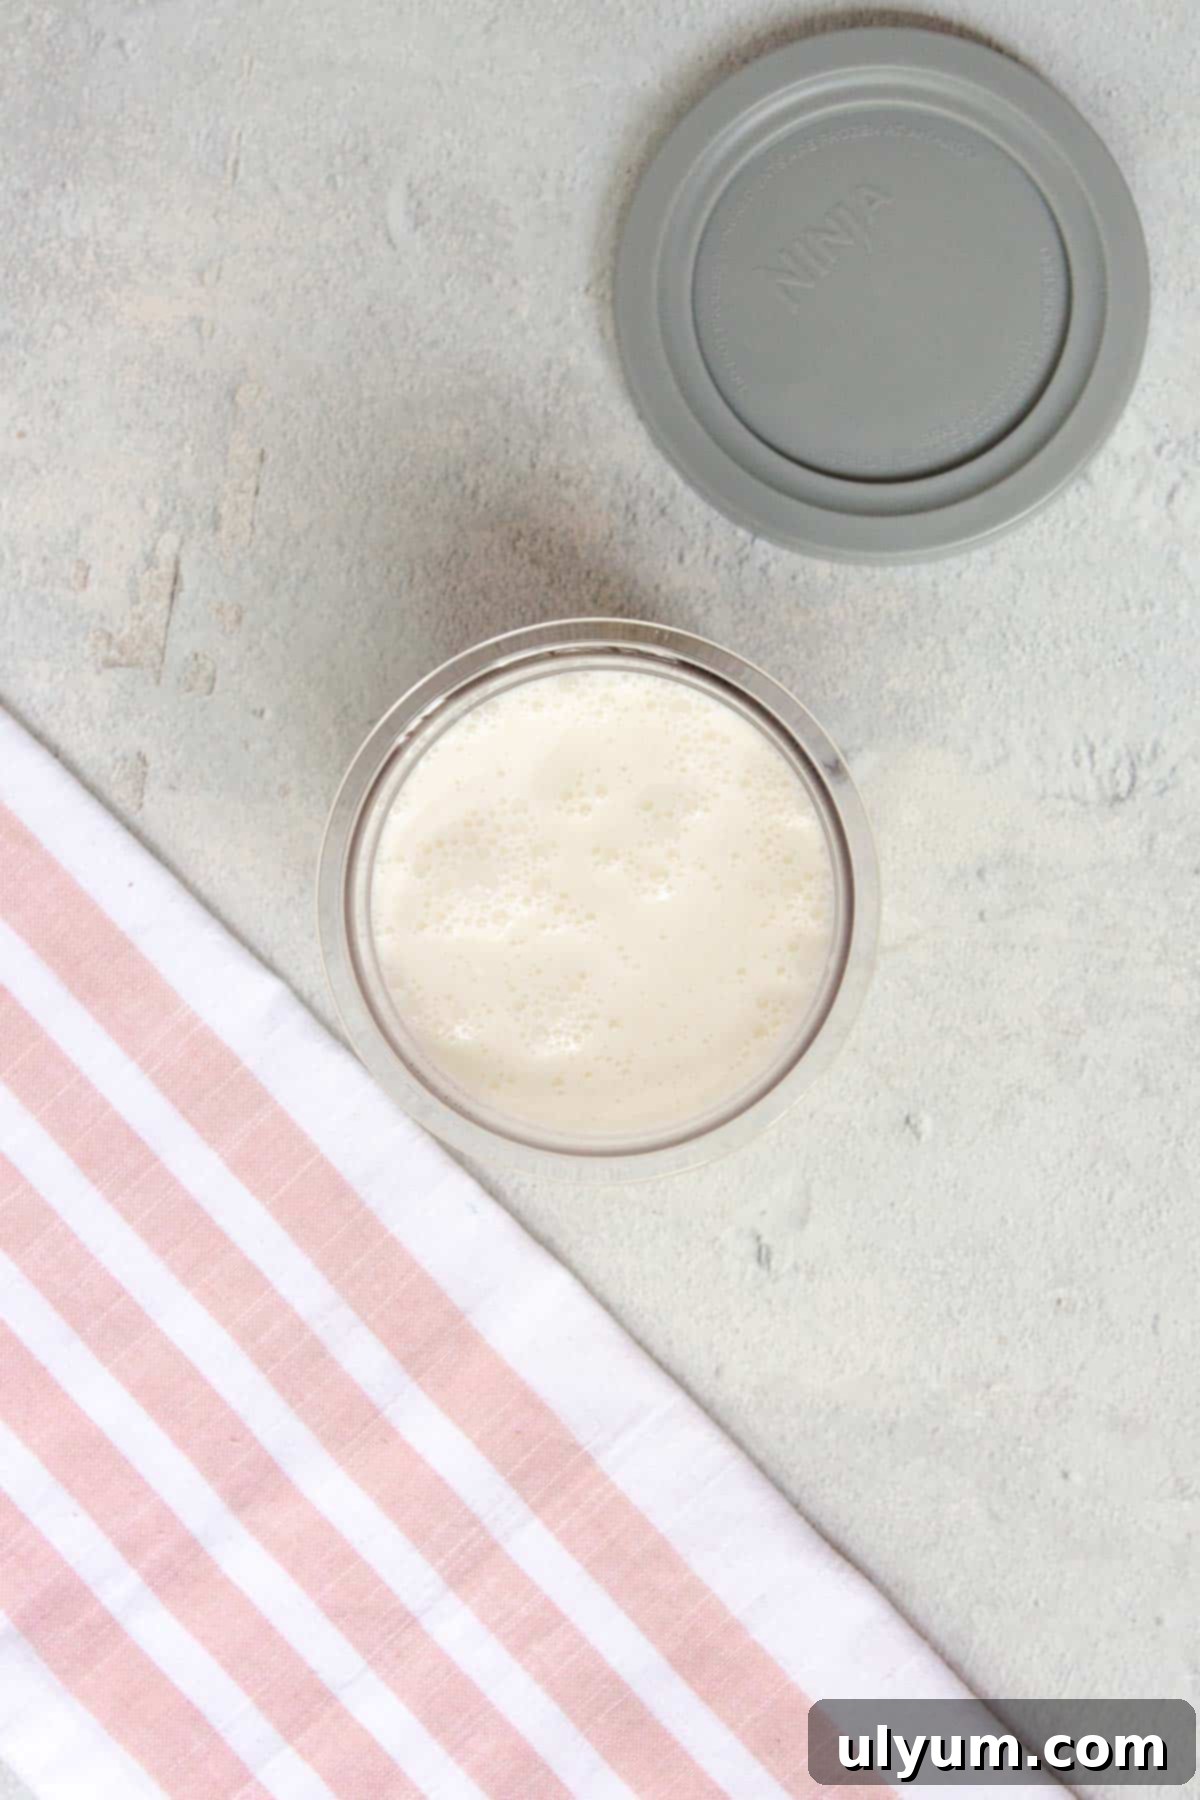
Step 5: Freeze the Base. Pour the prepared mixture into a clean Ninja Creami pint container. Secure the storage lid onto the pint and place it in your freezer. It is crucial to freeze the pint on a level surface for a minimum of 24 hours. This extended freezing time is essential for the base to become uniformly solid and properly temper for optimal processing by the Creami machine. Avoid placing it in a chest freezer if possible, as these can freeze too cold, leading to issues like an icy wall around the pint.
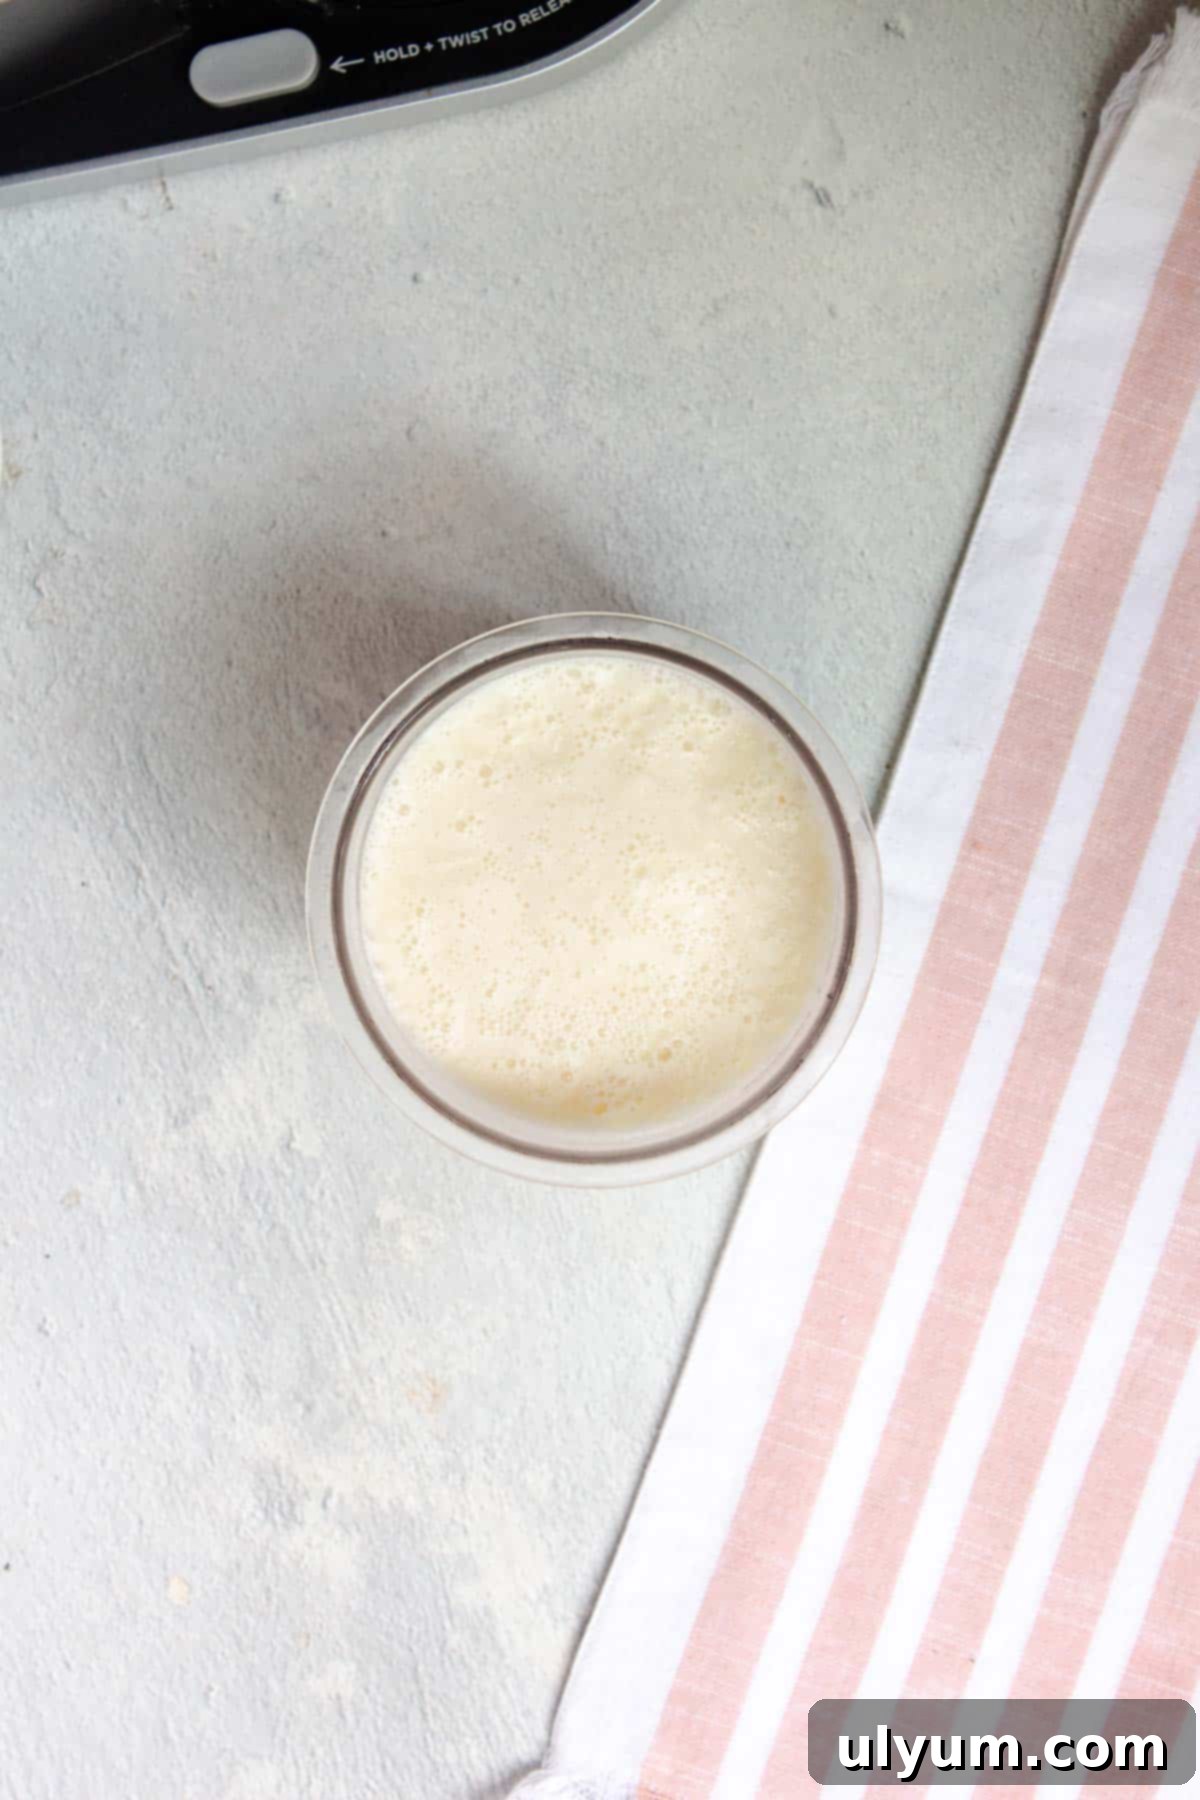
Step 6: Prepare for Processing. After the 24-hour freezing period, remove the pint from the freezer and take off its lid. The base will be solid and ready for the Creami’s transformation.
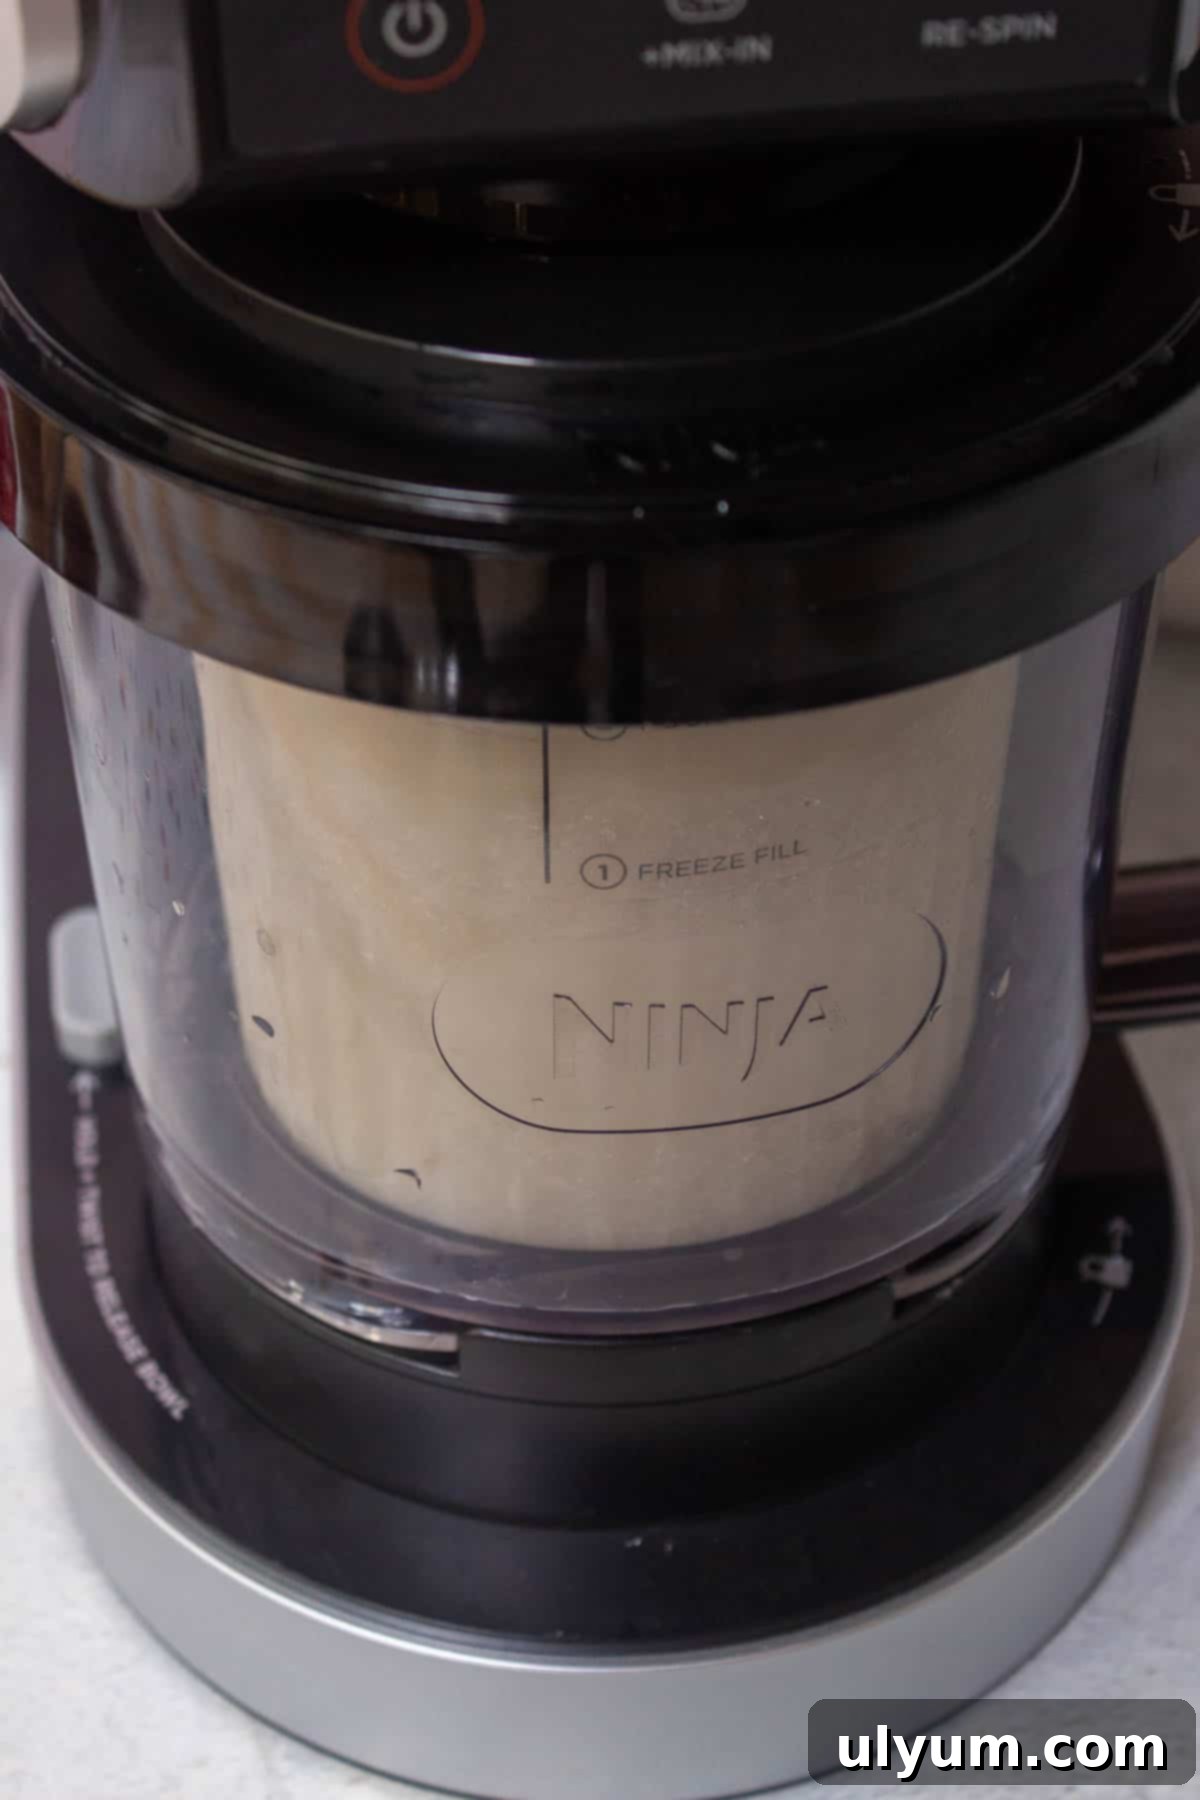
Step 7: Process in Ninja Creami. Place the opened pint into the outer bowl of your Ninja Creami machine. Attach the Creamerizer Paddle to the lid, then lock the lid assembly onto the outer bowl. Slide the entire bowl assembly into the machine’s motor base and twist it to the right until it locks securely into place. Select the “Ice Cream” button to begin processing. Make sure to consult your Ninja Creami user manual for safety instructions and proper assembly.
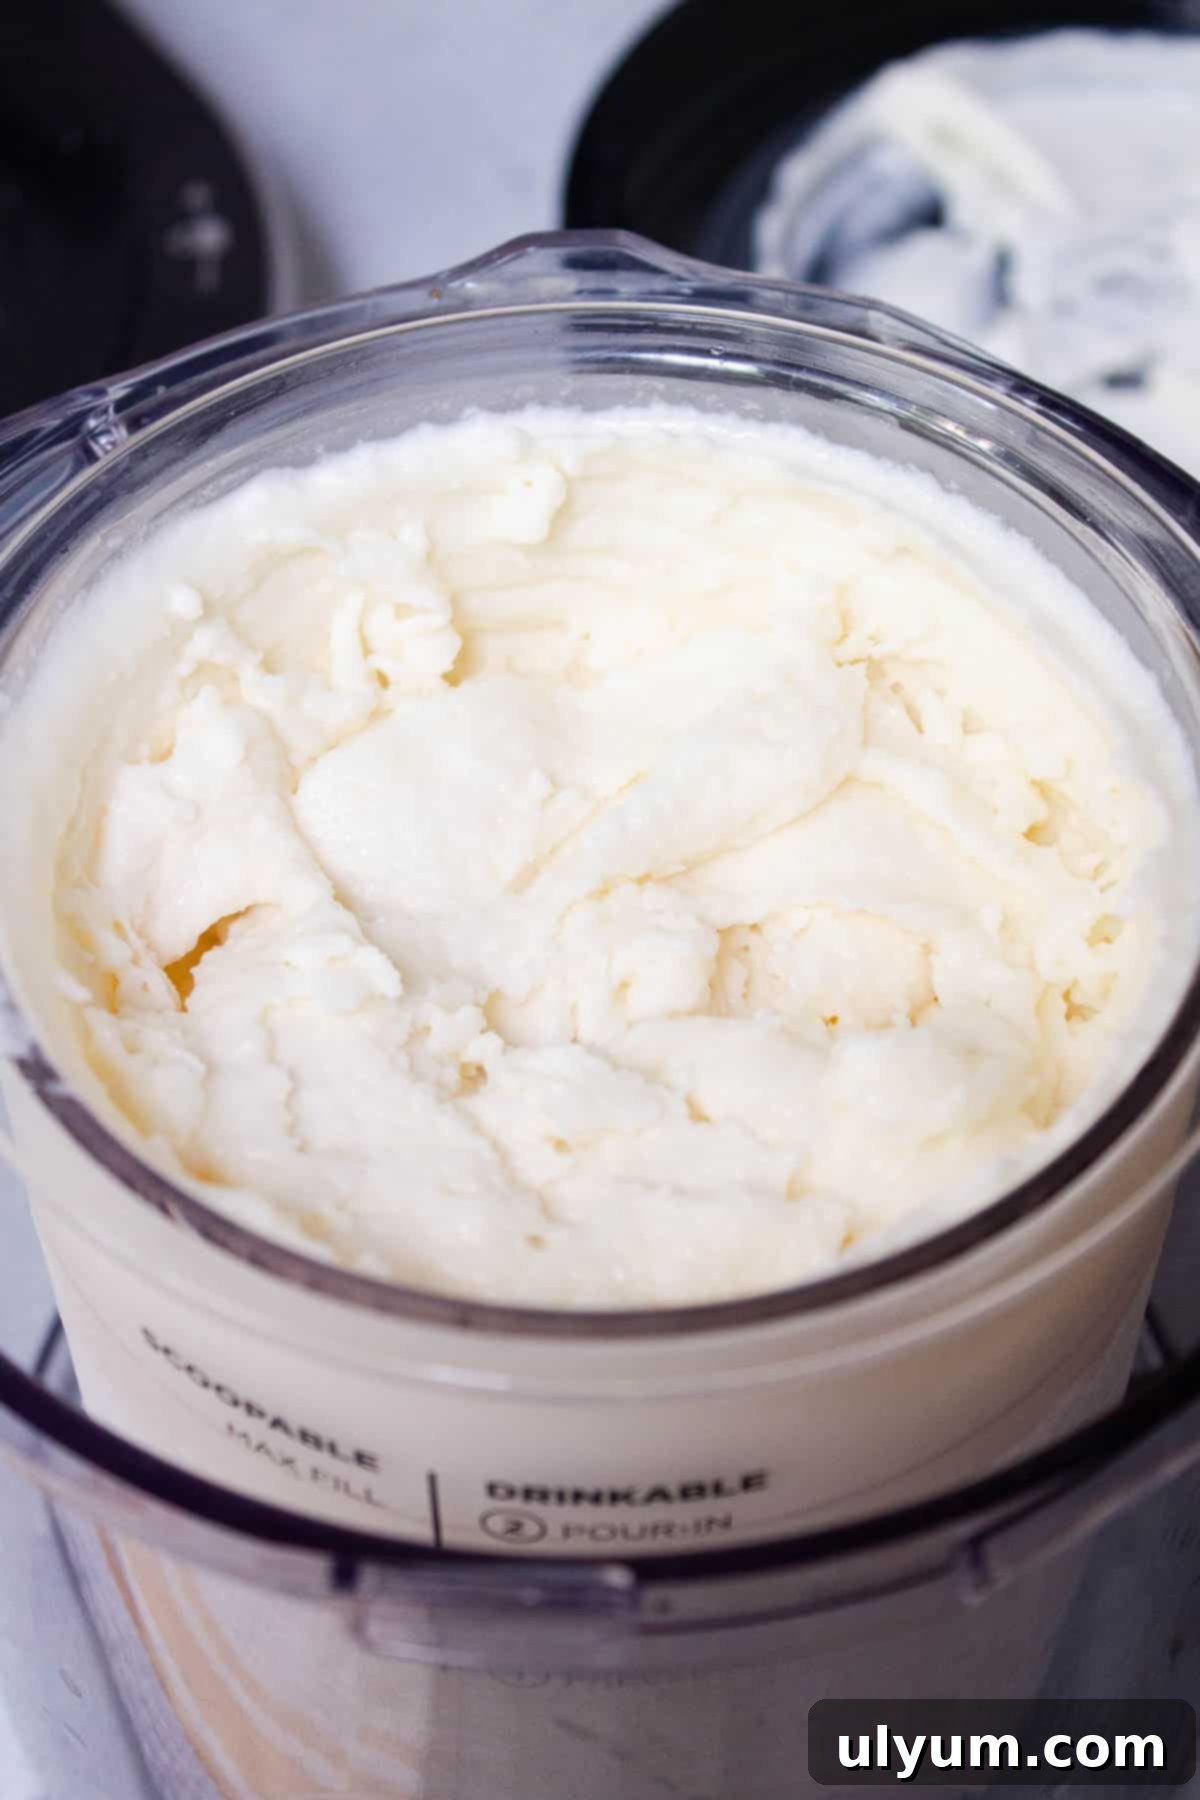
Step 8: First Spin & Re-spin (if needed). Once the “Ice Cream” program is complete, unlock and remove the bowl assembly. Remove the lid. The base might appear powdery or crumbly, which is completely normal! If it’s not yet creamy, gently add a tablespoon of milk (or even a splash of heavy cream for extra richness) and select the “Re-spin” button. Be cautious not to over-process this ice cream, especially with heavy cream, as it can start to develop a greasy or buttery texture. Stop once it achieves a wonderfully creamy consistency.
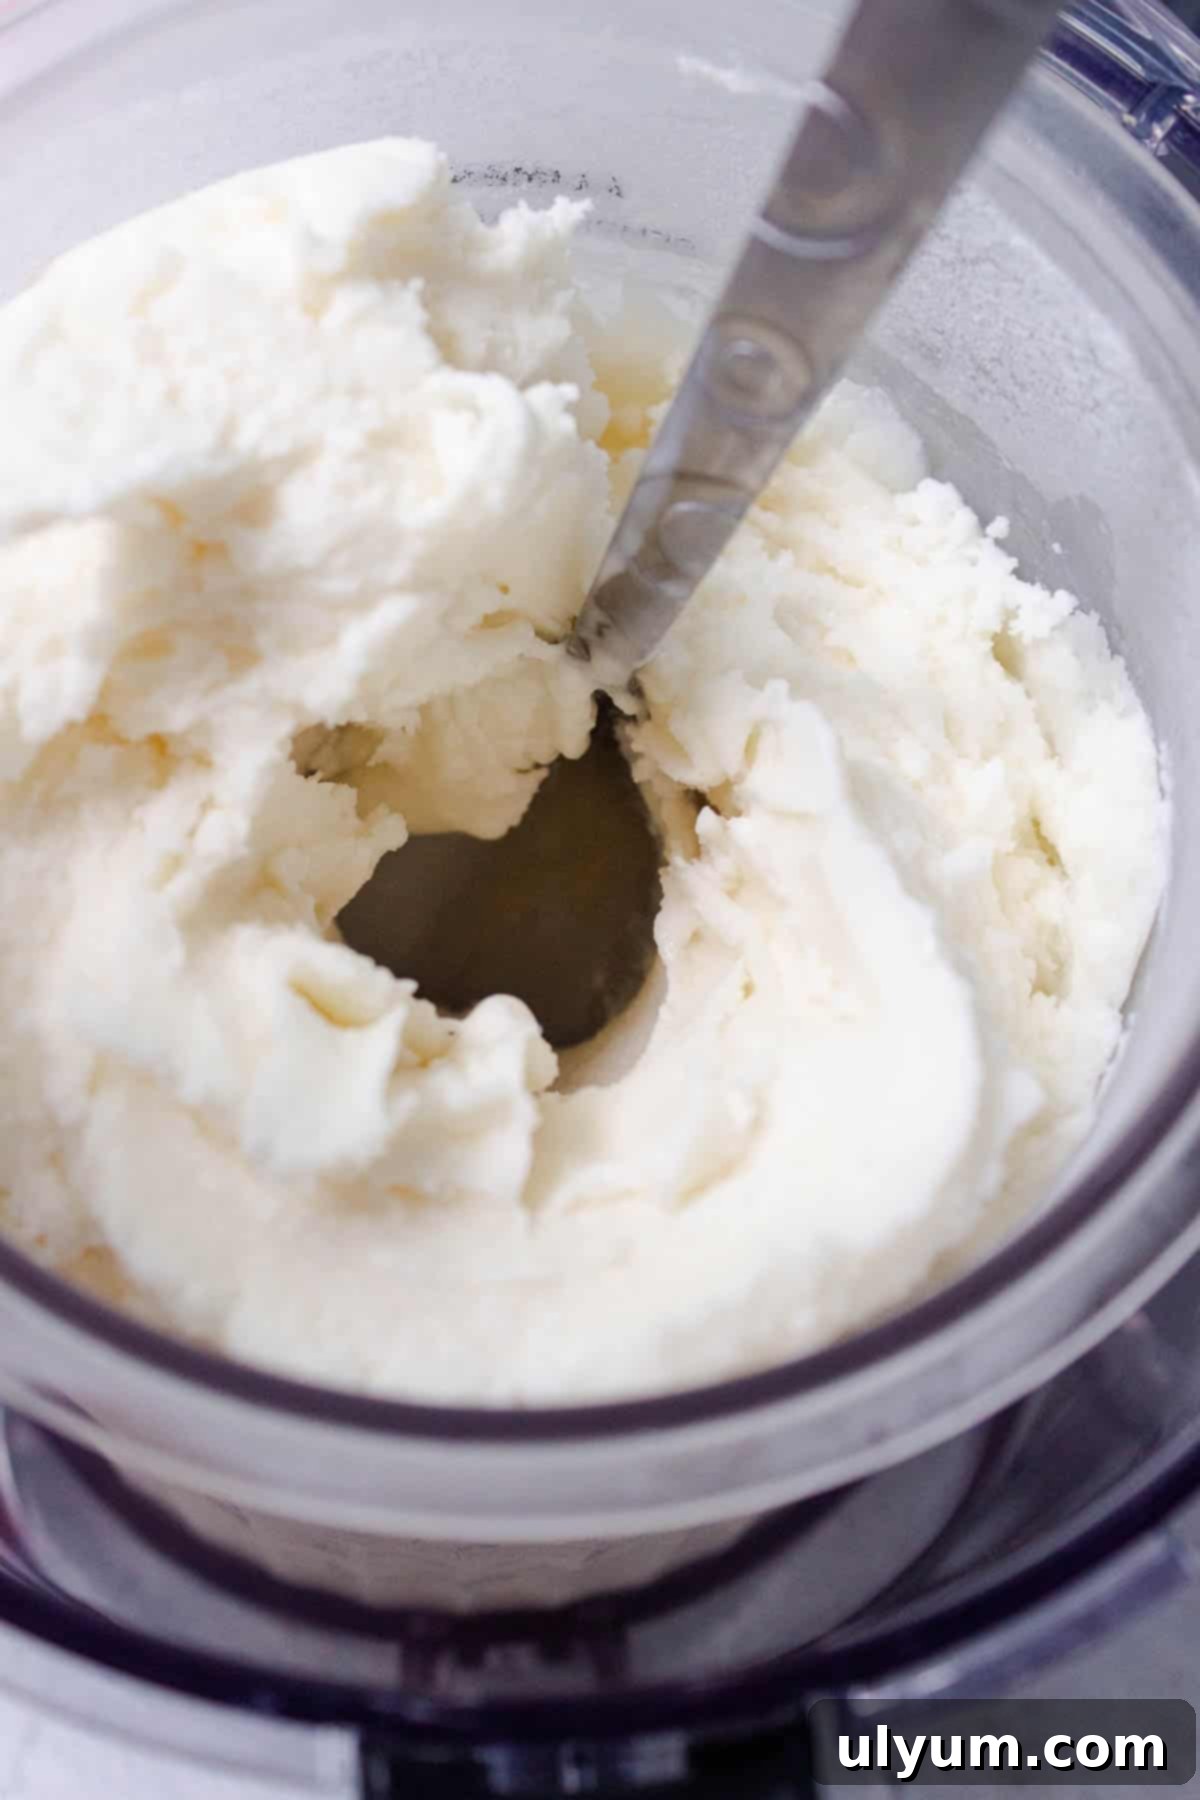
Step 9: Add Mix-Ins. Using your silicone spatula or a sturdy spoon, create a small, deep tunnel in the center of the ice cream, extending all the way to the bottom of the pint. This tunnel is where you’ll add your crushed Oreo cookies.
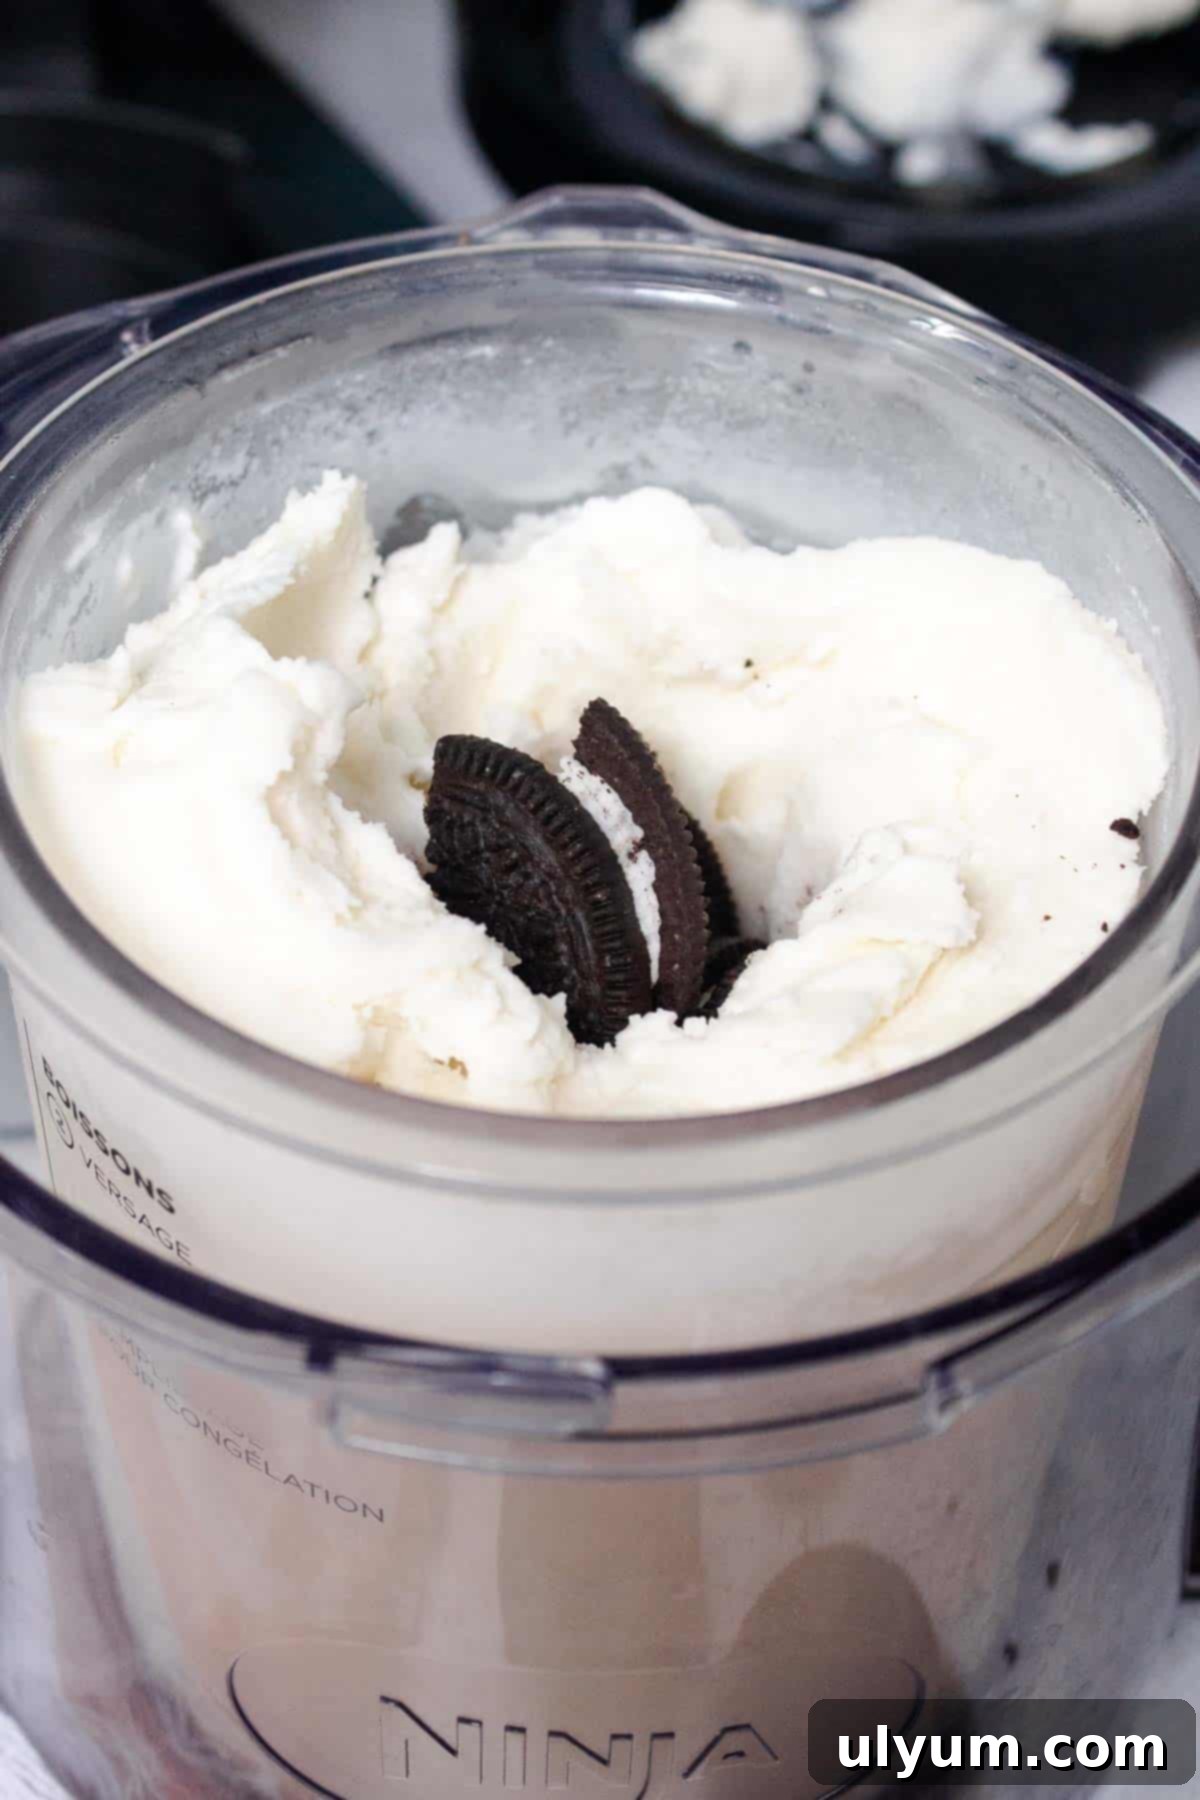
Step 10: Mix-In Program. Add the halved Oreos into the hole you created. Reassemble the outer bowl, lid, and paddle as you did before, then slide it back into the Ninja Creami. Select the “Mix-In” program to evenly distribute the cookies throughout your ice cream. This program is specifically designed to incorporate solid additions without pulverizing them completely, giving you delightful chunks of Oreo.
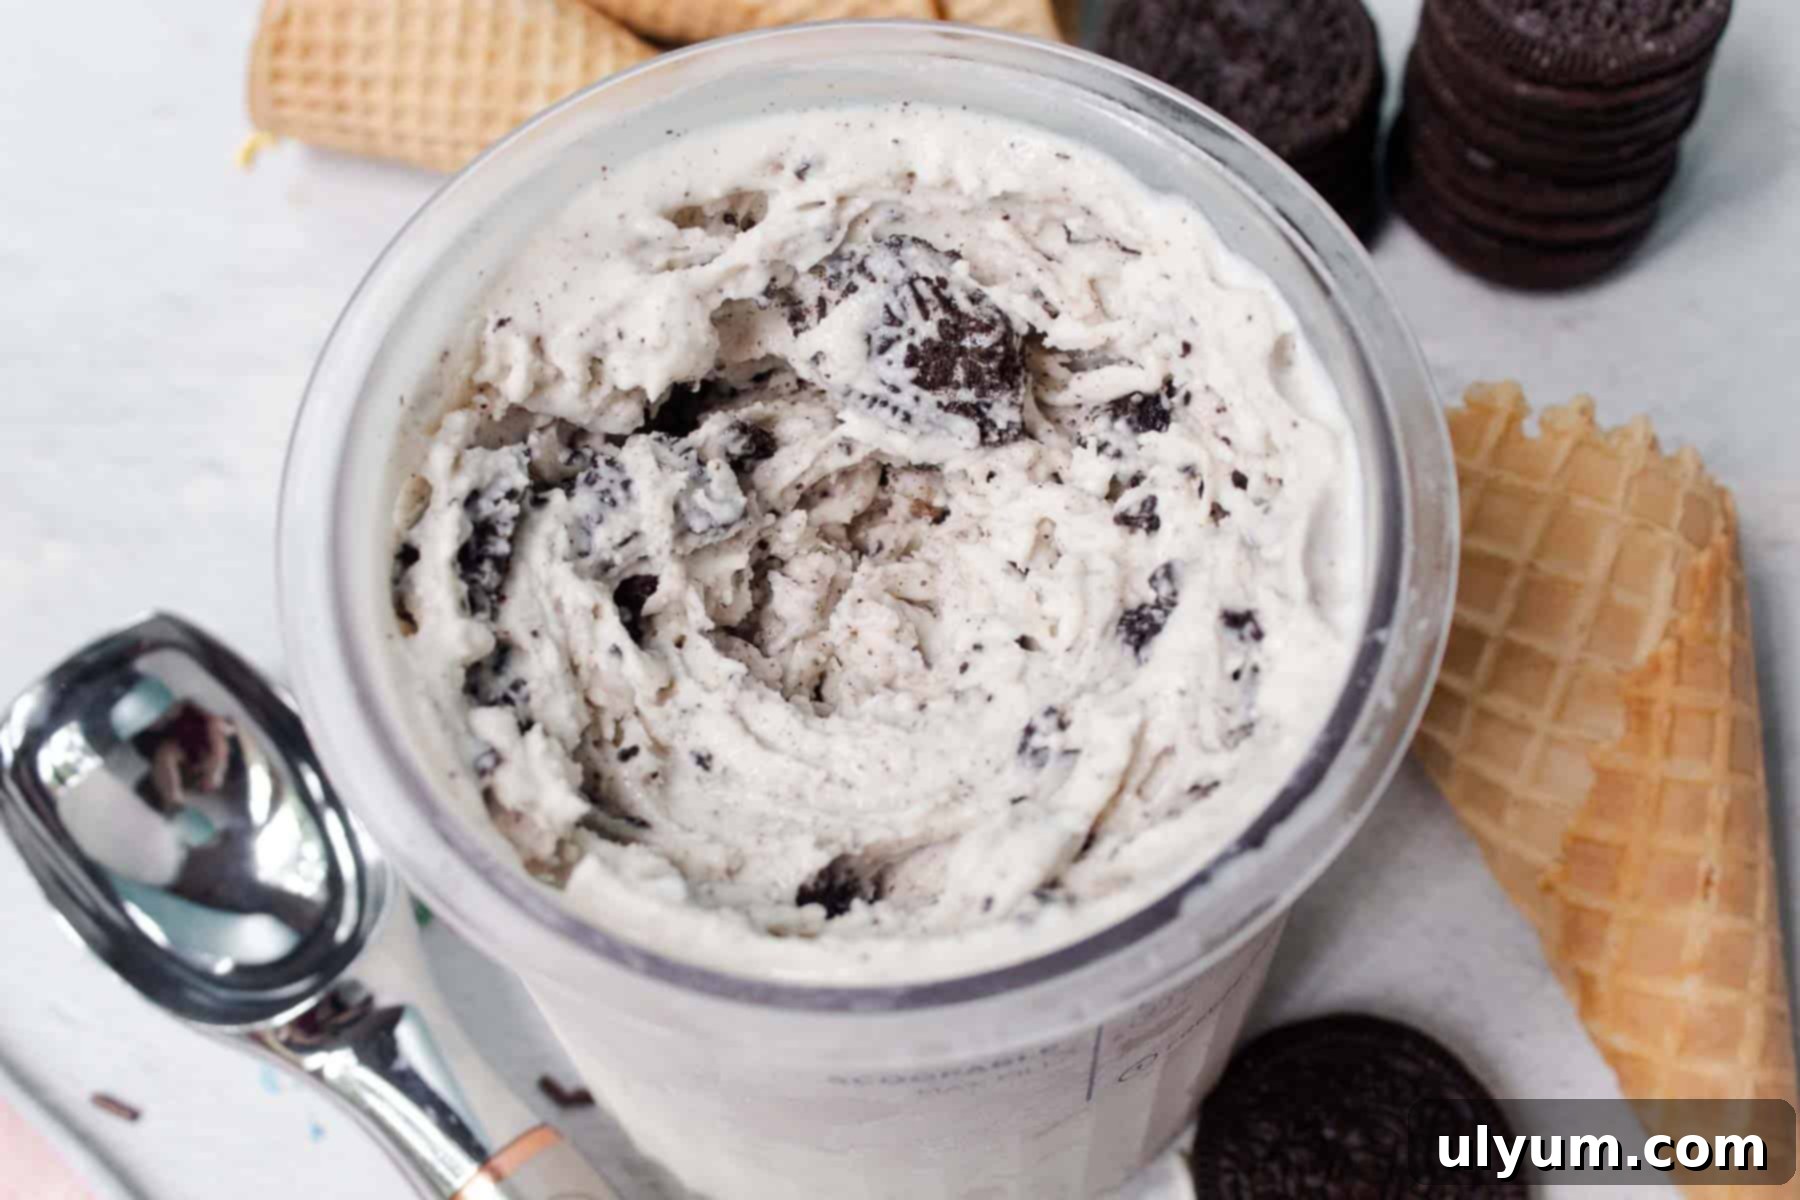
Step 11: Serve and Enjoy! Your homemade Ninja Creami Cookies and Cream Ice Cream is now ready! Serve immediately for a soft, delectable consistency that’s perfect right out of the pint.
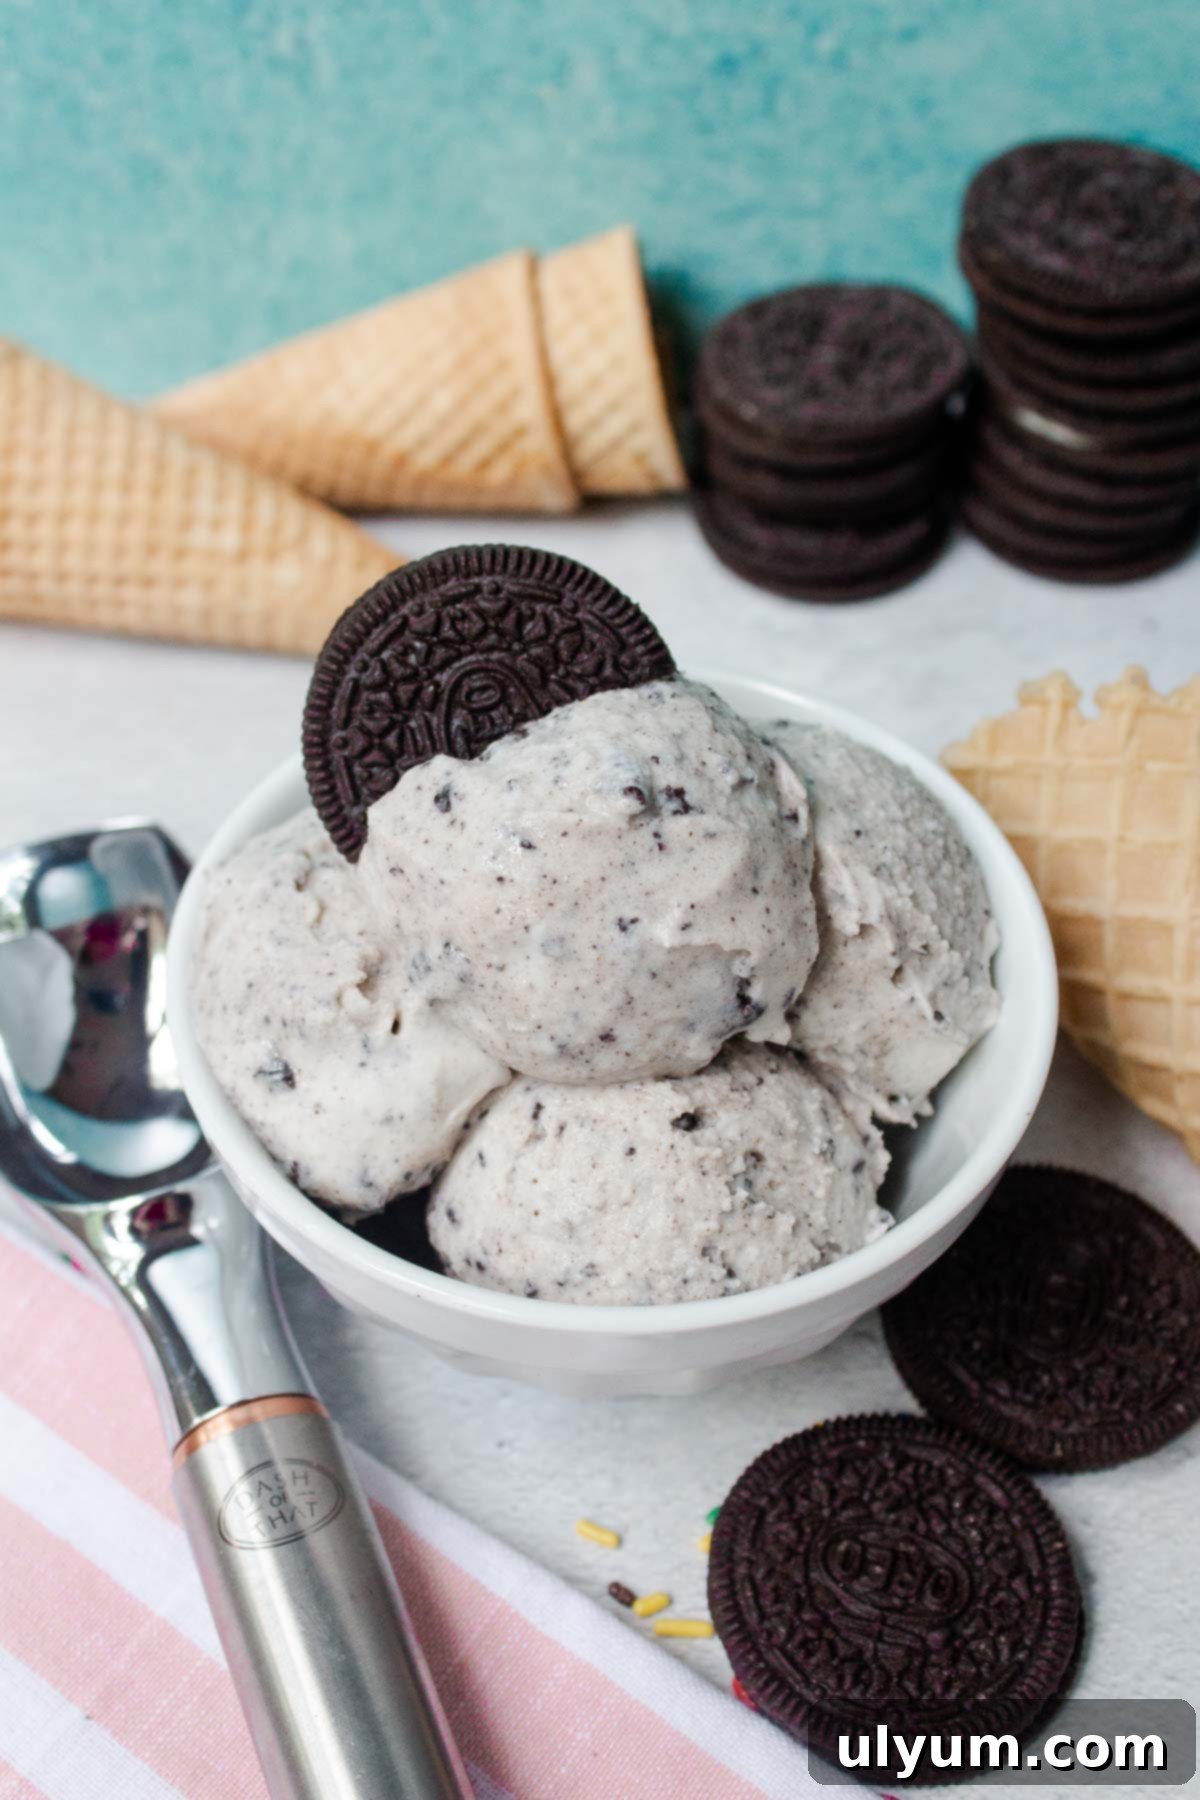
Scoopable Ice Cream: The initial consistency of Ninja Creami ice cream often resembles soft serve, which many people love! If you prefer a firmer, more traditional scoopable ice cream, you will need to re-freeze the pint for several hours after processing it. Simply replace the storage lid and place it back in the freezer for 2-4 hours, or until it reaches your desired firmness.
However, it’s worth noting that the ice cream softens again rather quickly once removed from the freezer for serving. For this reason, many find it easiest and most enjoyable to simply savor your soft ice cream in a bowl, skipping the waffle cone or sugar cone altogether. If you adore the taste of waffle cones, a clever trick is to crumble them into your ice cream as an additional mix-in during the “Mix-In” cycle – it adds an extra layer of flavor and texture!
Substitutions & Ingredient Insights
While this recipe is crafted for optimal results, you can certainly make a few adjustments based on dietary needs or what you have on hand. Keep in mind that changes might slightly alter the final texture, but the flavor will still be fantastic!
- Cream cheese: This ingredient is key for the incredibly creamy texture and to prevent iciness. If you don’t have cream cheese, you can substitute it with instant vanilla pudding mix (one small packet) or sugar-free pudding mix as a binding agent. Alternatively, a tiny amount (¼ to ½ teaspoon) of guar gum can also provide a similar stabilizing effect.
- Sugar: For those managing sugar intake, sugar substitutes such as stevia or erythritol can be used in place of granulated sugar. Adjust to your preferred sweetness level, keeping in mind that artificial sweeteners may slightly change the texture.
- Vanilla: If you’re looking for an even richer vanilla flavor, you can swap out the vanilla extract for vanilla bean paste, using the same quantity listed in the recipe. The paste often contains tiny vanilla bean flecks, adding a gourmet visual appeal.
- Whole milk: While whole milk provides the creamiest and most luxurious result, you can use any milk you prefer. However, be aware that non-fat milk or milk alternatives like almond milk or oat milk will likely yield an icier, less creamy consistency due to their lower fat content.
- Heavy cream: Heavy whipping cream typically contains at least 36 percent milk fat, which is what gives this ice cream its signature smooth and rich texture. As mentioned in the instructions, if heavy cream is over-processed in the Creami, it can sometimes develop a greasy or butter-like texture. For a slightly lighter option that still maintains a good level of creaminess, you can try using half and half (which, for our non-U.S. readers, is half cream and half milk).
- Oreos: The beauty of cookies and cream is its versatility! Don’t feel limited to classic Oreos. You can use any flavor of Oreo (think Golden Oreos, Mint Creme Oreos, Birthday Cake Oreos, or even Oreo Thins) or any other chocolate sandwich cookie. Get creative and try different cookie varieties to find your perfect flavor combination!
Creative Variations for Your Ninja Creami
This cookies and cream base is incredibly versatile. Once you master the basic recipe, the possibilities for customization are endless!
- Lite Ice Cream: Looking for a guilt-free treat? For a lighter cookies and cream recipe, be sure to try my Ninja Creami Oreo Protein Ice Cream. This perfect frozen treat offers a lighter version by incorporating sugar-free pudding mix, Stevia, and a protein shake, without sacrificing flavor.
- Endless Mix-Ins: The vanilla base is fantastic on its own, but it truly shines with added mix-ins. Beyond Oreos, consider adding chocolate chips (milk, dark, or white), crushed pretzels for a salty crunch, caramel swirls, chopped nuts, or even your favorite cereal for a unique breakfast-for-dessert experience. Use your extra pint containers to prep several pints of Ninja Creami vanilla ice cream base at a time, so you always have a ready-to-customize treat waiting in your freezer!
- Flavor Swaps for the Base: Instead of vanilla extract, consider adding a different extract to your base for a new flavor profile before adding Oreos. Almond extract for an almond cookies and cream, or a hint of peppermint extract for a minty twist.
Essential Equipment for Ninja Creami Success
Having the right tools makes all the difference when crafting homemade ice cream with your Ninja Creami. Here’s what you’ll need:
- Ninja Creami: The star of the show! This specialized ice cream maker is designed to churn frozen bases into creamy treats.
- Microwave Safe Mixing Bowl: For softening the cream cheese and mixing your base ingredients efficiently.
- Silicone spatula: Ideal for mixing ingredients smoothly and for scraping down the sides of your bowl, ensuring no sugar granules are left behind.
Storage & Re-enjoying Your Ninja Creami Ice Cream
One of the best things about homemade ice cream is enjoying it over time! Proper storage ensures your Ninja Creami creation remains delicious.
To store your leftover ice cream, simply smooth the top of the pint and cover it tightly with the storage lid before returning it to the freezer. The ice cream will firm up as it re-freezes. Since this is a full-fat recipe, you’ll likely find that you won’t need to re-spin the ice cream when you want to enjoy it later – it should remain fairly scoopable with a little tempering.
If, however, your ice cream is difficult to scoop directly from the freezer, simply set it out on the counter at room temperature for about 5-10 minutes. This short period allows it to soften slightly, making it easier to scoop. If it’s rock solid, you can choose to re-spin it on the “Ice Cream” setting. However, be aware that processing the pint a second time will break down the mix-ins (like your Oreos) further, potentially resulting in smaller pieces. For best texture, try to avoid repeated re-spins if possible.
Top Ninja Creami Tips for Ultimate Success
Mastering your Ninja Creami machine can elevate your homemade ice cream game. Below are a few important tips for getting the best results every single time:
- Use an Upright Freezer: For optimal results, store your Creami pints in an upright freezer. Chest freezers can often get too cold, leading to an extremely hard, almost impenetrable block of ice cream, or a wall of ice around your pint that won’t process well. An upright freezer provides a more consistent freezing temperature.
- Freeze on a Level Surface: This tip is crucial for both machine performance and safety. Always ensure your pint is frozen on a perfectly level surface. Processing pints that are frozen at an angle can cause the Creamerizer Paddle to hit the sides of the pint unevenly, potentially damaging the machine or the blade.
- Respect the Max Fill Line: When preparing your liquid base, always abide by the max fill line indicated on your Creami pint. Overfilling can lead to spills and machine malfunction during the freezing and processing stages. However, you *can* exceed the max fill line when adding dry mix-ins (like Oreos) *after* the initial freeze and spin, as these will be incorporated into the existing volume.
- Processing Half the Pint (Deluxe Model): If you own the Deluxe model, you have the fantastic flexibility to process just the top half of the pint and save the rest for later. This is perfect for single servings or when you want to experiment with different mix-ins. You can also process the top half with one type of mix-in, scoop it out, and then process the second half with a completely different mix-in – ideal for sharing or catering to varied tastes!
- Patience with Freezing: The 24-hour freeze time is not a suggestion, but a requirement for the Ninja Creami to function correctly. This ensures the base is uniformly frozen solid, which is what the machine needs to create that incredibly creamy texture. Don’t rush this step!
- Don’t Over-Process Rich Bases: While re-spinning can often fix a crumbly texture, be cautious with high-fat bases like this cookies and cream recipe. Over-processing heavy cream can sometimes cause it to separate and result in a greasy or buttery texture. Stop processing once it reaches your desired creamy consistency.
Always refer to your Ninja Creami user manual and safety instructions prior to use.
Frequently Asked Questions About Ninja Creami Cookies and Cream
The primary difference lies in capacity and programs. A standard Ninja Creami pint holds 16 ounces (2 cups), while the Ninja Creami Deluxe pint is larger at 24 ounces (3 cups). Additionally, the Deluxe model offers several extra programs, including frozen yogurt, Creamiccino, frozen drink, slushie, and Italian ice. A significant advantage of the Deluxe model is its ability to process half of the pint at a time, offering more flexibility for smaller servings or multiple flavors.
Essentially, yes! “Cookies and cream” ice cream generally refers to a vanilla or sweet cream ice cream base that has crushed chocolate sandwich cookies mixed in. Oreos are the most popular and widely recognized brand of chocolate sandwich cookies, making “Oreo ice cream” almost synonymous with “cookies and cream.” So, when you’re making cookies and cream, you’re almost certainly making an Oreo-style dessert!
You can, but be aware that using low-fat milk, skim milk, or lighter creams (like half and half instead of heavy cream) will result in an icier texture. The fat content in whole milk and heavy cream is crucial for the ultra-creamy consistency of this recipe. If you opt for lower-fat alternatives, you might need to re-spin more frequently or accept a slightly different texture.
For the best quality and texture, homemade Ninja Creami ice cream should be consumed within 1-2 weeks. While it may technically be safe to eat longer, the texture and flavor can start to degrade over time. Always ensure it’s stored in an airtight container (the Creami pint with its lid is perfect) to prevent freezer burn.
It’s common for homemade ice cream to harden considerably after being stored in the freezer for a while. To enjoy it again, you have a couple of options: you can let the pint sit on the counter at room temperature for 5-10 minutes to soften naturally, or if it’s very hard, you can put it back in your Ninja Creami and select the “Ice Cream” button for another spin. Remember that re-spinning will further break down any mix-ins.
More Irresistible Ninja Creami & Oreo Delights
If you’re a true fan of Oreo desserts or looking to expand your Ninja Creami repertoire, you’re in luck! Here are some other fantastic recipes you’ll love:
If you love simple Oreo desserts, definitely try my 3-ingredient Oreo pie for a quick and satisfying treat. Or, if you’re looking for more delicious Ninja Creami ice cream recipes, explore these:
- Ninja Creami Vanilla Protein Ice Cream
- Ninja Creami Oreo Protein Ice Cream
- Ninja Creami Chocolate Protein Ice Cream
- Ninja Creami Cookies and Cream Ice Cream
📖 Recipe
Pin Recipe
Save RecipeSaved!
Email
Print
Ninja Creami Cookies and Cream Ice Cream
Equipment
-
Ninja Creami
-
Microwave Safe Mixing Bowl
-
Silicone spatula
Ingredients
For a standard pint
- 1 tablespoon cream cheese
- ⅓ cup granulated sugar
- 1 teaspoon vanilla extract
- 1 cup whole milk
- ¾ cup heavy cream
- 4 Oreo cookies broken in half
For a deluxe pint
- 1-½ tablespoon cream cheese
- ½ cup granulated sugar
- 1-½ teaspoon vanilla extract
- 1-⅓ cup whole milk
- 1-⅓ cup heavy cream
- 6 Oreo cookies broken in half
Instructions
Day One
-
Microwave the cream cheese for 10 to 15 seconds in a large, microwave-safe bowl.
-
Once the cream cheese is softened, add the granulated sugar and vanilla extract, mixing with a silicone spatula to combine. The mixture will be thick.
-
Mix in the milk and heavy cream a little bit at a time, stirring until fully combined. At this point, the sugar should be fully dissolved.
-
Pour the mixture into an empty Creami pint. Place the storage lid on the pint and freeze it on a level surface for 24 hours.
Day Two
-
After freezing, remove the pint from the freezer and remove the lid. Put the opened pint into the outer bowl of the Ninja Creami machine, install the Creamerizer Paddle to the lid, and lock the lid assembly to the bowl. Slide the bowl assembly into the machine’s motor base, twist it to the right to lock it into place, and select the Ice Cream button.
-
After processing is complete, unlock and remove the bowl assembly from the ice cream maker and remove the lid. Re-spin if needed until you reach a creamy consistency.
-
With the silicone spatula or a spoon, create a small tunnel in the center of the ice cream to the bottom of the pint. Add the halved Oreos to the hole. Reassemble the bowl and process using the Mix-In program.
-
Serve immediately.
Notes
Storage: Cover the pint with the storage lid before refreezing. The ice cream will firm up as it re-freezes. If it is difficult to scoop, set it out on the counter for about 5 minutes. If it is rock hard, process it again on the Ice Cream setting. Note that processing the pint a second time will break down the mix-ins further.
Nutrition
