Irresistible No-Bake Chocolate Peanut Butter Rice Krispie Treats: Your Ultimate Guide
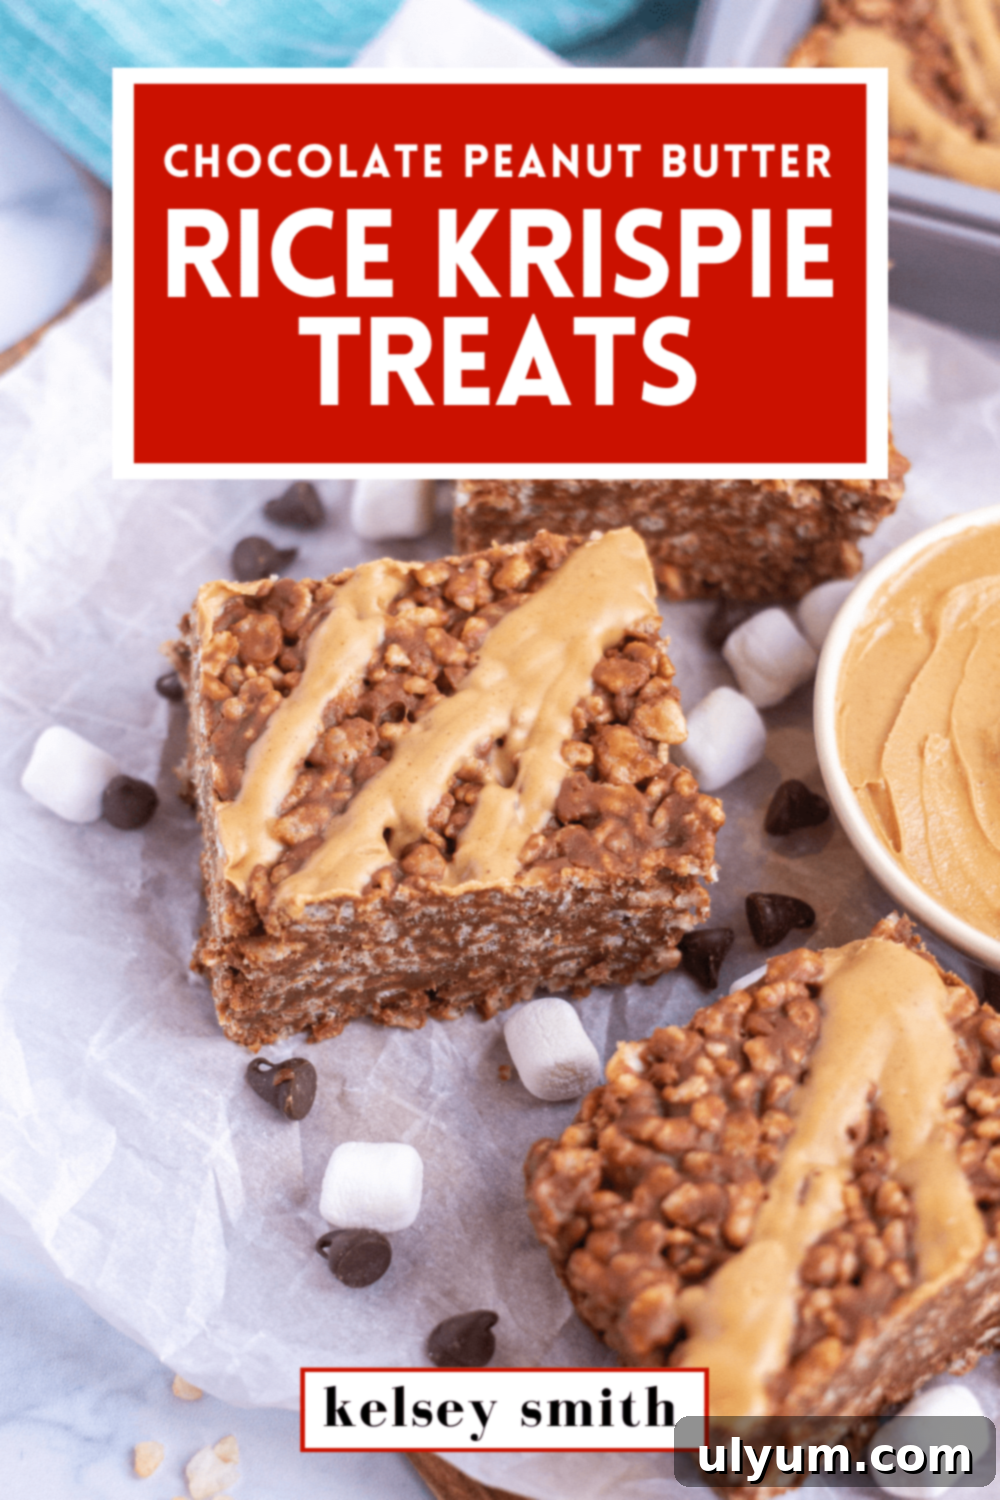
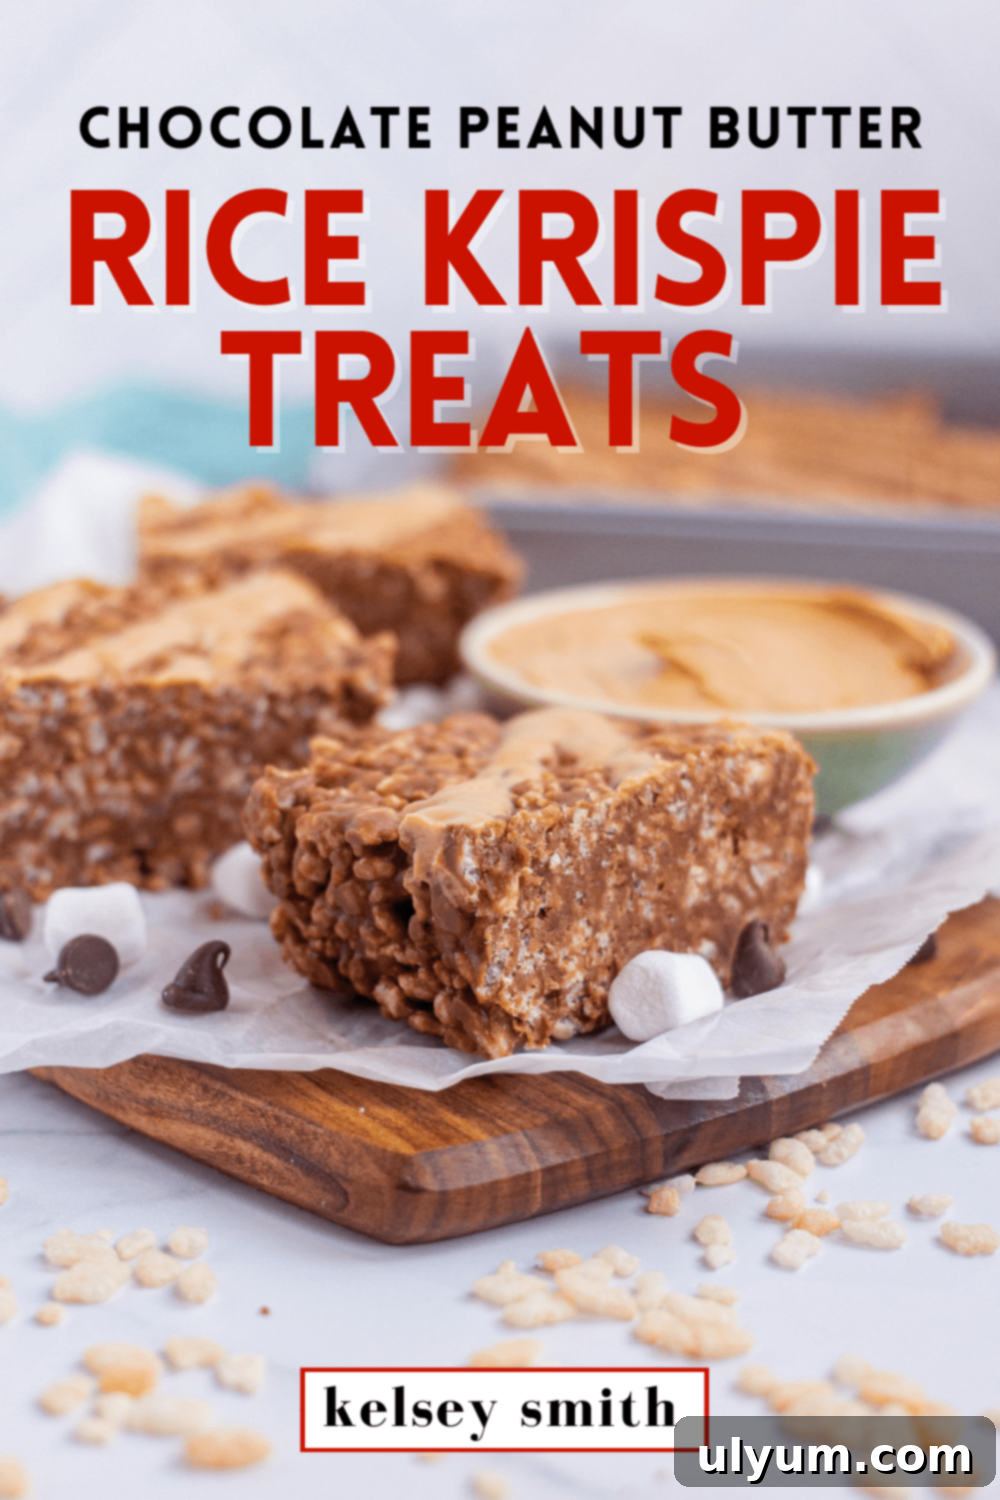
Prepare to fall in love with these delightful no-bake chocolate peanut butter Rice Krispie treats! Combining the classic crunch of Rice Krispies cereal with the unbeatable duo of creamy peanut butter and rich chocolate, all bound together with sweet, melted marshmallows and a hint of vanilla, these treats are truly a game-changer. They’re incredibly easy to make, require no oven, and deliver a satisfyingly sweet and salty flavor profile that appeals to everyone.
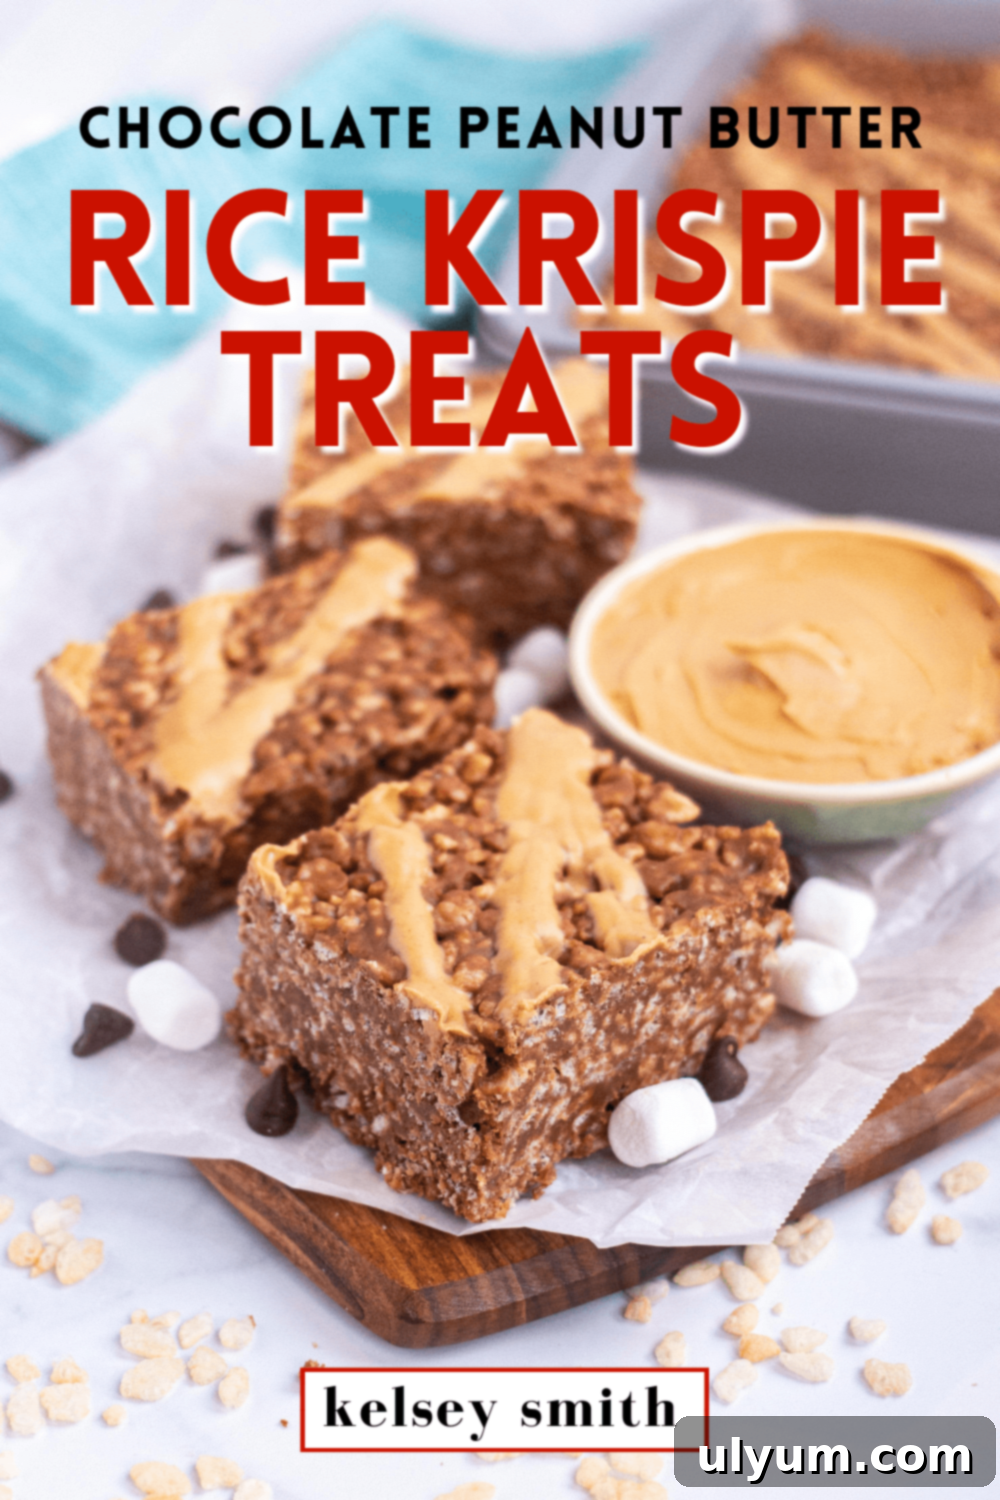
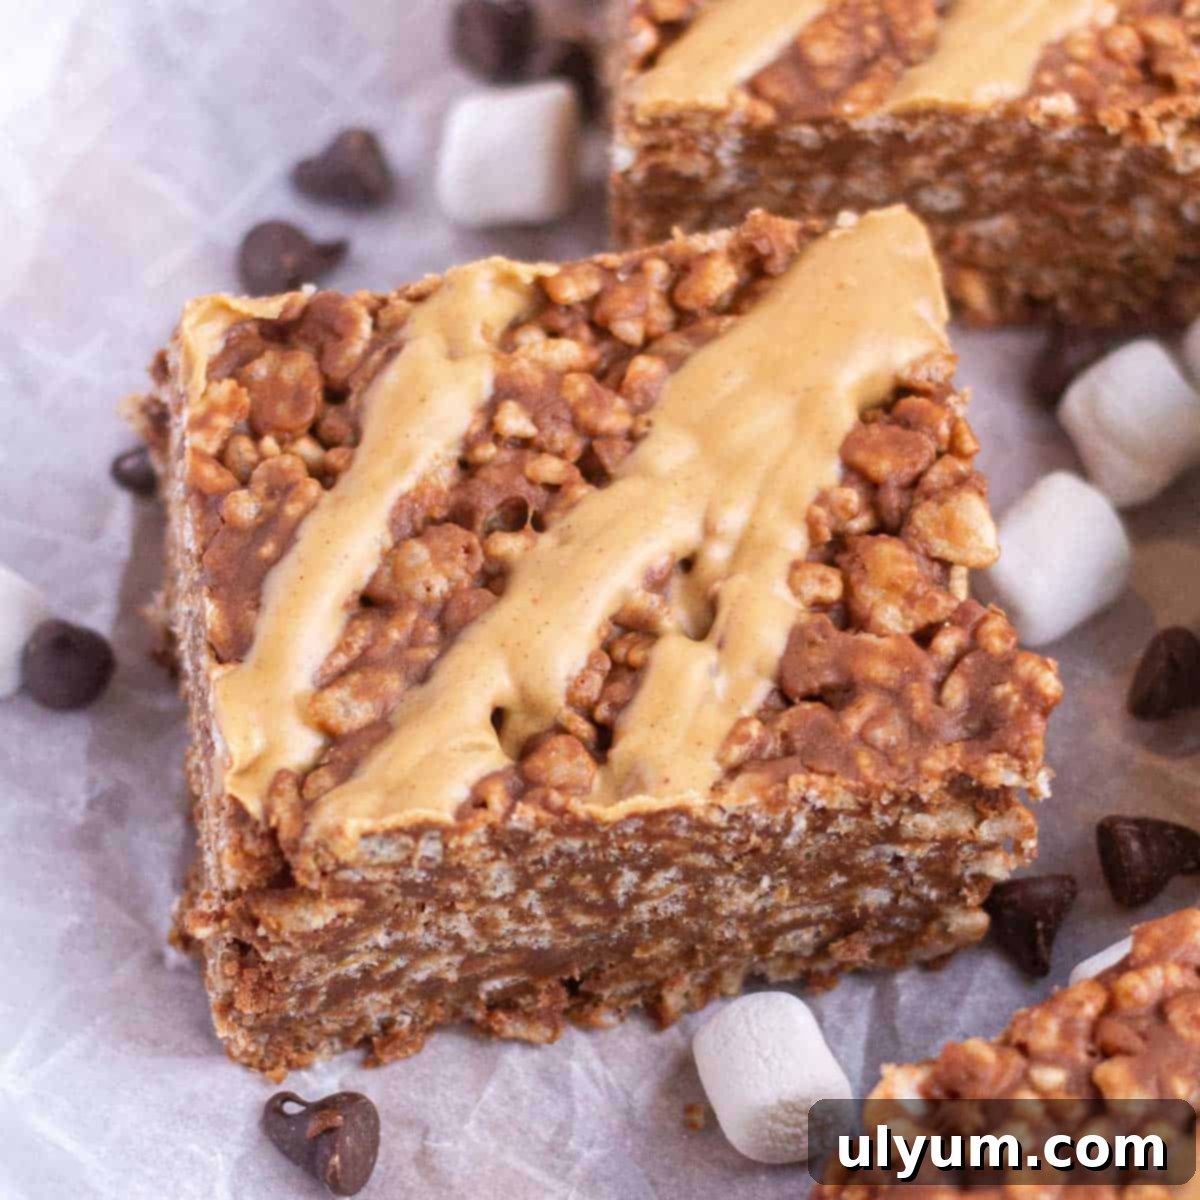
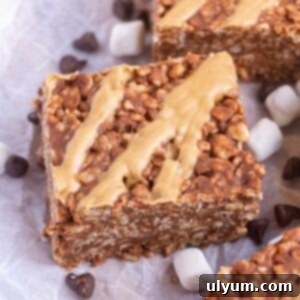
Imagine butter, smooth creamy peanut butter, luscious semisweet chocolate chips, and soft mini marshmallows, all gently melted together to create a heavenly coating for your crispy cereal. But the indulgence doesn’t stop there! Each square is crowned with a perfect, extra drizzle of warm peanut butter, adding another layer of nutty goodness that makes these treats utterly irresistible.
Whether you’re hosting a party, contributing to a bake sale, gathering with friends, or preparing for a holiday celebration, these chocolate peanut butter Rice Krispie treats are guaranteed to be a massive hit. They effortlessly bring smiles to both kids and adults, making them an ideal choice for any occasion where a quick, crowd-pleasing dessert is needed. Their straightforward preparation means you can whip up a batch in no time, leaving you more time to enjoy your event!
This beloved chocolate peanut butter recipe is a thoughtful adaptation inspired by the renowned Sally’s Baking Addiction, known for her impeccable dessert creations. While her site offers an excellent classic Rice Krispie treat recipe, our version elevates it with the addition of chocolate and a generous amount of peanut butter, creating a decadent twist on a timeless favorite.
If you’re looking to expand your baking repertoire after mastering these no-bake wonders, consider trying this fantastic chocolate chip cookie recipe for a chewy, classic bake, or venture into something a bit more adventurous with these charming s’mores macarons. Each offers a unique and satisfying baking experience!
This post contains affiliate links, which means I may earn a small commission from qualifying purchases made through these links, at no extra cost to you. As an Amazon Associate, I earn from qualifying purchases. This helps support the creation of more delicious recipes like this one!
Looking for the quick recipe? Jump to: Ingredients | Instructions | Full Recipe Card
Essential Ingredients for Your No-Bake Marvel
Creating these heavenly chocolate peanut butter Rice Krispie treats requires just a handful of simple ingredients, proving that the most delicious desserts don’t need to be complicated. With only seven key components, you’ll be amazed at the depth of flavor and texture you can achieve. Let’s delve into what you’ll need and why each ingredient plays a crucial role in perfecting your treats.
- Unsalted Butter: The foundation of our gooey mixture, butter adds richness and helps everything melt smoothly. Using unsalted butter allows you to control the overall saltiness of your treats. If you only have salted butter on hand, simply omit the additional salt listed in the recipe to prevent them from becoming too savory.
- Creamy Peanut Butter: For that signature smooth, nutty flavor and perfect consistency, creamy peanut butter is essential. While you could experiment with chunky for added texture, creamy blends seamlessly into the marshmallow mixture. We’ll be dividing this, using most for the base and reserving a small portion for the delightful drizzle on top. Opt for a classic, processed creamy peanut butter rather than natural, oil-separated varieties, as they tend to yield a more consistent and stable treat.
- Semisweet Chocolate Chips: These provide the rich chocolatey dimension without being overly sweet, balancing beautifully with the peanut butter and marshmallows. I highly recommend semisweet or dark chocolate chips for the best flavor contrast. Milk chocolate can be used if you prefer a sweeter treat, but it might make the overall flavor profile a bit too rich.
- Mini Marshmallows: The key to that classic chewy, gooey texture! While you can certainly use regular-sized marshmallows, miniature marshmallows are highly recommended. They melt much faster and more evenly, ensuring a smooth, lump-free mixture that perfectly coats the cereal. Always use fresh marshmallows for the best results, as stale ones can be difficult to melt properly.
- Pure Vanilla Extract: A touch of pure vanilla extract enhances all the other flavors, adding a warm, aromatic depth that makes these treats truly special. Don’t skip this ingredient, as it subtly elevates the overall taste.
- Salt: A small pinch of salt is vital to balance the sweetness from the chocolate, marshmallows, and peanut butter. It brings out the flavors and prevents the treats from being cloyingly sweet, creating a perfectly harmonious bite.
- Rice Krispies Cereal: The star of the show, providing the iconic light, crispy texture. Fresh cereal is crucial here; stale cereal can lead to soggy treats. Ensure your box is relatively new for maximum crunch.
Please refer to the detailed recipe card below for the exact quantities of each ingredient to ensure perfect results every time.
Step-by-Step Guide to Perfect Peanut Butter Rice Krispie Treats
Making these no-bake treats is a straightforward process, but following these steps carefully will ensure you get that ideal balance of gooey, chewy, and crispy perfection. Let’s get cooking!
In a large, heavy-bottomed pot, melt the unsalted butter over medium-low heat. This low and slow approach is important to prevent the butter from browning too quickly, which can affect the flavor. Once the butter is mostly melted, add 1-¾ cups of the creamy peanut butter (remember to reserve the remaining ¼ cup for your beautiful peanut butter drizzle later!) along with all the semisweet chocolate chips. Stir continuously with a silicone spatula until everything is smoothly melted and combined. Take your time with this step, ensuring no lumps remain and the mixture is uniform. Once you have a velvety smooth chocolate-peanut butter base, add the mini marshmallows. Continue stirring frequently until the marshmallows are completely melted and integrated into the mixture, creating a glossy, sticky coating. The key here is patience and consistent stirring to prevent sticking and burning.
Once your marshmallow mixture is smooth and fully combined, promptly remove the pot from the heat. This prevents overcooking, which can lead to hard treats. Immediately stir in the pure vanilla extract and the pinch of salt. The residual heat will help these flavors integrate beautifully. Work quickly but carefully in the next step, as the mixture will start to set as it cools.
Now, it’s time for the cereal! Gently fold in the Rice Krispies cereal, adding it one cup at a time. This method ensures that every single piece of cereal gets evenly coated with the rich chocolate peanut butter marshmallow mixture, resulting in consistent flavor and texture throughout your treats. Be careful not to crush the cereal during this process; a gentle folding motion is key to maintaining that signature crunch.
Prepare your 9×13 inch baking pan by either lightly spraying it with baking spray or lining it with parchment paper, leaving an overhang on the sides for easy removal. This preparation is key to preventing sticking. Transfer the warm Rice Krispies mixture into the prepared pan. To spread and lightly press the mixture evenly, use a buttered spatula or a piece of wax paper. The buttered surface prevents the sticky mixture from adhering to your tools. Remember to press firmly enough to compact the treats, but not so hard that you crush the delicate cereal, which would make them dense instead of delightfully chewy and crispy.
For the final touch, take the reserved ¼ cup of creamy peanut butter and place it in a small, microwave-safe bowl. Microwave it on high for about 30–45 seconds, or until it’s warmed and runny enough to drizzle easily. Now, get creative! Drizzle the melted peanut butter over the entire surface of your Rice Krispie treats using a spoon for a rustic look, or for more precision, spoon it into a small sandwich zipper baggie. Snip a tiny corner off the baggie and use it as a makeshift piping bag to create elegant zig-zags or patterns. This drizzle not only adds visual appeal but also a burst of concentrated peanut butter flavor!
Pro Tip for Drizzling: The sandwich zipper baggie method is fantastic for creating fine, controlled lines of peanut butter. Ensure the snip is small; you can always make it larger if needed.
Finally, transfer the pan to the refrigerator and let it chill for at least 1 hour. This crucial step allows the marshmallow, chocolate, and peanut butter mixture to firm up completely, making the treats much easier to cut into clean squares and less sticky to handle. Once fully set, you can cover the pan and store the treats at room temperature for continued enjoyment.
Recommended Equipment for Easy Preparation
While these treats are no-bake and relatively simple, having the right tools can make the process even smoother and more enjoyable. Here are a few pieces of equipment that will be incredibly helpful:
- 9×13 Inch Baking Pan: This standard size is perfect for creating a batch of treats that are not too thin and not too thick. The depth allows for that ideal chewy bite. I particularly love using Wilton baking pans, especially those that come with lids. A lid is a fantastic bonus, making storage and transport incredibly convenient.
- Large Pot: A sturdy, large pot, ideally a 6-quart stockpot or similar size, is essential. You’ll need ample space to melt the butter, peanut butter, chocolate, and marshmallows, and then comfortably fold in the voluminous Rice Krispies cereal without spillage. A non-stick surface can also be a lifesaver for easy cleanup.
- Silicone Spatula: This tool is your best friend when dealing with sticky mixtures like melted marshmallows. Unlike a wooden spoon, a silicone spatula is non-stick and flexible, allowing you to stir effectively and scrape the sides of the pot clean with minimal effort. It helps prevent the gooey cereal mixture from clinging stubbornly to your utensil, making the mixing process much smoother.
Storage and Freshness Tips
Proper storage is key to keeping your chocolate peanut butter Rice Krispie treats fresh, soft, and delicious. Here’s how to ensure they last as long as possible:
- Room Temperature Storage: Once your treats have fully set after refrigeration, they are best stored at room temperature. Place them in an airtight container to protect them from air exposure, which can cause them to harden and become stale. Stored this way, they will remain wonderfully fresh and chewy for up to 3 days. Avoid refrigerating them for extended periods after they’ve set, as this can sometimes make them overly firm.
- Freezing for Longer Shelf Life: If you want to prepare these treats ahead of time or simply have leftovers you wish to save, they freeze beautifully! To freeze, cut the treats into individual squares. Arrange them in layers in an airtight freezer-safe container, separating each layer with a sheet of wax paper or parchment paper to prevent sticking. Freeze for up to 6 weeks. When you’re ready to enjoy them, simply thaw the treats at room temperature for a couple of hours. They will retain their delightful flavor and texture.
Top Tip for the Best No-Bake Treats
The secret to truly spectacular and perfectly gooey Rice Krispie treats lies in one often-overlooked detail: the freshness of your marshmallows. For the best, softest, and most evenly melted marshmallow mixture, always use fresh marshmallows. Opened bags of marshmallows that have been exposed to air for too long tend to dry out, becoming stiff and resistant to melting smoothly. This can result in a lumpy, less uniform mixture and ultimately, a harder treat. So, grab a new bag of mini marshmallows each time you make these, and you’ll notice a significant difference in the texture and overall quality of your delicious chocolate peanut butter Rice Krispie treats!
Frequently Asked Questions About These Treats
Absolutely! While the recipe recommends mini marshmallows for their quick and even melting properties, you can certainly use regular-sized marshmallows or even jumbo marshmallows if that’s what you have. Just be aware that larger marshmallows will take a bit longer to melt completely, and you’ll need to stir more frequently to ensure a smooth, lump-free mixture. Cut larger marshmallows into smaller pieces if you want to speed up the melting process.
Yes, using fresh marshmallows is truly key to achieving the best possible texture for your treats. Marshmallows that have been opened and exposed to air for an extended period tend to dry out and become harder. When old marshmallows are melted, they often don’t become as smooth and gooey as fresh ones, sometimes resulting in a stiffer or slightly granular texture in your finished treats. For that perfect soft, chewy, and stretchy marshmallow binder, always reach for a fresh bag.
Traditional Kellogg’s Rice Krispies cereal is not considered gluten-free, despite being made from rice. This is because it contains malt flavoring, which is derived from barley and therefore contains gluten. If you need a strictly gluten-free alternative for your cereal, look for certified gluten-free rice cereals, such as Nature’s Path Organic Crispy Rice Cereal, or consider using a naturally gluten-free cereal like Cheerios (check labels for oat purity). Additionally, it’s important to verify that your marshmallows are gluten-free, as some brands may contain hidden gluten ingredients. Always read product packaging carefully to ensure all ingredients meet your dietary needs.
For the cleanest cuts and the best firm yet chewy texture, allow your treats to chill in the refrigerator for at least 1 hour. This hour-long cooling period gives the marshmallow, peanut butter, and chocolate mixture ample time to fully set and firm up. If you try to cut them too soon, they will be very soft and sticky, making it difficult to get neat squares. Patience during this chilling phase will be rewarded with perfectly formed, easy-to-handle treats.
One of the most common reasons for hard Rice Krispie treats is overcooking the marshmallow mixture. Heating the marshmallows and other ingredients on too high a heat setting, or for too long, can cause the sugars in the marshmallows to caramelize excessively or become crystalline. This structural change leads to a hard, brittle texture once the treats cool. To prevent this, always melt your butter, peanut butter, chocolate, and marshmallows over low or medium-low heat, stirring frequently, and remove the mixture from the heat as soon as it’s fully melted and smooth. Gentle heat is the key to maintaining that classic soft and chewy consistency.
Please feel free to leave any additional questions or comments below, and I will do my best to provide helpful answers and tips!
📖 Full Recipe: Chocolate Peanut Butter Rice Krispie Treats
Pin | Save | Email | Print
Chocolate Peanut Butter Rice Krispie Treats
5 from 1 vote
Equipment
-
9×13 baking dish
-
Large pot
-
Silicone spatula
Ingredients
- ¾ cup unsalted butter
- 2 cups creamy peanut butter divided
- 12 ounces semisweet chocolate chips
- 20 ounces mini marshmallows two 10 oz bags
- ½ teaspoon pure vanilla extract
- ⅛ teaspoon salt
- 9 cups Rice Krispies cereal
Instructions
-
Melt butter over medium-low heat in a large pot. Next, add 1-¾ cup of the creamy peanut butter (reserving ¼ cup for the peanut butter drizzle) and chocolate chips and stir with a silicone spatula until melted.
-
Once combined, add the marshmallows stirring frequently until completely melted.
-
Remove the marshmallow mixture from the heat and stir in the vanilla extract and salt.
-
Fold in the cereal one cup at a time to ensure the Rice Krispies are evenly coated.
-
Spray a 9×13 inch baking pan with baking spray or line with parchment paper. Spread the Rice Krispies mixture into the prepared pan using a buttered spatula or wax paper to evenly and lightly press it in.
-
In a small, microwave-safe bowl, microwave the ¼ cup of reserved peanut butter on high for 30–45 seconds. Drizzle over the Rice Krispies using a spoon or a sandwich baggie as a piping bag.
-
Refrigerate the pan for at least 1 hour. Cover and store at room temperature once set.
Notes
Store up to 3 days at room temperature in an airtight container. To freeze, place the treats in layers separated by wax paper in an airtight container. Freeze for up to 6 weeks.
Adapted from Sally’s Baking Addiction.
Nutrition
Carbohydrates: 48g
Protein: 9g
Fat: 27g
Saturated Fat: 11g
Polyunsaturated Fat: 4g
Monounsaturated Fat: 10g
Trans Fat: 1g
Cholesterol: 19mg
Sodium: 225mg
Potassium: 283mg
Fiber: 3g
Sugar: 26g
Vitamin A: 1059IU
Vitamin C: 8mg
Calcium: 25mg
Iron: 5mg
Tried this recipe?Rate it to let me know how it was!
