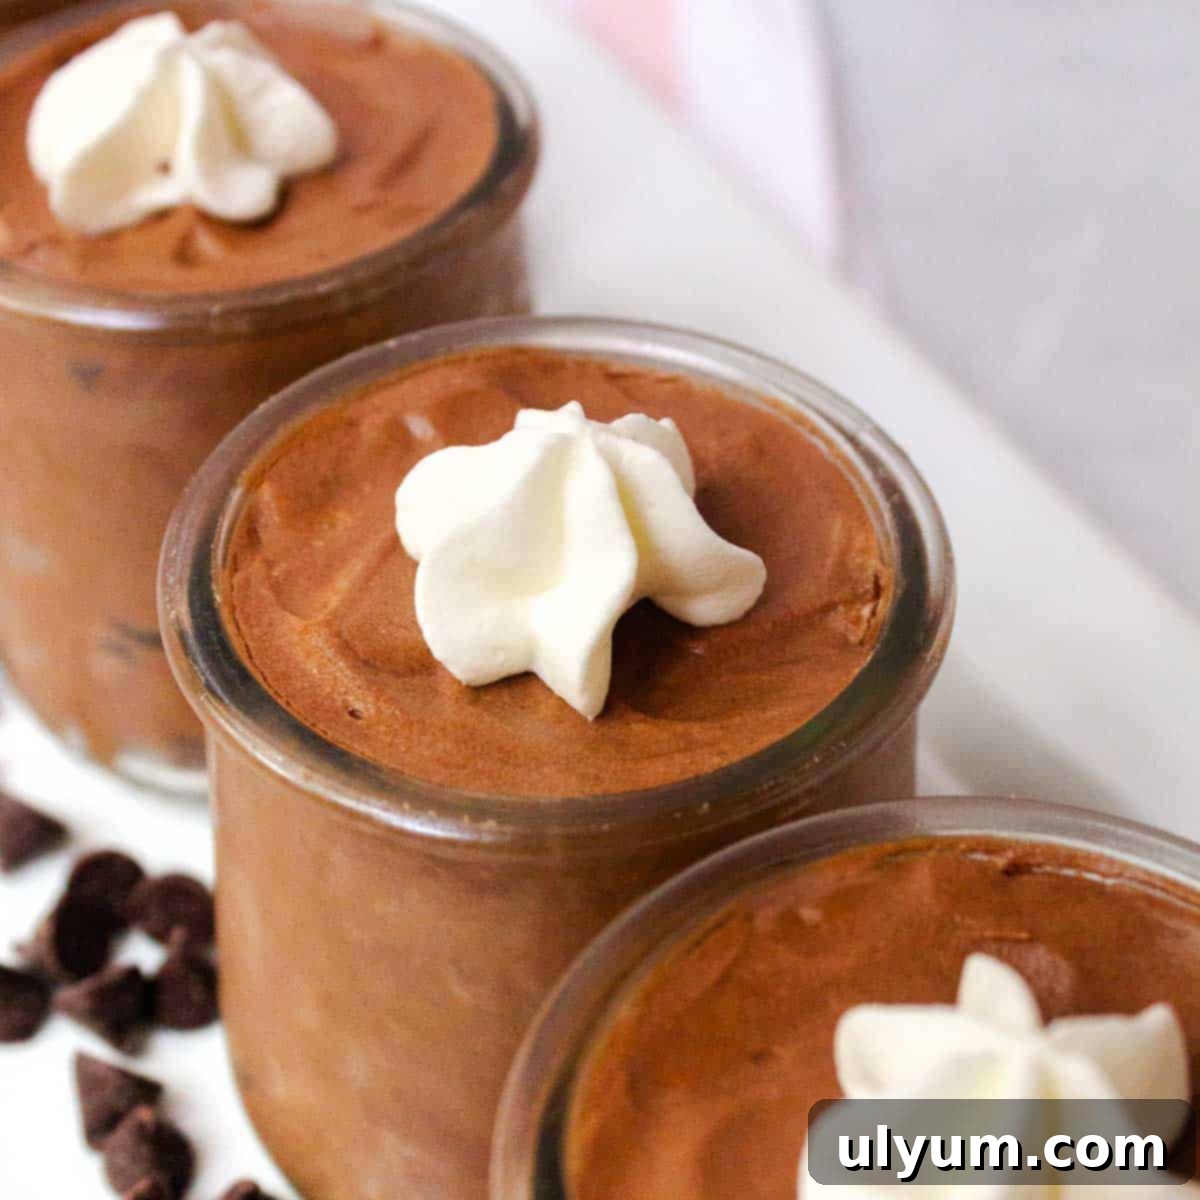
Effortless Elegance: The Ultimate 2-Ingredient Chocolate Mousse Recipe for Quick Decadence
Prepare to be utterly enchanted by this incredibly simple yet utterly decadent 2-ingredient chocolate mousse recipe. Imagine a dessert so velvety smooth, so rich in chocolate flavor, and so wonderfully airy that it feels like a cloud melting in your mouth. The best part? You only need two common ingredients: high-quality chocolate chips and luscious heavy cream. This isn’t just an easy recipe; it’s a game-changer for anyone craving a gourmet dessert without the fuss.
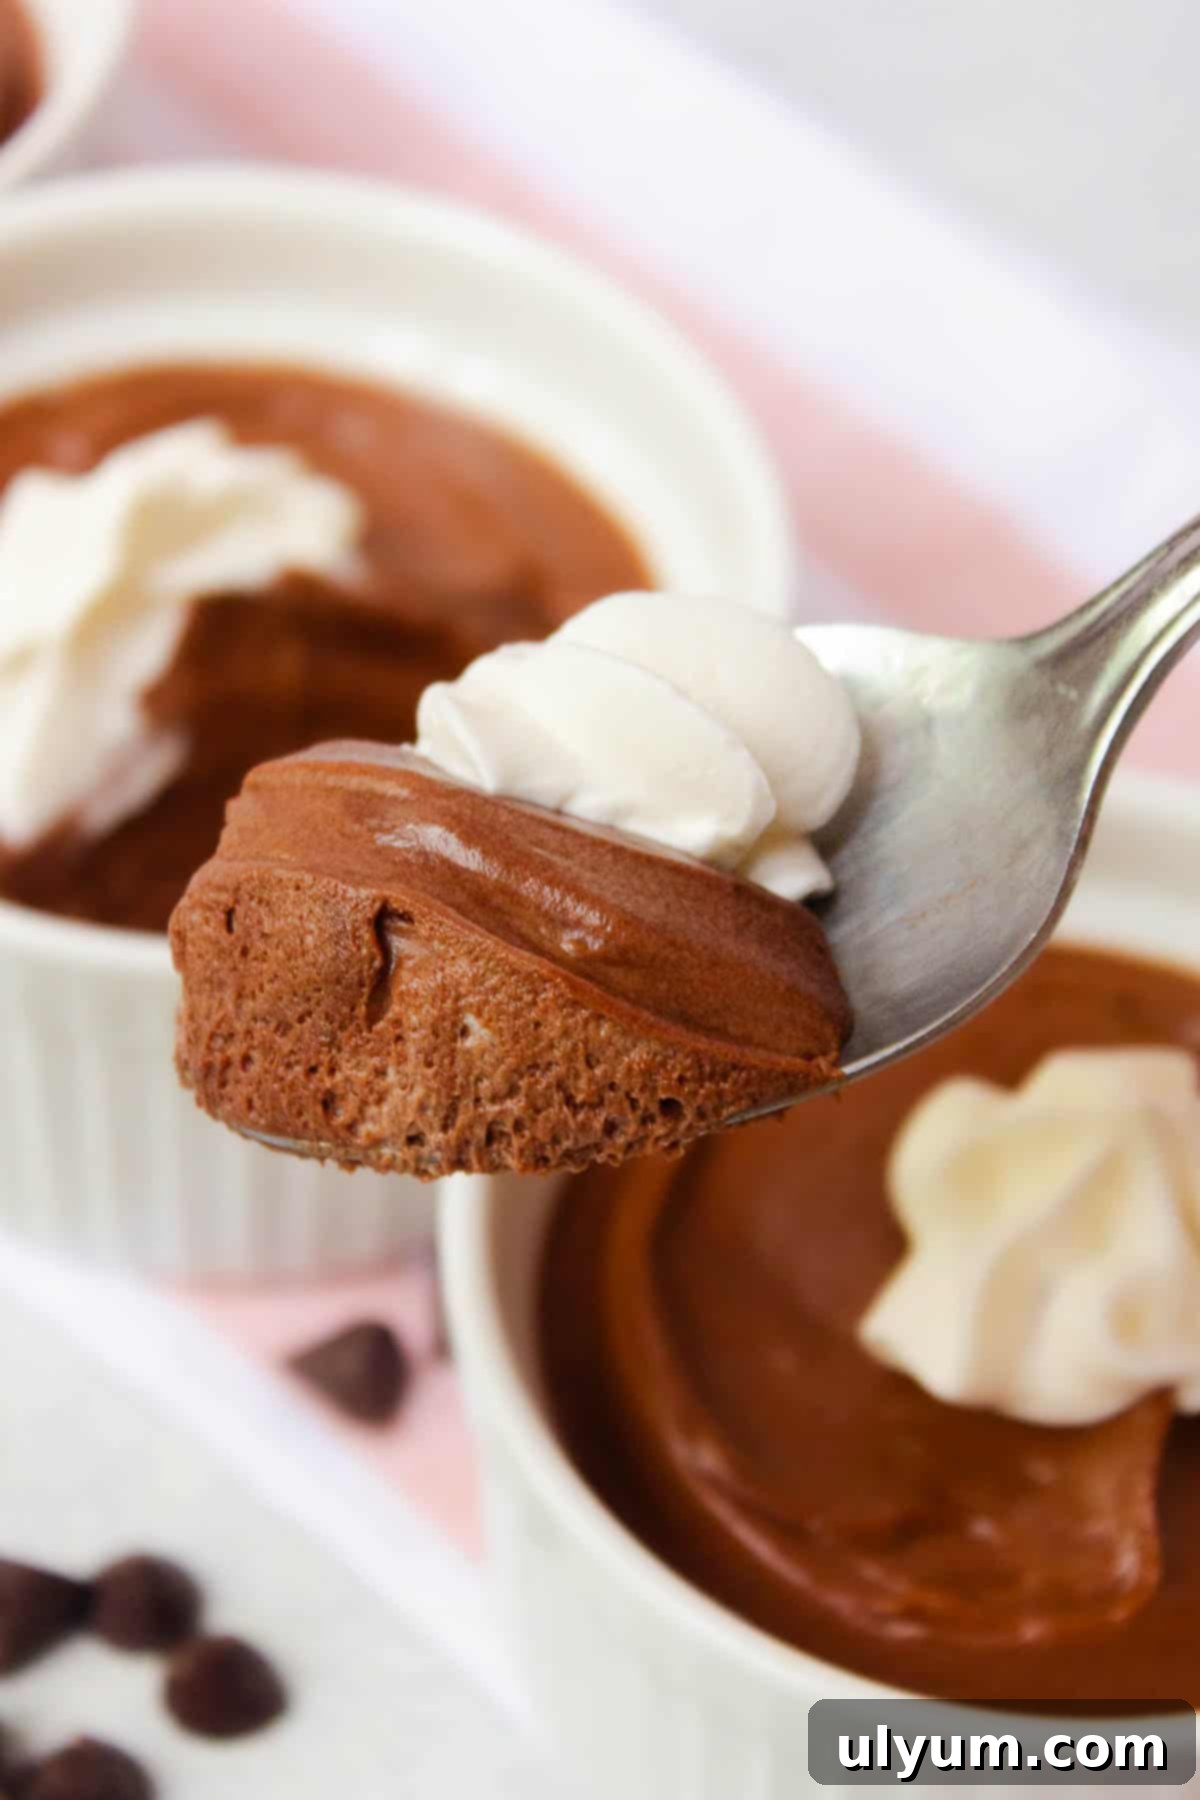
Our journey to perfect chocolate mousse begins with melting chocolate chips into warm heavy whipping cream to create a rich, glossy chocolate ganache. This ganache then becomes the star, gently folded into freshly whipped cream. The result is a light, airy, and utterly creamy chocolate mousse with an exquisite texture that rivals traditional, more complex recipes. Forget the long ingredient lists, the delicate egg tempering, or the endless steps – this recipe simplifies decadence into just a few moments of preparation.
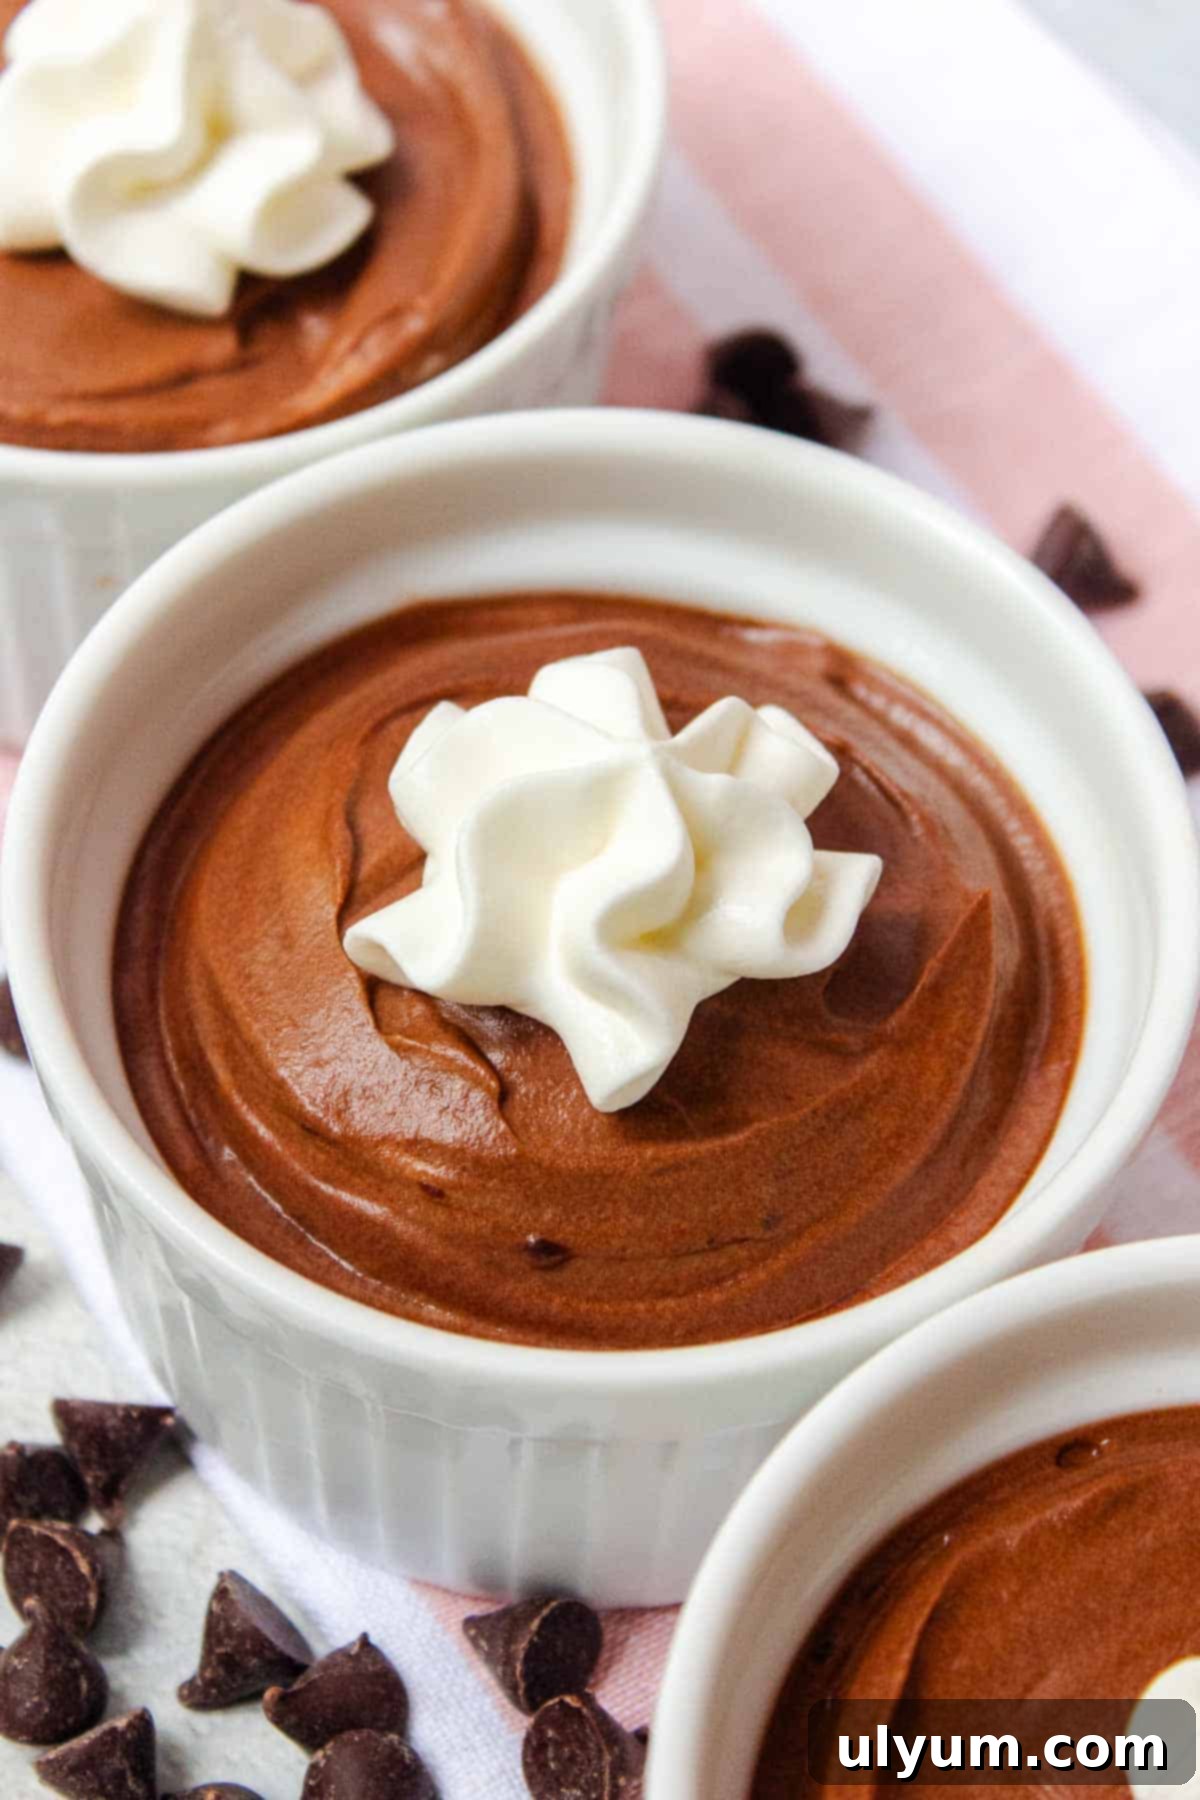
This delightful dessert is perfect for any occasion. Whether you’re planning a romantic date night, hosting an elegant dinner party, or preparing a special treat for a holiday gathering, this homemade chocolate mousse offers a touch of sophistication with minimal effort. Its fluffy texture and deep chocolate flavor make it a guaranteed crowd-pleaser, and serving it chilled in individual ramekins adds an extra layer of charm.
What sets this recipe apart is its incredible simplicity and accessibility. It’s an **eggless chocolate mousse recipe** and a fantastic **no-bake dessert cup recipe**, meaning you won’t need an ice bath, a food processor, instant pudding, a piping bag, or a slow cooker. All you’ll need are basic kitchen tools: a couple of mixing bowls, a whisk, a hand mixer (or stand mixer), a spatula, and your chosen individual dessert cups or bowls. This truly makes gourmet dessert creation accessible to everyone, regardless of their baking experience.
This post contains affiliate links. As an Amazon Associate, I earn from qualifying purchases.
If you’re a fan of uncomplicated desserts that deliver big on flavor, you’ll also adore our other popular recipes like the Easy Strawberry Jello Pie and the decadent 3-Ingredient Oreo Pie. These are perfect companions for anyone looking to expand their repertoire of simple, impressive treats.
Recipe Highlights: Why You’ll Love This Chocolate Mousse
- Unbelievably Simple Ingredients: Only two core ingredients stand between you and this luxurious dessert. This truly is an easy **two-ingredient chocolate mousse** that doesn’t compromise on taste or texture.
- Effortlessly Easy Recipe: With clear, straightforward steps, this recipe is significantly easier than traditional chocolate mousse preparations, which often involve eggs, precise temperature control, and more complex techniques. You’ll be amazed at how quickly this comes together.
- No-Bake & Eggless: Forget turning on the oven or worrying about raw eggs. This chilled dessert is perfect for any time of year and is safe for those with egg sensitivities.
- Quick to Prepare: Actual hands-on prep time is minimal, making it an ideal last-minute dessert for entertaining or a spontaneous sweet craving.
- Elegant Presentation: Served in individual ramekins or glasses, this mousse looks sophisticated and professional, perfect for impressing guests.
- Versatile & Customizable: While delicious on its own, this mousse serves as a perfect base for various toppings and flavor variations, allowing you to tailor it to your preference.
[feast_advanced_jump_to]
Essential Ingredients for Your Simple Chocolate Mousse
The beauty of this recipe lies in its minimalist approach. With just two main components, quality is key to achieving that perfect, dreamy texture and rich flavor. Here’s a closer look at what you’ll need:
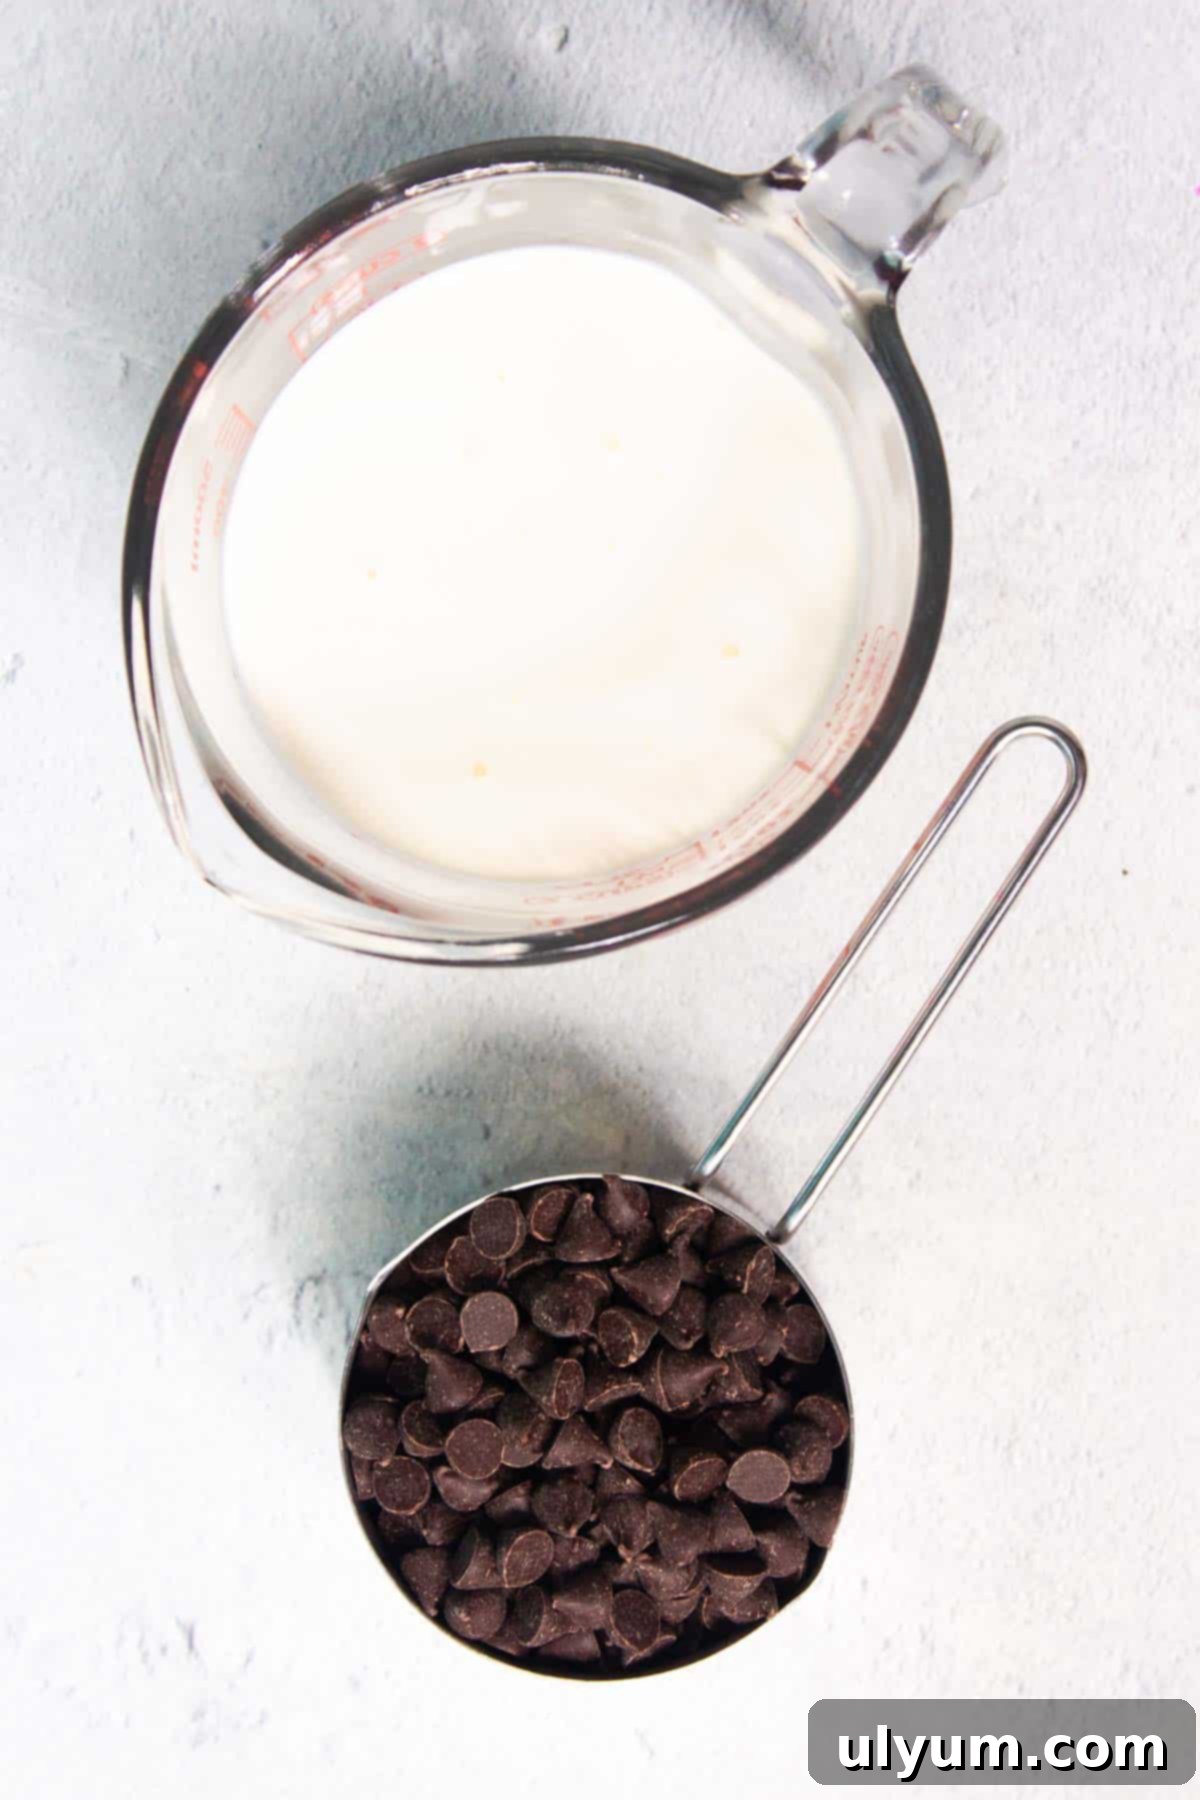
- Heavy Cream – You’ll need cold heavy whipping cream, specifically indicated as “divided.” This means the total amount specified in the recipe card won’t be used all at once but rather split across different stages of the preparation. Using cold cream is crucial for achieving stiff peaks when whipping, which gives the mousse its characteristic light and airy texture. Ensure you’re using true heavy cream (sometimes labeled “heavy whipping cream”), which has a high fat content (typically 36% or more) necessary for whipping.
- Semi-Sweet Chocolate Chips – For the best flavor, opt for high-quality chocolate chips. Brands like Ghirardelli or Guittard work wonderfully, providing a rich, balanced chocolate taste. While semi-sweet is a classic choice, you can also experiment with mini chocolate chips for quicker melting, or even use milk chocolate for a sweeter profile or dark chocolate for a more intense, less sweet dessert. The quality of your chocolate significantly impacts the final taste, so choose wisely!
For precise measurements, please refer to the recipe card below. Remember, while the ingredient list is short, selecting good quality ingredients will elevate your homemade chocolate mousse to a truly luxurious treat.
Step-by-Step Instructions: Creating Your Dreamy Chocolate Mousse
Follow these simple steps to create a heavenly 2-ingredient chocolate mousse that will impress without the stress. Precision is key, but don’t worry, we’ll guide you through each stage to ensure perfect results every time.
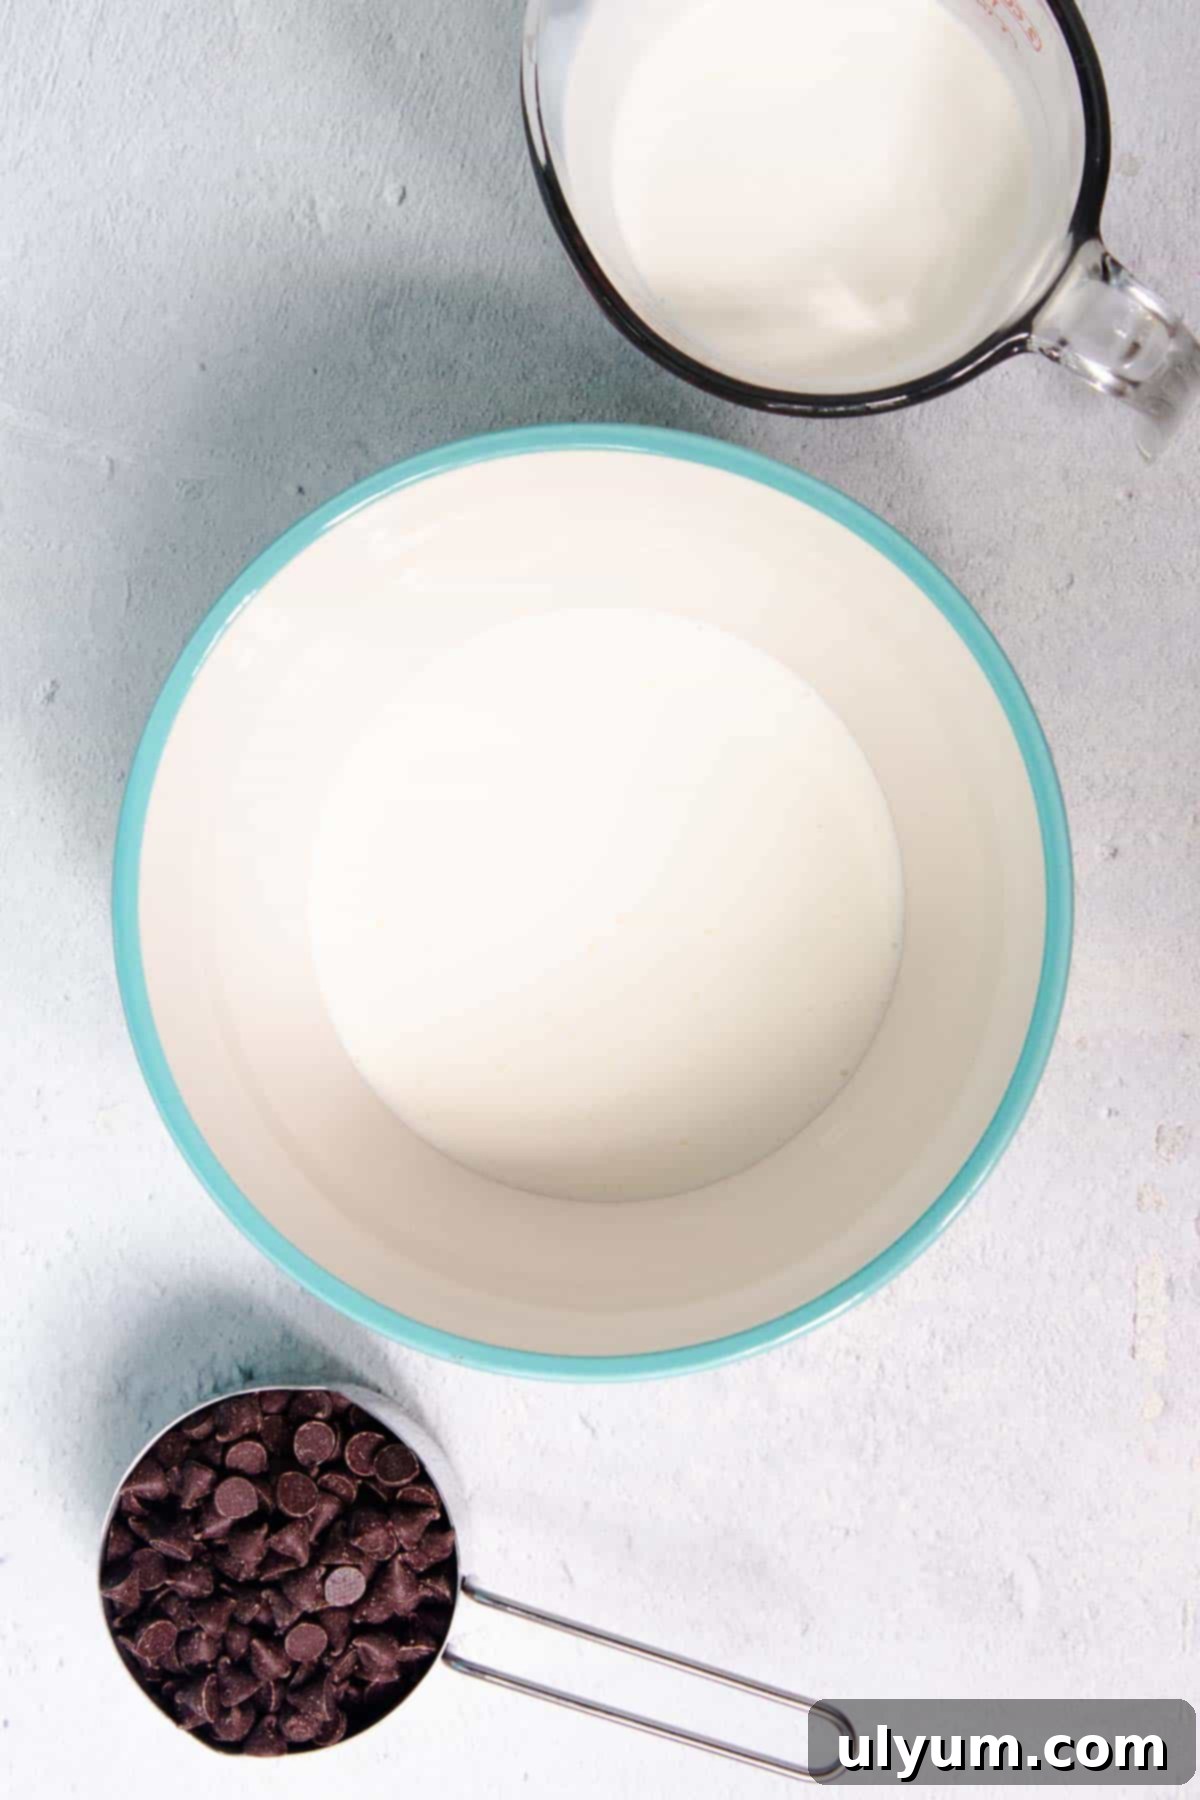
Step 1: Gently Heat the Cream. Begin by heating ½ cup of your heavy cream. You can do this in a small saucepan over medium heat, stirring occasionally until it’s just under a boil (you’ll see small bubbles forming around the edges, but it shouldn’t be vigorously boiling). Alternatively, for a quicker method, place the cream in a microwave-safe bowl and heat for 50 seconds to 1 minute. The goal is to get the cream hot enough to melt the chocolate chips completely.
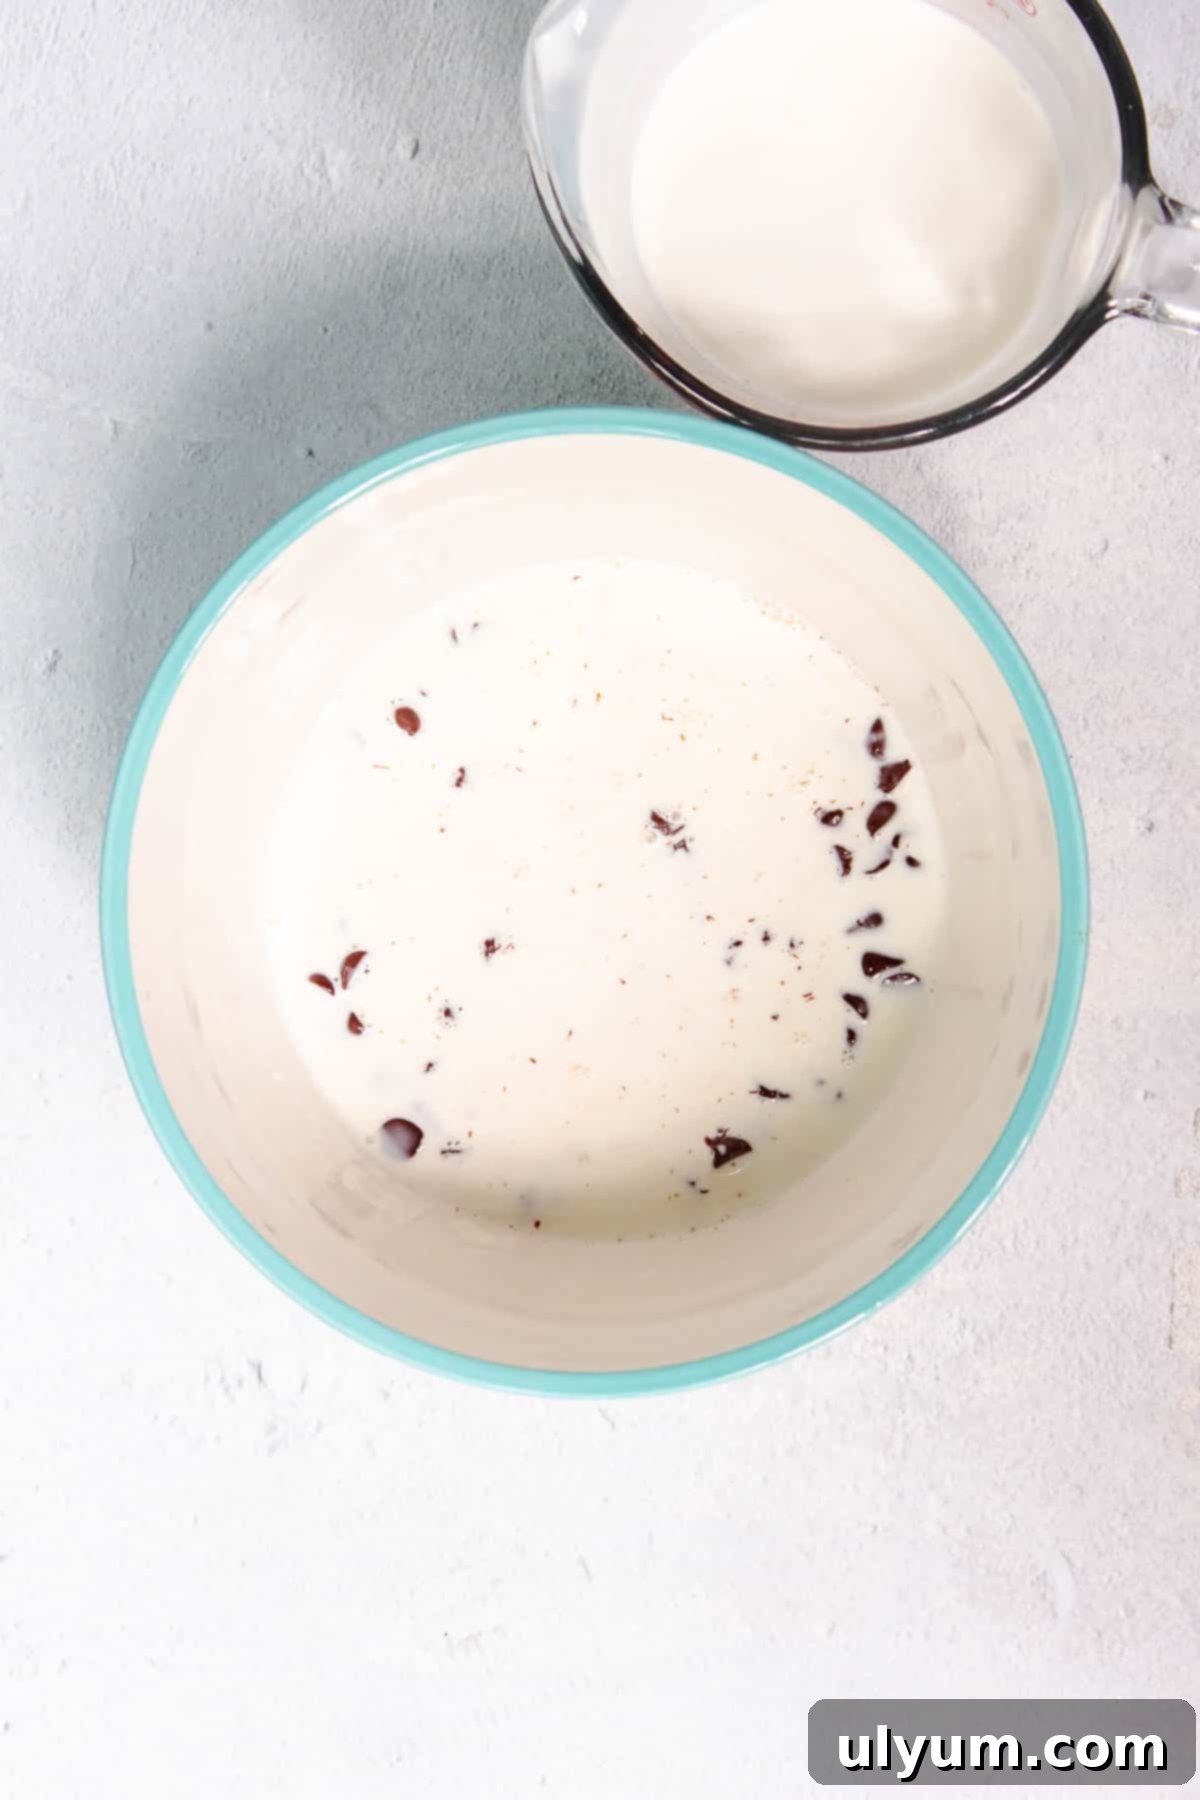
Step 2: Create the Chocolate Ganache. In a medium mixing bowl, combine your chosen chocolate chips with the hot, scalded cream. Make sure all the chocolate chips are fully submerged in the warm liquid. Let this mixture sit undisturbed for 1-2 minutes. This brief resting period allows the heat from the cream to gently melt the chocolate, preventing it from seizing. After resting, whisk the mixture until the chocolate is completely melted and the ganache is smooth, glossy, and beautifully combined. Set this luscious melted chocolate ganache aside to cool slightly while you prepare the whipped cream.
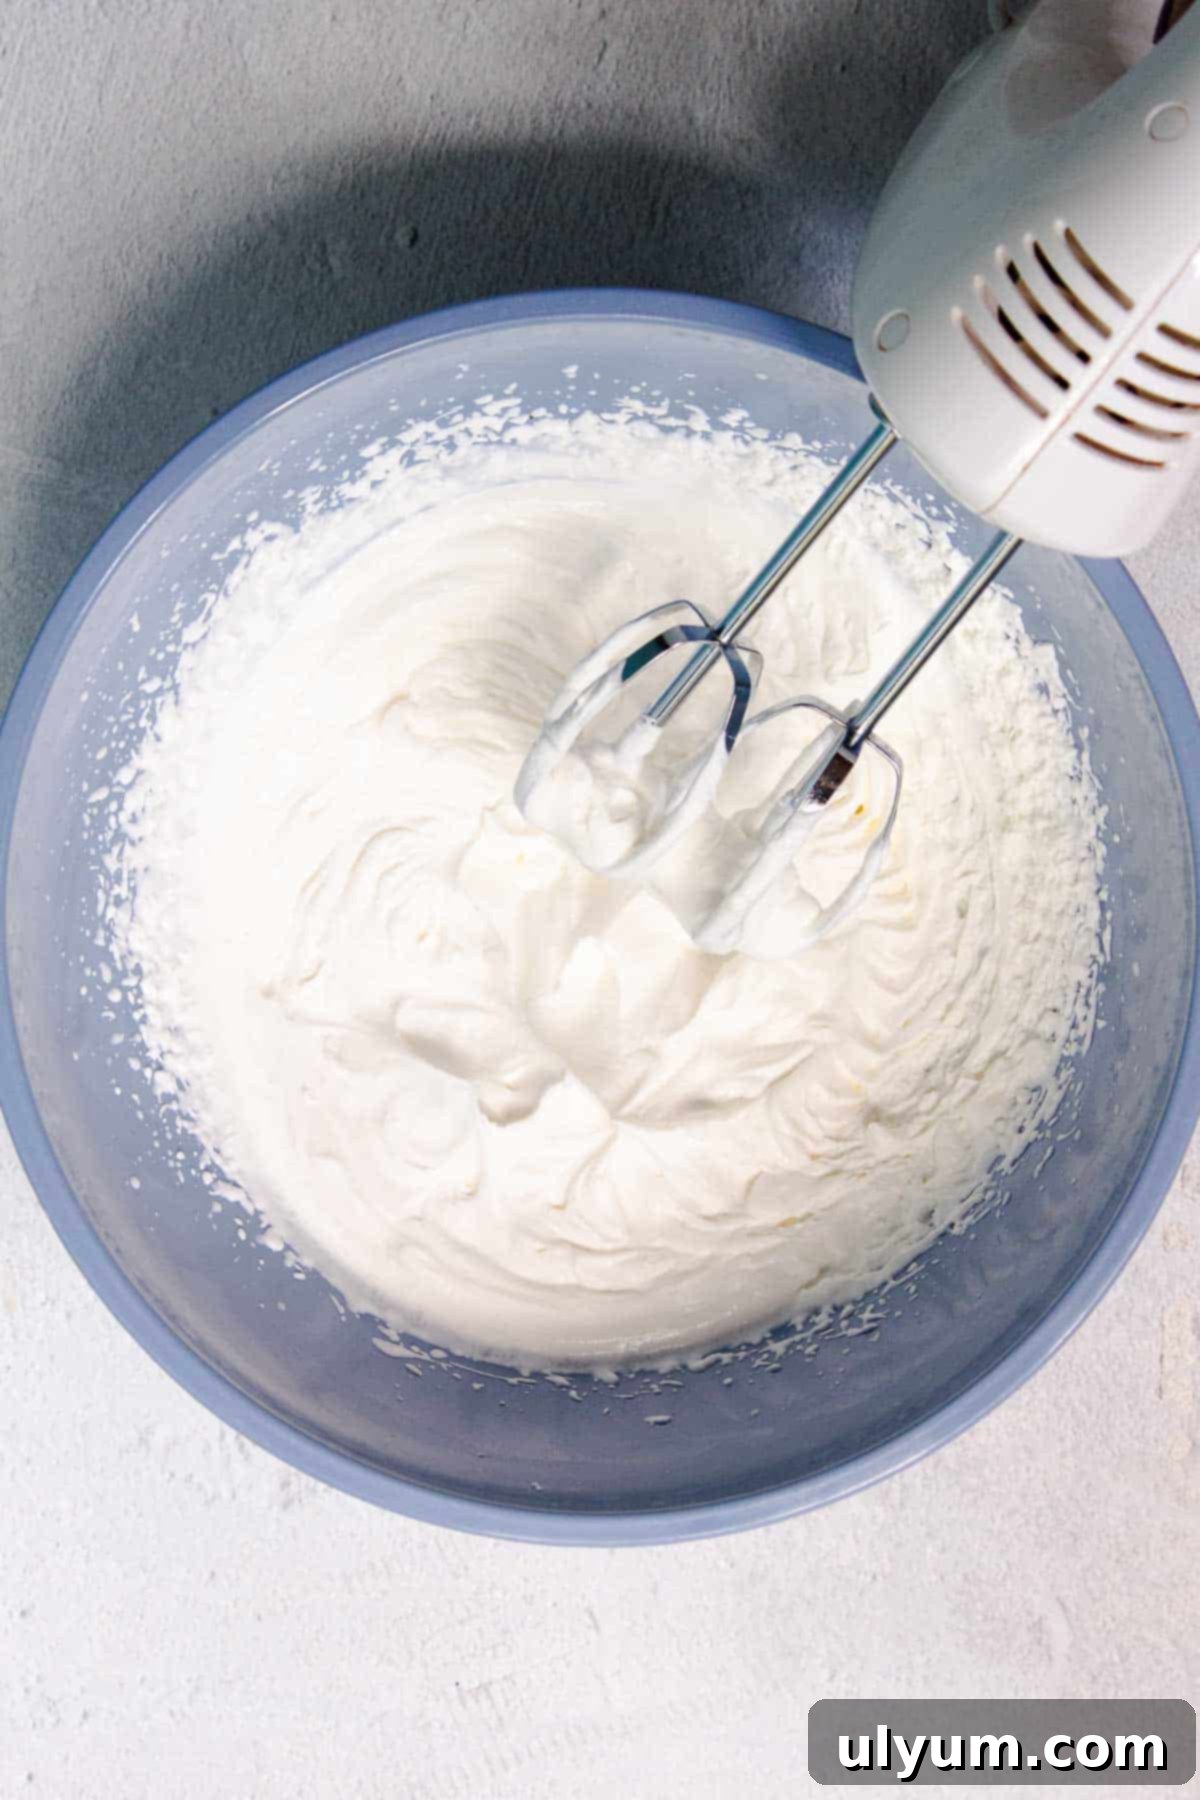
Step 3: Whip the Remaining Cream. In a separate, clean medium mixing bowl, beat the remaining heavy cream until stiff peaks form. For best results, ensure both the bowl and beaters are very cold – you can even chill them in the freezer for 10-15 minutes beforehand. Start beating on low speed with an electric hand mixer or a stand mixer fitted with a wire whisk attachment, gradually increasing to high speed as the cream begins to thicken. Continue beating until the cream holds its shape firmly and stiff peaks are achieved. Be careful not to over-whip, as you risk turning it into butter!
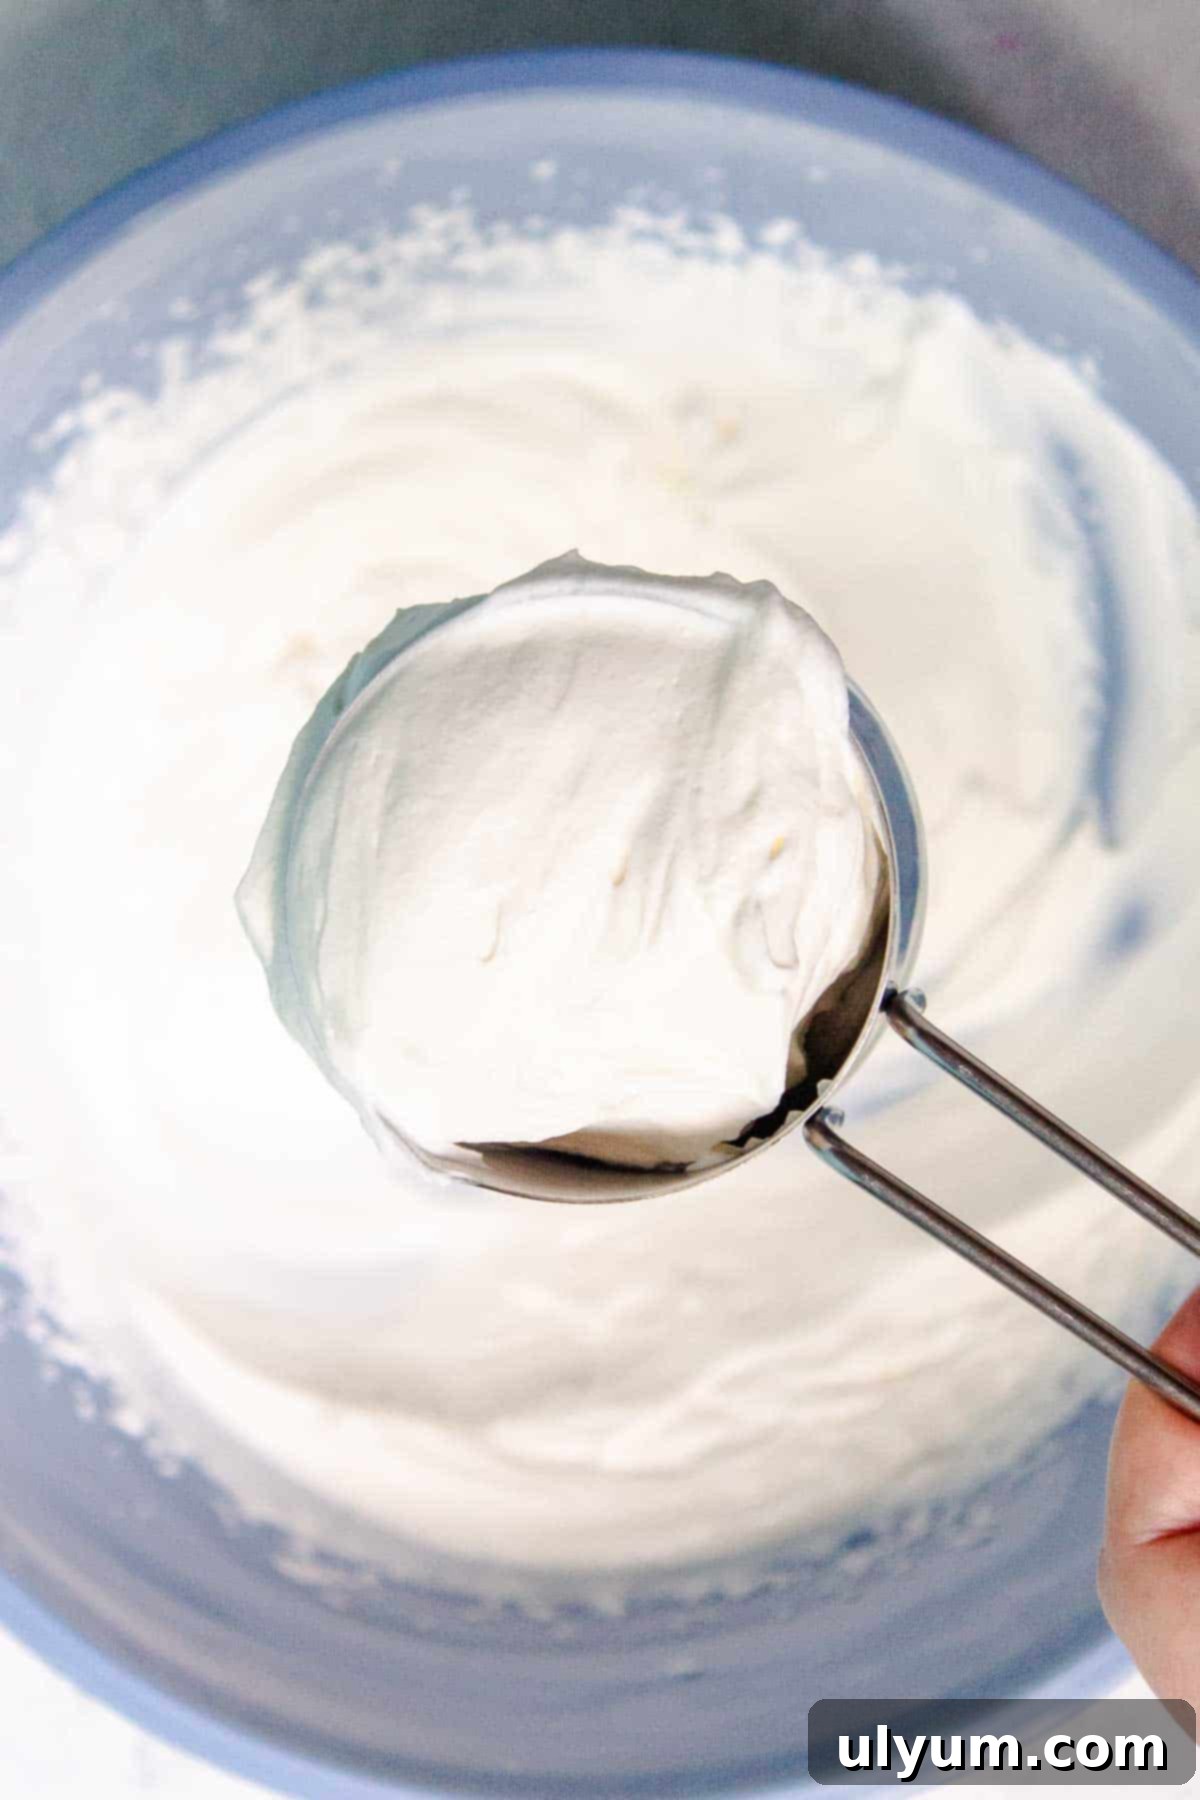
Step 4: Reserve Whipped Cream for Topping. Once your whipped cream is ready, set aside up to ½ cup in a separate small container. Cover it tightly and store it in the refrigerator. This reserved whipped cream will serve as a beautiful and delicious garnish for your finished chocolate mousse, adding a professional touch when serving.
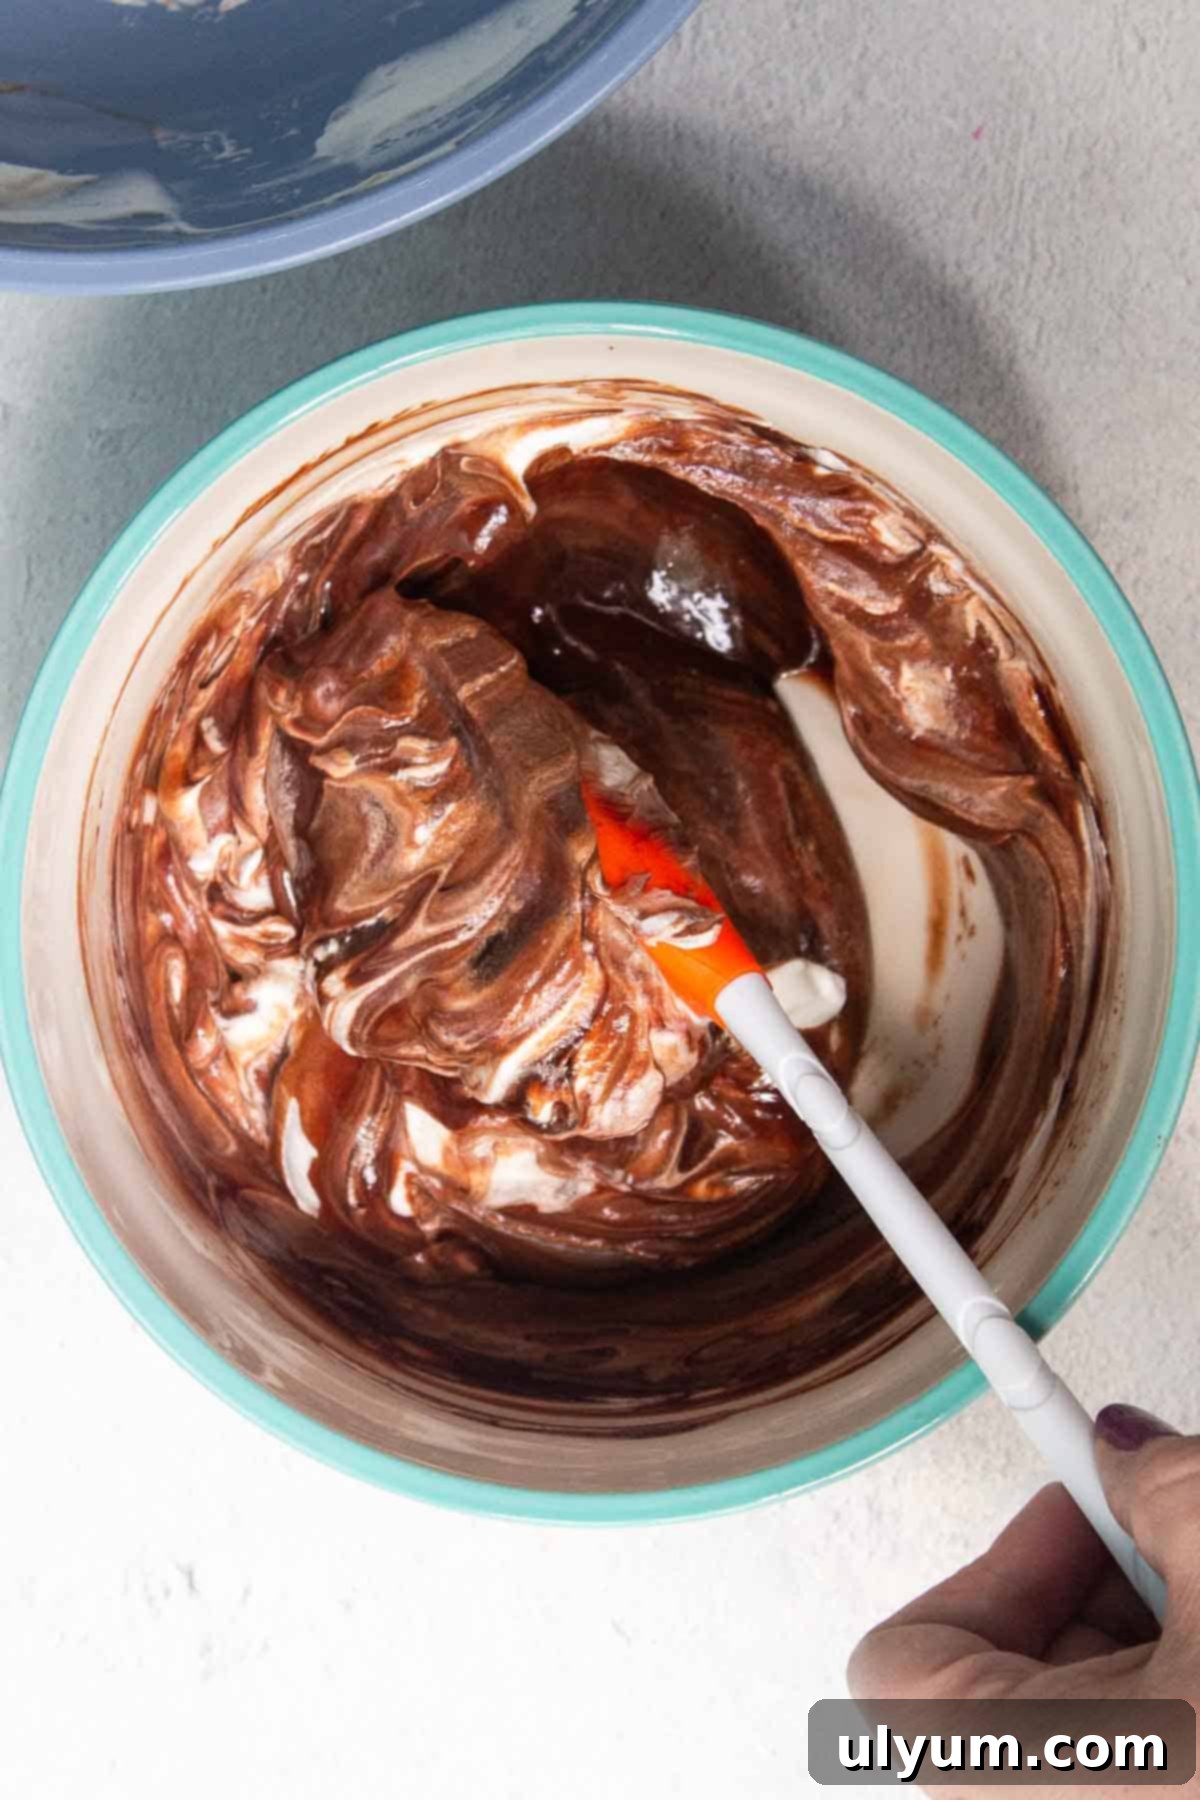
Step 5: Gently Fold in Whipped Cream. This step is crucial for achieving the mousse’s signature airy texture. Using a silicone spatula (or a large spoon), gently fold half of the remaining whipped cream into the cooled chocolate ganache. Use a “cut and fold” motion: cut down through the center of the mixture, scoop up from the bottom, and fold it over the top. Repeat this process with the second half of the whipped cream until just combined. The goal is to incorporate the whipped cream without deflating all the air you’ve just whipped in.
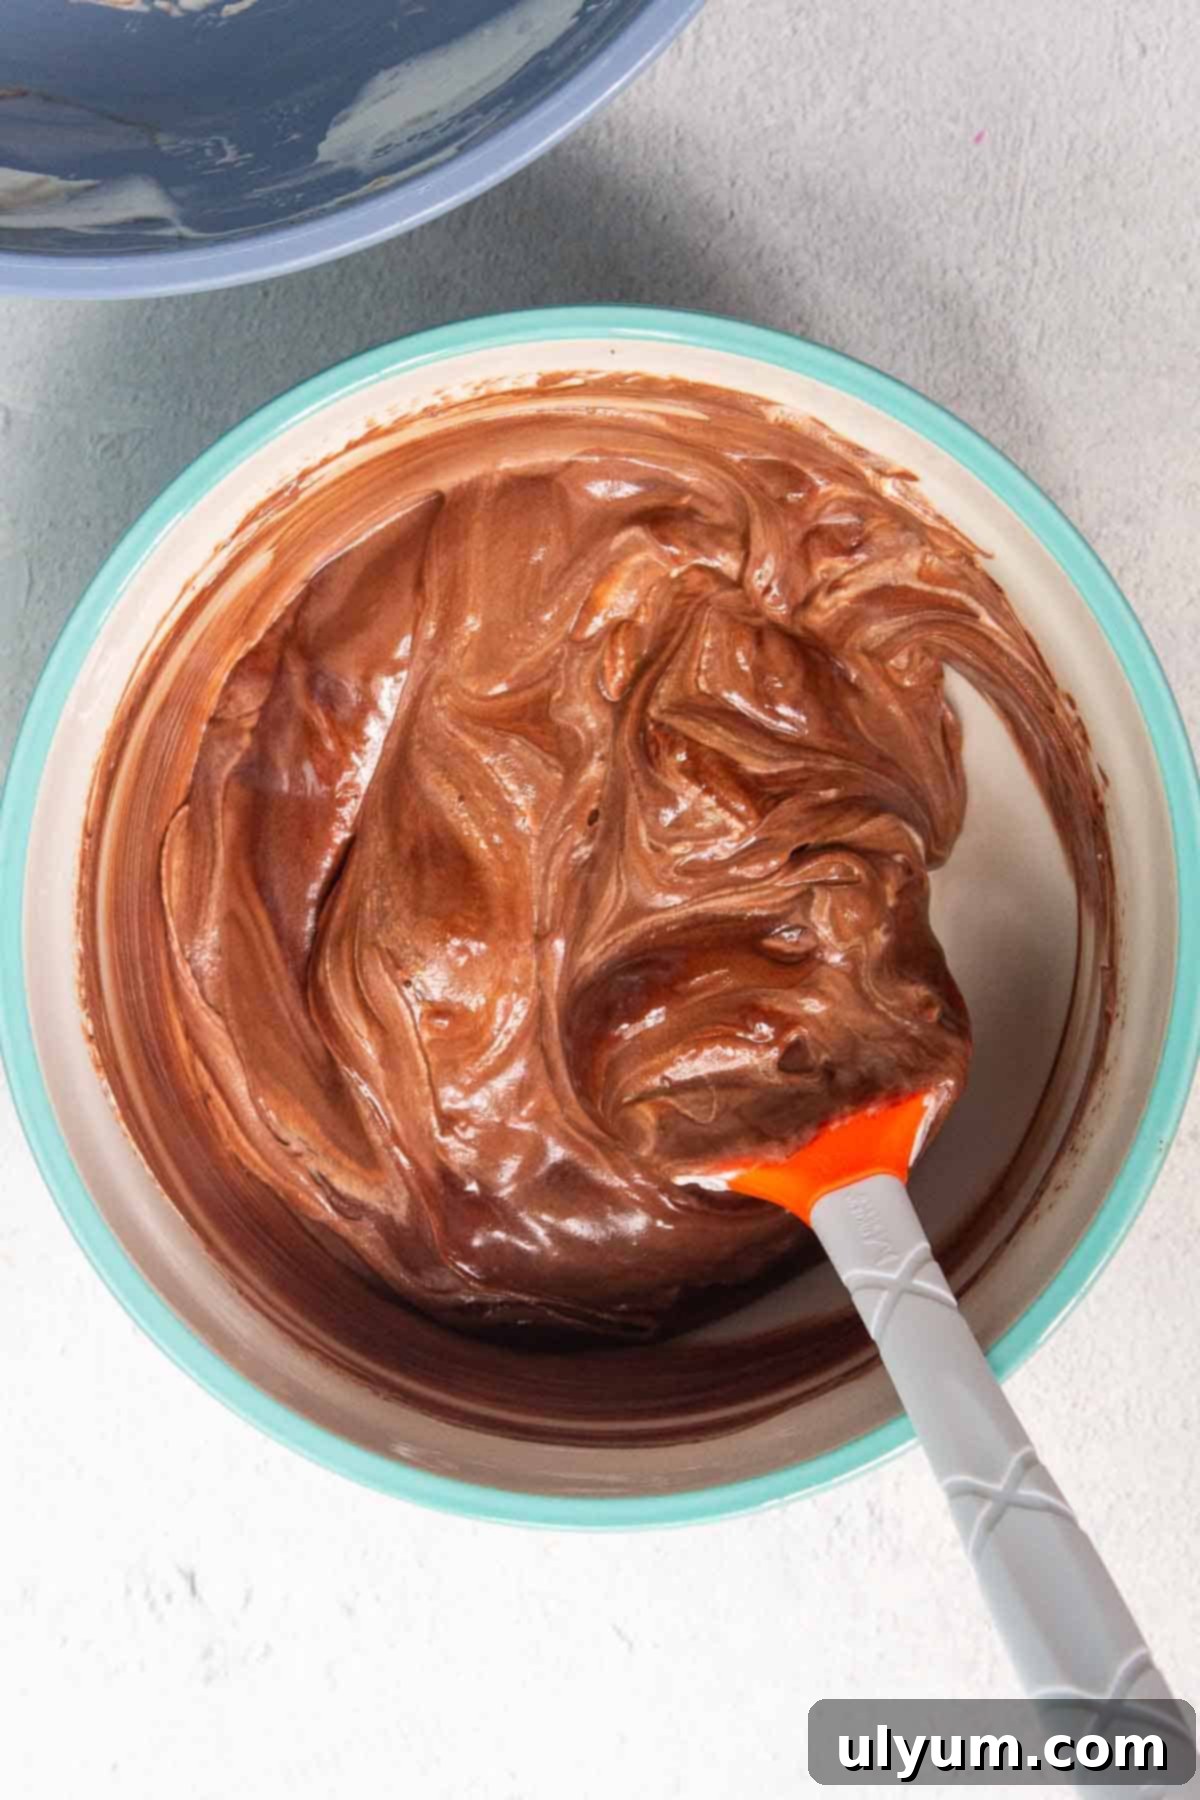
Tip for Folding: Some faint streaking of cream in the chocolate mixture is perfectly fine, even desirable. It’s always better to slightly under-mix than to over-mix, which can knock out too much air and result in a denser, less airy mousse. The key is to be gentle but thorough enough to ensure no large pockets of unmixed cream remain.
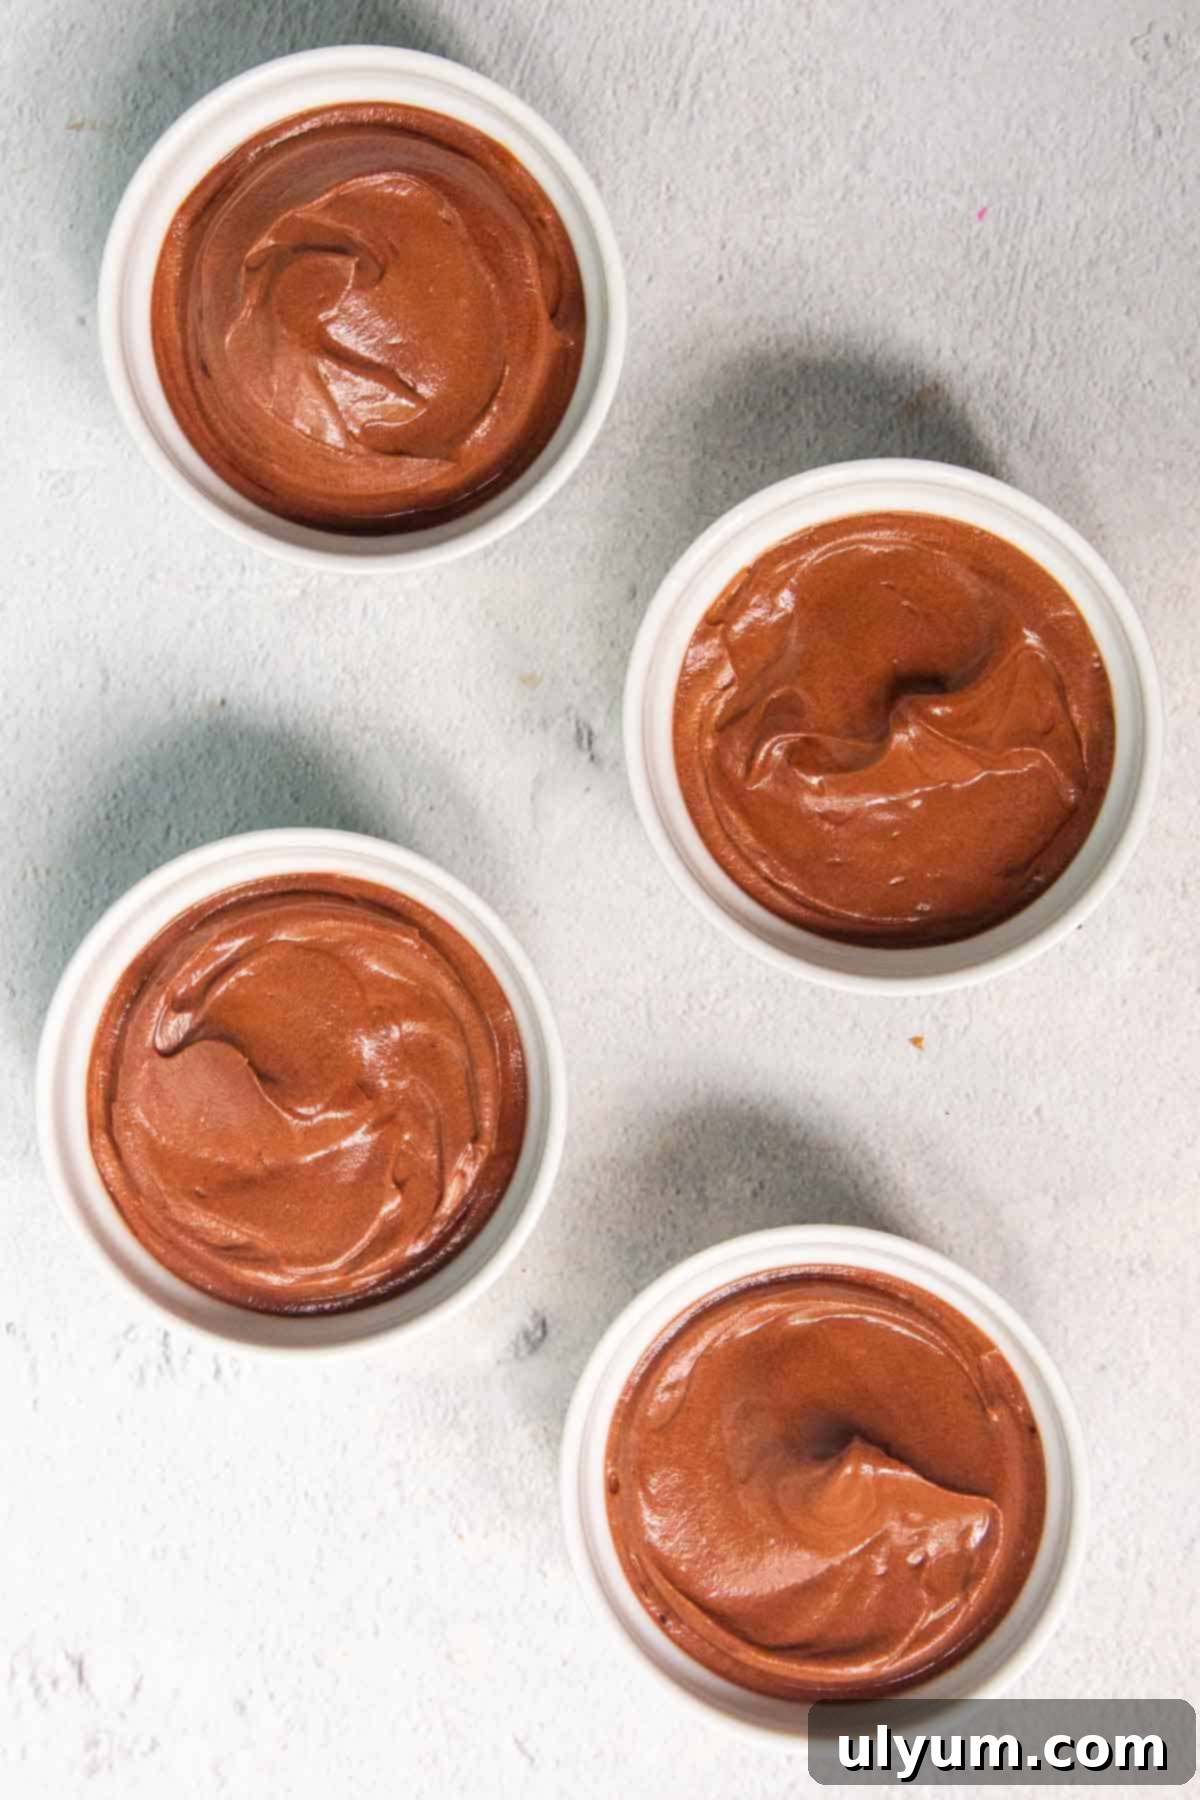
Step 6: Chill to Perfection. Carefully divide the glorious chocolate mousse mixture evenly into four individual ramekins or small glasses, each about 4 ounces in size. Once filled, place them in the refrigerator to chill for at least one hour before serving. Chilling allows the mousse to set properly, firm up, and for the flavors to meld beautifully, ensuring that perfect creamy yet firm texture. While an hour is sufficient, a longer chill time (2-4 hours) can enhance the experience even further.
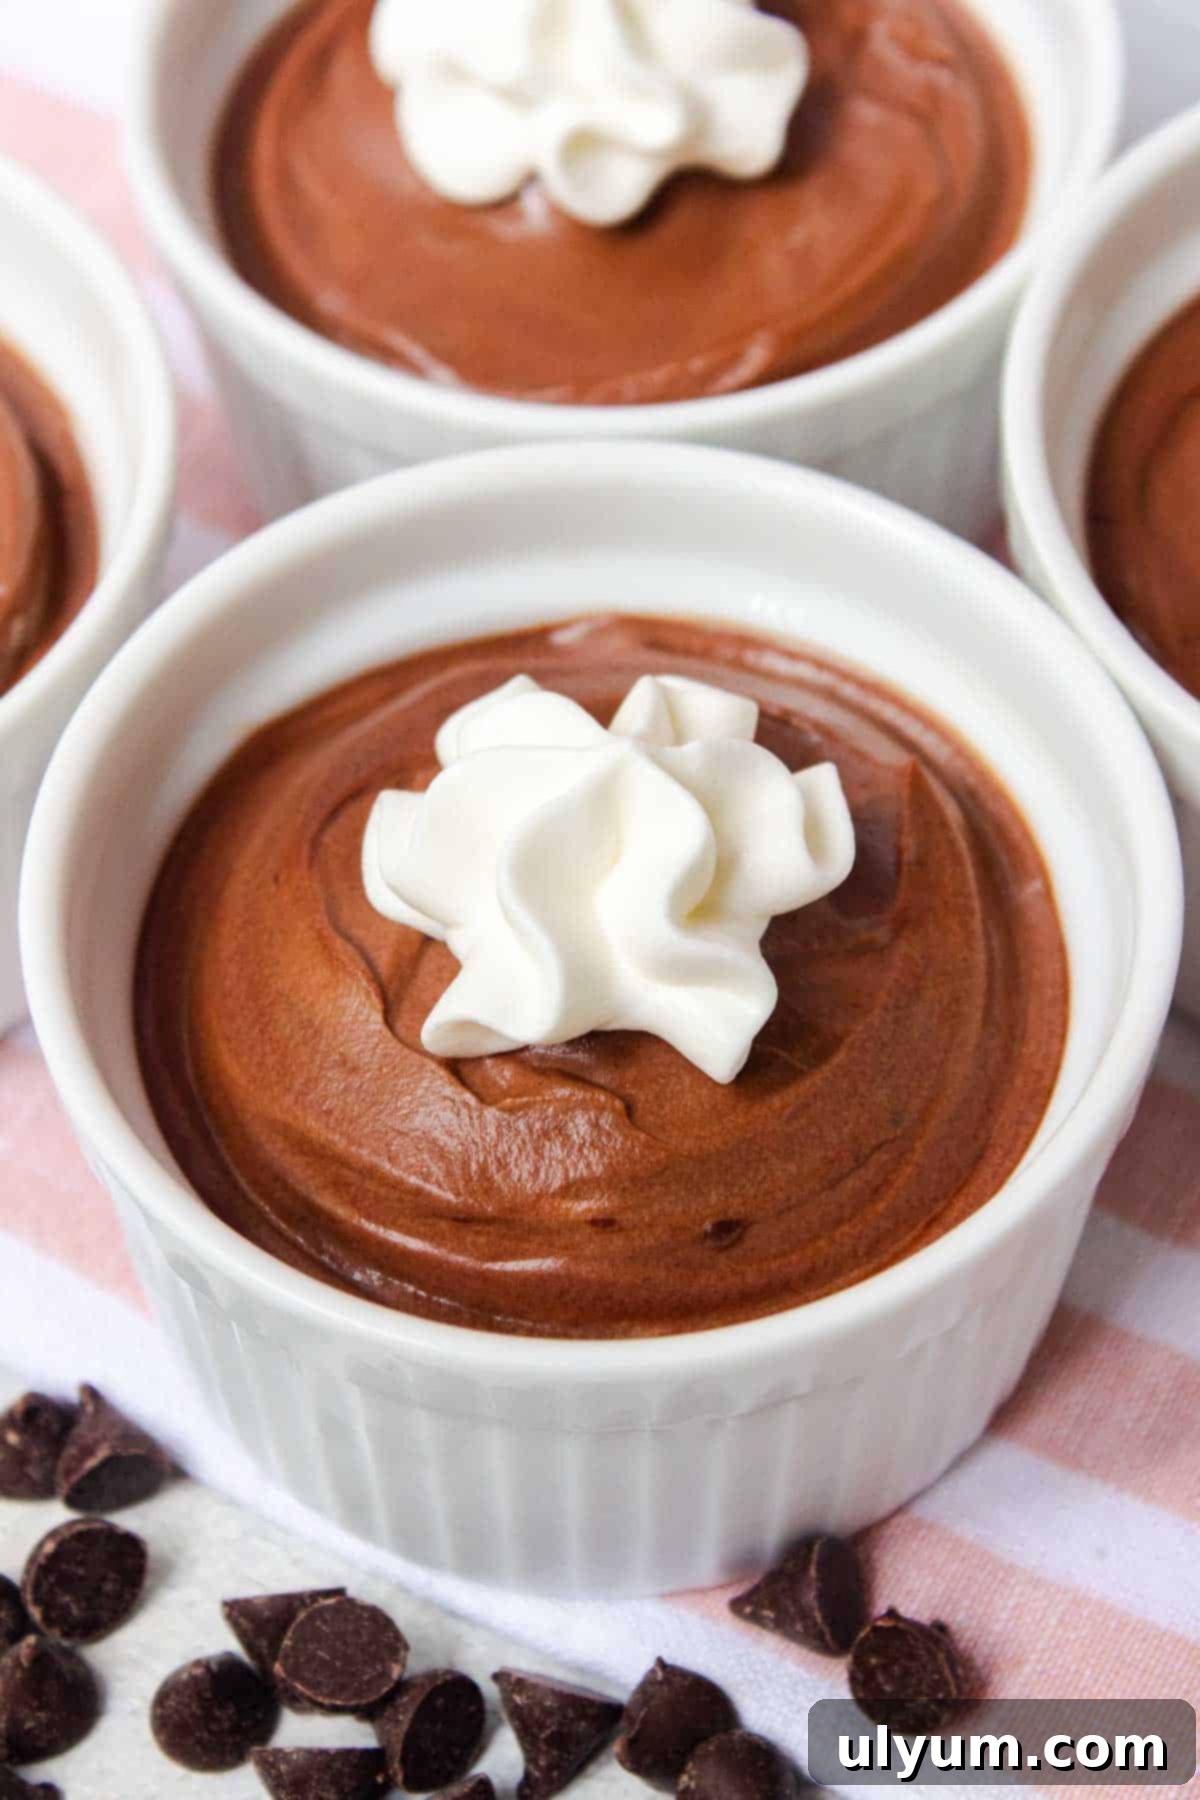
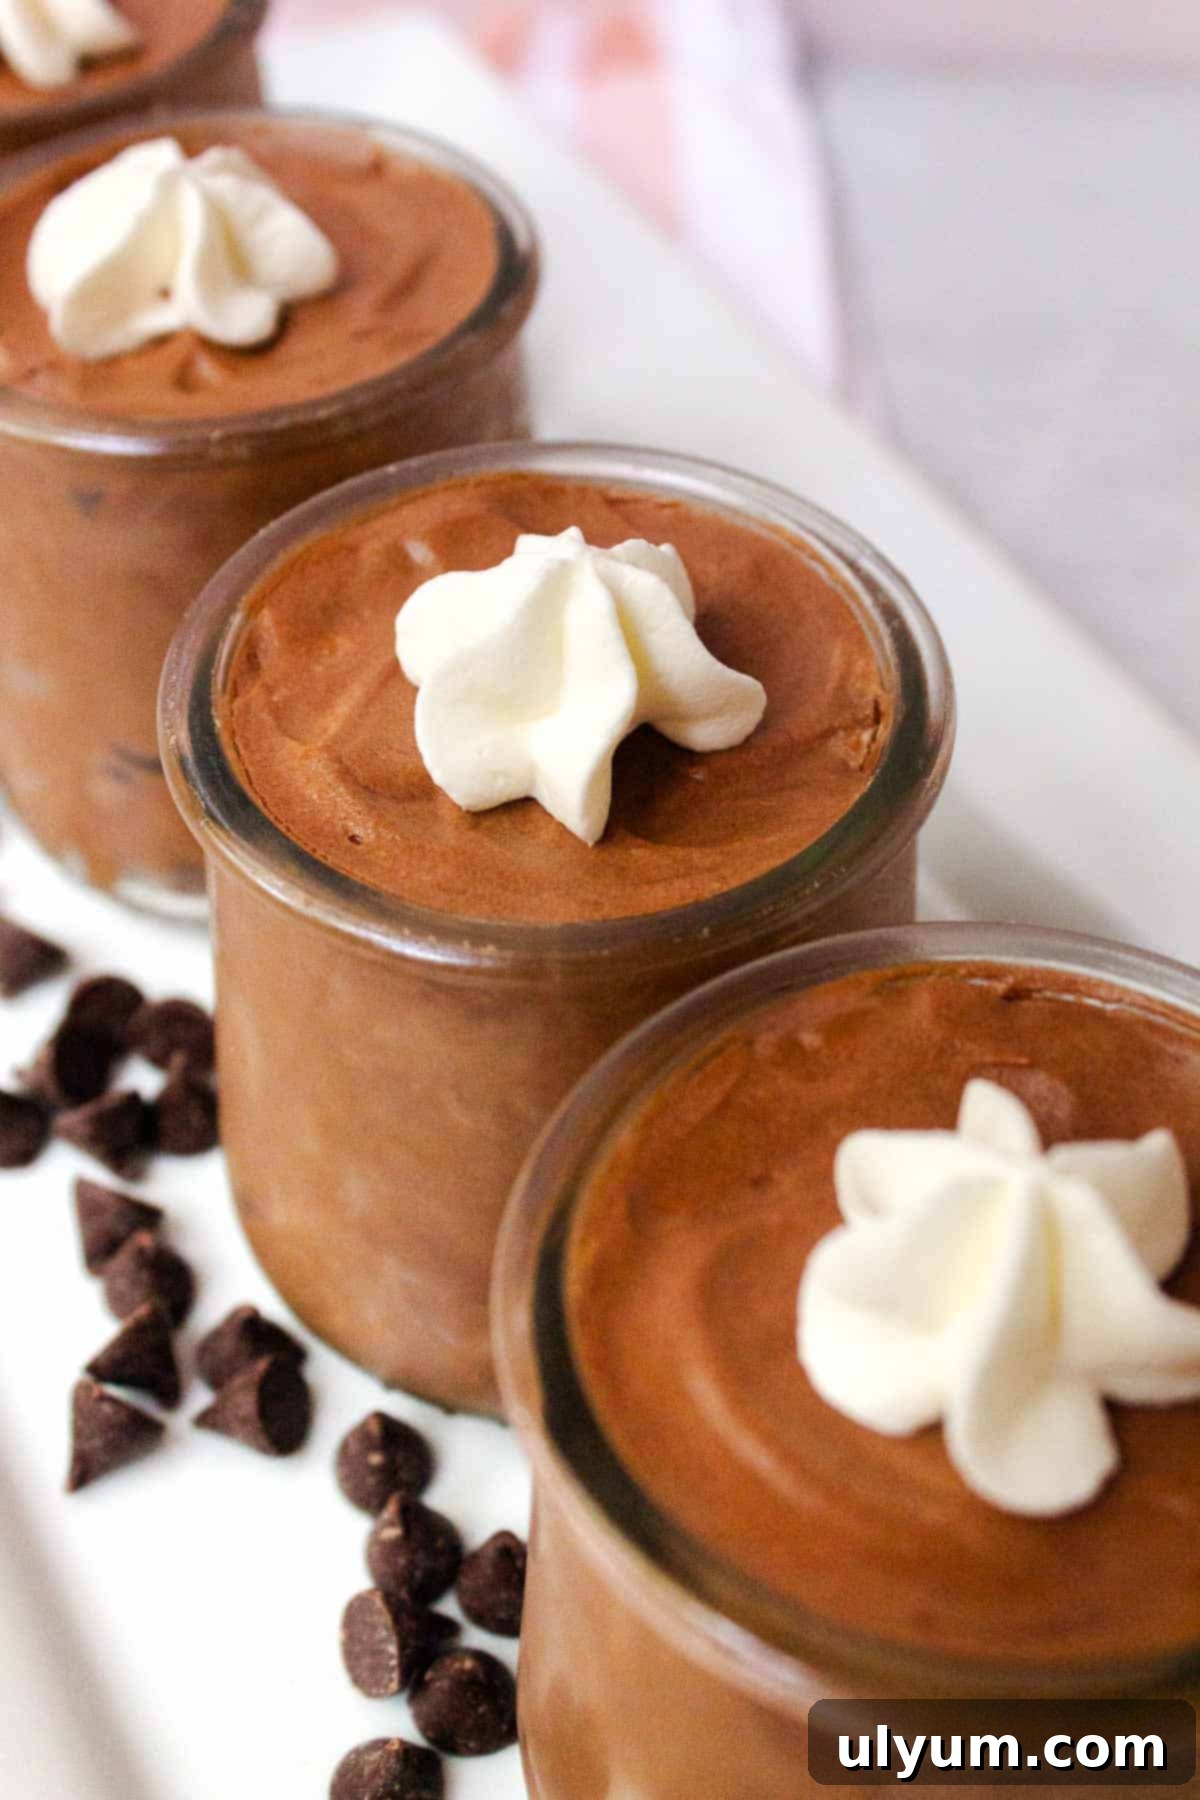
Step 7: Serve & Garnish. When you’re ready to serve your exquisite chocolate mousse, retrieve the reserved whipped cream from the refrigerator. Top each ramekin generously with a dollop of this fresh whipped cream. For an extra touch of elegance and flavor, consider adding optional garnishes such as fresh berries (raspberries or strawberries are excellent), a dusting of cocoa powder, a sprinkle of chocolate shavings, or even a few mint leaves. Enjoy this simple yet sophisticated dessert!
Hint: While making whipped cream by hand is certainly possible, it requires a fair amount of ‘elbow grease’ and a strong arm! For convenience and consistency, an electric hand mixer or stand mixer is highly recommended. Also, a crucial reminder: do not over-whip the cream. Beat only until stiff peaks form; continuing past this point will result in a grainy texture, and eventually, you will make butter instead of whipped cream.
Ingredient Substitutions and Flavor Variations
While this 2-ingredient chocolate mousse recipe is perfected in its simplicity, there are a few considerations and potential variations if you wish to experiment or adapt to what you have on hand.
- Heavy Cream – This is the non-negotiable star. You absolutely must use heavy whipping cream (or regular whipping cream) for this recipe. The high fat content (typically 36% or higher) is essential for the cream to whip up into a stable, airy foam, which is what gives mousse its signature texture. You cannot substitute with lower-fat dairy products like whole milk, half-and-half, or even light cream. They simply do not contain enough fat to whip properly and will result in a runny, disappointing dessert.
- Semi-Sweet Chocolate Chips – The type of chocolate you choose will significantly impact the final flavor profile.
- Milk Chocolate: For a sweeter, milder chocolate flavor that’s often a hit with kids and those who prefer less intensity.
- Semi-Sweet Chocolate: The classic choice, offering a balanced sweetness and deep chocolate flavor, as used in this recipe.
- Dark Chocolate: For a more intense, less sweet, and slightly bitter chocolate experience, use dark chocolate chips (e.g., 60-70% cacao). This creates a more sophisticated and rich mousse.
- White Chocolate: Yes, you can even create a delightful two-ingredient white chocolate mousse using white chocolate chips! Ensure you use good quality white chocolate, as cheaper versions can be overly sweet or lack real cocoa butter flavor.
- Chopped Chocolate Baking Bars: If you don’t have chips, high-quality chopped chocolate baking bars (e.g., Ghirardelli, Callebaut, Valrhona) can be used. Just ensure they are finely chopped to melt evenly and smoothly in the hot cream.
Beyond substitutions, consider adding a splash of vanilla extract, a pinch of sea salt to enhance the chocolate flavor, or a tablespoon of coffee liqueur or orange liqueur for an adult twist to your ganache mixture before folding in the whipped cream. These small additions can elevate your 2-ingredient chocolate mousse into an even more complex and delicious dessert.
Recommended Equipment for Perfect Chocolate Mousse
One of the many advantages of this easy chocolate mousse recipe is that it requires only standard kitchen tools. You won’t need any specialized gadgets, making it accessible to even the most modestly equipped kitchens. Here’s a list of what you’ll need to create this delightful dessert:
- Mixing bowls – You will need at least two mixing bowls for this recipe: one for melting the chocolate and another for whipping the cream. Ideally, a medium-sized bowl for the chocolate ganache and another medium or large bowl for whipping cream to prevent splattering. Stainless steel or glass bowls work well, and chilling the whipping cream bowl beforehand can aid in faster, more stable whipped cream.
- Whisk – A good sturdy whisk is essential for combining the chocolate chips and warm cream until they are fully melted and smooth. If you don’t have a whisk, a fork can work in a pinch, though it might take a bit more effort to achieve a completely smooth ganache.
- Hand mixer – Or a stand mixer. This is highly recommended for making light and airy whipped cream. While you can whip cream by hand, an electric mixer will save you significant time and effort, ensuring consistent, stiff peaks. A stand mixer with a whisk attachment is ideal, but a hand mixer is perfectly sufficient.
- Silicone spatula – Or a large, flexible spoon. This tool is indispensable for gently folding the whipped cream into the chocolate mixture. Its flexibility allows you to scrape down the sides of the bowl effectively while its soft nature helps to maintain the air in the whipped cream, ensuring a light and fluffy mousse.
- Ramekins – Or small dessert bowls or plastic dessert cups. You’ll need four individual serving vessels, approximately 4 to 5 ounces in size. The clear glass serving glasses pictured in this post are charming upcycled Oui yogurt jars, demonstrating that you can use creative and eco-friendly options for presentation!
Storage and Make-Ahead Tips for Your Chocolate Mousse
This 2-ingredient chocolate mousse is a fantastic make-ahead dessert, perfect for entertaining or enjoying over several days. Proper storage ensures it retains its delicate texture and rich flavor.
Refrigerator Storage: Store any leftover mousse tightly covered with plastic wrap in the refrigerator for up to 3-4 days. Ensure the plastic wrap directly touches the surface of the mousse to prevent a skin from forming and to keep it fresh. When ready to enjoy, simply remove from the fridge and serve chilled.
Freezer Storage: For longer storage, this chocolate mousse freezes beautifully. Place individual servings (or the entire batch in an airtight, freezer-safe container) in the freezer for up to 1-2 months. When you want a treat, you have a couple of options: you can enjoy it straight from the freezer as a delightful frozen dessert, similar to a rich ice cream. Alternatively, you can thaw it in the refrigerator for a few hours until it returns to its original mousse consistency, then serve chilled. This flexibility makes it a wonderful dessert to have on hand for unexpected cravings or guests.
Always ensure your containers are airtight to prevent freezer burn and to maintain optimal taste and texture. Freshness is key, so always use your senses – if it smells off or looks unusual, it’s best to discard it.
Top Tips for the Perfect 2-Ingredient Chocolate Mousse
Achieving the perfect light and airy texture of this chocolate mousse is all about a few key techniques. Keep these tips in mind to ensure your dessert turns out perfectly every time:
- Do Not Overbeat the Whipped Cream: This is perhaps the most critical step. Overbeaten cream will become grainy or even turn into butter, completely ruining the mousse’s delicate texture. Watch it carefully and stop as soon as stiff peaks form. The cream should hold its shape when you lift the whisk, but still be smooth and creamy.
- Keep Everything Cold for Whipping Cream: For the best whipped cream, ensure your heavy cream, mixing bowl, and whisk attachments are all very cold. Chilling the bowl in the freezer for 10-15 minutes before whipping can make a significant difference, especially in warmer kitchens.
- Be Gentle When Folding: The folding technique is crucial for maintaining the airy, light texture of the mousse. Use a silicone spatula and gently fold the whipped cream into the chocolate ganache. Avoid vigorous stirring or beating, which will deflate the air and result in a dense mousse. A few streaks of white cream are preferable to over-mixing.
- Use Quality Chocolate: Since chocolate is one of only two ingredients, its quality shines through. Invest in good-quality chocolate chips (like Ghirardelli, Guittard, or even chopped baking bars) for the best flavor.
- Allow Adequate Chilling Time: While the mousse sets quickly, allowing it to chill for at least an hour (or longer) is essential. This time allows the mousse to firm up properly and for the flavors to fully develop, resulting in a more cohesive and enjoyable dessert.
- Cool the Ganache Slightly: Ensure your chocolate ganache has cooled down to at least room temperature, or even slightly cooler, before you start folding in the whipped cream. If the ganache is too warm, it will melt the whipped cream, causing your mousse to be runny and less airy.
Frequently Asked Questions About Chocolate Mousse
Have questions about making or serving this simple chocolate mousse? Here are answers to some common queries that will help you master this delightful dessert.
American pudding is traditionally a thick, dense, custard-like dessert made with milk, sugar, and often thickened with cornstarch, flour, or eggs. It has a smooth, creamy consistency but lacks aeration. Mousse, on the other hand, is characterized by its light, airy, and fluffy texture, achieved by incorporating a significant amount of air (typically through whipped cream or beaten egg whites). While both are creamy, mousse feels much lighter and more delicate in the mouth, and this 2-ingredient version uniquely doesn’t require a thickening agent.
Absolutely! This recipe is very versatile. Milk chocolate will yield a sweeter, milder mousse, while dark chocolate (e.g., 60-70% cocoa) will result in a richer, more intense, and less sweet dessert. Adjust your choice based on your personal preference for chocolate intensity. Just ensure you’re using quality chocolate of any type.
Several factors could lead to a runny mousse. The most common reasons are: 1) the chocolate ganache was too warm when the whipped cream was folded in, causing the cream to melt; 2) the heavy cream was not whipped to stiff peaks; or 3) the mousse wasn’t chilled for long enough. Ensure the ganache is cooled, the cream is properly whipped, and give it at least an hour in the refrigerator to set.
Yes, absolutely! While it’s delicious as is, you can enhance the flavor. Consider adding a teaspoon of vanilla extract or a pinch of sea salt to the chocolate ganache. For an adult twist, a tablespoon of coffee liqueur (like Kahlúa), orange liqueur (like Grand Marnier), or even a touch of rum can be stirred into the cooled ganache before folding in the whipped cream. Just be mindful not to add too much liquid, which could affect the setting.
When stored properly in an airtight container and tightly covered with plastic wrap, this chocolate mousse will last for 3-4 days in the refrigerator. It can also be frozen for up to 1-2 months, making it a great option for meal prepping desserts or enjoying at a later date.
More Easy Dessert Recipes You’ll Love
If you enjoyed the simplicity and deliciousness of this 2-ingredient chocolate mousse, you’re in for a treat! We specialize in easy desserts that don’t compromise on flavor or presentation. Explore more of our stress-free recipes perfect for any occasion:
- Easy Strawberry Jello Pie
- 3-Ingredient Peanut Butter Blossoms
- 4-Ingredient Chocolate Dump Cake
- 3-Ingredient Oreo Pie
📖 Recipe
Pin Recipe
Save RecipeSaved!
Email
Print
2-Ingredient Chocolate Mousse
Equipment
-
Mixing bowls (2 medium-sized)
-
Whisk (or fork)
-
Hand mixer (or stand mixer with whisk attachment)
-
Silicone spatula (or large spoon)
-
Ramekins (4-5 oz, or small dessert bowls)
Ingredients
- 1-½ cups heavy cream cold, also known as heavy whipping cream, and divided into ½ cup and 1 cup portions
- 1 cup semi-sweet chocolate chips use high-quality chips like Ghirardelli, or mini chocolate chips for faster melting
Instructions
-
Prepare Warm Cream: Heat ½ cup of heavy cream until just under boiling. You can do this in a small saucepan over medium heat (look for small bubbles around the edges, don’t boil vigorously) or in a microwave-safe bowl for 50 seconds to 1 minute. The cream needs to be hot enough to melt chocolate smoothly.
-
Make Chocolate Ganache: In a medium mixing bowl, combine the chocolate chips with the hot cream. Ensure the chips are fully submerged. Let sit for 1-2 minutes to allow the chocolate to melt, then whisk until completely smooth and glossy, forming a rich ganache. Set aside to cool to at least room temperature.
-
Whip Remaining Cream: In a separate, chilled medium mixing bowl, beat the remaining 1 cup of cold heavy cream with an electric hand mixer or stand mixer (with a whisk attachment). Start on low speed, then gradually increase to high speed. Beat until stiff peaks form and the cream holds its shape. Be careful not to over-whip.
-
Reserve Topping Cream: Reserve about ½ cup of the freshly whipped cream for garnishing. Cover it and store it in the refrigerator until ready to serve.
-
Fold Mousse Together: Using a silicone spatula, gently fold half of the remaining whipped cream into the cooled chocolate ganache until mostly combined. Then, fold in the second half of the whipped cream. This gentle motion incorporates the air without deflating the mousse. Some faint streaks of cream are acceptable and ensure a light texture.
-
Chill the Mousse: Divide the chocolate mousse evenly into four 4-ounce ramekins or small dessert glasses. Cover each tightly with plastic wrap and chill in the refrigerator for at least one hour (or up to 4 hours) to allow it to set and firm up.
-
Serve & Garnish: When ready to serve, top each chilled chocolate mousse with the reserved whipped cream. For an extra touch, garnish with fresh berries (like raspberries or strawberries) or chocolate shavings (optional). Enjoy your decadent, easy chocolate mousse!
Video
Notes
Nutrition
